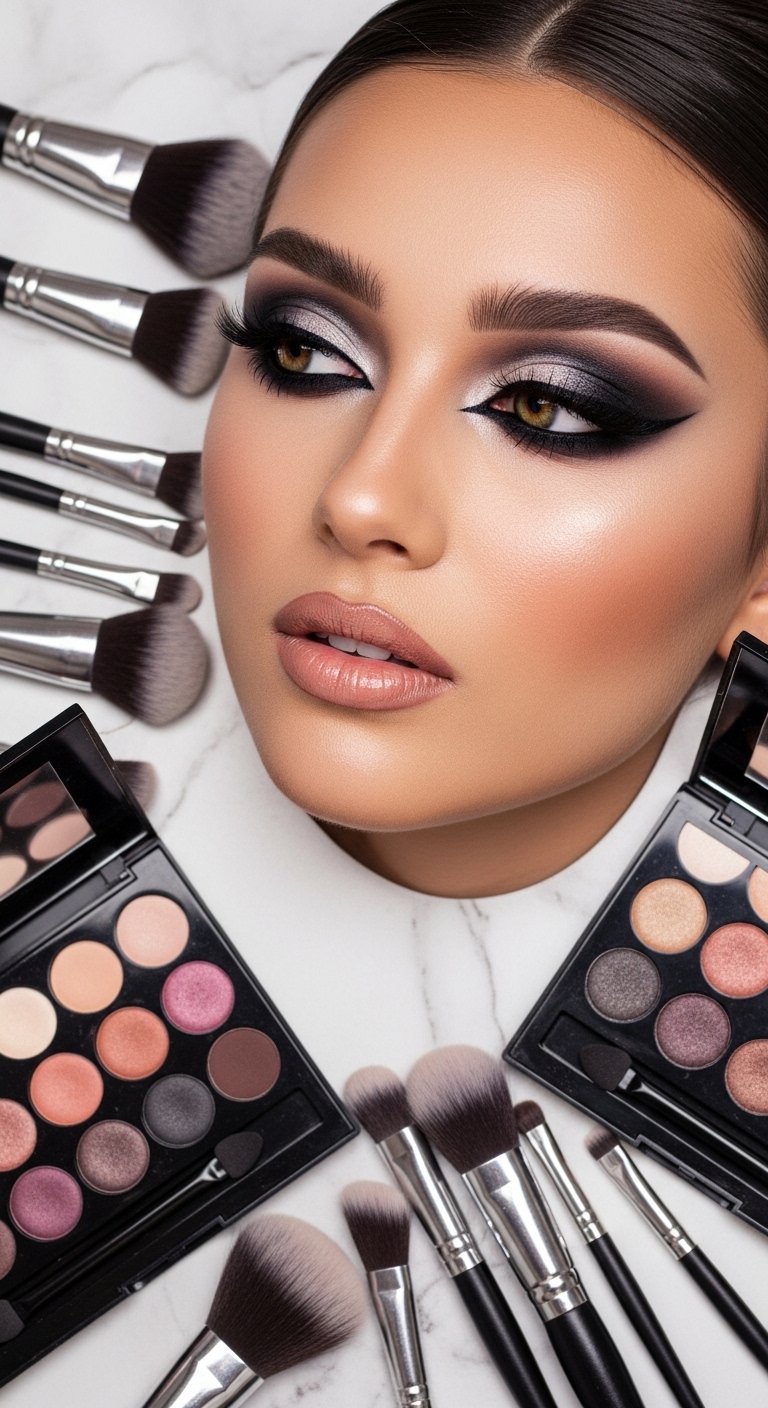
There is a specific kind of magic that happens when you open a fresh eyeshadow palette. You stare at those perfectly arranged pans of color, envisioning a masterpiece. But for many of us, that vision turns into a muddy, blended-together mess of confusion by the time we put the brush down. I remember staring at a “natural” palette my sister gave me, trying to recreate a look I watched on YouTube, only to end up looking like I had been in a minor paintball accident.
If that sounds familiar, please know that you are not alone. The journey from eyeshadow frustration to eye-makeup admiration is not about buying the most expensive products; it is about mastering the 19 eye makeup techniques ideas that professionals use every day. This step by step makeup guide will walk you through everything you need to know.
Whether you are a complete beginner or someone who has been applying makeup for years, there is always a new trick to learn. That is why I have compiled this comprehensive guide covering nineteen different eye makeup looks and methods. By the end of this article, you will not just be applying makeup; you will be crafting art. Moreover, you will feel confident enough to finally purchase that higher-end palette you have been eyeing, knowing you possess the skills to make it sing.
Let us dive into these transformative eyeshadow techniques.
Part One: Foundation Techniques for Beginners
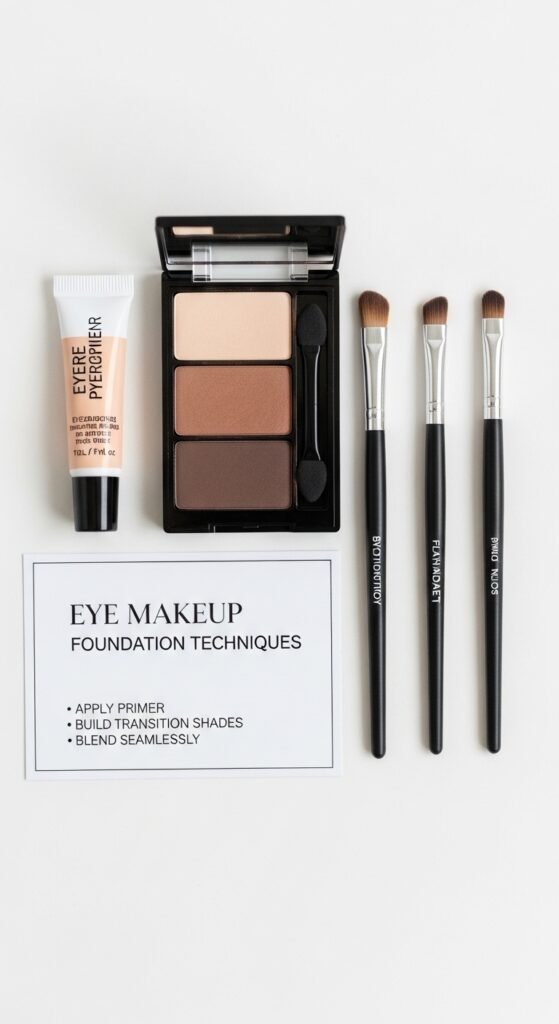
Before we create a smoky eye, we must build a strong foundation. These first five 19 eye makeup techniques ideas serve as the building blocks for everything else that follows.
Mastering the Eyeshadow Primer Application
The single biggest mistake people make is applying shadow to a bare, moisturized lid. Shadow will grab onto natural oils and creamy products, causing it to crease and fade within just a few hours. Proper eyeshadow primer application changes everything.
- Step One: After applying your foundation, gently wipe your lids with a tissue to remove excess oil.
- Step Two: Apply an eyeshadow primer. This product creates a tacky, uniform surface that helps pigments adhere. If you do not have primer, a tiny bit of concealer set with translucent powder works well in a pinch.
- Why It Works: Primer not only stops creasing but also makes your pigments pop ten times brighter. When you use a primer, you are ensuring that the money you spend on eyeshadows actually stays on your face throughout the day.
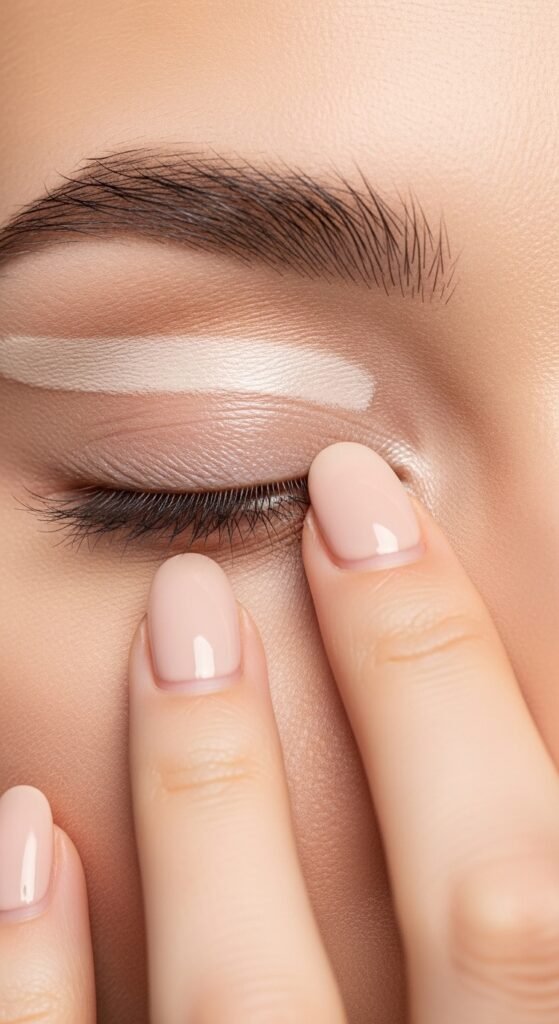
Perfecting the Transition Shade Placement
This is the technique that separates amateurs from professionals. A transition shade is a matte color slightly darker than your skin tone, usually a taupe, peach, or soft brown. Mastering transition shade application is essential for seamless blending.
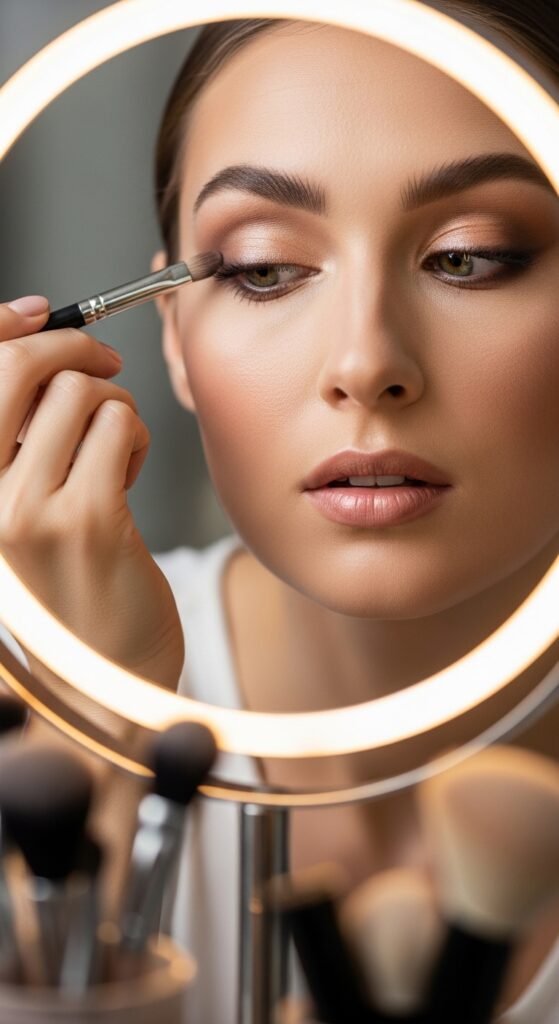
- Step One: Take a fluffy blending brush and dip it into your transition shade.
- Step Two: Starting at the outer corner of your eye, use a back-and-forth “windshield wiper” motion in the crease.
- The Anecdote: I used to skip this step because it looked like I was doing nothing productive. However, the moment I committed to this technique, my eye looks went from “flat color” to “professional depth.” This method mimics a natural shadow, making your eyes appear larger and more defined immediately.
Understanding Packing Versus Blending
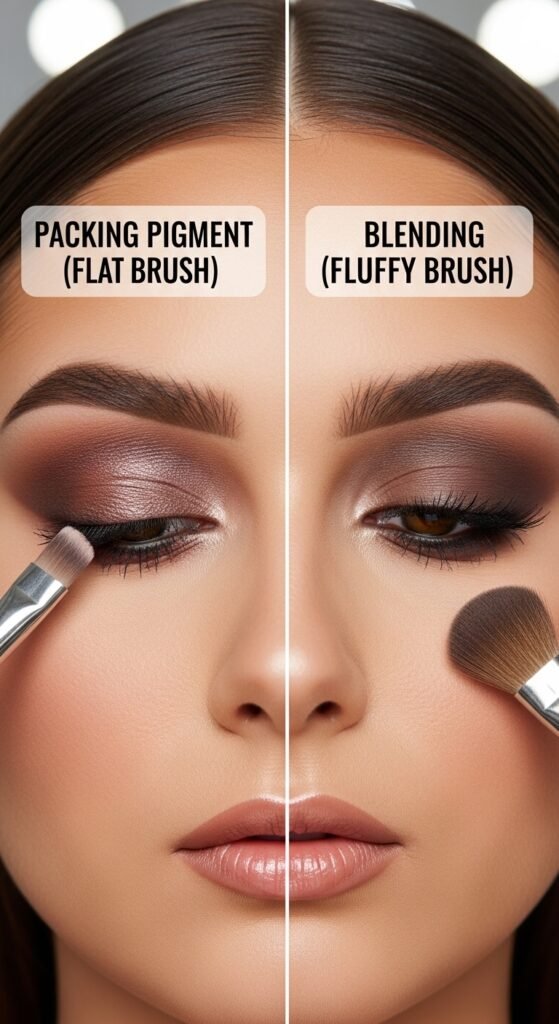
Understanding the difference between these two actions is absolutely crucial for achieving professional results with your 19 eye makeup techniques ideas.
- Packing: Use a flat, dense brush. You want to “pat” or “stamp” the shimmer or glitter onto the mobile lid, the part of your eyelid that moves. This action maximizes pigment and prevents fallout.
- Blending: Use a clean, fluffy brush with no product. Employ light, circular motions at the edges where two colors meet. This technique erases harsh lines and creates seamless transitions.
- Pro Tip: If your look becomes muddy, you likely blended too much. Remember to pack first, then blend the edges gently.
| See also |
| 20 Korean Makeup Look Ideas: Your Ultimate Guide to Achieving That Coveted K-Beauty Glow |
| 18 McBling Makeup Ideas: A Complete Guide to Y2K Makeup Trends |
Learning the Tightline Technique
Most people think eyeliner is exclusively for the top lash line. However, tightlining is the art of applying liner to the upper waterline, the tiny rim of skin where your lashes actually grow. This is one of those 19 eye makeup techniques ideas that makes a huge difference.
- How To: Gently lift your eyelid with one finger and use a waterproof gel or kohl pencil to dot product directly into the roots of your lashes.
- The Result: This technique makes your lashes look instantly thicker without appearing as though you are wearing obvious liner. It is the ultimate “no-makeup” makeup secret for natural enhancement.
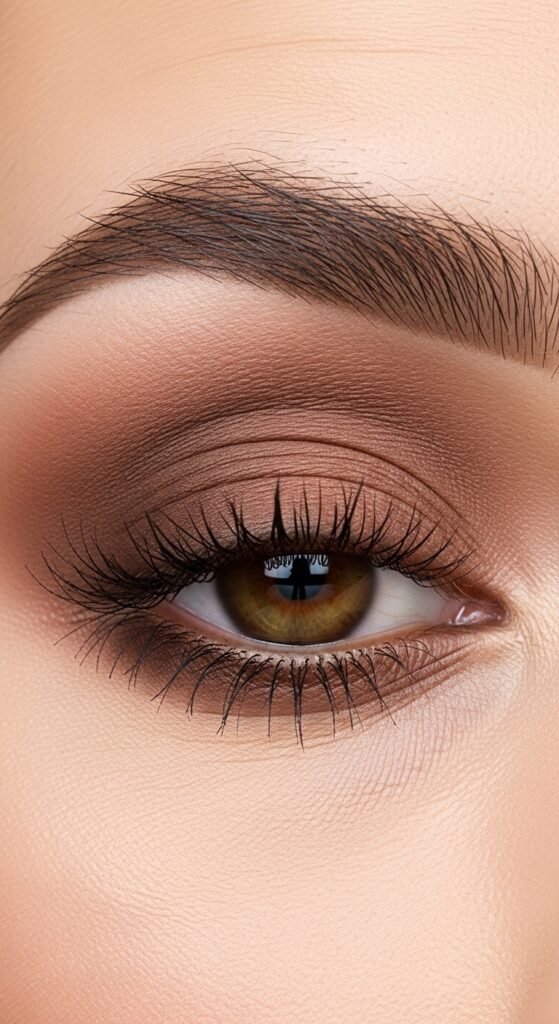
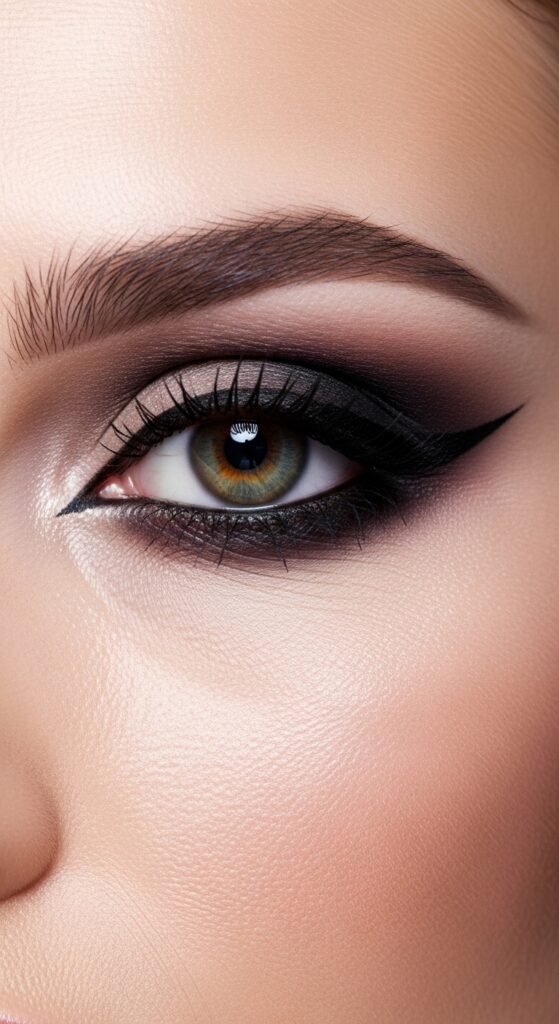
Creating the Outer V Definition

This technique defines the shape of your eye beautifully. Using a small, precise brush, apply your darkest shade to the outer third of your eye, forming the shape of a sideways “V.” Proper crease definition starts here.
- Step One: Place the color right at the lash line and outer corner of your eye.
- Step Two: Using the same small brush, gently tug the color inward along the natural crease.
- Step Three: Blend it out with a clean brush so it connects seamlessly with your transition shade, creating a cohesive look.
Part Two: Creative and Classic Eye Makeup Looks
Now that we have established the basics, let us explore specific eye makeup ideas that range from office-appropriate to party-ready. These 19 eye makeup techniques ideas will transform your beauty routine.
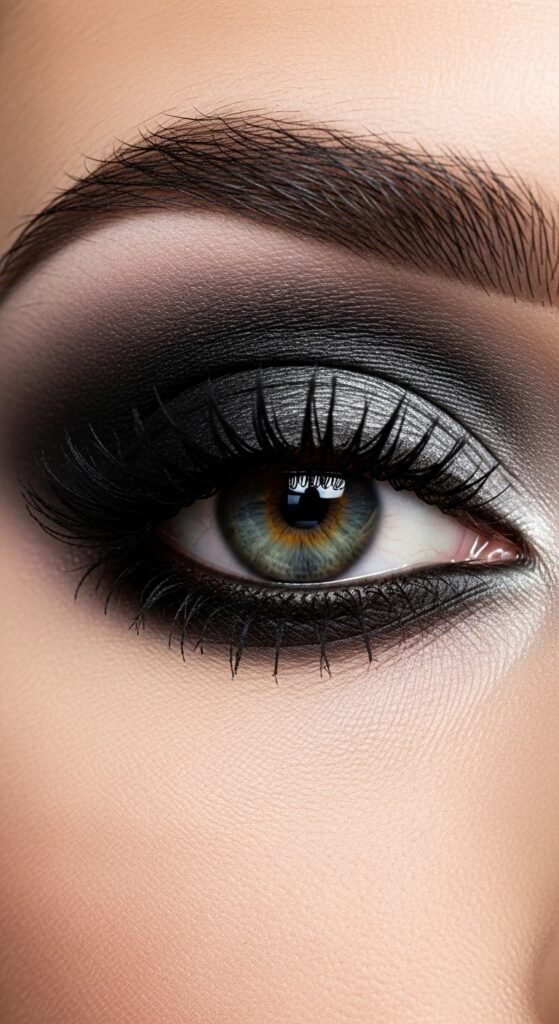
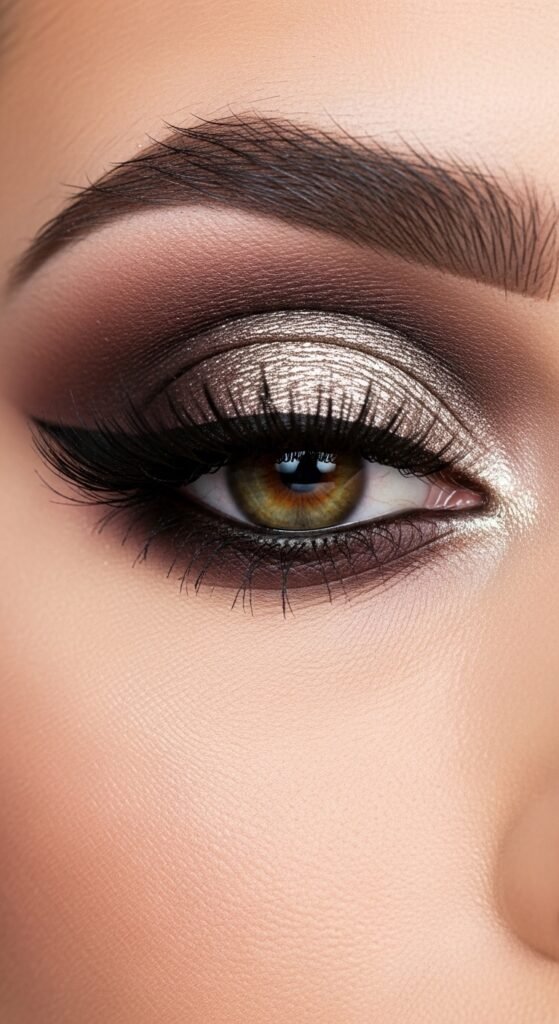
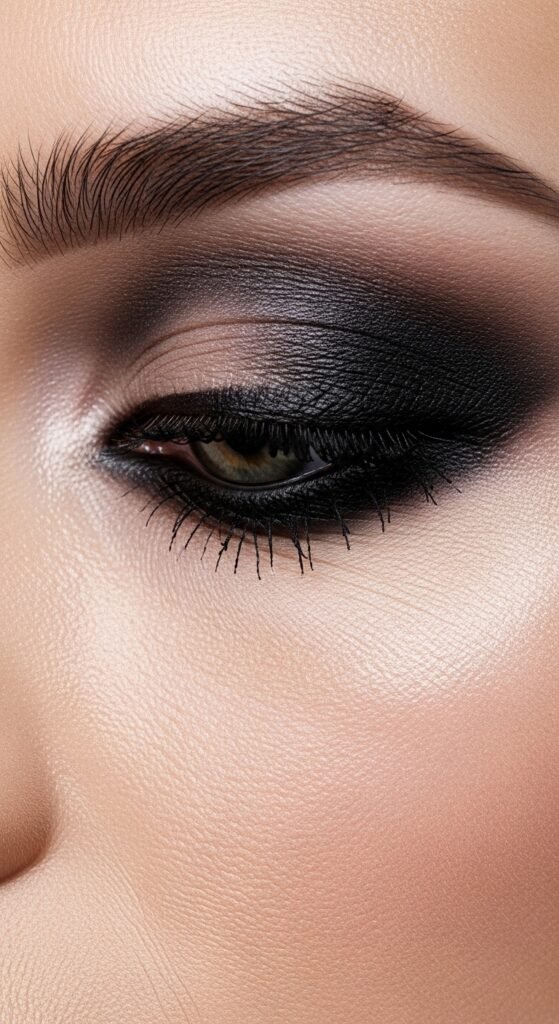
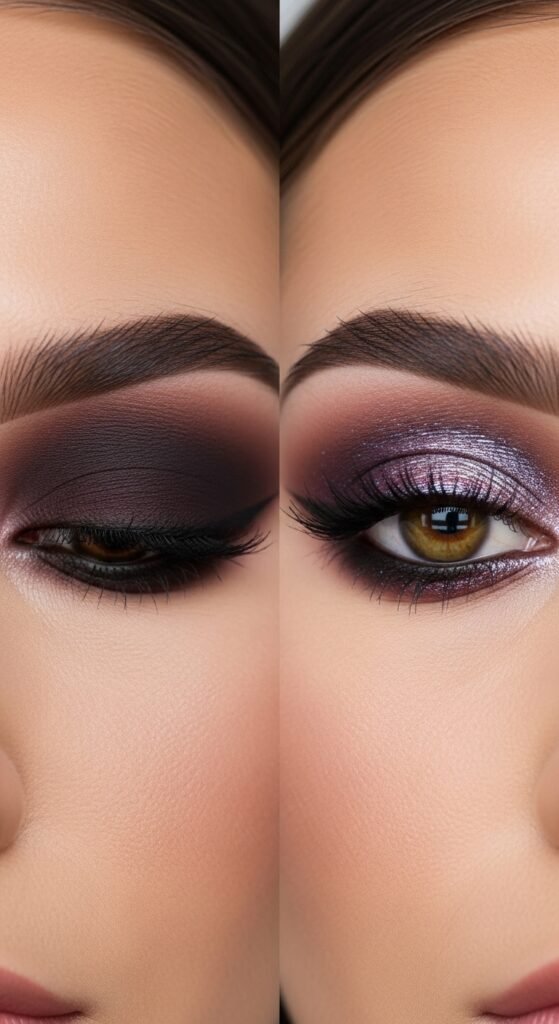
Achieving the Perfect Smoky Eye

A smoky eye sounds intimidating, but it is essentially gradient blending. You want to transition from light on the inner corner to dark on the outer corner, with no harsh lines interrupting the flow. This classic lid color technique never goes out of style.
- Step One: Apply a medium gray or brown shadow all over the lid as your base.
- Step Two: Take a dark black or charcoal shadow and apply it to the outer corner and along the lower lash line.
- Step Three: Use a clean brush to blend the edges until the effect resembles a hazy cloud of smoke. Remember to keep the inner corner bright to avoid an unintended “raccoon eye” appearance.
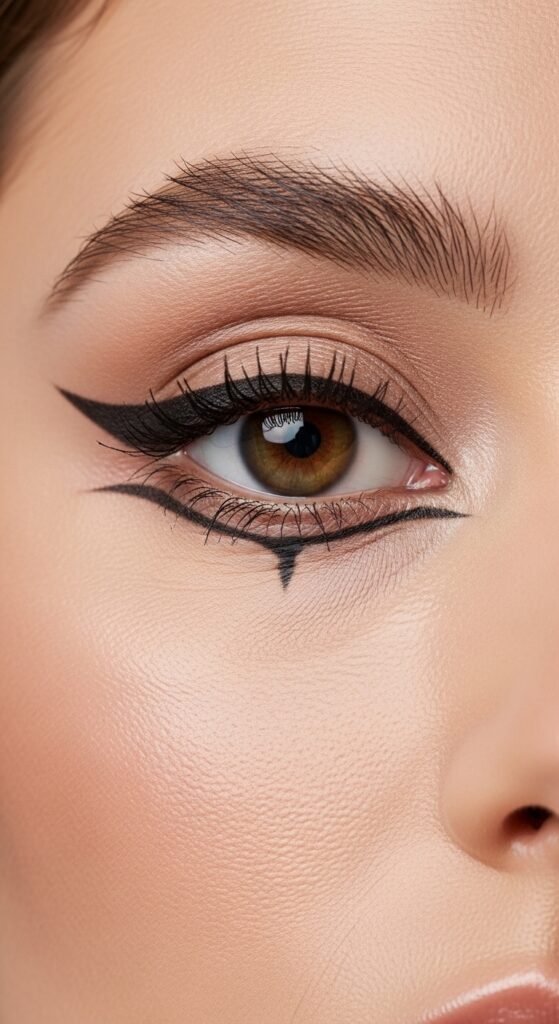
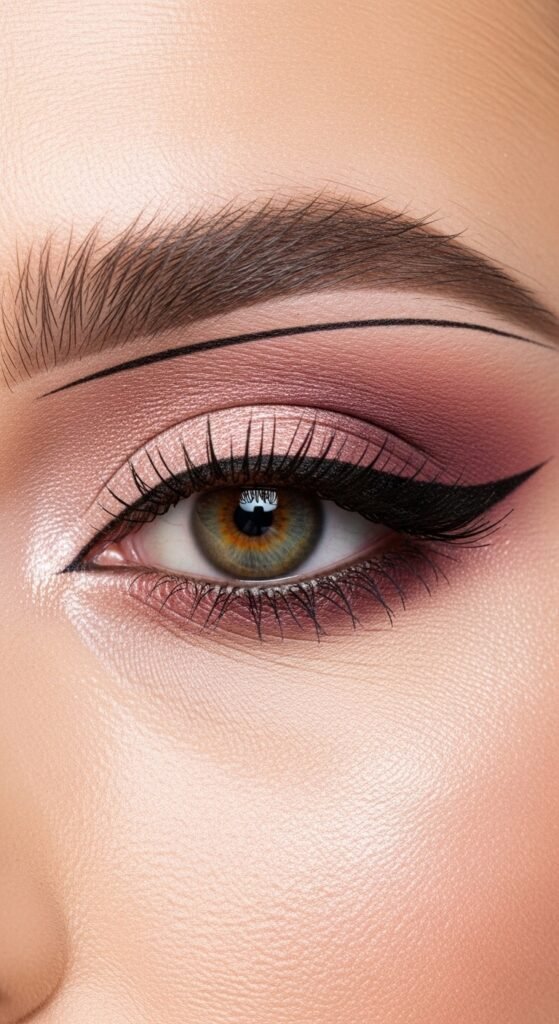
Mastering the Puppy Dog Eyeliner
Unlike a classic cat eye that flicks upward, the puppy dog liner follows the natural downward slope of your eye. This technique creates a “sad” but adorable, doe-eyed effect that many find appealing. It is particularly flattering for certain eye shapes.
- How To: Draw your liner along the upper lash line, but instead of flicking up at the end, gently draw the line straight out or slightly down. Then, connect it to the lower lash line for a seamless finish.
- Best For: This ranks among the best eye makeup techniques for hooded eyes or individuals who desire a softer, more youthful appearance.
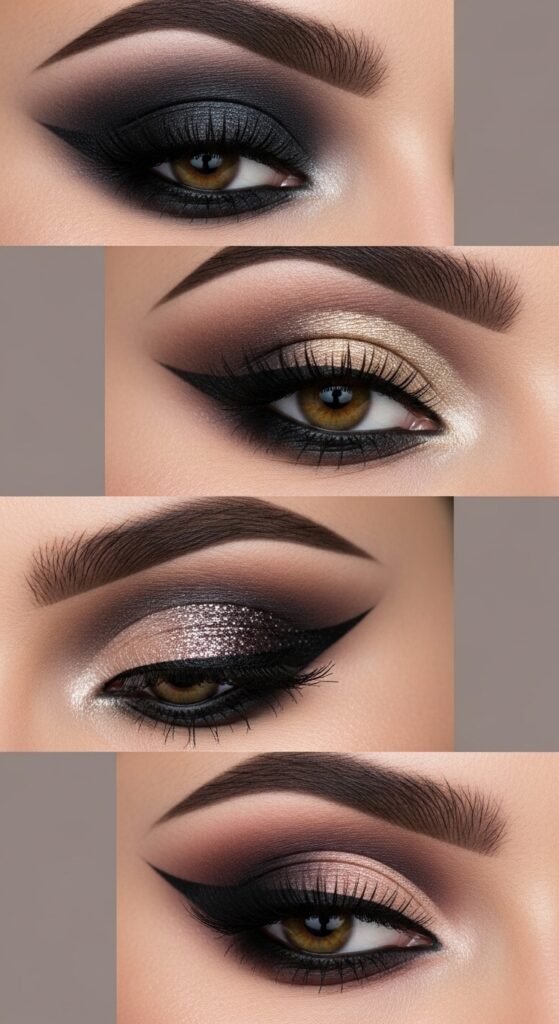
Creating the Halo Eye Effect
This is one of the most flattering eyeshadow techniques for round eyes or close-set eyes. The halo eye creates beautiful dimension using contrasting light and dark.
- The Concept: The lid is divided into three distinct parts. The inner and outer corners receive dark shadow, while the center of the lid features light, shimmery product.
- How To: Apply your dark shade to the inner V and outer V areas. Then, using your finger, seriously, fingers work best for shimmers, pat a metallic shade right in the center of your lid. This placement catches light beautifully, making your eyes appear wider and brighter.
Perfecting the Cut Crease
This technique creates the illusion of a perfectly defined, deep-set crease. While it is dramatic, the results are stunning and well worth the effort. The cut crease remains a favorite among makeup enthusiasts.
- Step One: Apply a transition shade in the crease to establish dimension.
- Step Two: Using a flat brush and concealer, carve out a clean line right above your natural crease.
- Step Three: Pack a bright shimmer or matte shadow onto the mobile lid, applying it right up to that concealer line for maximum impact.
- Note: This technique requires patience and a steady hand, but the definition it provides is truly unmatched.
Trying the Floating Crease Look
This is a variation of the cut crease, but the “cut” is placed much higher, usually on the brow bone area. It creates a round, wide-eyed effect reminiscent of Twiggy and the 1960s era. It is a fun eye makeup idea for editorial shoots or themed parties where you want to make a statement.
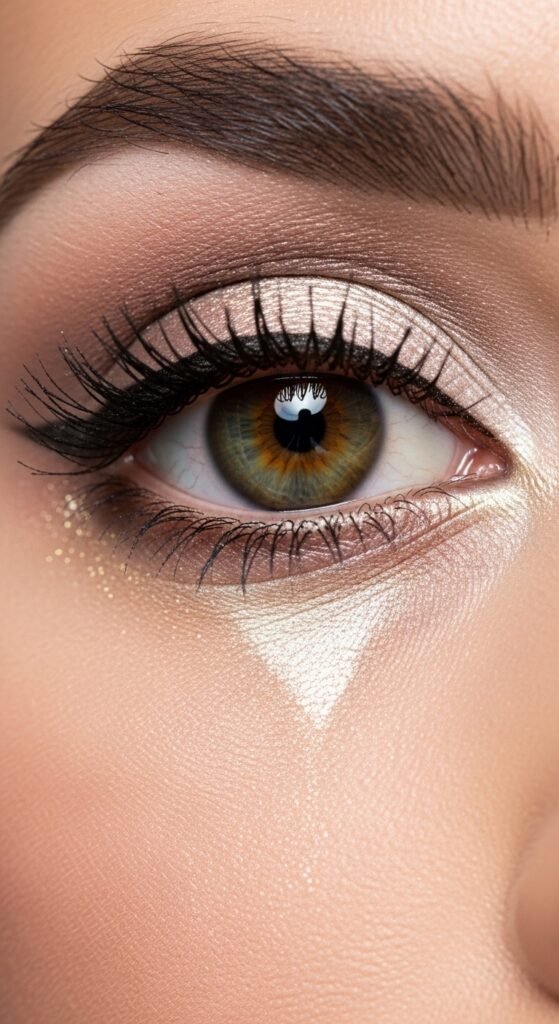
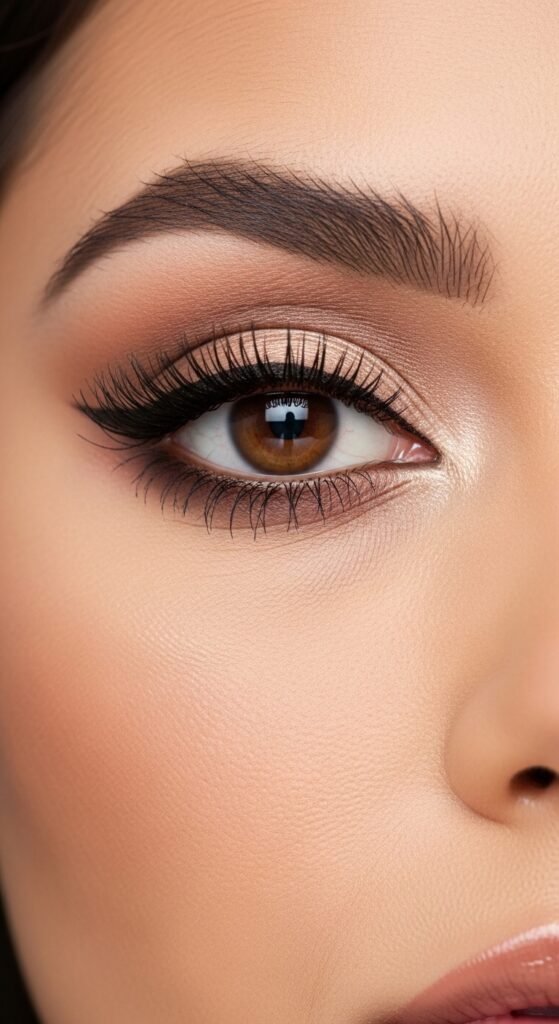
Adding an Inner Corner Pop
You do not need a full face of makeup to look awake and refreshed. Simply take a small pencil brush, dip it into a champagne or white shimmer, and apply it to the inner corner of your eye. This quick trick enhances any eye makeup looks.
- The Result: This action instantly makes you appear more awake, brightens the entire eye area, and takes merely two seconds to complete. It is a non-negotiable step for me whenever I am feeling particularly tired.
Executing the Under-Eye Smoky Liner
Sometimes, placing shadow under the eye creates more impact than focusing exclusively on the lid. This technique adds drama to your 19 eye makeup techniques ideas repertoire.
- How To: Using a small, firm brush, such as a pencil brush, smudge a dark shadow along the outer half of your lower lash line.
- Tip: Connect this shadow to the top liner at the outer corner. This technique frames the eye completely. For a softer look, use brown instead of black for a more subtle effect.
Part Three: Color Theory and Texture Application
Understanding how color works and how to manipulate texture can truly revolutionize your eyeshadow techniques and elevate your entire makeup game. These advanced 19 eye makeup techniques ideas will expand your creative possibilities.
Applying Complementary Colors
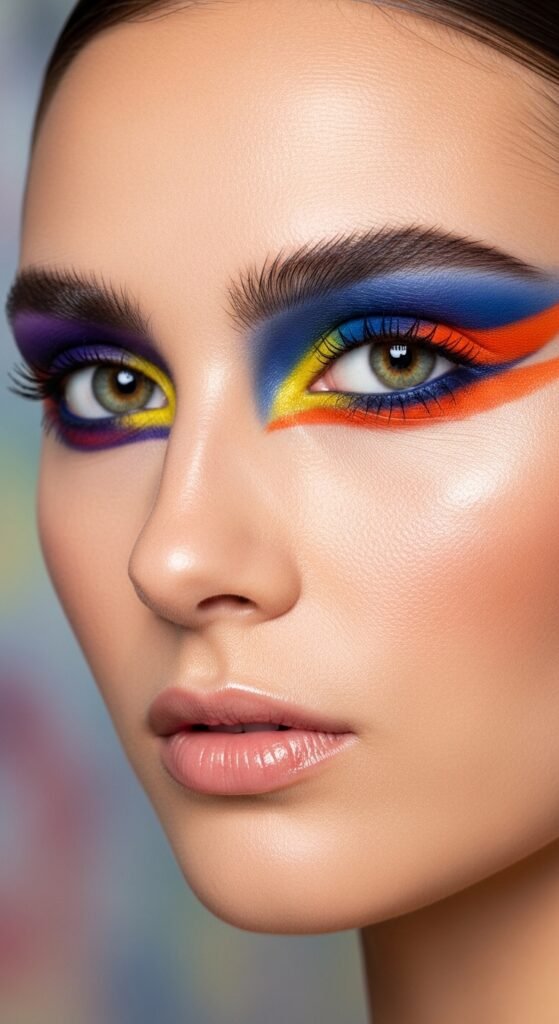
If you want your eye color to pop dramatically, use colors that sit opposite them on the color wheel. Understanding complementary colors is essential for impactful makeup.
- Blue Eyes: Reach for copper, orange, and warm terracotta shades.
- Green Eyes: Choose burgundy, plum, and mauve tones.
- Brown Eyes: You can wear almost everything, but blues, purples, and vibrant golds are particularly striking.
- Technique: Place the complementary color on the center of the lid or smudged along the lower lash line to make your iris color shine with intensity.
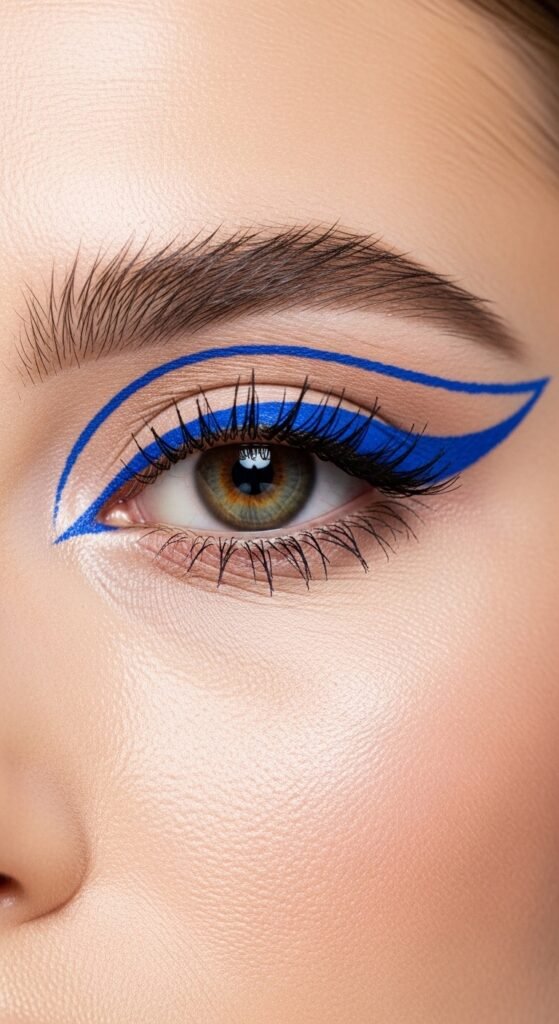
Mastering Wet Lining with Shadow
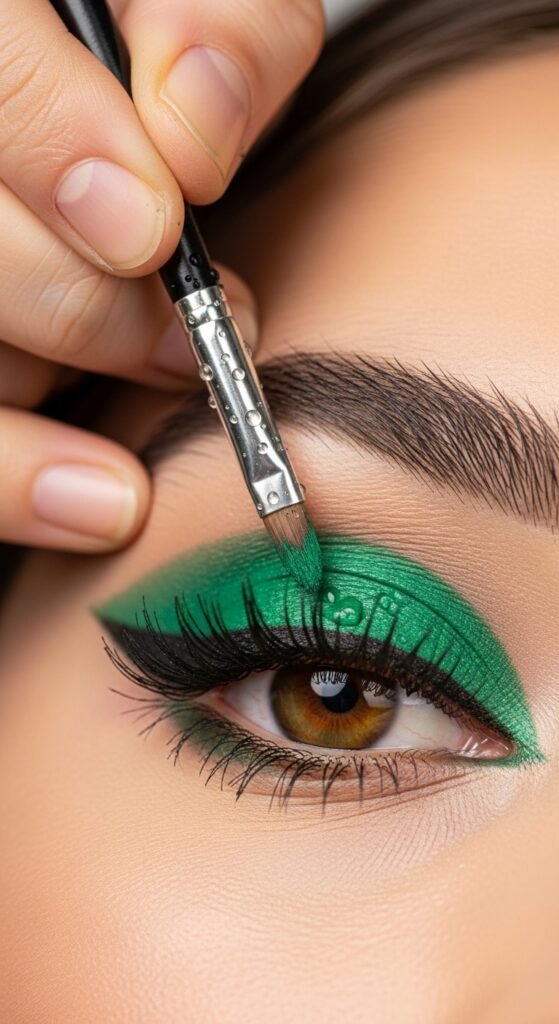
If you desire a vibrant liner but lack the matching pencil color, you can easily use your eyeshadow as a substitute. This clever hack expands your eye makeup ideas without requiring new products.
- How To: Spray a flat angled brush with setting spray or simple water. Dip it into a bright pigment, such as a vivid blue or green.
- Benefit: This method transforms any powder into a vibrant, long-lasting liquid liner. It is a budget-friendly way to expand your eye makeup ideas collection without purchasing additional products.
Creating the Siren Eye
This is the modern, edgy cousin of the classic smoky eye. It focuses specifically on elongating the eye horizontally for a dramatic effect. The siren eye has gained popularity recently for good reason.
- Technique: The liner and shadow are pulled outwards and slightly upwards, but the overall shape is longer and sharper than a puppy eye. This look focuses heavily on lining the inner corner, the tear duct area, to create an almond, feline appearance that captivates attention.
Mixing Matte Versus Shimmer Textures
A common mistake among makeup enthusiasts involves using all mattes or all shimmers in a single look. Balancing textures is key to professional eyeshadow techniques.
- The Golden Rule: Use mattes in the crease to create depth and recession. Use shimmers on the lid to bring that area forward and catch light.
- Why It Matters: Matte shades absorb light to create convincing shadows, ideal for creases. Meanwhile, shimmers reflect light to highlight key areas such as lids and brow bones. Balancing them creates an essential dimension and professional polish.
Part Four: Advanced Finishing Techniques and Tools
These final techniques serve as the “chef’s kiss” that completes any eye look with finesse and precision. Mastering these 19 eye makeup techniques ideas will set you apart.
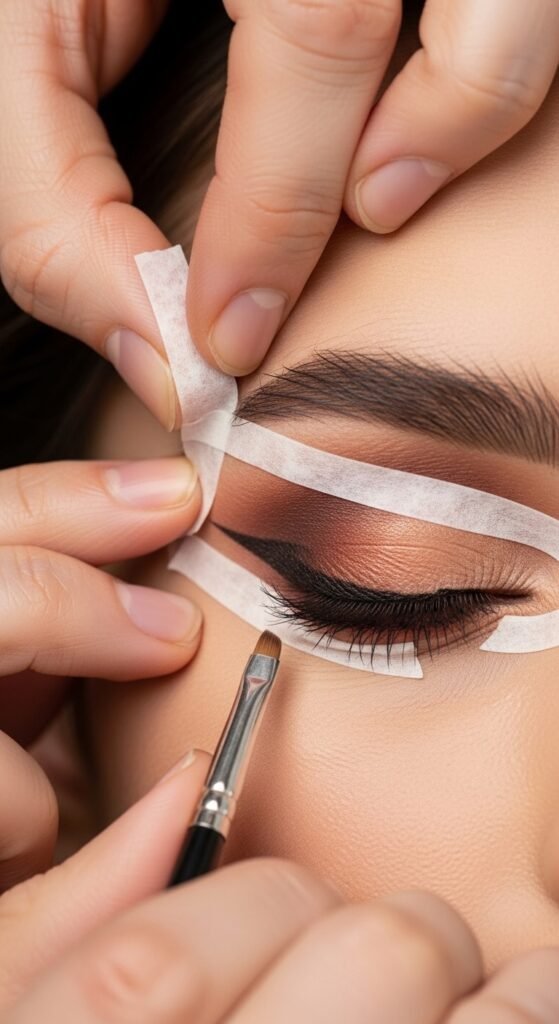
Using the Tape Trick for Sharp Lines
If you struggle with uneven wings or shadow fallout, using tape can be a game-changer. This simple hack ensures professional results every time.
- How To: Place a small piece of Scotch tape from the outer corner of your eye angled toward your temple. Press it down lightly. Apply your shadow and liner, blending right up to the edge of the tape.
- Result: When you peel the tape off, you are left with a razor-sharp, clean line. This is the best hack for achieving those perfect eye makeup looks you admire on social media platforms.
Applying Brow Bone Highlight
After completing your eye look, take a small fluffy brush with a matte or satin off-white shadow for the finishing touch. Proper brow bone highlight elevates any look.
- Placement: Apply the shadow directly under the arch of your eyebrow.
- Effect: This technique lifts the brow visually and cleans up the edge of your eyeshadow application. It effectively separates the eye makeup from the brow, making everything appear tidy and intentional.
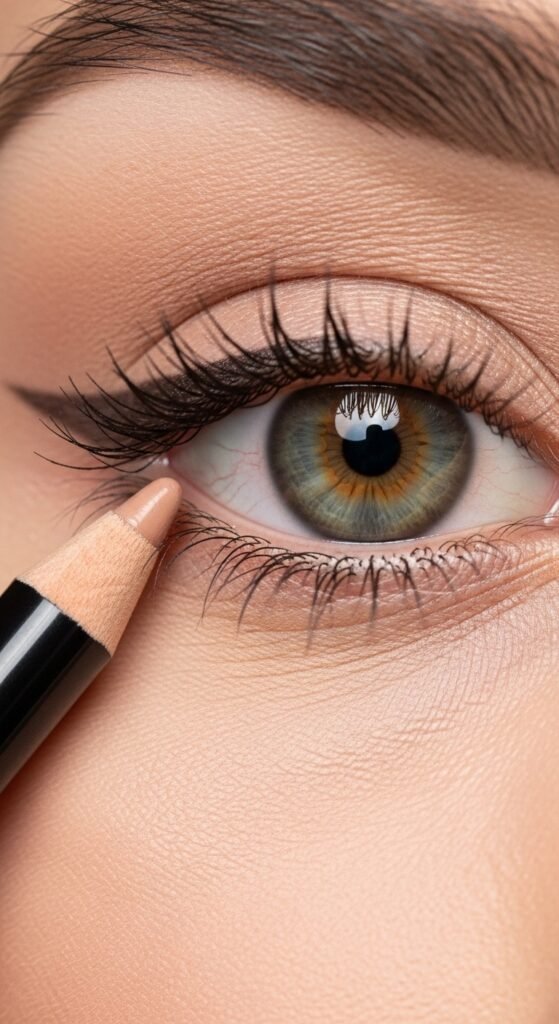
Perfecting the Waterline Tightline
We covered the upper waterline earlier, but do not neglect the lower waterline, it deserves equal attention. Mastering the waterline completes your 19 eye makeup techniques ideas.
- Flesh-Toned Pencil: Applying a nude or white pencil to the lower waterline makes your eyes appear huge and awake. It is the secret behind that coveted “model off-duty” aesthetic.
- Black Pencil: Applying black to the lower waterline makes your lashes appear thicker and gives a grungier, more intense look. This technique slightly closes the eye, making it excellent for creating intimacy or drama in your overall appearance.
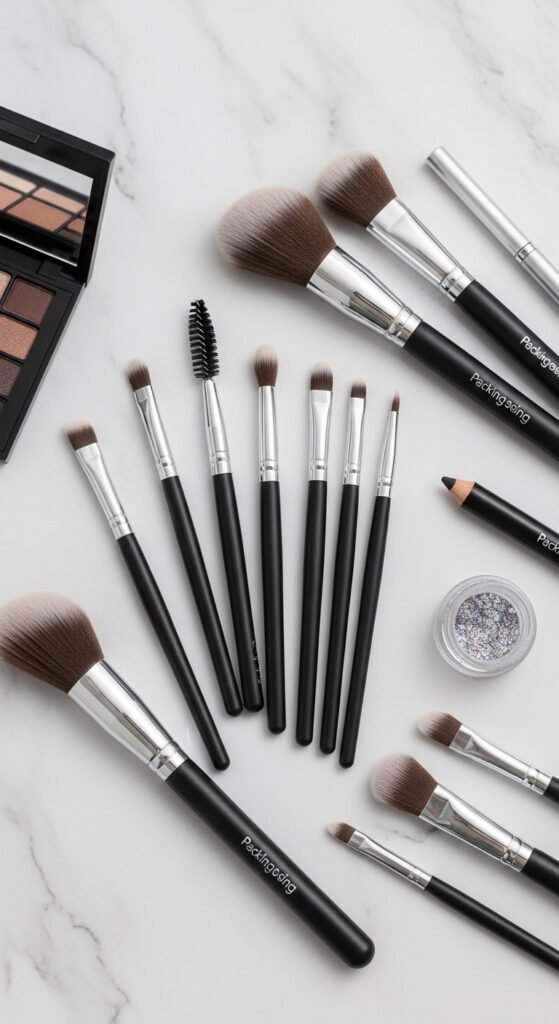
Why Quality Makeup Brushes Matter
As we have journeyed through these nineteen techniques, you might have noticed a recurring theme: the brush matters significantly. You cannot successfully carve a cut crease with a fluffy brush, and you cannot properly blend a transition shade with a flat brush. Investing in quality makeup brushes is essential.
If you are currently using the tiny sponge-tip applicators that come with drugstore palettes, you are unfortunately limiting yourself. Sponge applicators can pack color adequately, but they do not blend effectively. They simply move color around without creating seamless transitions.
This is where you arrive at the crossroads of your makeup journey.
You have now learned the theory. You understand how to create a halo eye, a smoky eye, and a puppy liner with confidence. However, you now need the tools to execute these techniques properly. If you attempt these 19 eye makeup techniques ideas with low-quality, chalky shadows, you will constantly fight against the product. It will not blend smoothly; it will simply fall onto your cheeks in frustration.
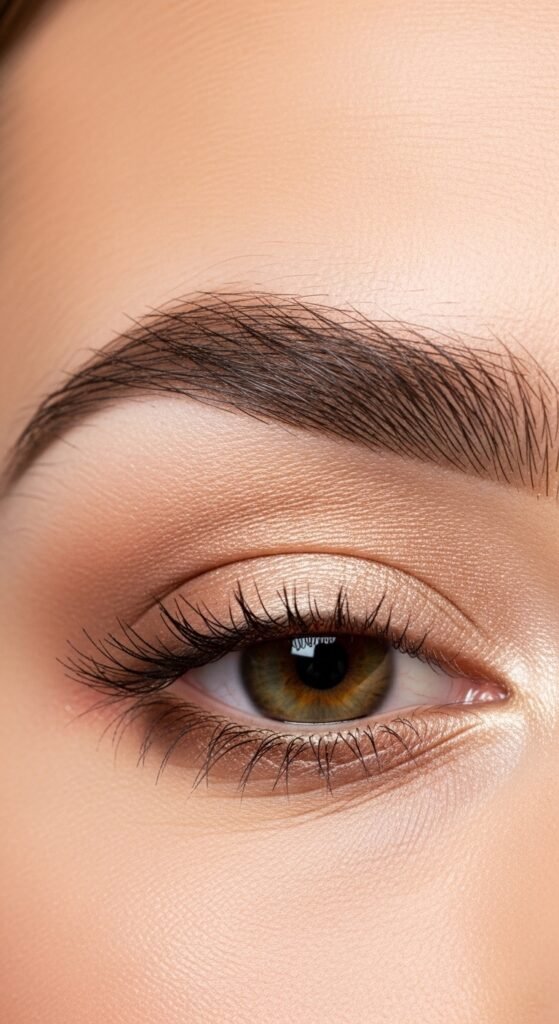
Achieving Natural Makeup Looks

Sometimes, the goal is enhancement rather than transformation. Natural makeup looks require just as much skill as dramatic looks, if not more. These 19 eye makeup techniques ideas include subtle approaches for everyday wear.
For natural makeup, focus on:
- Using matte neutrals close to your skin tone
- Applying minimal product and building gradually
- Prioritizing tightlining over obvious eyeliner
- Adding just a touch of inner corner highlight
- Keeping lower lash line shadow very soft and minimal
The beauty of natural makeup lies in its versatility. You can wear these looks anywhere, from the office to brunch with friends, and always look polished without appearing overdone.
Time to Invest in Your Beauty Arsenal
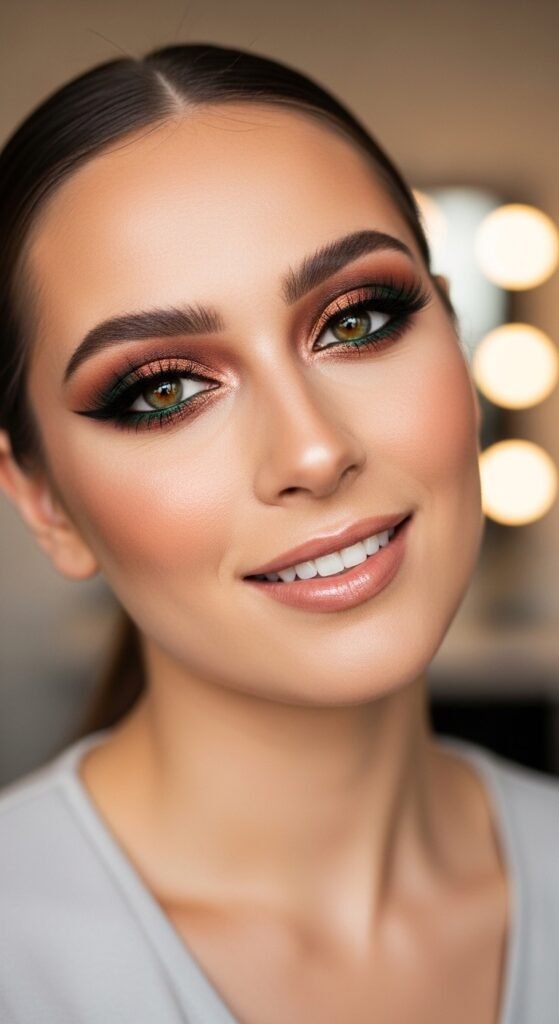
I want you to imagine waking up for a significant event, perhaps a wedding, a job interview, or an important date night. You sit at your vanity, and you have a high-quality palette resting before you. The shadows feel buttery to the touch. The shimmers appear almost like liquid metal in their intensity. You pick up your brush, and as you apply the transition shade, it melts into your skin like a dream.
You attempt the outer V technique, and the dark shadow diffuses perfectly, granting you that sultry definition without any muddy patches or unevenness. You finish with a touch of shimmer on the inner corner, and your eyes genuinely sparkle. You do not look in the mirror and see merely “makeup.” You see the best version of yourself looking back.
That is the exact experience we want for you.
By now, you understand that mastering these 19 eye makeup techniques ideas involves a combination of fifty percent skill and fifty percent product quality. You would not attempt to paint a masterpiece with cheap, dried-out brushes, and you should not paint your face that way either.
Confidence in Every Application
The products we recommend, and the ones we offer, are curated specifically for blendability and pigmentation. Whether you are searching for a neutral palette for everyday eye makeup looks or a vibrant collection for experimental artistry, we possess the tools to bring your creative vision to life.
We believe firmly that makeup should be fun, not frustrating. We want you to approach your beauty routine with the confidence that:
- Quality shadows blend effortlessly: You will experience no more tugging, patchiness, or frustration during application.
- Pigmented formulas last all day: You can forget about constant touch-ups and enjoy your look from morning until night.
- Professional brushes are designed for specific techniques: From the fluffiest blending brush to the most precise liner brush, every tool serves a distinct purpose.
You are ready to level up. You have completed the hard part, you have learned the skills. Now, treat yourself to the products that respect those skills and allow them to shine.
Final Thoughts on Your Makeup Journey
Makeup is ultimately a form of self-expression. These 19 eye makeup techniques ideas represent different words in your vocabulary. Some days, you might want to whisper with a natural wash of color that enhances without overwhelming. Other days, you might want to shout with a dramatic cut crease that commands attention.
I encourage you to practice one new technique this week. Do not worry about achieving perfection on your first attempt. Sit with your palette, put on some music, and simply play. The beauty of makeup lies in the fact that it washes off at the end of the day, but the confidence you gain from mastering a new skill lasts forever.
So, go ahead. Explore your creativity. Pick the palette that speaks to your soul, grab those brushes, and create something beautiful. You possess the knowledge. Now, go claim the power.


[…] 19 Eye Makeup Techniques Ideas A Comprehensive Guide to Mastering Your Eye Looks […]
[…] 19 Eye Makeup Techniques Ideas A Comprehensive Guide to Mastering Your Eye Looks […]