There’s a certain magic to waking up, looking in the mirror, and feeling like the best version of yourself without a heavy mask of products. For years, I felt like I had to choose between wearing a full face of makeup or looking tired and washed out. I remember one specific morning rushing to a coffee date, armed with my usual foundation, concealer, and setting spray. Halfway there, I spilled coffee on my white shirt. With no time to go back home, I had to rethink my entire look in the car. I ended up wiping everything off and just using a tinted lip balm and mascara. When my friend saw me, she said, “Wow, you look so fresh today! What did you do differently?” That was my lightbulb moment. 20 Simple Makeup Natural Ideas isn’t about doing less; it’s about doing it smarter.
Natural makeup is the art of enhancing what you already have rather than covering it up. It’s about achieving that coveted “my skin but better” look. Whether you are a busy professional, a new mom, or someone who just wants to simplify their routine, these 20 ideas will help you master the no-makeup makeup look effortlessly.
Natural Makeup Routine: The Philosophy Behind Effortless Beauty
Before we dive into the specific ideas, let’s talk about the mindset. Natural makeup ideas aren’t about achieving perfection; they are about achieving harmony. The goal is to let your real skin breathe while strategically placing product where it counts. Consequently, you save time in the morning and feel more comfortable in your own skin throughout the day.
Why Adopt an Everyday Makeup Routine?
- Speed: A natural routine rarely takes more than 10 minutes.
- Skin Health: Using fewer, lighter products reduces the risk of clogged pores.
- Confidence: It helps you fall in love with your natural features.
Clean Beauty Look: Preparation is Everything
You cannot achieve a stunning natural makeup look on dehydrated, flaky skin. The first step in our journey isn’t actually makeup at all; it’s skincare. Embracing a clean beauty look starts with what’s underneath.
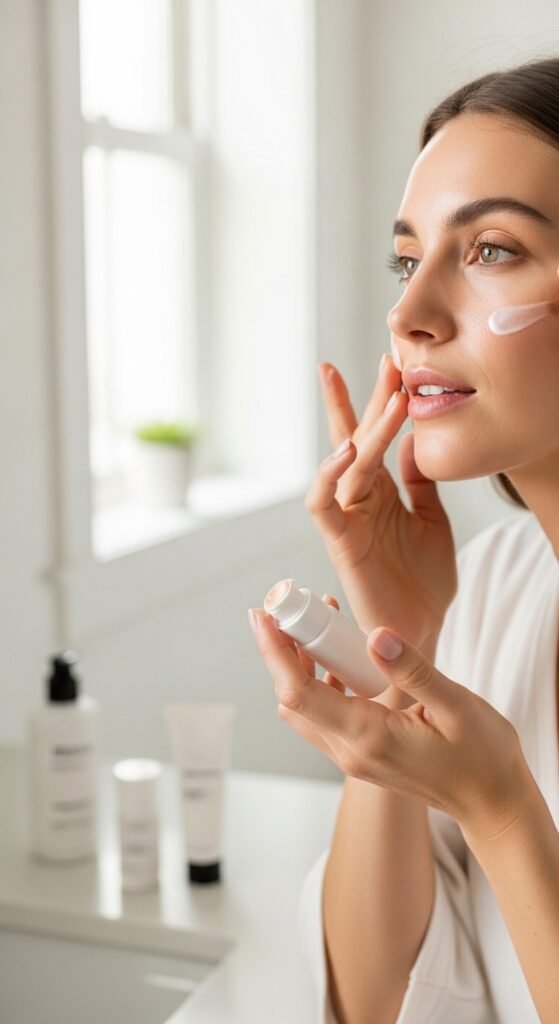
Idea #1: The “Glass Skin” Prep
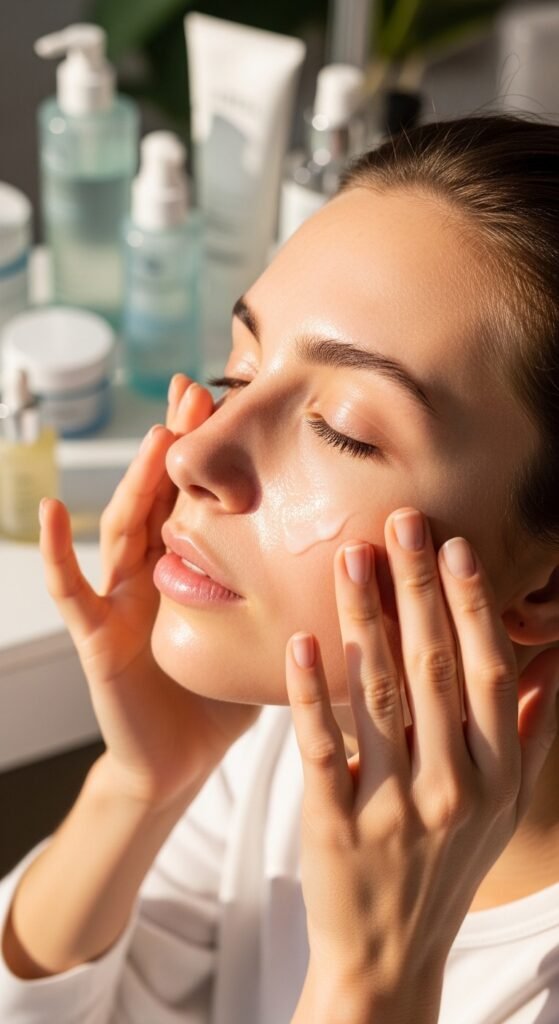
Before any product touches your face, you must hydrate. I learned this the hard way when my “light coverage” foundation clung to dry patches I didn’t even know I had.
- Step-by-Step:
- Start with a gentle, clean face.
- Apply a hydrating toner or essence while your skin is still damp.
- Use a lightweight moisturizer suitable for your skin type.
- Don’t forget the lips! Apply a lip balm now so it sinks in while you do the rest of your face.
- Wait 2 minutes for everything to absorb. This step ensures your makeup glides on, not drags.
Idea #2: Sunscreen as a Base
Sunscreen is non-negotiable. However, modern sunscreens double as incredible primers. Look for sunscreens that leave a dewy, not greasy finish. Many Korean sunscreens, for example, feel like luxurious moisturizers. This protects your skin and gives you that lit-from-within glow that is the foundation of any natural makeup routine.
Fresh Face Makeup: Building Your Flawless Base
The heaviest part of traditional makeup is usually the foundation. For a fresh face makeup aesthetic, we are going to strip that back entirely.
Idea #3: Tinted Moisturizer or Skin Tint
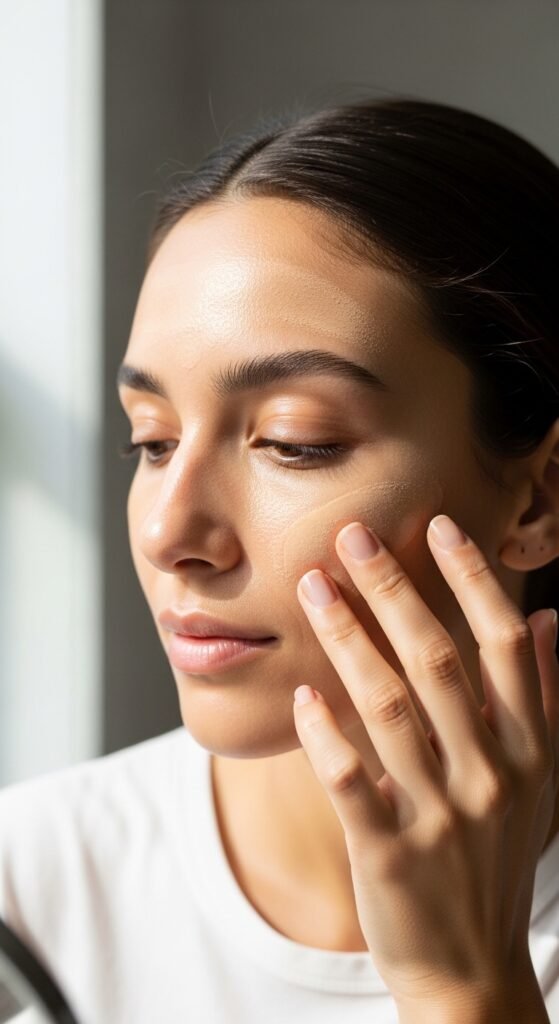
Ditch the full-coverage foundation. A tinted moisturizer or skin tint is your best friend.
- Why it works: It evens out redness without hiding your freckles or skin texture.
- Application Tip: Use your fingers. The heat from your hands helps the product melt into the skin better than a sponge or brush. Apply it like you’re applying a rich moisturizer, focusing on the center of the face and blending outward.
Idea #4: Spot Concealing (The “Only Where Needed” Method)
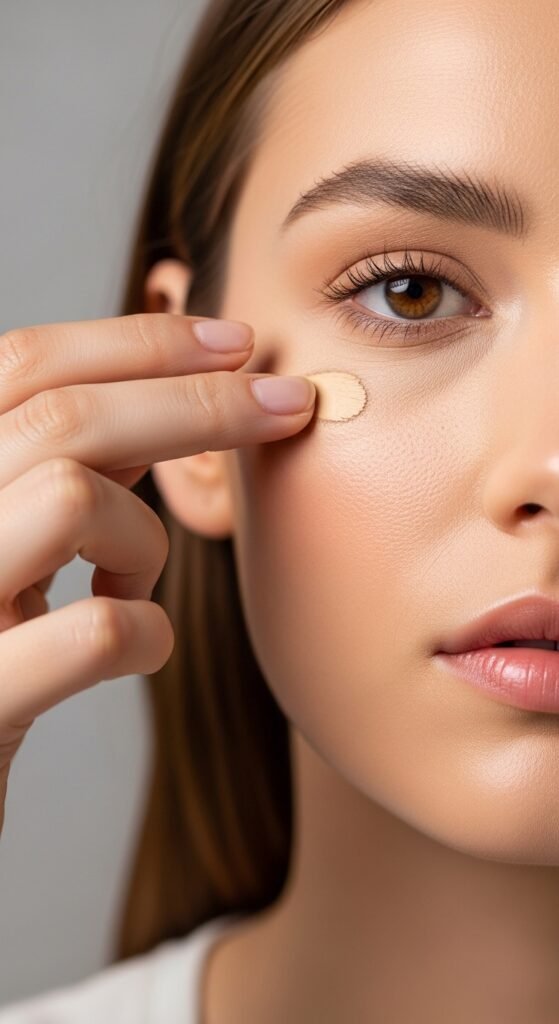
Instead of spreading concealer under your whole eye or all over your nose, become a spot-treating ninja.
- The Anecdote: My sister used to apply concealer in triangles under her eyes, convinced it brightened her face. In reality, it looked cakey. I taught her to only apply it to the inner corner of the eye (where it’s darkest) and on any blemishes. The result? She looked like she had naturally perfect skin.
- Step-by-Step:
- Take a tiny amount of concealer on a small brush or your fingertip.
- Dab it ONLY on the red part of a blemish or the inner tear duct.
- Pat, pat, pat. Never rub. Let it dry down naturally.
| See Also |
| 20 Pale Brunette Makeup Ideas Embrace Your Unique Beauty with Confidence |
| 15 No Mascara Makeup Ideas You’ll Absolutely Love |
Idea #5: The “JLo” Glow with Liquid Highlighter
You don’t need powder highlighter for a natural look. Liquid or cream highlighters mimic the look of hydrated, healthy skin.
- Placement: Mix a tiny drop with your tinted moisturizer and apply it to the high points of your cheeks, the bridge of your nose, and just above your cupid’s bow.
- Result: You look dewy, not glittery.
Easy Makeup Ideas: Streamlined Techniques That Work
When you’re short on time, you need easy makeup ideas that deliver maximum impact with minimum effort. These techniques are designed for speed and simplicity.
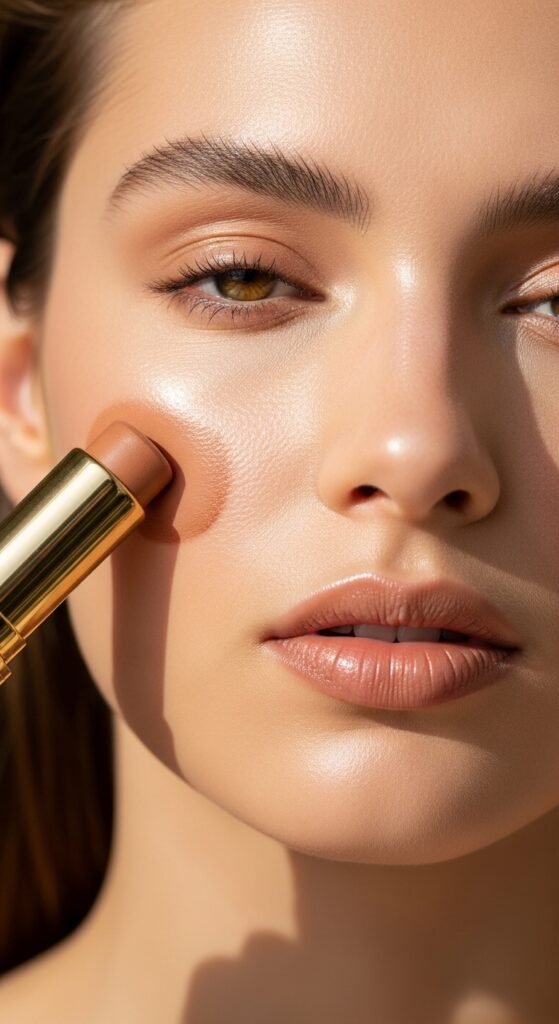
Idea #6: Cream Bronzer for Warmth
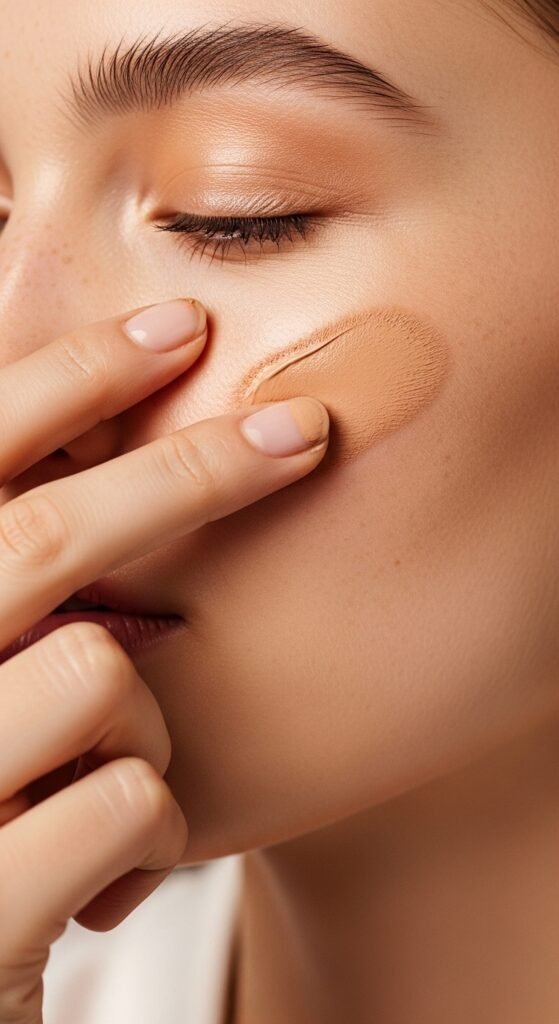
Powder bronzer can sometimes sit on top of the skin and look dusty. A cream bronzer melts in and looks like a real tan.
- Step-by-Step:
- Smile to find the apples of your cheeks.
- Apply the bronzer starting at the ear, sweeping inward along the cheekbone, but stopping before you reach the apple of your cheek.
- Blend downward. Never blend up into the under-eye area.
Idea #7: Multi-Stick Magic
Look for products labeled as “multi-sticks.” These are usually cream-based and can be used on cheeks, lips, and even eyes.
- Efficiency: Using one product for multiple areas ties your whole look together. A peachy-pink cream on your cheeks and lips creates a monochromatic, harmonious look that screams “I woke up like this.”
Minimal Makeup Tips: Enhancing Your Eyes Without Eyeshadow
Eyes can be the most intimidating part of natural makeup. We often think we need four shades of eyeshadow to look put together. We don’t. These minimal makeup tips will change your perspective.
Idea #8: The Lash Curl Revolution

If you do nothing else, curl your lashes. This single step opens up your entire eye area.
- The Trick: Warm the curler with your hairdryer for a few seconds (test it on your hand first to ensure it’s not too hot!). Curling warm lashes holds the curl much longer.
Idea #9: Brown Mascara Over Black
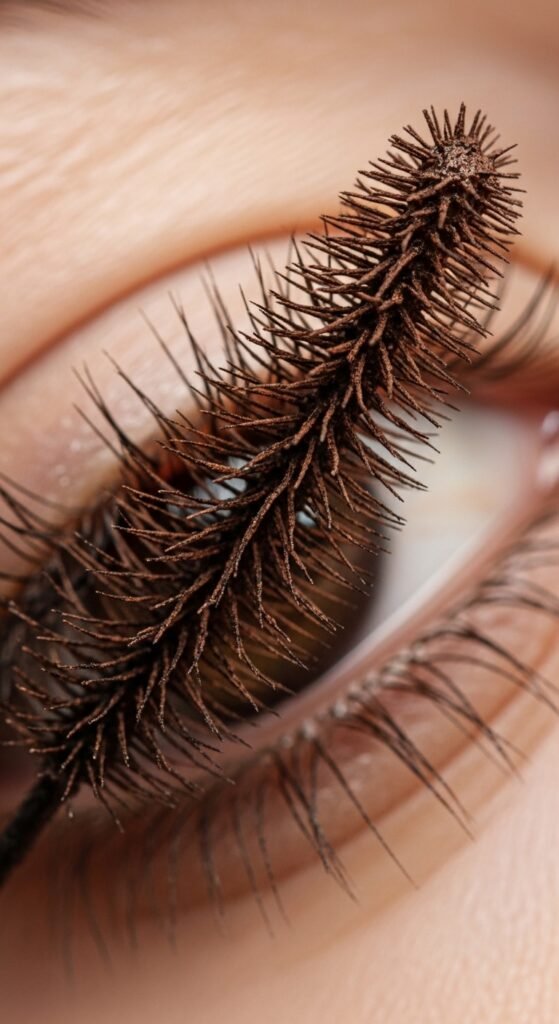
Black mascara can sometimes look harsh on fair skin or for a daytime natural look. Brown mascara defines the lashes without the severity.
- Application: Wiggle the wand at the base of the lashes and pull through. Focus on the outer lashes to create a subtle cat-eye effect without the liner.
Idea #10: Tightlining (The Invisible Liner)
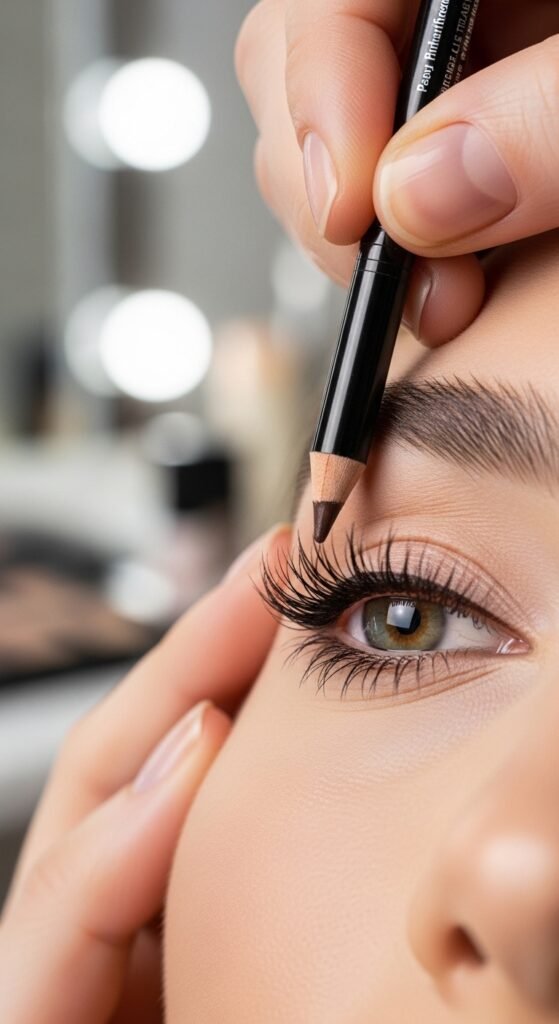
This is a game-changer. Tightlining is the act of lining the upper waterline (the rim where your lashes grow from).
- Why: It makes your lashes look instantly thicker and fuller.
- How: Use a waterproof, soft pencil. Gently lift your chin and look down into a mirror. Dot the pencil into the base of the lashes. It feels weird at first, but the effect is amazing.
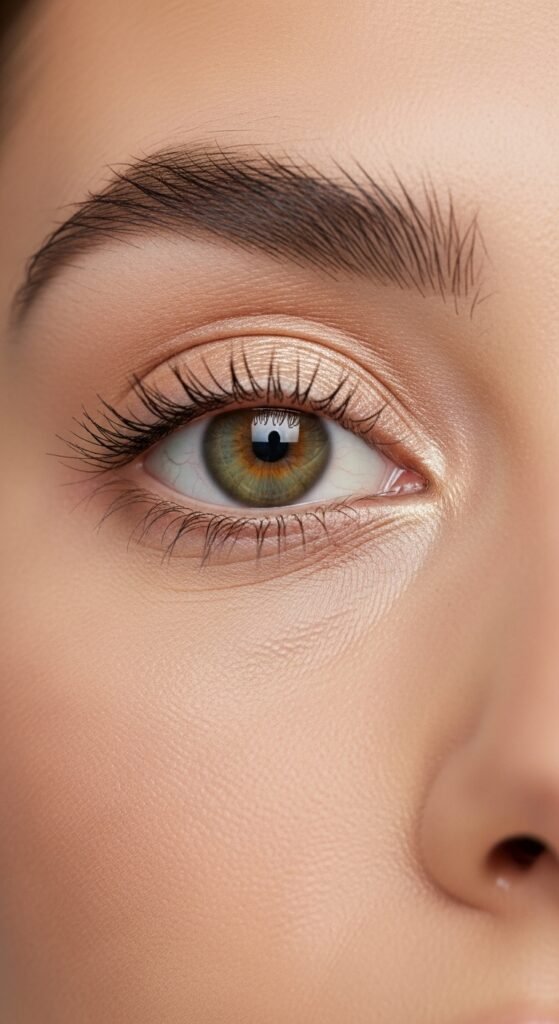
Idea #11: Groomed Brows Over Drawn Brows
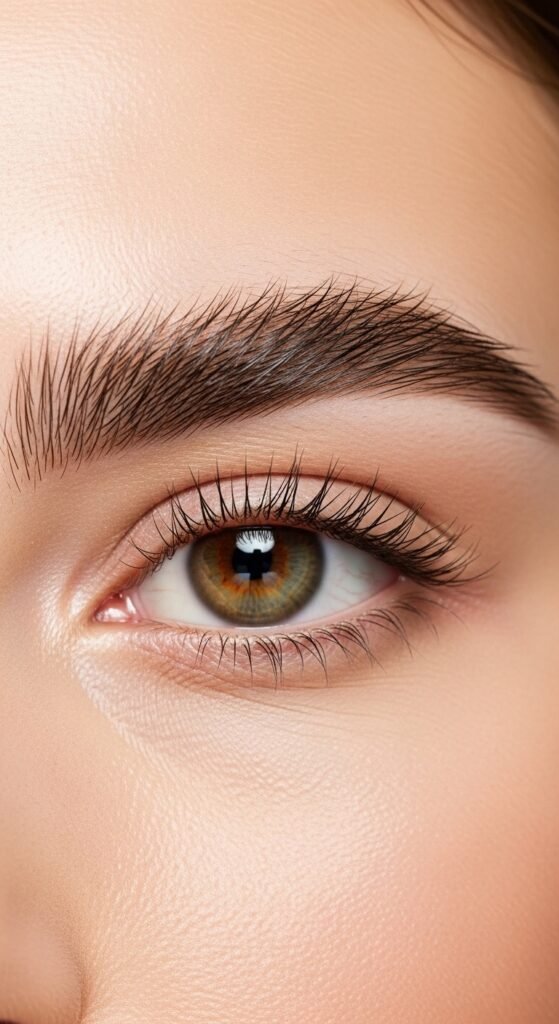
Forget the heavy, Instagram “block” brows. Natural makeup calls for feathery, groomed brows.
- Step-by-Step:
- Brush your brows upward with a spoolie.
- Use a tinted brow gel. This deposits a little color and holds the hairs in place.
- If you have sparse areas, use a fine-tipped pencil to draw tiny hair-like strokes, not solid lines. Fill in only where necessary.
Idea #12: Cream Eyeshadow in Neutral Tones
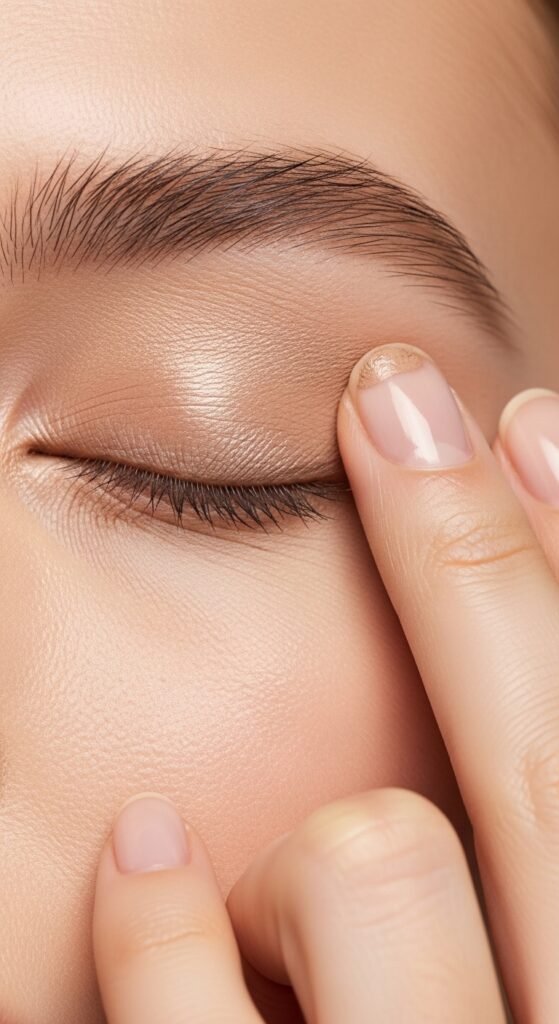
Powder shadows can settle into fine lines. A cream eyeshadow in a shade close to your skin tone (a “your lid but better” shade) adds dimension and smoothness.
- Application: Swipe it on with your ring finger. Tap it along the lid and blend up toward the crease slightly. It takes 10 seconds.
Idea #13: Inner Corner Highlight
Use the very tip of your pinky to dab a tiny bit of shimmery champagne or white shadow (or even a subtle highlighter) into the inner corner of your eyes.
- Effect: It instantly makes you look more awake and bright-eyed, perfect for those mornings after a late night.
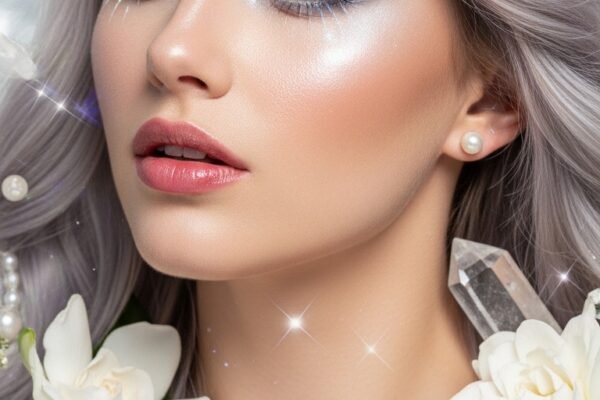
Glowy Makeup Look: Adding Life to Your Complexion
Blush brings life back into the face after you’ve applied base products. It’s the secret to a healthy glowy makeup look.
Idea #14: The “Pinched” Cheek with Cream Blush
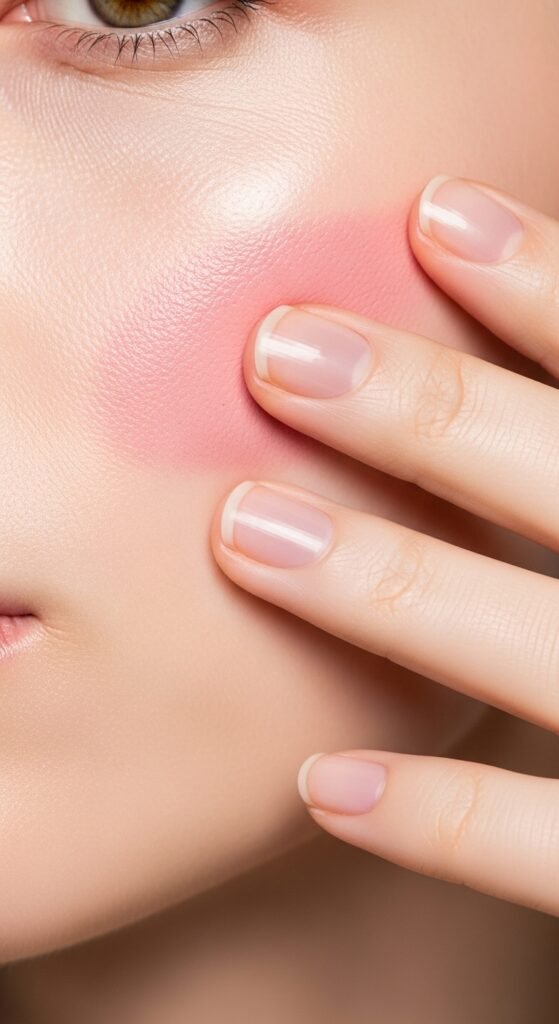
Cream blush is superior for a natural flush.
- Step-by-Step:
- Smile.
- Take a cream blush on two fingers.
- Pat it onto the apples of your cheeks and blend upward slightly toward your temples.
- Pull any excess product left on your fingers across the bridge of your nose. This mimics the natural flush you get after exercising.
Idea #15: Blush as Eyeshadow
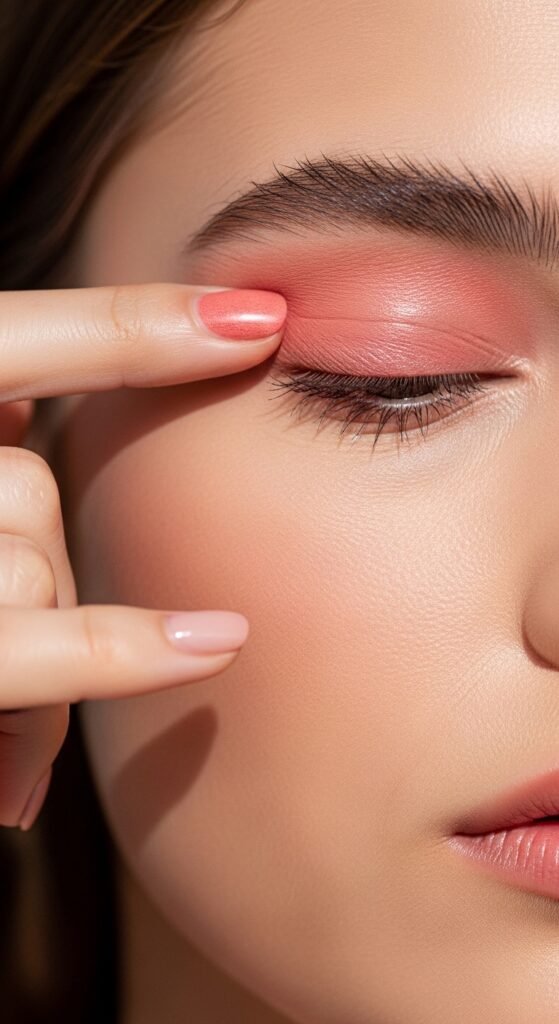
This is a lazy-girl hack. If you’re using a cream blush, sweep the excess from your cheeks onto your eyelids.
- Why: It creates a cohesive, monochromatic look. Your eyes and cheeks are connected by the same soft color, which looks incredibly natural and put-together.
Idea #16: Skip the Highlighter, Use Balm
If you don’t own a highlighter, don’t buy one. Use a lip balm or a clear brow gel.
- How: Dab a tiny amount of clear lip balm onto your cheekbones. It creates a wet, glossy look that is even more natural than powder highlight. Be careful not to use too much or it will get sticky.
Effortless Beauty Routine: Perfecting Your Pout
The lips are where many natural makeup routines go wrong by either over-lining or using drying matte formulas. Here’s how to incorporate lip care into your effortless beauty routine.
Idea #17: The “Bitten Lip” Stain
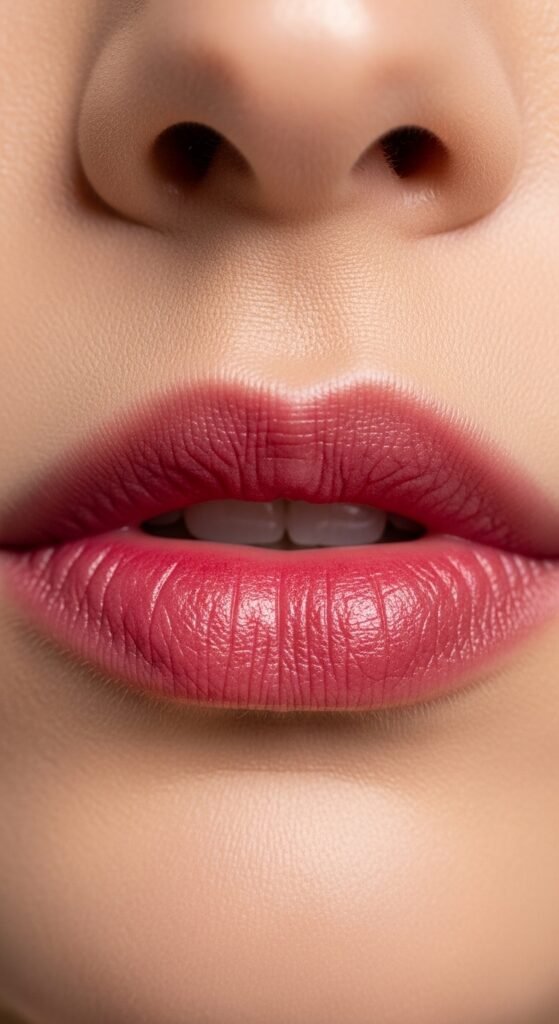
This is my favorite look for fall. It gives the illusion of a flushed, just-bitten lip.
- Step-by-Step:
- Apply a lip stain or a bright tinted balm to the center of your lips.
- Press your lips together to spread the color outward.
- Use your finger to pat and blur the edges so there is no harsh line. The color should be concentrated in the center and fade out toward the edges.
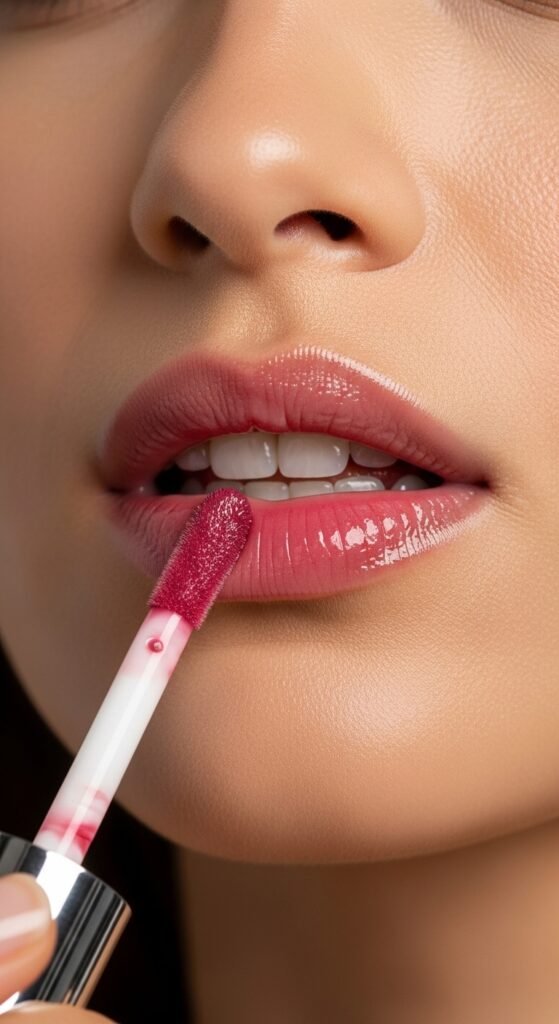
Idea #18: Lip Tint Under Balm
If matte lipsticks make your lips look dry and cracked, try this. Apply a wash of a water-based lip tint all over your lips. Let it set for a minute.
- Finish: Layer a clear, hydrating lip balm or gloss on top. You get the lasting power of the tint with the hydration of the balm. The color peeks through softly.
Idea #19: Exfoliate with a Washcloth
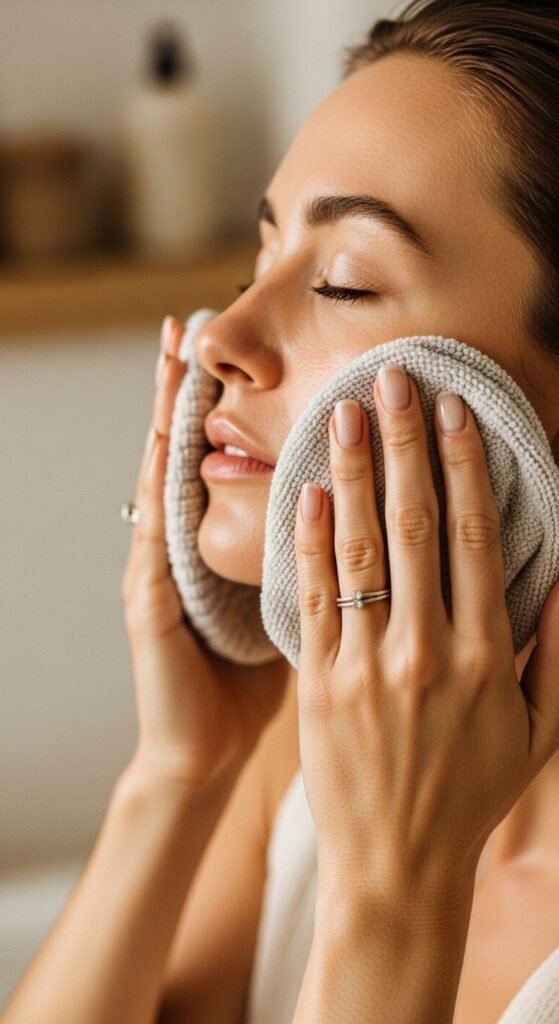
Forget harsh lip scrubs every day. For naturally smooth lips that reflect light well, simply wet a soft washcloth with warm water and gently rub your lips in circular motions for 30 seconds. This removes dead skin gently and preps them for any product.
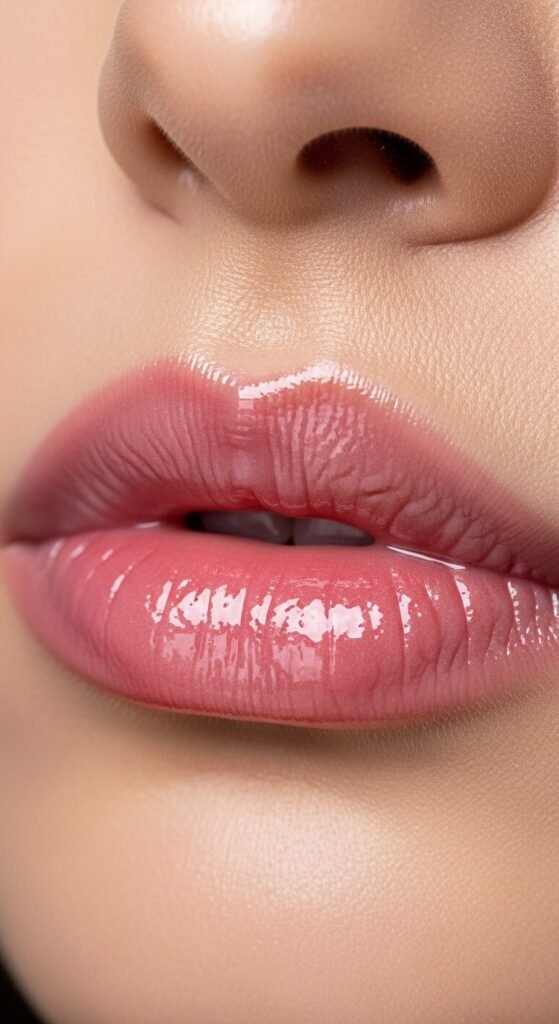
Idea #20: Tinted Lip Oil
The newest trend in natural makeup is lip oil. These are thinner than gloss but more hydrating than balm. They give a high-shine, non-sticky finish that feels like skincare. Choose a shade that is very close to your natural lip color for the most believable enhancement.
Simple Makeup Steps: Locking It All In
You’ve done the work, now you want it to last without looking heavy. These simple makeup steps will ensure longevity.
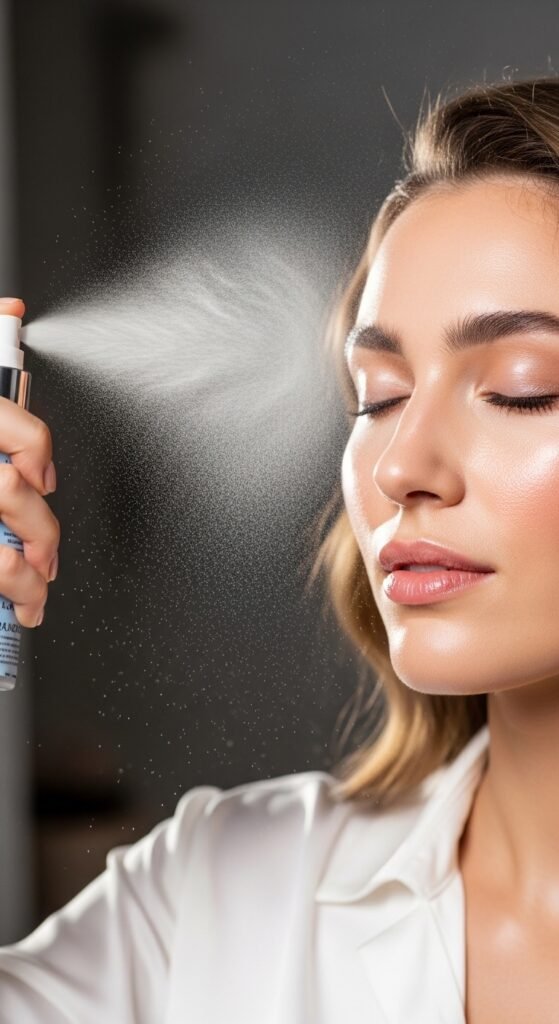
Setting Sprays vs. Powders
For truly natural makeup, try to avoid heavy powder if you can. Powder can mattify the skin and diminish your natural glow.
- If you have oily skin: Use a powder only on the t-zone (forehead, nose, chin) with a fluffy brush. Press the powder into the skin rather than sweeping it, which disturbs your base.
- For everyone else: A hydrating setting spray is your best bet. It melts all the layers of product together and takes away any powdery or cakey appearance. Hold the bottle at arm’s length and spray an “X” and “T” shape across your face.
Soft Makeup Tutorial: Common Pitfalls to Avoid

Even with the best intentions, we sometimes slip back into old habits. Here’s what to watch out for when following a soft makeup tutorial or aiming for a natural makeup aesthetic:
- Too Much Concealer: If you can see your concealer sitting in lines under your eyes, you’ve used too much. Use less and blend immediately.
- Mismatched Foundation: This is the biggest offender. If you use a skin tint, it must match your neck perfectly. Take the time to swatch along your jawline in natural light.
- Over-Powdering: Powder is a tool to control shine, not to change the texture of your skin. Use sparingly.
- Ignoring the Neck: Even with light coverage, blend, blend, blend down onto your neck so there’s no visible line.
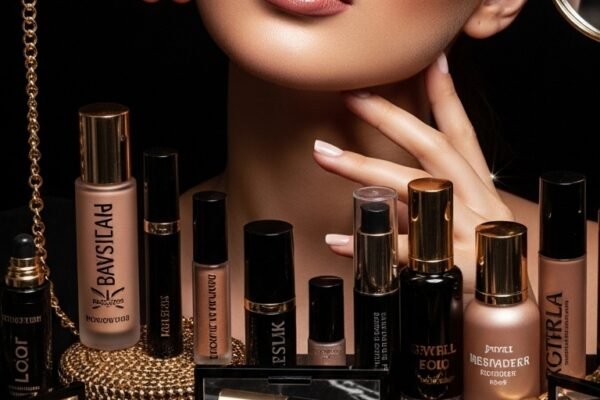
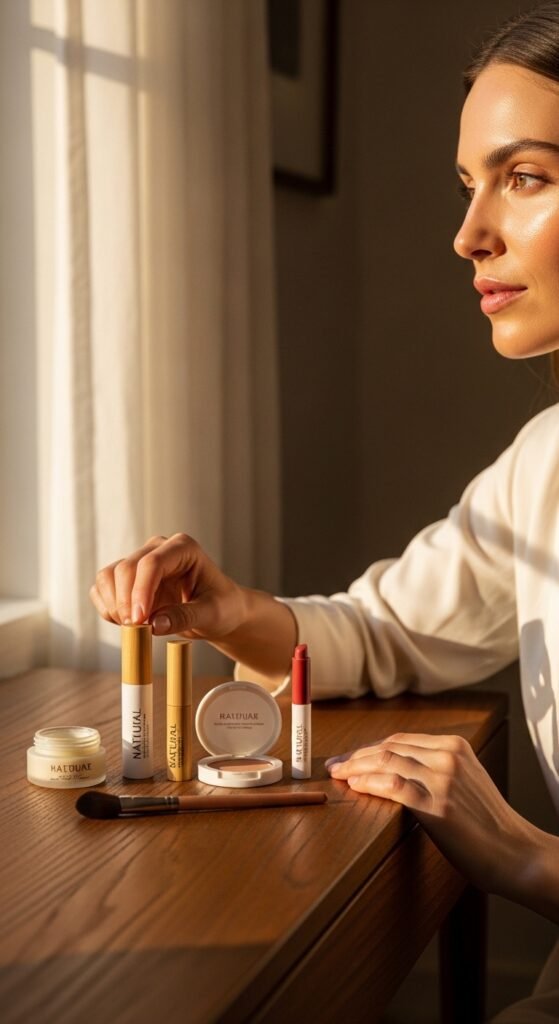
Building Your Everyday Makeup Routine Kit
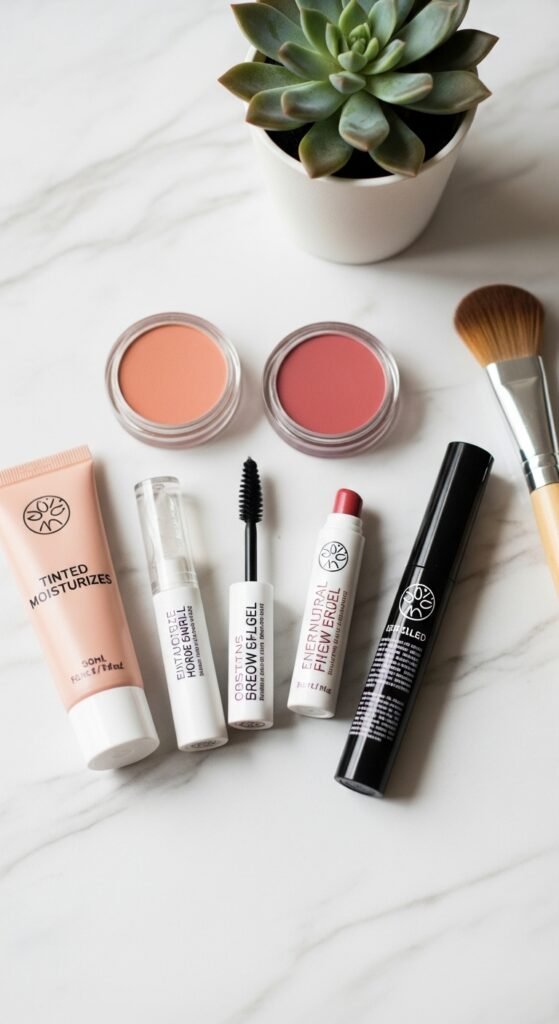
You don’t need a massive makeup bag to achieve these looks. In fact, minimalism helps. Here is a shopping list of essentials you should consider buying with confidence, knowing they are the building blocks of an everyday makeup routine.
- The Base: A tinted moisturizer or BB cream with SPF. Look for one that mentions “dewy” or “natural finish.”
- The Concealer: A hydrating, medium-coverage concealer. It should be creamy enough to blend easily with a fingertip.
- The Cheek Duo: A cream blush and a cream bronzer. These are the workhorses of your routine.
- The Eye Essentials: An eyelash curler, a brown mascara, and a tinted brow gel.
- The Lip Product: A tinted lip balm or lip oil. It’s the one product you’ll reapply most often, so make it a good one.
- The Tools: Your fingers are the best tools, but having a dense synthetic brush for cream products and a soft, fluffy brush for minimal powder is helpful.
Simple Makeup Steps: A Sample 5-Minute Routine

If you’re in a rush, here is how to combine these ideas into a super quick routine using simple makeup steps:
- Prep: Splash face with water, apply moisturizer with SPF. Put on lip balm.
- Base: Mix a drop of liquid highlighter with your tinted moisturizer. Rub between palms and press into skin.
- Complexion: Apply cream bronzer to cheeks and temples. Apply cream blush to apples of cheeks and blend.
- Eyes: Curl lashes. Apply one coat of brown mascara. Brush brows with tinted gel.
- Lips: Blot excess lip balm, apply a tinted lip oil.
- Set: One spritz of setting spray.
That’s it. You’re out the door looking fresh, radiant, and naturally beautiful.
Conclusion: Embrace Your Natural Beauty
Transitioning to a natural makeup routine is a journey of self-acceptance. It’s about looking in the mirror and seeing yourself, not a mask. The first time I left the house with just groomed brows, curled lashes, and a tinted balm, I felt exposed. But as the day went on, I forgot I was wearing anything at all. I touched my face and felt skin, not product. I ate lunch without worrying about lipstick on my teeth. By the end of the day, I was a convert.
These 20 Simple Makeup Natural Ideas are designed to give you the tools to enhance your unique features. Whether you choose to implement all of them or just one, the goal remains the same: to look like you, just a little more radiant. Remember, the most beautiful accessory you can wear is confidence, and nothing builds confidence quite like feeling comfortable in your own skin.
So, go ahead. Simplify your routine, invest in quality multi-purpose products, and let your natural beauty shine through. You are already beautiful; we’re just here to highlight it.