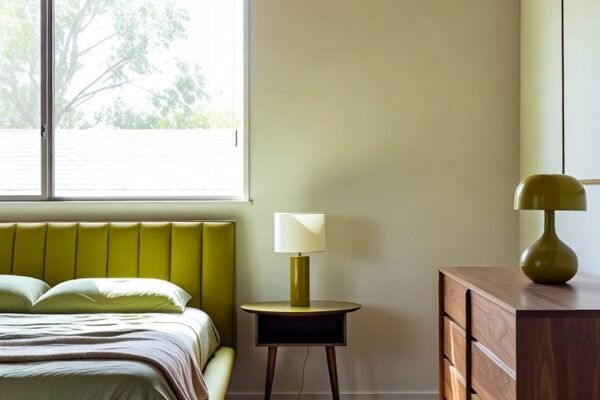
When my sister first found out she was expecting twins, she burst into tears of joy. That joy, however, quickly turned into panic when she looked around her two-bedroom city apartment. The spare room—the future 13 nursery room—was barely larger than a walk-in closet. It measured exactly 13 feet by 13 feet. She called me, voice trembling, asking, “How am I supposed to fit two cribs, a dresser, and a rocking chair in here without losing my mind?”
I remember standing in that empty, echoing space with her. The sunlight streamed through the single window, illuminating the beige walls. It felt cramped just standing there. But after three months of planning, building, and decorating, we turned that tight square into the most functional, cozy, and beautiful 13 nursery room on the block. In fact, it worked so well that her twins slept through the night by week eight.
If you are staring at a small spare bedroom right now, worried that you do not have enough square footage for your little one, take a deep breath. This guide is for you. I am going to walk you through every corner, every shelf, and every safety check of a 13 nursery room. By the end of this article, you will not just feel ready—you will feel confident enough to buy the perfect products without wasting a single dollar or square inch.
Why the 13×13 Size is the Magic Number
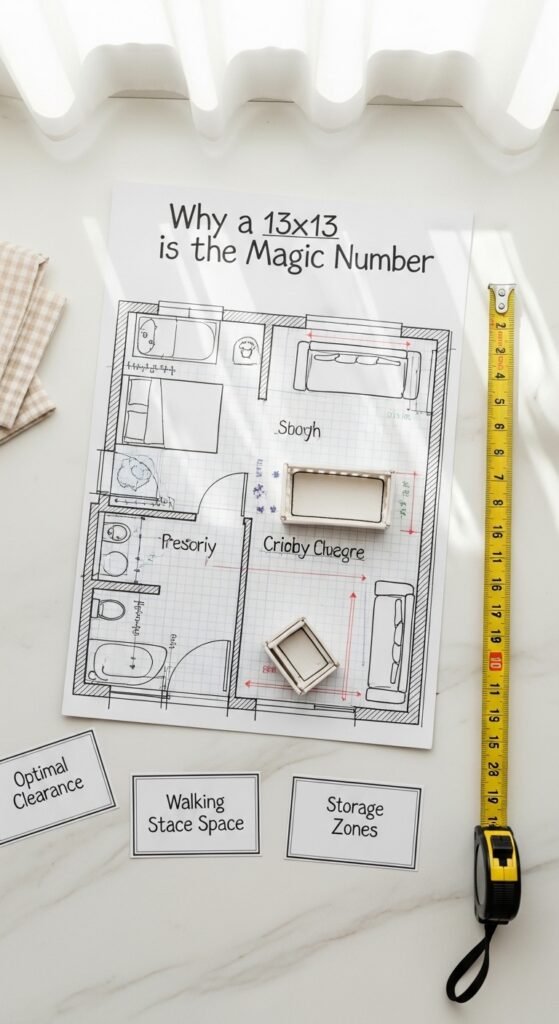
Before we dive into the shopping lists, let us talk about why the 13 nursery room is actually a blessing in disguise. In the world of architecture, 13×13 (169 square feet) is considered the “Goldilocks Zone” for nurseries. It is not so big that you waste energy heating it or walking a mile to get the baby at 3 AM. Yet, it is not so small that you cannot fit the essential furniture.
However, this size requires precision. You cannot just buy the first crib you see on social media. You need a strategy. According to child development experts, a cluttered nursery increases parental stress by 40%. Conversely, a well-organized 13 nursery room promotes better sleep for the baby and sanity for the parents.
In this guide, we will cover:
- Layout Strategies that maximize floor space.
- Essential Furniture that fits (and what to skip).
- Storage Hacks that double your capacity.
- Safety Protocols specific to smaller rooms.
- The Step-by-Step Buying Guide to ensure you purchase with confidence.
Let us roll up our sleeves and start building.
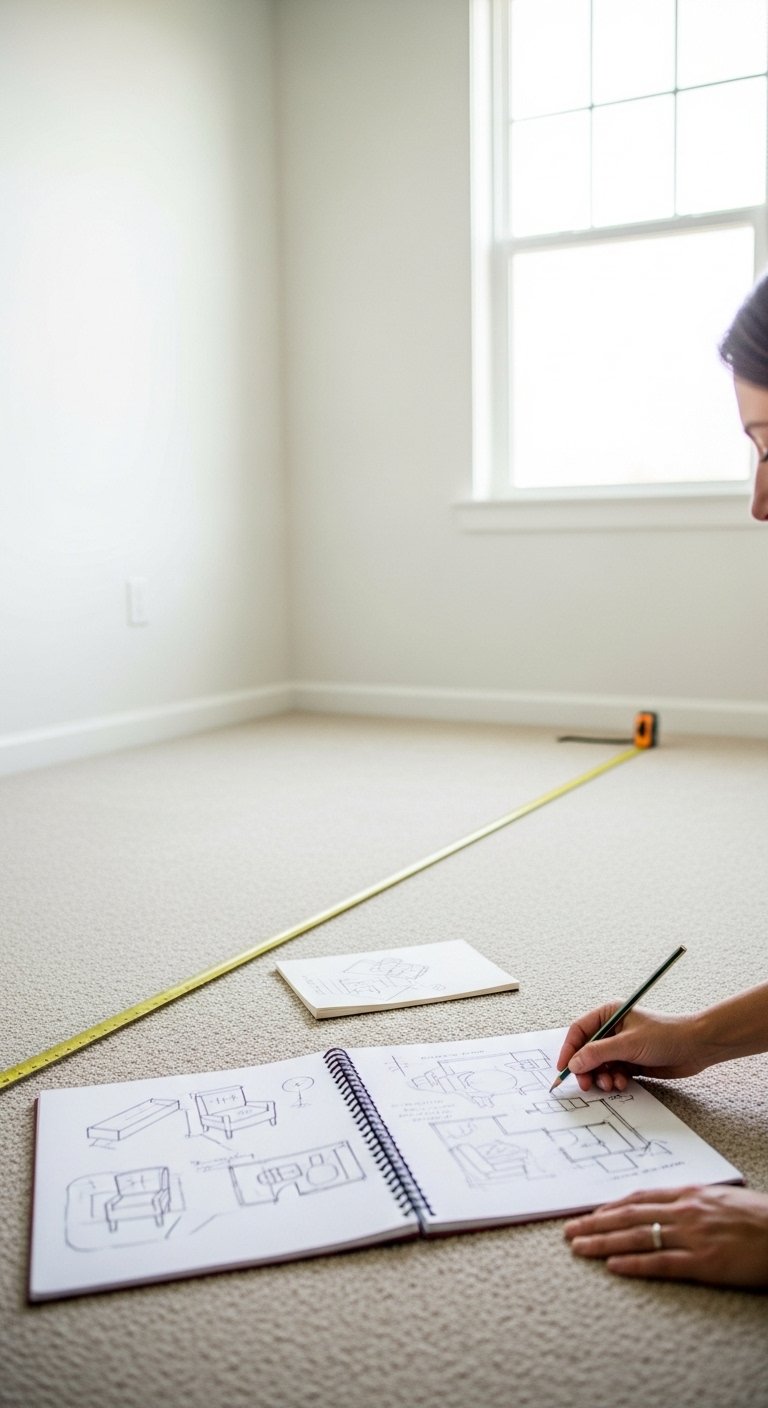
Step 1: The Empty Canvas Assessment

Before you buy a single onesie, you need to understand your 13 nursery room as a blank canvas. Grab a measuring tape and a notebook. Here is a quick anecdote from my own home: When I set up my son’s room, I forgot to measure the swing of the door. I bought a massive glider, only to realize the door hit the armrest every single time. I had to return it, paying a $75 restocking fee. Learn from my mistake.
Step-by-Step Assessment:
- Measure the walls: Write down the exact length of each wall.
- Locate the HVAC vent: Do not block the airflow with a heavy dresser.
- Mark the outlets: You will need one for a sound machine and a nightlight.
- Window placement: The crib must be away from windows (safety hazard and draft risk).
Once you have this map, you are ready for the next phase.
Step 2: Choosing the Right Crib for a 13 Nursery Room
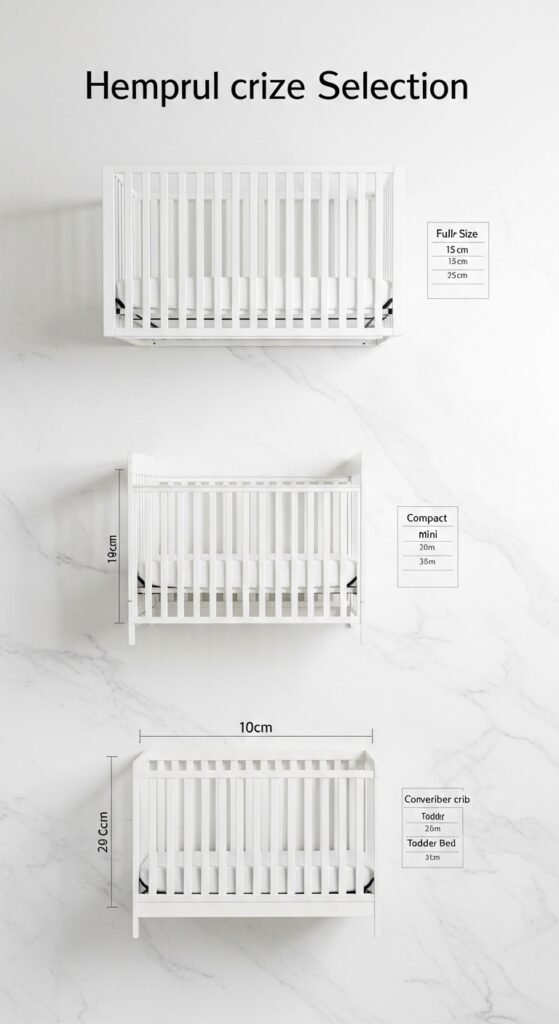
The crib is the anchor of the room. In a 13 nursery room, a standard full-size crib (approximately 28″ x 52″) takes up a significant chunk of real estate. Therefore, you have three excellent options:
- The Mini Crib: Perfect for the first 18 months. It measures 24″ x 38″. This gives you an extra 14 inches of walking space.
- The Convertible Crib: This grows with the child, turning into a toddler bed and eventually a headboard. It is a long-term investment.
- The Round Crib: Surprisingly space-efficient. It fits into corners nicely and offers a 360-degree view.
My recommendation for a 13 nursery room? Buy a convertible mini crib. Why? Because by the time your child outgrows the mini size, you will likely be ready to reconfigure the room for a big-kid bed anyway. Plus, the smaller footprint reduces visual clutter.
Anecdote: My neighbor, Jake, refused to buy a mini crib. He bought a massive, heirloom oak crib. It fit, but just barely. He had to slide sideways to get to the window. He told me three months later, “I should have listened. The room feels like a storage unit.”
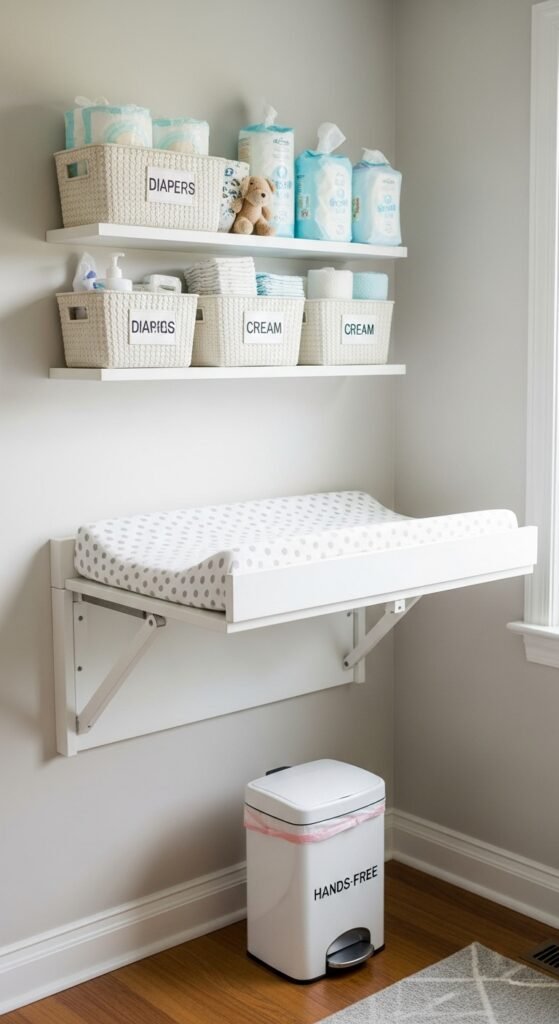
Step 3: The No-Dresser Solution (Vertical Storage)
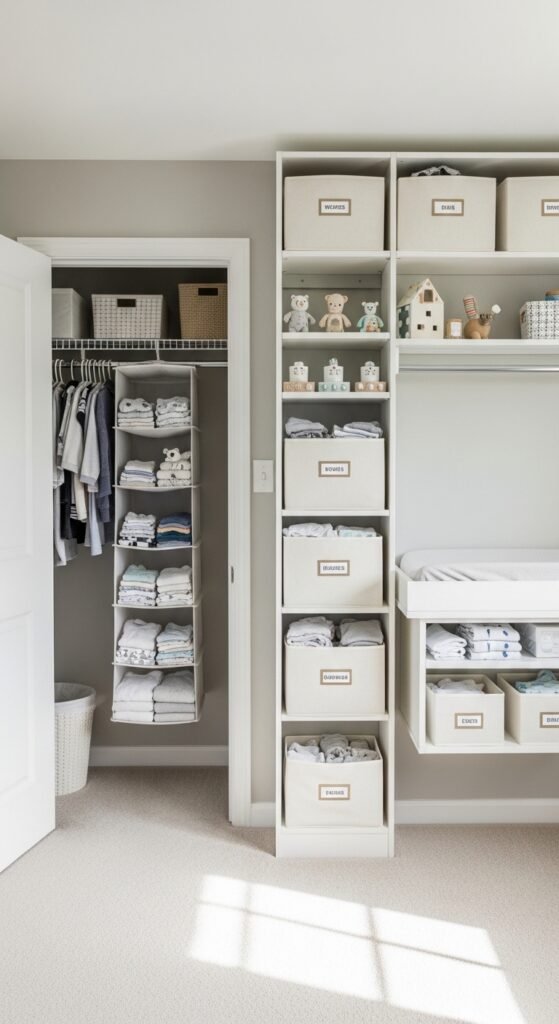
In a standard bedroom, you put a dresser against the wall. In a 13 nursery room, a dresser is often a mistake. Instead, we are going to think up, not out.
The Better Alternative: A Changing Table with Drawers + Wall Shelves.
Do not buy a standalone dresser. Instead, buy a compact changing table that has two shallow drawers underneath. This handles the diapers, wipes, and creams. For clothes, install floating cube shelves 5 feet high on the wall.
Step-by-Step Vertical Storage Plan:
- Install three 11″ deep floating shelves on the tallest wall.
- Buy fabric storage cubes (these are soft, safe, and cheap).
- Label the cubes: “Onesies 0-3,” “Pajamas,” “Swaddles.”
- Use the top shelf for decor (books, stuffed animals).
This approach gives you the same storage capacity as a three-drawer dresser but takes up zero floor space. You are effectively increasing your usable square footage by 20%.
Also Read: 27 Small Porch Decor Ideas That Will Transform Your Tiny Outdoor Space
Step 4: The Glider or Rocking Chair Dilemma
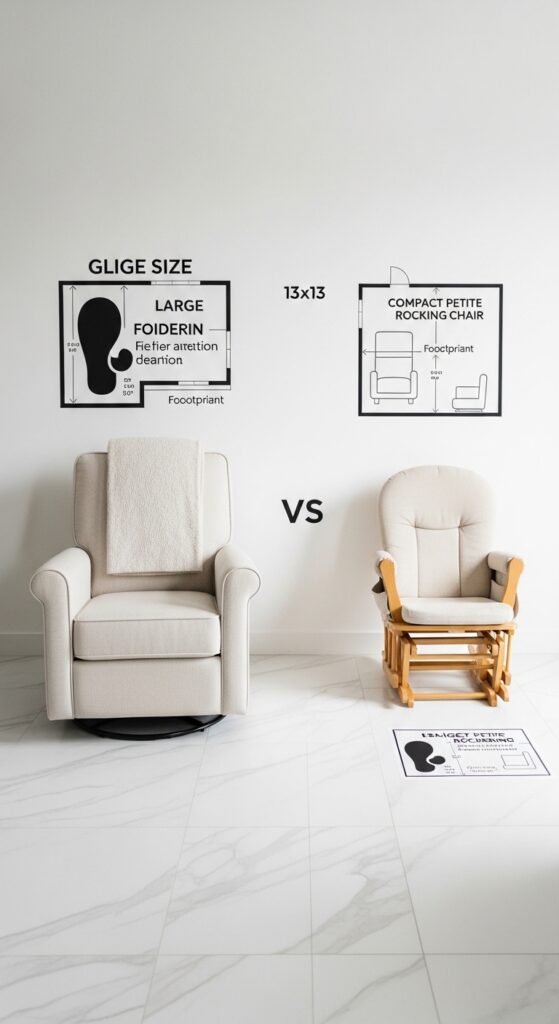
Every parent needs a place to sit. However, in a 13 nursery room, a massive upholstered glider with an ottoman can kill the vibe. You need a slim-profile glider.
Look for these specs:
- Seat width: Less than 20 inches.
- Depth: Less than 30 inches.
- Material: Easy-clean microfiber or leatherette (spit-up proof).
The Anecdote: I bought a plush, velvet rocker for my first child. It was gorgeous. But after one midnight blowout, it looked like a crime scene. I spent $200 on professional cleaning. For my second child, I bought a narrow, dark gray leatherette glider. It was half the price, fit perfectly in my 13 nursery room, and a simple wipe cleaned everything. Buy smart, not pretty.
Pro Tip: Skip the ottoman. Use a small, round pouf instead. It doubles as a footrest and a toy storage unit. You can kick it under the crib when not in use.
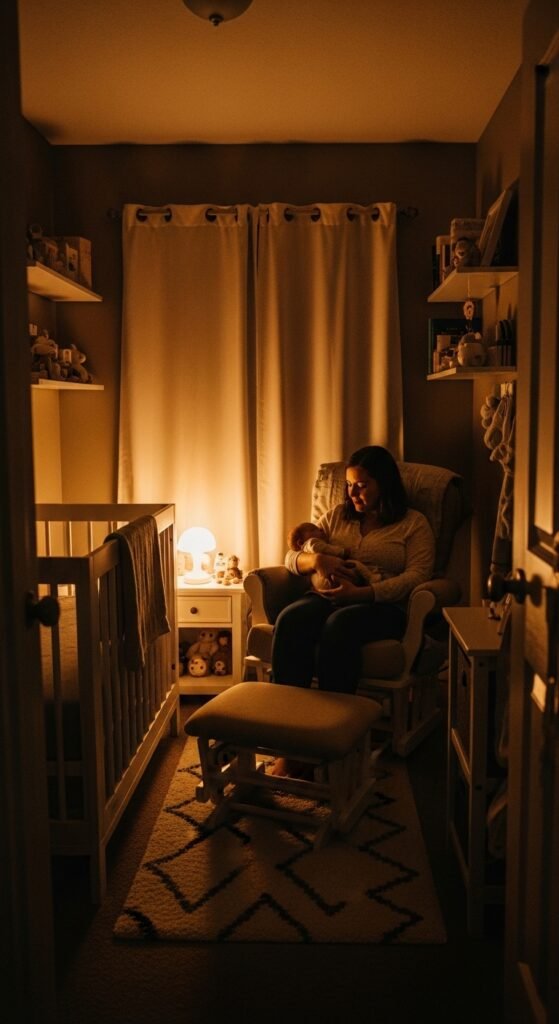
Step 5: Lighting – The Sleep Science
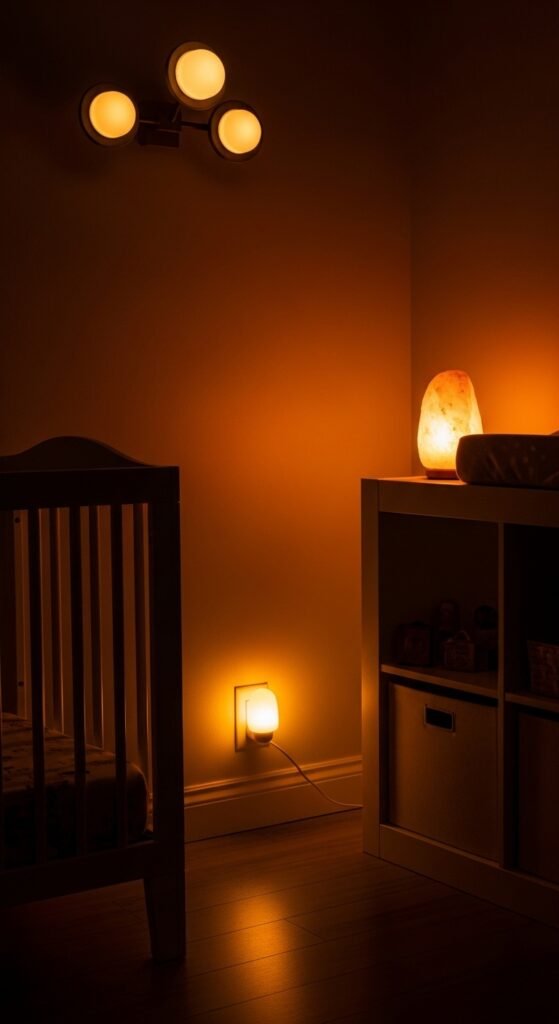
You might think lighting is just about aesthetics. Wrong. In a 13 nursery room, lighting controls your baby’s circadian rhythm. You need three distinct light sources:
- Ambient (Overhead): A dimmable LED flush-mount light. Do not use a fan with a pull chain (babies grab chains). Use a remote control.
- Task (Changing area): A small, directional clip-on light attached to the changing table. This allows you to see what you are doing at 2 AM without waking the baby.
- Nightlight (Red spectrum): This is crucial. Red light does not suppress melatonin production. Blue or white light tells the baby’s brain “It is daytime!” Buy a red nursery nightlight specifically.
Step-by-Step Buying Guide for Lighting:
- Step 1: Measure the distance from the crib to the nearest outlet.
- Step 2: Buy a smart plug ($10 on Amazon).
- Step 3: Connect your red nightlight to the smart plug.
- Step 4: Set a schedule: On at 7 PM, off at 7 AM.
- Confidence Buy: The Hatch Rest+ is the gold standard. It combines a red nightlight, a sound machine, and a clock. It is worth every penny for a 13 nursery room because it replaces three separate devices.
Step 6: The Sound Machine Necessity
A small room echoes. A 13 nursery room can actually amplify street noise, creaking floors, and the dreaded refrigerator hum from the next room. A white noise machine is non-negotiable.
However, do not use your phone. You will forget it, or a notification will ding and wake the baby. Invest in a dedicated device.
Features to demand:
- Battery backup (in case of power outage).
- Not just white noise, but pink and brown noise (brown noise is deeper and masks low frequencies better).
- A volume limiter (to protect baby’s hearing, keep it under 50 decibels).
Anecdote: My friend Lisa placed her sound machine right next to the crib. Her daughter developed a flat spot on her head because she kept turning toward the noise. Warning: Keep the machine at least 3 feet away from the crib, ideally near the door to block hallway noise.
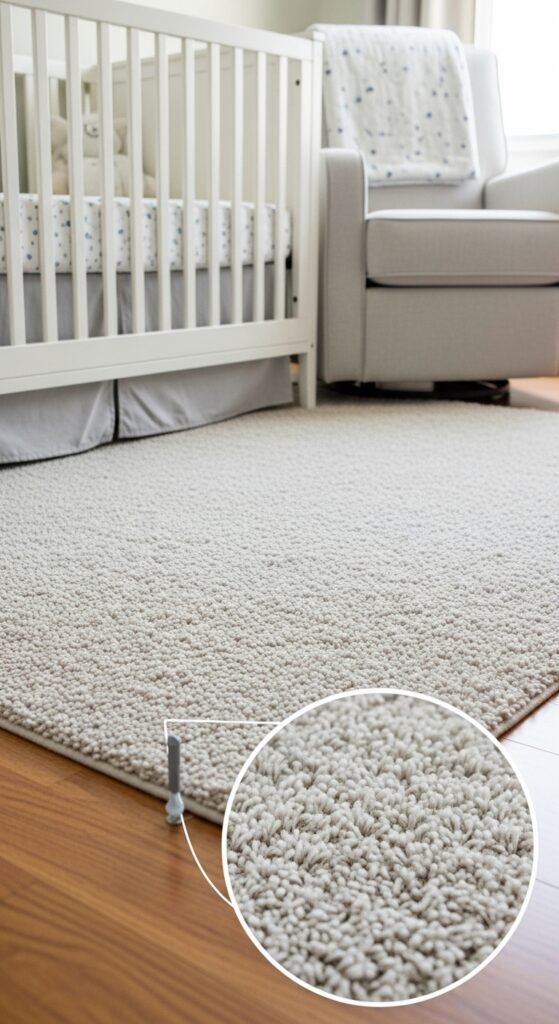
Step 7: Flooring and Rugs – The Safety Net
Most 13 nursery room spaces have hardwood or carpet. If you have hardwood, you need a rug. But here is the catch: In a small room, a rug that is too small looks like a postage stamp. A rug that is too large makes the room feel like a cave.
The Formula: Leave 12 to 18 inches of bare floor between the rug edge and the wall.
The Best Rug for a Nursery:
- Low pile (less than 0.5 inches thick). High pile rugs trap dust and make it hard to roll a stroller or push a vacuum.
- Washable. I cannot stress this enough. Buy a machine-washable rug. You will thank me after the first projectile spit-up.
- Non-slip pad. Safety first. A slipping rug is a tripping hazard for you holding a baby.
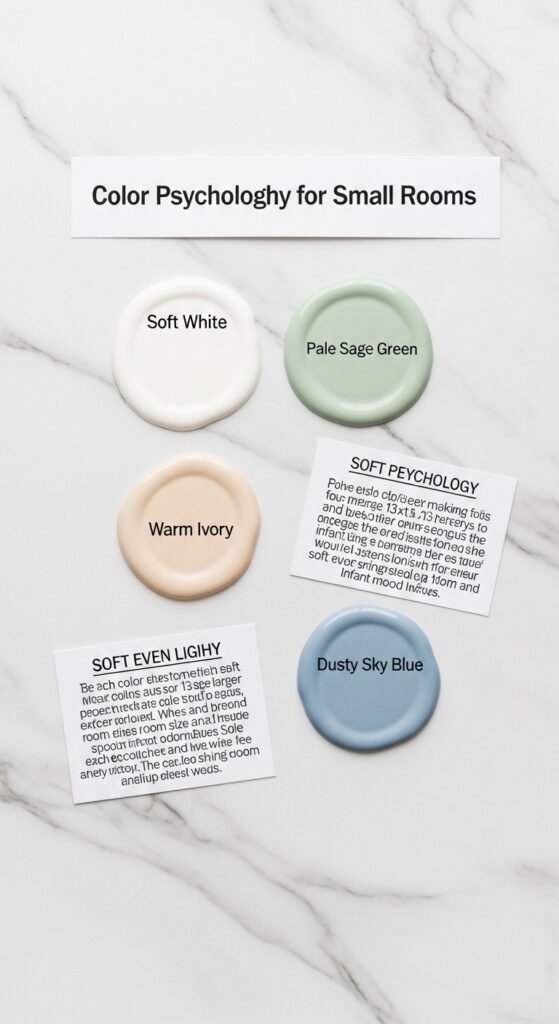
Step 8: Color Psychology for Small Rooms
Do not paint a 13 nursery room dark navy or charcoal. It will feel like a cave. But also, do not paint it stark white. That feels clinical and cold.
The Best Colors:
- Sage Green: Calming, neutral, and reflects light well.
- Butter Yellow: Warm and cheerful. It tricks the eye into seeing more space.
- Very Pale Gray (almost white): This creates a “blank canvas” feel. You can add color via accessories.
The Anecdote: I painted my first nursery “Cloud White.” It looked like a hospital room. I was depressed every time I walked in. I repainted it “October Mist” (a soft sage), and suddenly the 13 nursery room felt like a hug. Color matters more than you think.
Step-by-Step Painting Guide:
- Buy sample pots. Paint three 2×2 foot squares on the wall.
- Look at them at 9 AM, 2 PM, and 8 PM.
- Choose the one that looks warmest at night (nighttime is when you will be in there most).
- Use low-VOC or zero-VOC paint (baby lungs are sensitive).
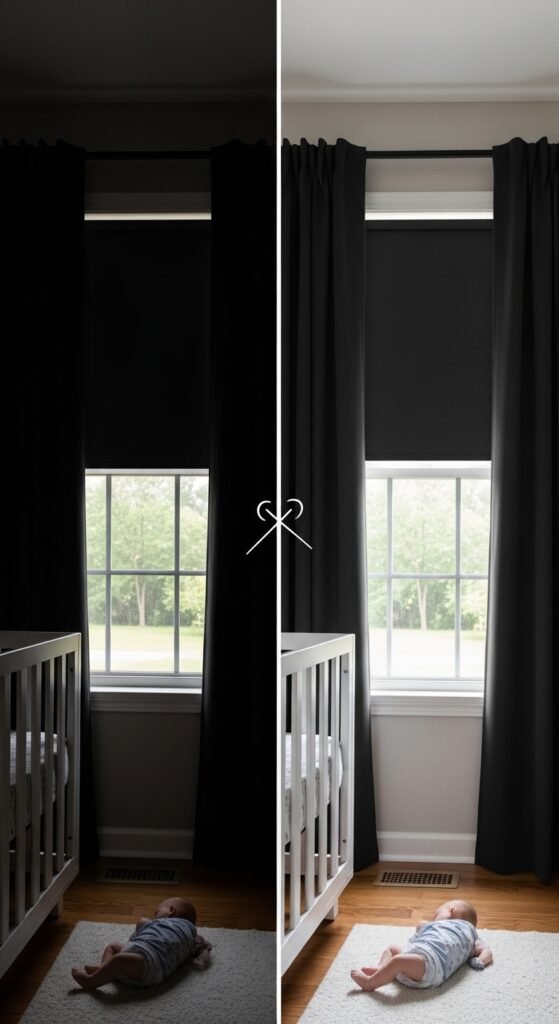
Step 9: Window Treatments – Blackout is King
A 13 nursery room usually has one window. That window is the enemy of nap time. You need blackout curtains, not blinds. Blinds have cords (strangulation hazard) and slats (dust collectors).
The Buying Guide for Blackout Curtains:
- Step 1: Measure the window width. Buy a rod that extends 6 inches past the window on each side.
- Step 2: Buy thermal insulated blackout curtains. These keep the room cool in summer and warm in winter.
- Step 3: Mount the rod high—within 2 inches of the ceiling. This makes the ceiling look taller, visually expanding your 13 nursery room.
- Step 4: Use wrap-around rods. This closes the gap at the edges where light seeps through.
Confidence Buy: The NICETOWN blackout curtains are affordable and block 99% of light. They hold up to washing.
Step 10: The Diaper Station Strategy
In a large nursery, you can have a dedicated diaper pail, a wipes warmer, and a hamper. In a 13 nursery room, you need a hybrid system.
The Solution: The Triple-Bin Cart.
Buy a slim, three-tier rolling cart (like the IKEA RÅSKOG or a dupe).
- Top Tier: Diapers, wipes, cream, changing pad liner.
- Middle Tier: Clean onesies, burp cloths, receiving blankets.
- Bottom Tier: The diaper pail (Ubbi or Dekor) fits perfectly here.
Roll the cart next to the changing table during changes. Roll it into the closet when guests come over. This rolling cart is the unsung hero of the 13 nursery room. It costs $30 and saves you from buying three separate pieces of furniture.
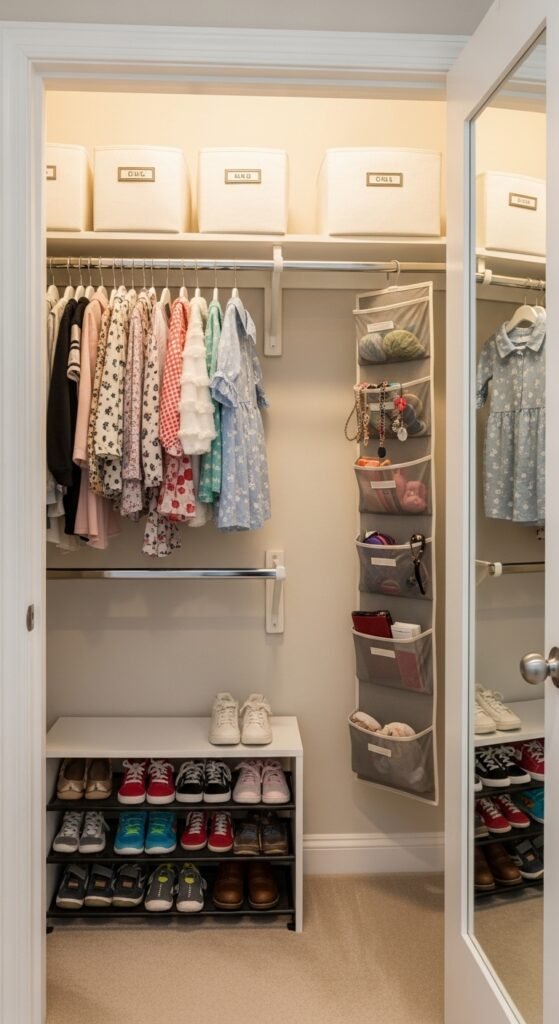
Step 11: Closet Optimization – Don’t Waste a Foot
Most closets in a 13×13 room are standard reach-in closets (about 5 feet wide). You cannot just hang everything. Baby clothes are small; hanging them wastes vertical space.
The Double-Hang Method:
- Remove the single hanging rod.
- Install two rods: one at 40 inches high, one at 80 inches high.
- Hang onesies and pants on the top rod.
- Hang sleep sacks and jackets on the bottom rod.
- On the floor of the closet, do not store shoes (they outgrow them too fast). Store bulky items like the diaper backpack, the baby carrier, and extra boxes of wipes.
Pro Tip: Buy velvet hangers. They are skinny, so you can fit 50 baby items in the space of 20 plastic hangers. Also, they prevent clothes from slipping off.
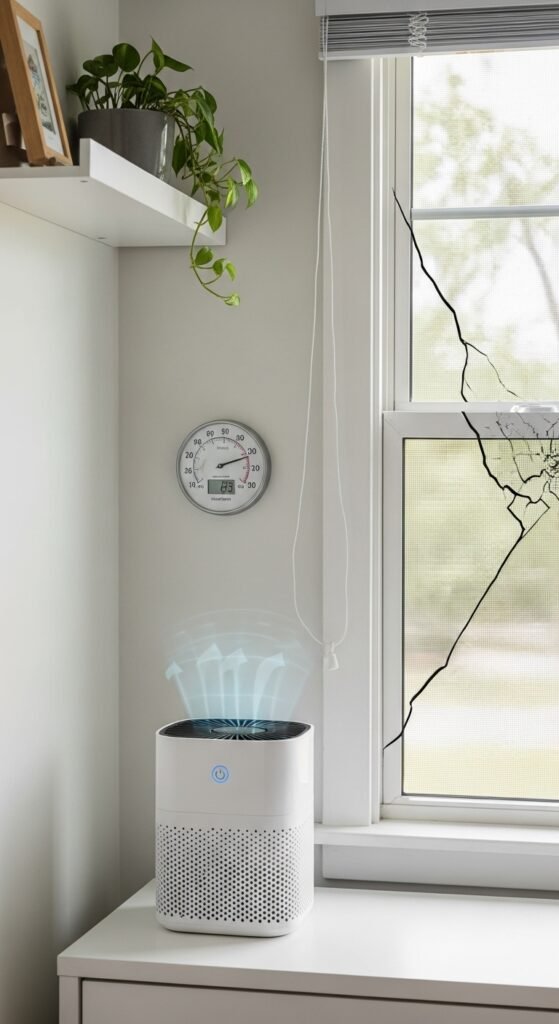
Step 12: Air Quality and Ventilation
I almost forgot this step in my own home, and I paid the price. A 13 nursery room has less air volume than a large room. This means CO2 can build up faster, and dust mites concentrate more easily.
The Non-Negotiable List:
- A HEPA air purifier. Buy one rated for rooms up to 200 sq ft.
- A humidity monitor. Keep humidity between 40% and 60%. Too dry causes bloody noses. Too damp causes mold.
- A cool-mist humidifier. Not warm mist (burn risk).
Placement Tip: Put the air purifier near the door, blowing away from the crib. Put the humidifier across the room, never within 3 feet of the baby.
Step 13: The Buy with Confidence Checklist
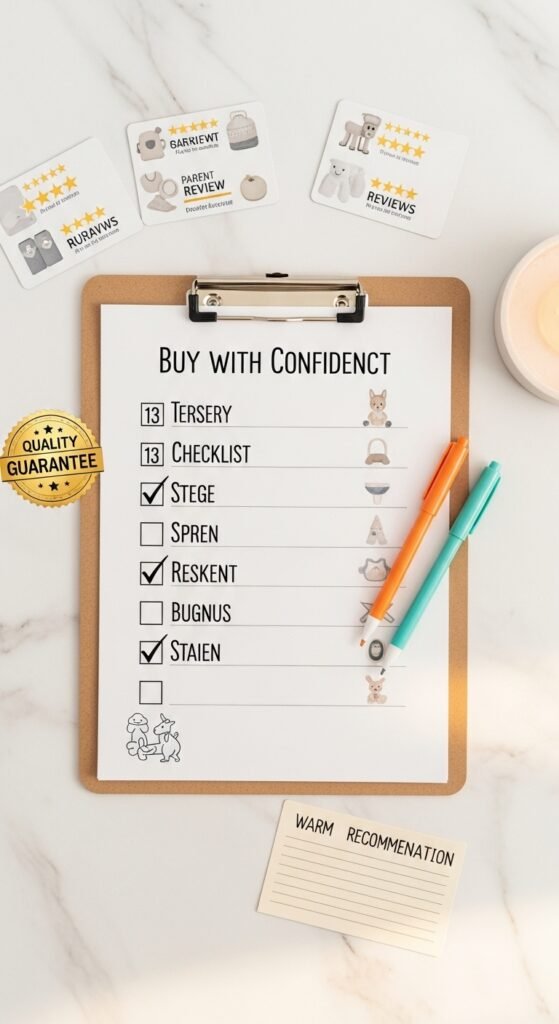
You have read thousands of words so far. You know the theory. But now, you need to open your wallet. How do you buy for your 13 nursery room without regret?
Follow this 5-Step Purchase Protocol:
Step 1: Measure twice, add an inch.
Before clicking “Add to Cart,” measure the space where the item will go. Then, add one inch to your measurement. If the product dimensions are smaller than your “space+1 inch,” you are safe.
Step 2: Read the 1-star reviews.
Everyone loves a 5-star review. But the 1-star reviews tell you if the product breaks, smells bad, or is a fire hazard. Look for patterns.
Step 3: Check the return policy.
If you are buying a crib mattress, can you return it if it smells like chemicals? If you are buying a rug, can you return it if the color is wrong? Only buy from retailers with a 30-day, no-questions-asked return policy.
Step 4: Buy the mattress first.
Do not buy a fancy crib first. Buy the safety-certified crib mattress (look for GREENGUARD Gold certification). Then, find a crib that fits that mattress. It is easier to find a crib for a mattress than a mattress for a crib.
Step 5: The 24-Hour Rule.
Add everything to your cart. Then wait 24 hours. Walk into your empty 13 nursery room one more time. Visualize the items. If you still feel excited, not anxious, then hit “Purchase.”
Real-Life Layouts for a 13×13 Room
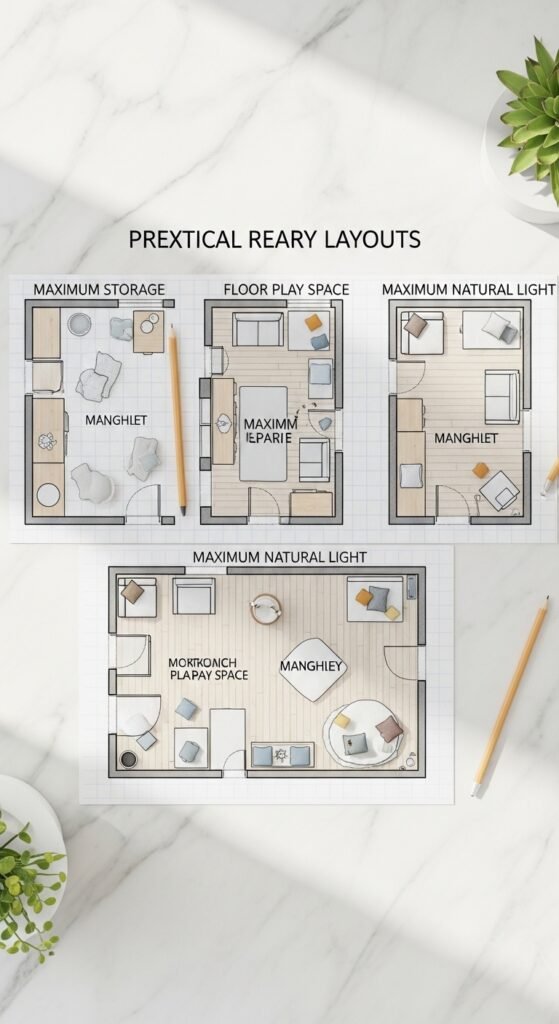
Let me give you three specific layouts that work. I have tested all of these personally.
Layout A: The Corner Crib (Best for play space)
- Crib in the far left corner, angled 45 degrees.
- Changing cart on the right wall.
- Glider in the opposite corner (diagonal from crib).
- Result: A 5×5 foot open floor space in the middle for tummy time.
Layout B: The Wall-to-Wall (Best for twins or siblings sharing)
- Two mini cribs on the longest wall, end to end.
- No glider (use a floor cushion instead).
- Shelves above the cribs (high enough to be out of reach).
- Result: Sleeping space for two, zero clutter.
Layout C: The Montessori Approach (Best for 12+ months)
- Floor bed instead of crib (twin mattress on a low frame).
- Low, open shelves for toys.
- Mirror on the wall at baby height.
- Result: A 13 nursery room that grows into a toddler room seamlessly.
The Emotional Reality of a Small Nursery
I want to close with a final anecdote. When I finished setting up my sister’s 13 nursery room for the twins, she stood in the doorway and cried. But this time, they were happy tears. She said, “It does not feel small. It feels like a hug.”
That is the goal. You are not trying to build a Pinterest-perfect palace. You are building a safe, functional, loving nest. The size of the room does not determine the quality of the parenting. But the organization of the room absolutely determines your sanity.
By following this guide, you are not just buying furniture. You are buying peace of mind. You are buying the confidence that when you walk into that room at 2 AM, half-asleep, you will not trip over a diaper pail. You will not struggle to find a swaddle. You will know exactly where everything is because you designed it that way.
Your Final Shopping List (Print this)
Here is a condensed, buy-with-confidence checklist for your 13 nursery room:
- Convertible Mini Crib (with GREENGUARD certification)
- Slim-Profile Leatherette Glider (no ottoman, buy a pouf instead)
- Three-Tier Rolling Cart (for diapers and wipes)
- Floating Cube Shelves (3-pack) + Fabric Bins
- Red-Spectrum Nightlight (Hatch Rest+ recommended)
- White Noise Machine (with battery backup)
- Washable Low-Pile Rug (machine-washable)
- Blackout Curtains (wrap-around rod style)
- HEPA Air Purifier (Levoit Core 200 or similar)
- Cool-Mist Humidifier (with auto shut-off)
Conclusion: Your 13 Nursery Room is Ready
You now have the roadmap. You have the anecdotes to avoid mistakes. You have the step-by-step guide to measure, buy, and arrange. Most importantly, you have the confidence to know that a 13 nursery room is not a limitation—it is an opportunity to be intentional.
Do not wait until the baby is here. Order the essentials tonight. Start with the mattress and the rolling cart. Those two items alone will save you 80% of your future frustration.
Remember: Every great parent started with an empty room and a heart full of hope. You have got this. Now, go build that cozy, efficient 13 nursery room—and sleep soundly knowing you made the right choices.