Do you remember your first perfect milkshake? I do. I was about eight years old, sitting on a sticky red vinyl stool at Mel’s Diner, watching the guy behind the counter drop a scoop of vanilla ice cream into a frosty metal cup. He added a glug of milk, a squirt of chocolate syrup, then slapped it on the mixer. That whirring sound? Pure magic. When he handed me that tall, frosty glass topped with a mountain of whipped cream and a cherry, I felt like I had won a golden ticket.
That feeling—thick, cold, sweet, and soul-hugging—is what we’re chasing today.
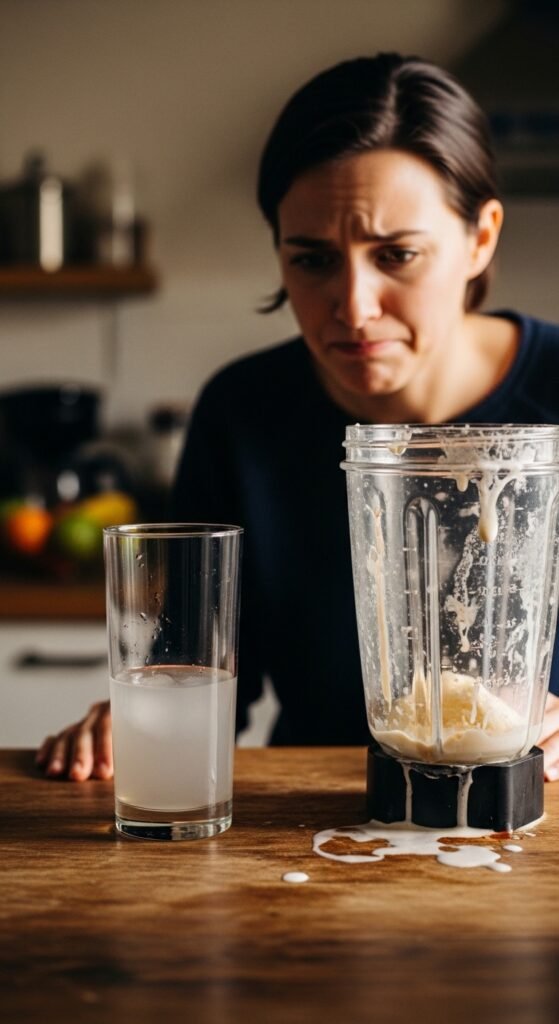
But let’s be honest. Many of us have tried making homemade milkshakes and ended up with a sad, watery mess or a lumpy float that refuses to go up the straw. Why? Because a great milkshake recipe isn’t just about throwing ingredients into a blender. It’s an art. It’s a science. And most importantly, it’s a shortcut to happiness.
In this guide, I’m going to share 10 milkshake ideas that range from classic comfort to wild, adventurous flavors. By the time you finish reading, you won’t just be thirsty—you’ll be confident. You’ll know exactly how to build, blend, and serve a thick milkshake that beats any drive-thru window.
Moreover, I’ll show you why investing in a quality milkshake blender or even a simple milkshake maker can change your dessert game forever. No more guessing. No more watery results. Just pure, creamy bliss.
So grab a napkin (you’ll need it), and let’s dive into the creamiest corner of the internet.
Why Most Homemade Milkshakes Fail (And How You Will Succeed)
Before we get to the fun part—the 10 milkshake ideas—let’s talk technique. I once tried to make a strawberry shake for a friend’s birthday. I used low-fat ice cream, skim milk, and fresh strawberries. The result? A pink, icy slush that tasted like sad salad dressing. My friend smiled and said, “It’s… refreshing.” That’s code for “where’s the real dessert?”
Here’s the truth: A great milkshake needs fat. It needs cold. And it needs the right ratio.
The Golden Rule of Milkshakes
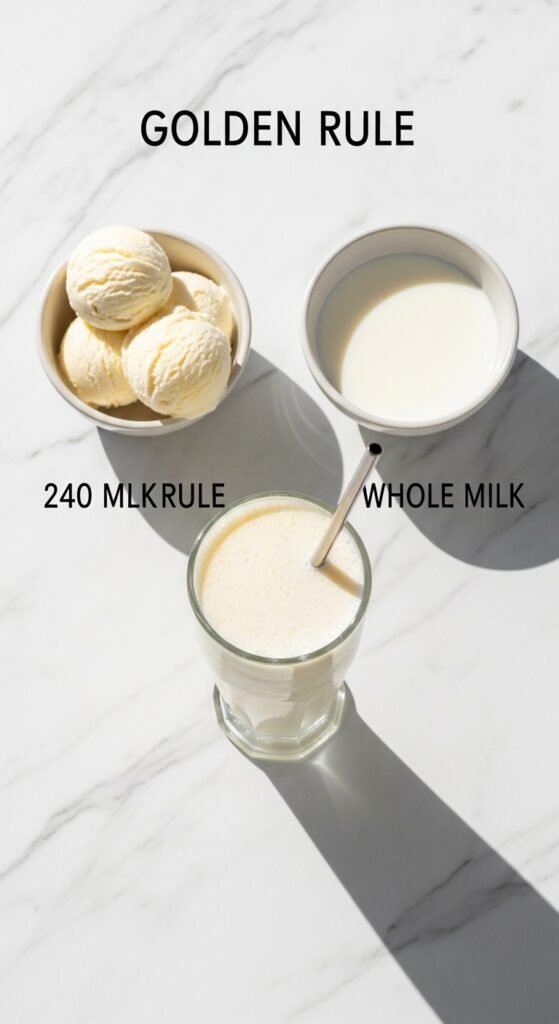
- 3 scoops premium ice cream (full fat, please)
- ¼ cup whole milk (add more only if the blender struggles)
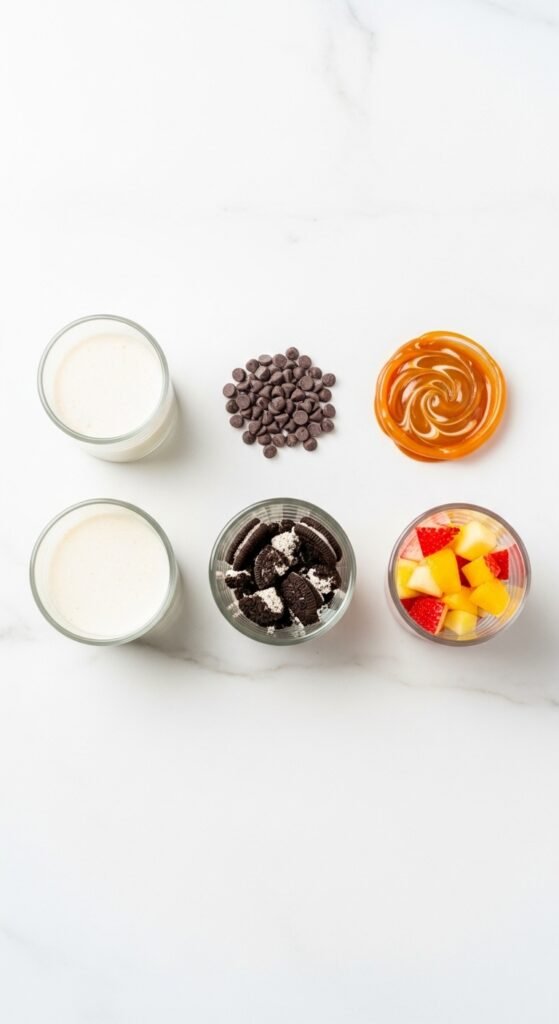
- Your chosen mix-ins (cookies, candy, fruit, syrup)
That’s it. That’s the skeleton. Now let’s put some meat—or rather, some creamy milkshake muscle—on those bones.
The Essential Tools You Need for Milkshake Success
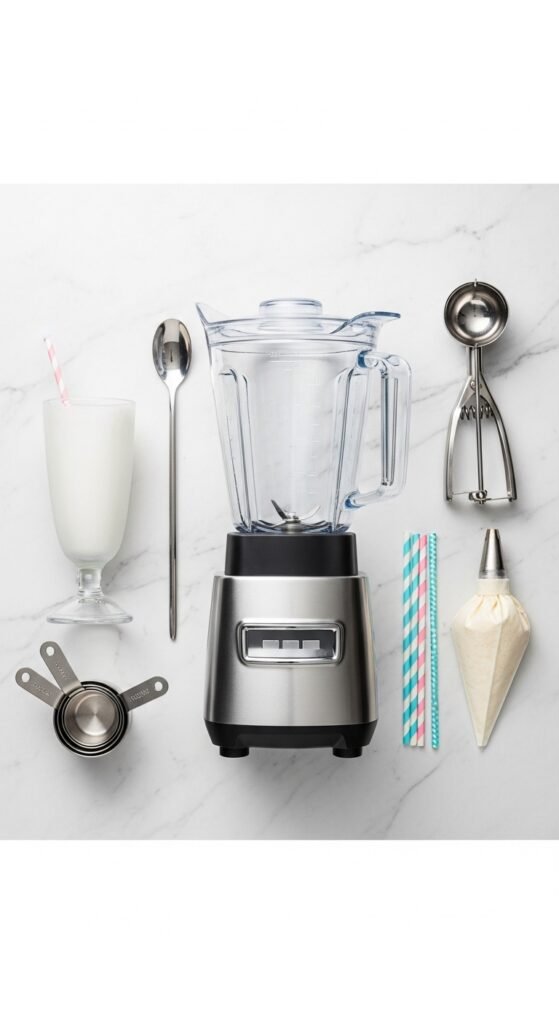
You don’t need a commercial kitchen, but you do need a few key items. I strongly recommend buying a dedicated milkshake blender or a milkshake maker with a frothing attachment. Why? Because standard blenders spin too fast and can melt your ice cream into soup. A milkshake blender uses a slower, wider motion that incorporates air without heat.
Must-Have Equipment
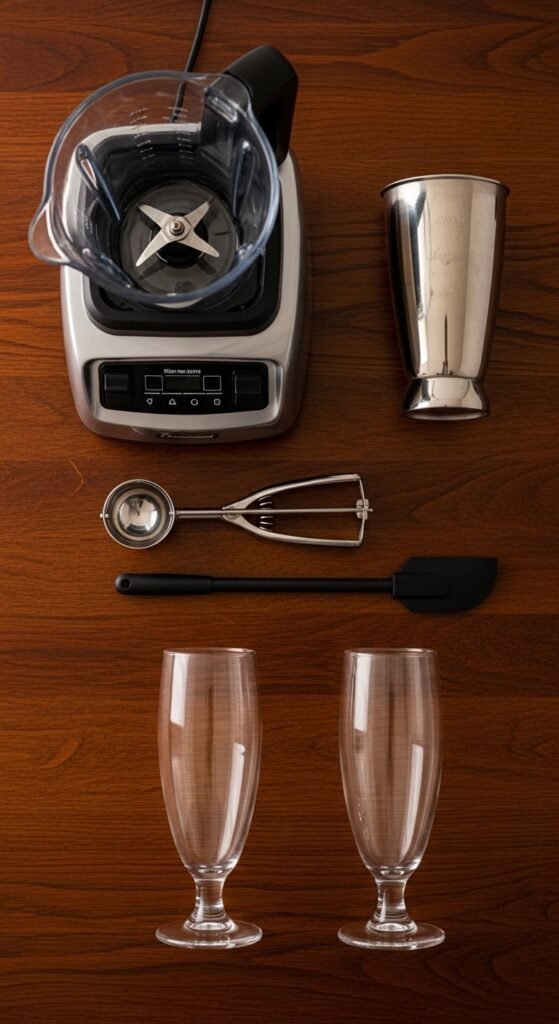
- A powerful milkshake blender (look for at least 500 watts with a milkshake setting)
- Tall, chilled glasses (pop them in the freezer for 10 minutes)
- Wide metal or reusable straws
- A long spoon for layering
Optional but Awesome
- A whipped cream dispenser
- A candy or cookie crusher
- A milkshake recipe book for inspiration
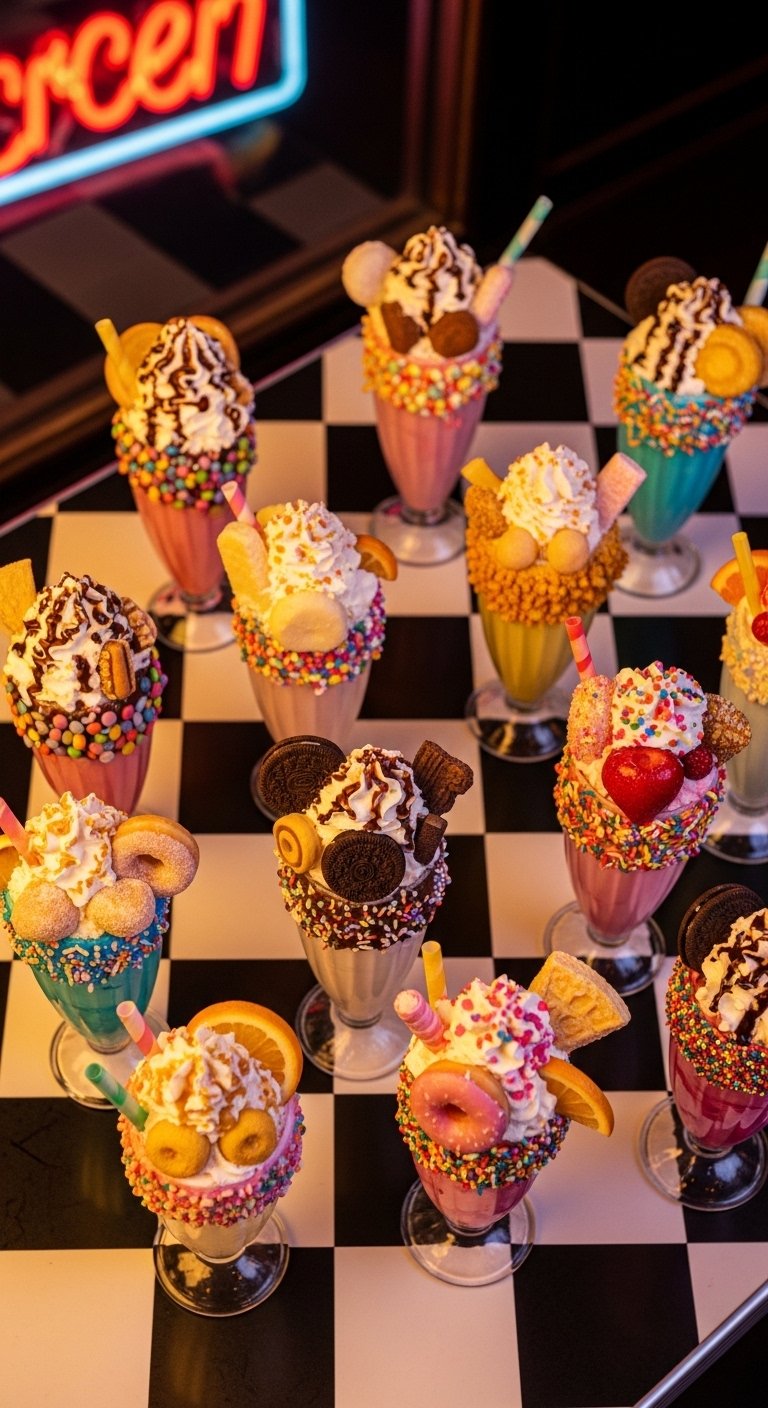
Now, are you ready to meet the stars of the show? Here are 10 milkshake ideas that will make you the hero of your own kitchen.
Also Read: The Ultimate Fluffy Pancakes Recipe: A Step‑by‑Step Guide to Breakfast Perfection
1. The Classic Diner Vanilla Bean Milkshake
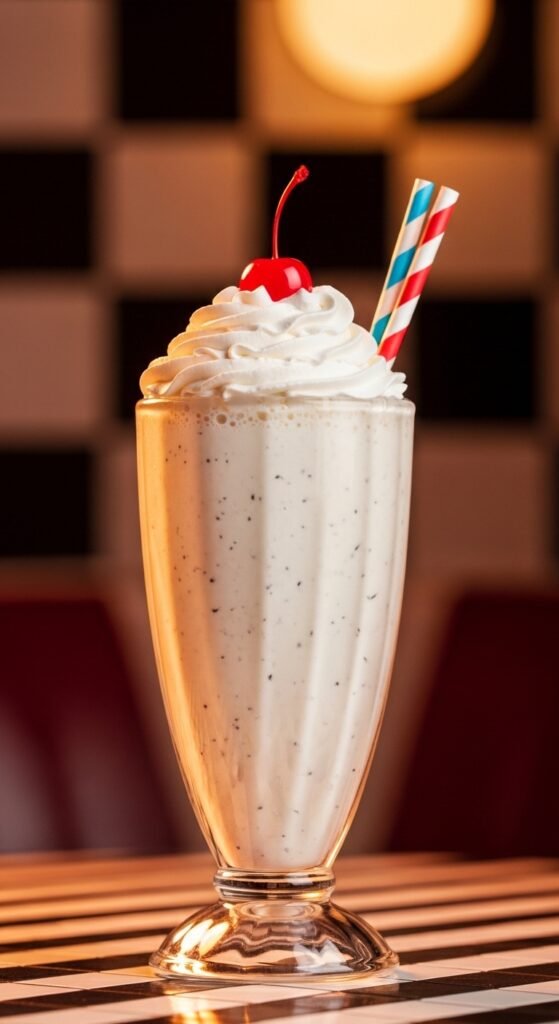
Sometimes, simplicity is the ultimate sophistication. A vanilla milkshake might sound boring, but when done right, it’s a religious experience. The secret? Real vanilla bean paste, not extract.
Ingredients
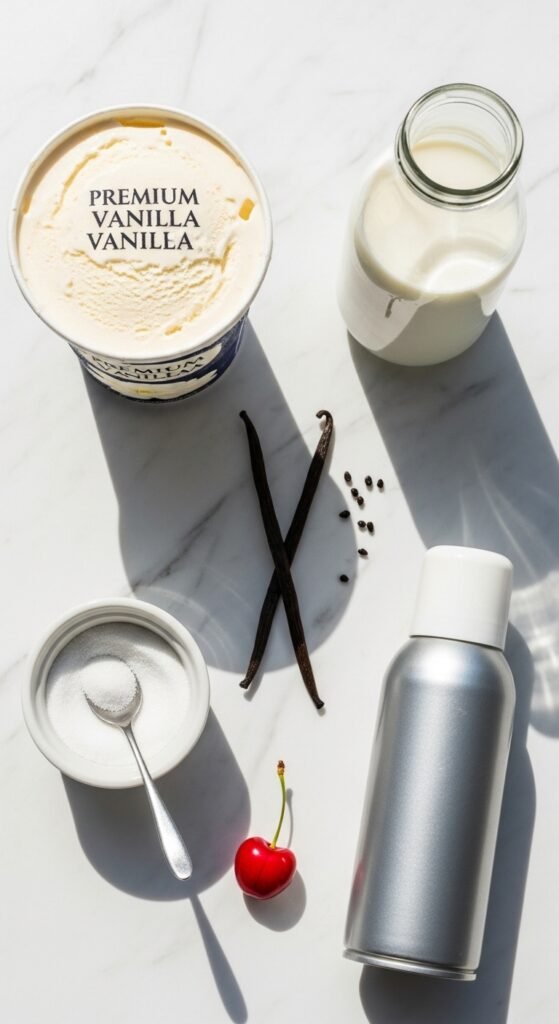
- 3 scoops vanilla bean ice cream
- ¼ cup whole milk
- 1 tablespoon vanilla bean paste (or seeds from ½ a pod)
- Pinch of sea salt
Step-by-Step Guide
- Chill your glass in the freezer.
- Add milk and vanilla paste to your milkshake blender first (this prevents dry pockets).
- Add the ice cream scoops.
- Blend on low speed for 15 seconds, then medium for 10 seconds. You want it thick—if it pours like water, you failed.
- Pour into the chilled glass.
- Top with fresh whipped cream and a sprinkle of vanilla bean specks.
Why buy a good blender? Because a weak blender will leave you with unblended vanilla seeds stuck to the side. A quality milkshake maker emulsifies everything into a smooth milkshake that tastes like melted frozen custard.
Anecdote: My neighbor, Mrs. Gable, once told me that her grandmother made vanilla shakes every Sunday after church. “It wasn’t just a drink,” she said. “It was a promise that the week would be okay.” That’s the power of a perfect milkshake.
2. Decadent Double Chocolate Brownie Milkshake
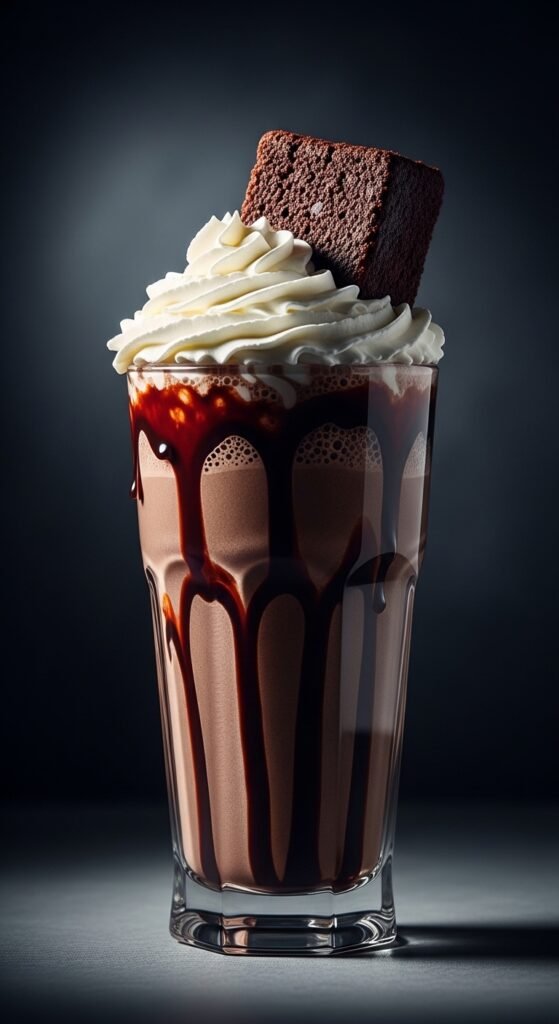
Chocolate lovers, this is your Mount Everest. This chocolate milkshake doesn’t mess around. It has chunks of fudge brownie, chocolate syrup, and a rim of crushed chocolate cookies.
Ingredients
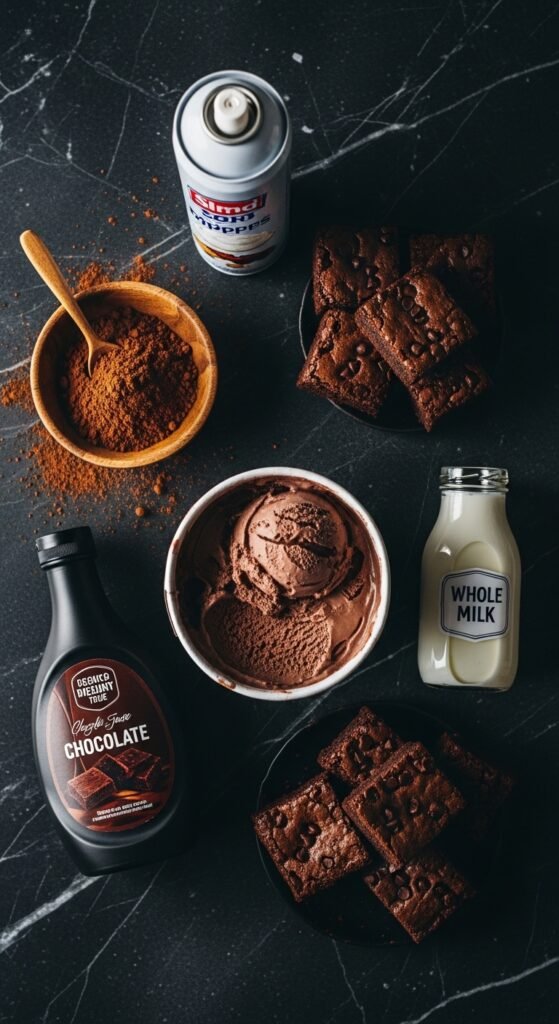
- 3 scoops chocolate ice cream
- ¼ cup whole milk
- 1 tablespoon chocolate syrup
- 1 fudge brownie (crumbled)
- 2 tablespoons chocolate chips (optional)
Step-by-Step Guide
- Dip the rim of your glass in chocolate syrup, then into crushed chocolate wafer crumbs.
- In your milkshake blender, combine milk, syrup, and ice cream.
- Blend until just combined. Do not over-blend.
- Add half the crumbled brownie and pulse twice.
- Pour into the glass. Top with remaining brownie chunks, whipped cream, and a drizzle of hot fudge.
Pro tip: Use a thick milkshake consistency here. If it’s too thin, the brownie pieces will sink. Too thick, and you’ll need a shovel. Aim for “barely drinkable through a straw.”
Keyword focus: This decadent milkshake is exactly what you bring to a birthday party when you want everyone to remember your name.
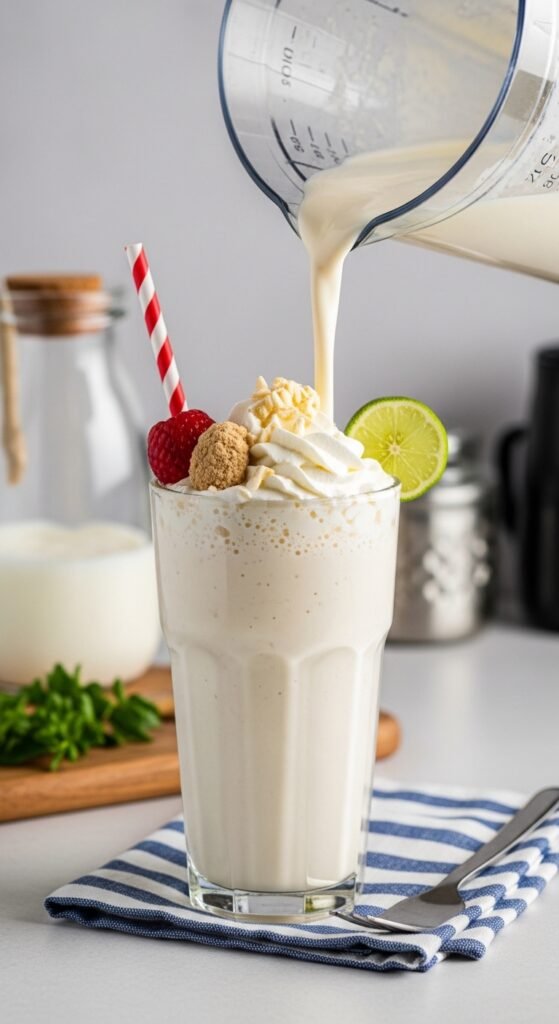
3. Strawberry Cheesecake Bliss Milkshake
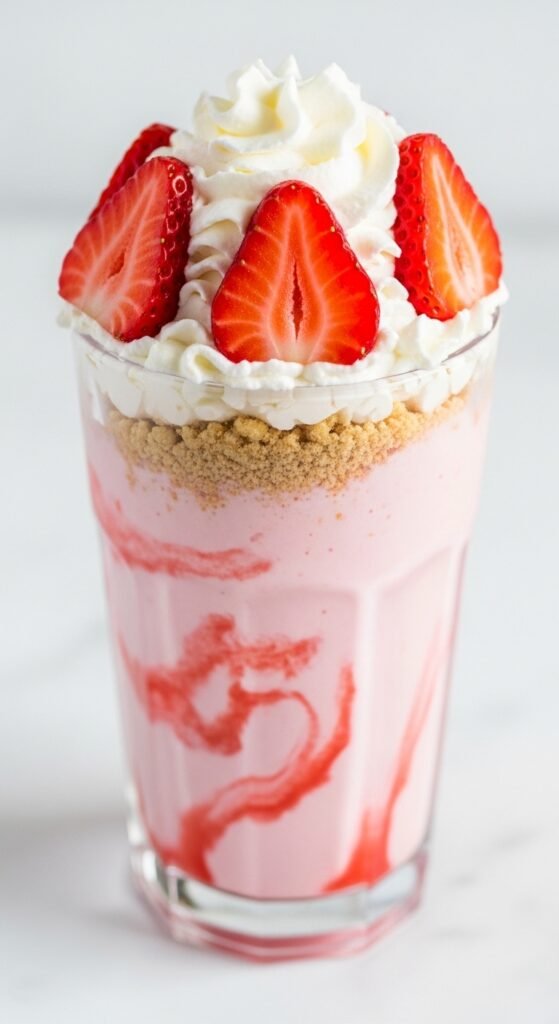
Strawberry shakes are common. Strawberry cheesecake shakes? That’s next-level. The tang of cream cheese cuts through the sweetness, making it dangerously addictive.
Ingredients
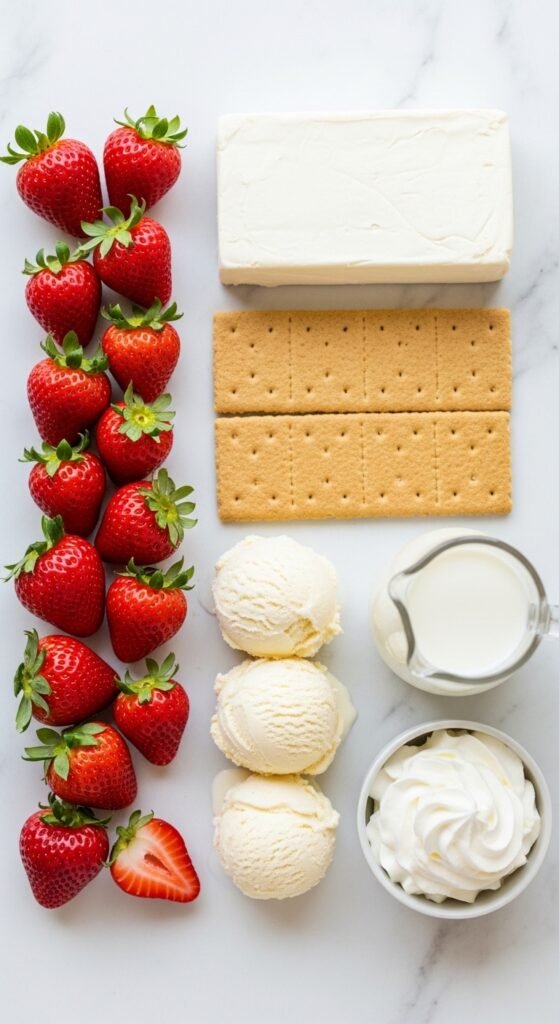
- 2 scoops strawberry ice cream
- 1 scoop plain cheesecake ice cream (or vanilla + 2 oz cream cheese)
- ¼ cup whole milk
- 3 fresh strawberries (hulled)
- 2 graham crackers (crushed)
Step-by-Step Guide
- Blend the milk, ice creams, and fresh strawberries until smooth.
- Crush graham crackers in a bag.
- Pour half the shake into your glass, add a layer of crushed grahams, then pour the rest.
- Garnish with a strawberry slice and a dollop of whipped cream.
Anecdote: Last summer, my niece refused to try this because “strawberries are healthy.” One sip later, she asked for a second milkshake recipe to take home. Her mom wasn’t thrilled, but her grin said it all.
Why this works: The fresh berries add a fruity milkshake brightness that frozen fruit can’t match. If you only have frozen, thaw them first.
4. Salted Caramel Pretzel Crunch Milkshake
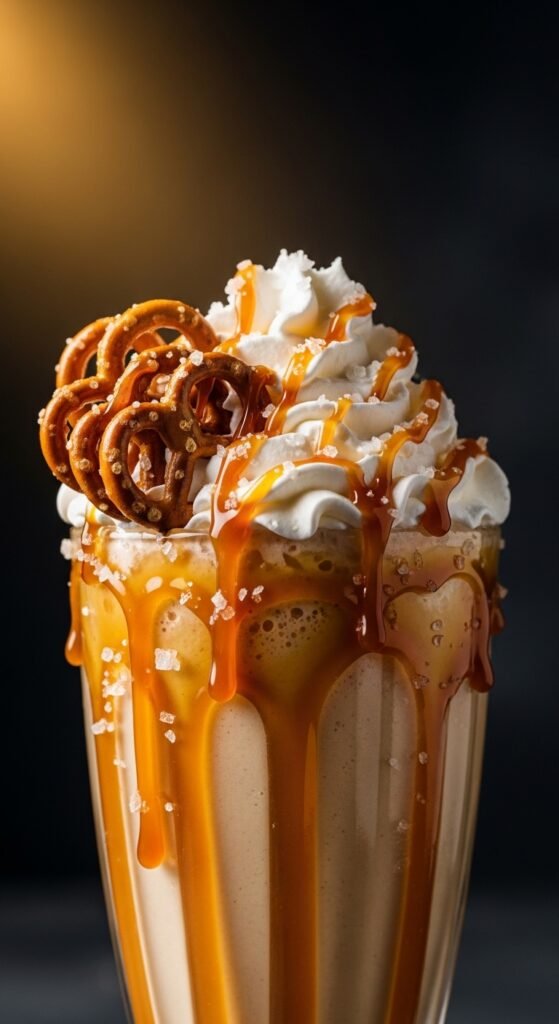
Sweet. Salty. Crunchy. Creamy. This salted caramel milkshake hits every texture and taste bud. It’s the kind of shake you make when you want to impress someone without looking like you tried too hard.
Ingredients
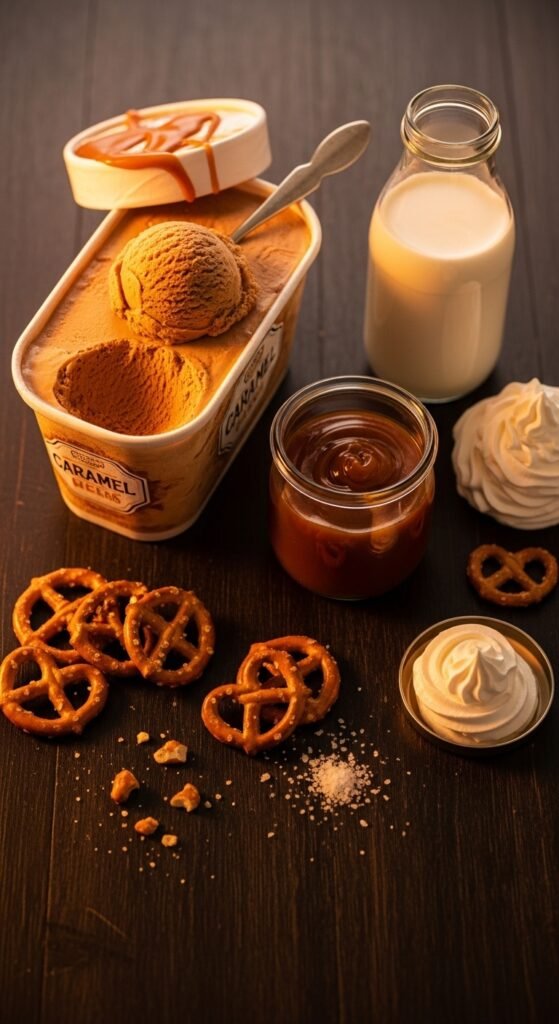
- 3 scoops caramel ice cream (or vanilla + caramel swirl)
- ¼ cup whole milk
- 2 tablespoons salted caramel sauce
- ¼ cup mini pretzels (crushed)
- Flaky sea salt
Step-by-Step Guide
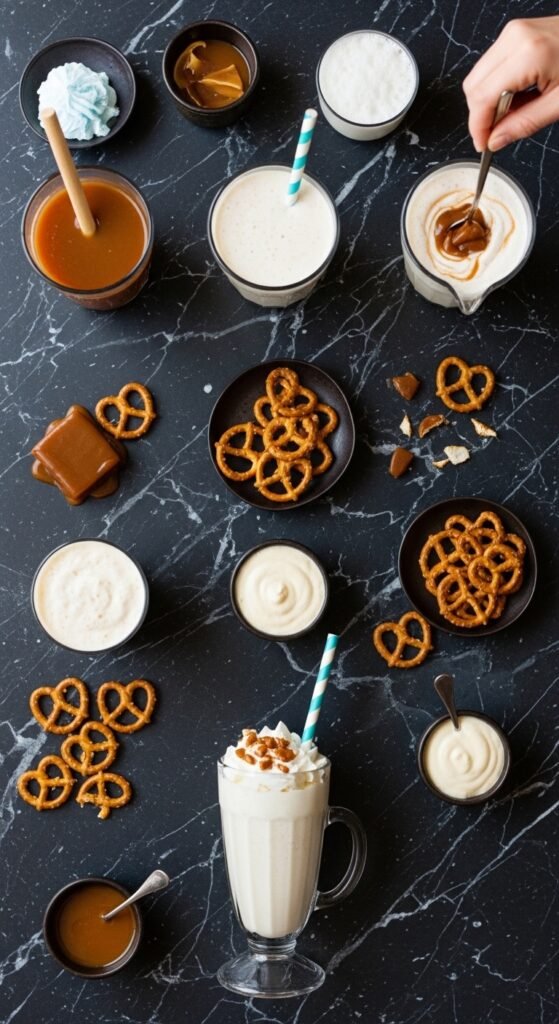
- Drizzle caramel sauce inside the glass before pouring.
- Blend ice cream, milk, and 1 tablespoon of caramel sauce.
- Add half the crushed pretzels and pulse.
- Pour the shake. Top with whipped cream, remaining pretzels, a caramel drizzle, and a pinch of flaky salt.
Keyword note: A smooth milkshake with crunch? Yes. That’s what makes this one of the best 10 milkshake ideas for summer barbecues.
Pro tip: Dip the rim in melted caramel, then crushed pretzels. It looks professional and tastes incredible.
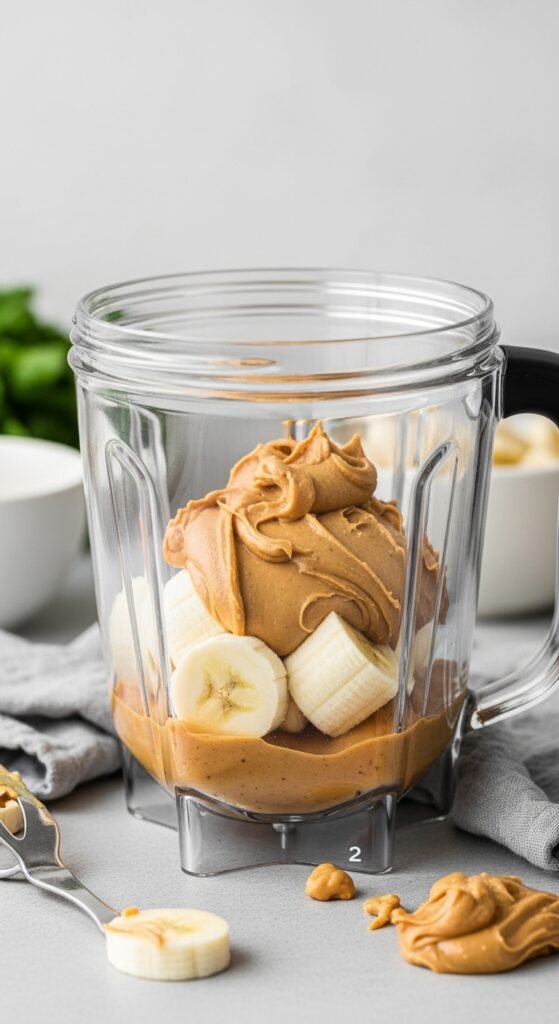
5. Peanut Butter Banana Dream Milkshake
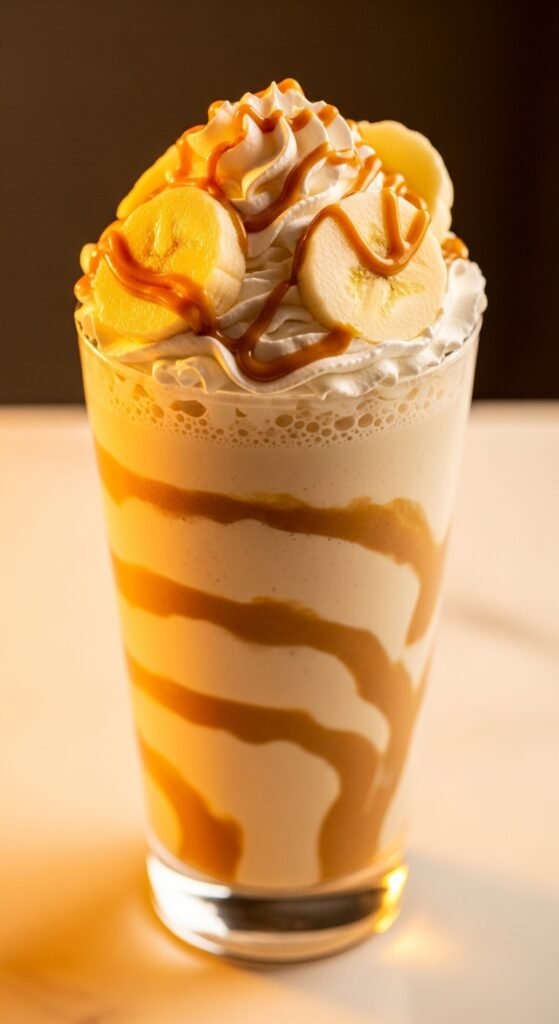
Elvis knew what he was doing. The combination of peanut butter milkshake with banana is creamy, filling, and nostalgic. It’s also the perfect post-workout indulgence—if your workout was lifting spoons.
Ingredients
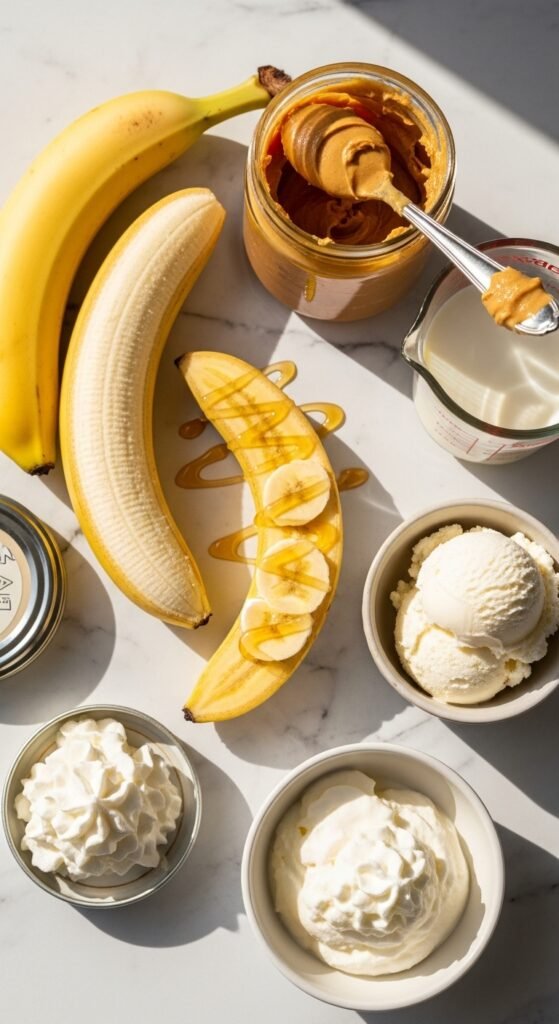
- 2 scoops banana ice cream (or vanilla + ½ ripe banana)
- 1 scoop chocolate ice cream
- 2 tablespoons creamy peanut butter
- ¼ cup whole milk
- 1 tablespoon honey
Step-by-Step Guide
- If using fresh banana, mash it first with a fork.
- Blend all ingredients in your milkshake blender on low until combined.
- Pour into a glass.
- Top with peanut butter drizzle, banana slices, and crushed peanuts.
Anecdote: My gym buddy, Mark, once laughed at me for drinking a peanut butter milkshake after a run. “That’s not recovery,” he said. Then he tried a sip. Then he asked for the recipe. Then he bought his own milkshake maker the next week. True story.
Why you’ll love this: The protein from peanut butter and milk makes it more satisfying than a standard creamy milkshake. It’s dessert that sticks to your ribs.
6. Mint Chocolate Chip Milkshake (Shamrock Style)
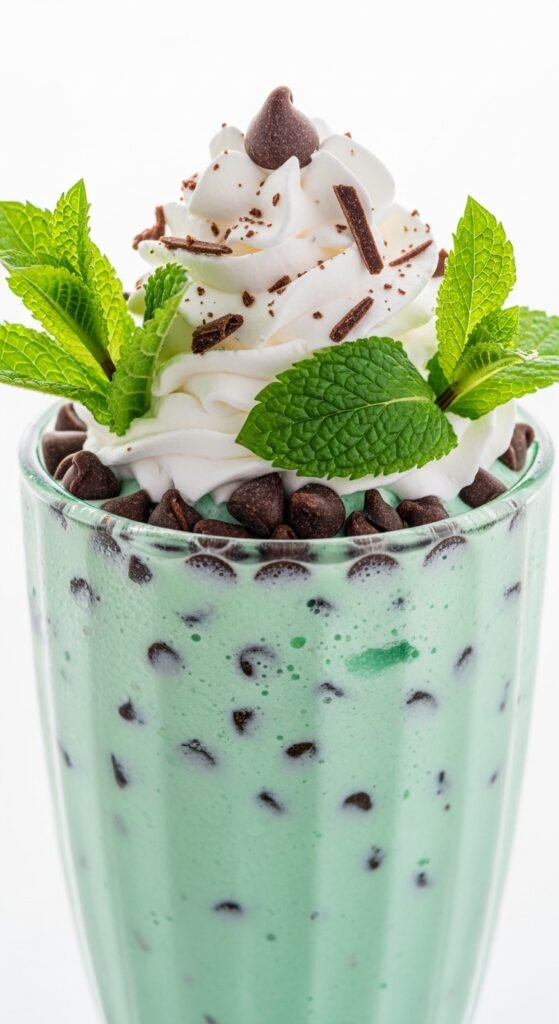
Mint and chocolate are a match made in dessert heaven. This mint milkshake is bright, cool, and refreshing—perfect for spring or any time you want to feel like a leprechaun with good taste.
Ingredients
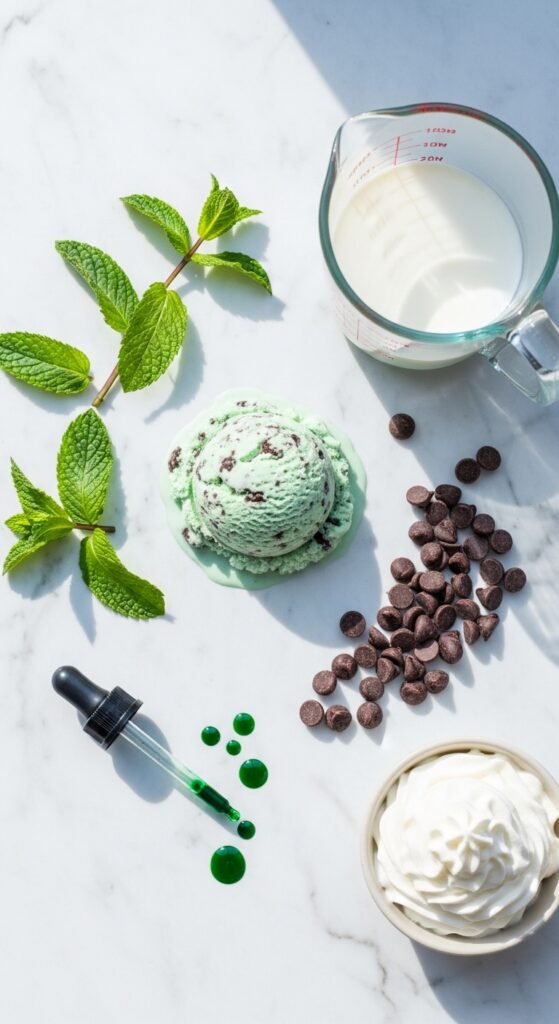
- 3 scoops mint chocolate chip ice cream
- ¼ cup whole milk
- ¼ teaspoon peppermint extract (for extra kick)
- Green food coloring (optional)
- Mini chocolate chips
Step-by-Step Guide
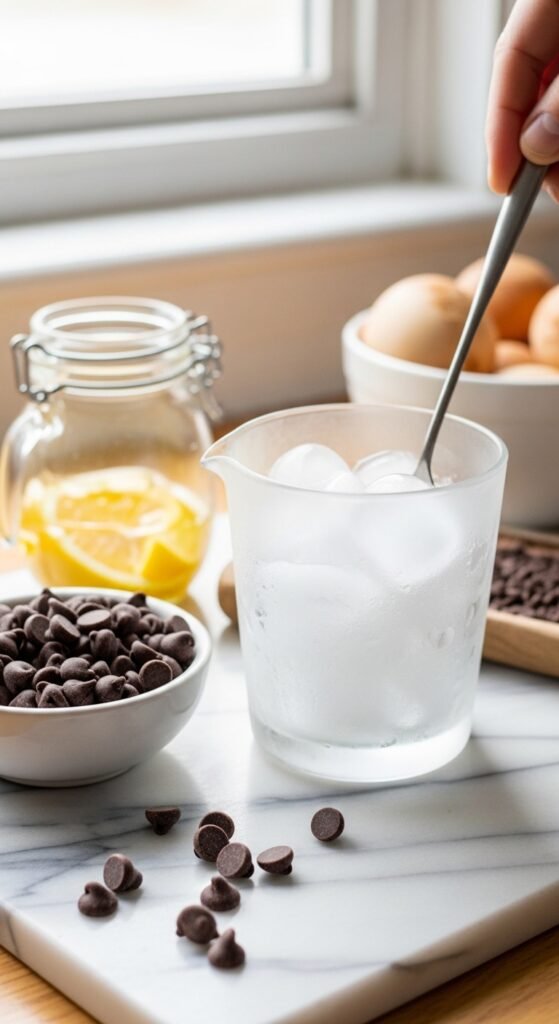
- Blend ice cream, milk, and peppermint extract until smooth.
- Add a drop of green food coloring if you want that “Shamrock” look.
- Stir in mini chocolate chips by hand after blending (blending breaks them too small).
- Pour and top with whipped cream and a chocolate mint wafer.
Keyword tip: This mint milkshake is a fan favorite in my milkshake recipe collection. It’s simple but unforgettable.
Pro tip: Freeze your glass with a thin layer of chocolate syrup inside for a crunchy shell effect.
7. Cookies and Cream Overload Milkshake
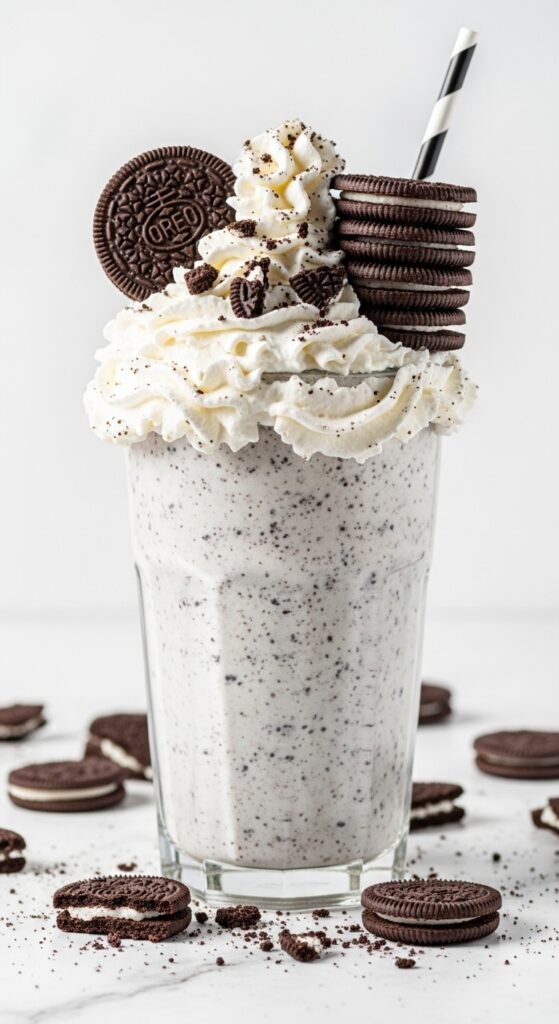
If you love Oreos, this is your shake. But we’re not just throwing cookies in a blender. No, no. We’re layering. We’re crumbling. We’re celebrating the cookies and cream milkshake like it’s a national holiday.
Ingredients
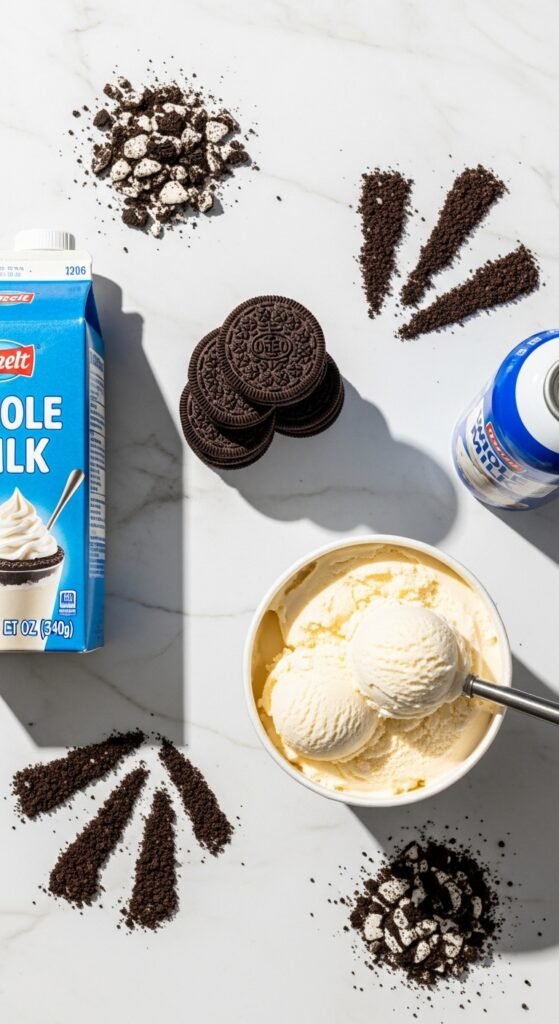
- 3 scoops cookies and cream ice cream (or vanilla with crushed Oreos)
- ¼ cup whole milk
- 6 Oreo cookies (3 whole, 3 crushed)
- 2 tablespoons white chocolate syrup
Step-by-Step Guide
- Crush 3 Oreos into fine crumbs. Set aside.
- Coarsely crush the other 3 Oreos.
- Blend ice cream, milk, and coarse Oreos until combined.
- Drizzle white chocolate syrup inside your glass.
- Pour half the shake, add a layer of fine crumbs, then pour the rest.
- Top with whipped cream, a whole Oreo, and a drizzle of white chocolate.
Anecdote: My teenage son once declared that “milkshakes are boring.” I made him this cookies and cream milkshake. He took one sip, looked at me with wide eyes, and said, “Okay. You win.” He now requests this every Friday night.
Why buy the blender? A quality milkshake blender crushes cookies evenly without turning them into dust. Dusty shakes are sad shakes.
8. Toasted Marshmallow S’mores Milkshake

Bonfire in a glass. That’s the only way to describe this s’mores milkshake. It has toasted marshmallow, chocolate, and graham cracker crunch. You don’t need a campfire. You just need a kitchen torch (or a patient toaster oven).
Ingredients
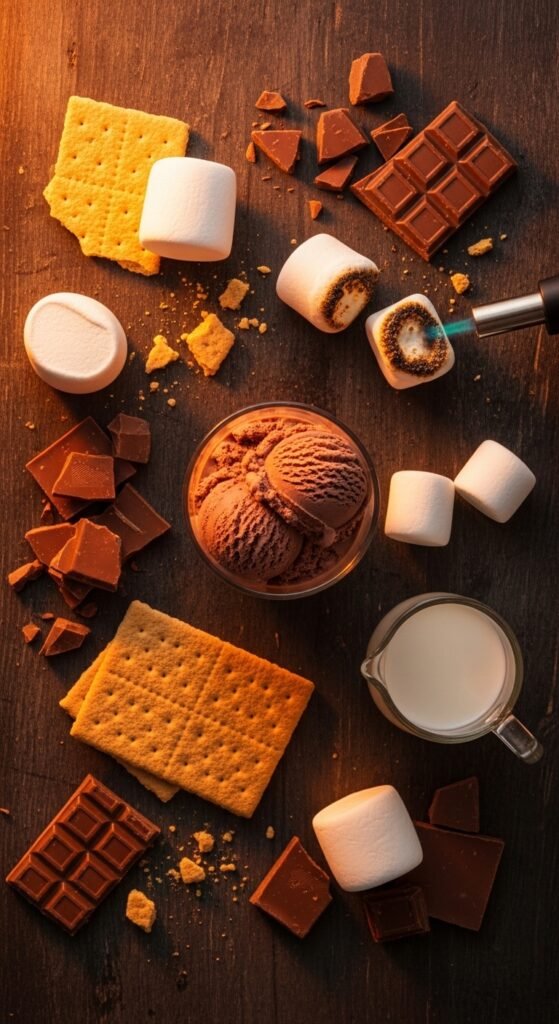
- 2 scoops chocolate ice cream
- 1 scoop vanilla ice cream
- ¼ cup whole milk
- 3 large marshmallows (toasted)
- 2 graham crackers (crushed)
- 2 tablespoons chocolate chunks
Step-by-Step Guide
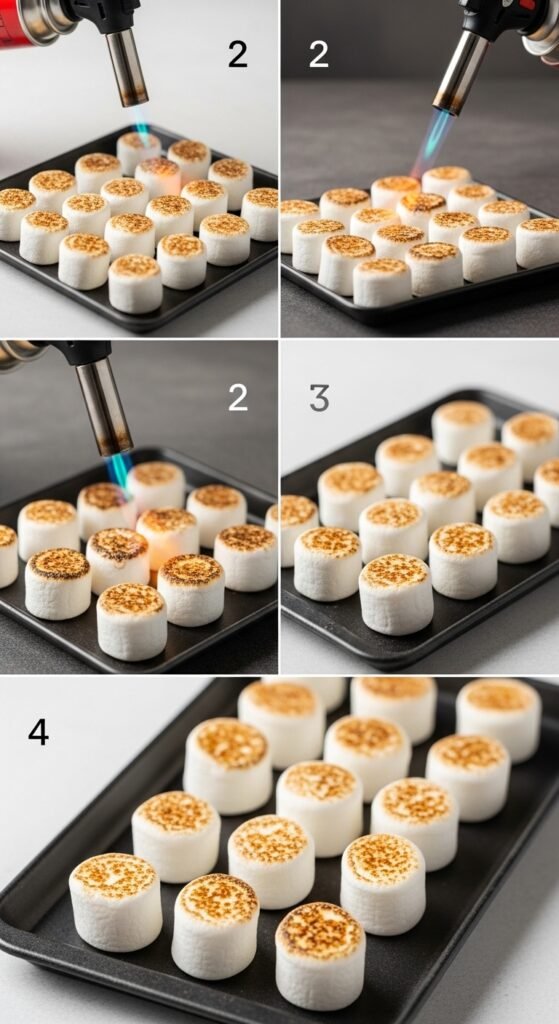
- Toast marshmallows over a gas flame or under a broiler until golden brown.
- Blend ice creams and milk until thick.
- Add half the toasted marshmallows and chocolate chunks, then pulse twice.
- Pour into a glass.
- Top with whipped cream, crushed graham crackers, remaining toasted marshmallow, and a drizzle of chocolate syrup.
Pro tip: For the ultimate thick milkshake, freeze your glass and your mixing cup beforehand.
Keyword focus: This s’mores milkshake is one of the 10 milkshake ideas that always gets the loudest “wow” at parties. People remember the toast.
9. Tropical Mango Coconut Milkshake (Dairy-Free Option)
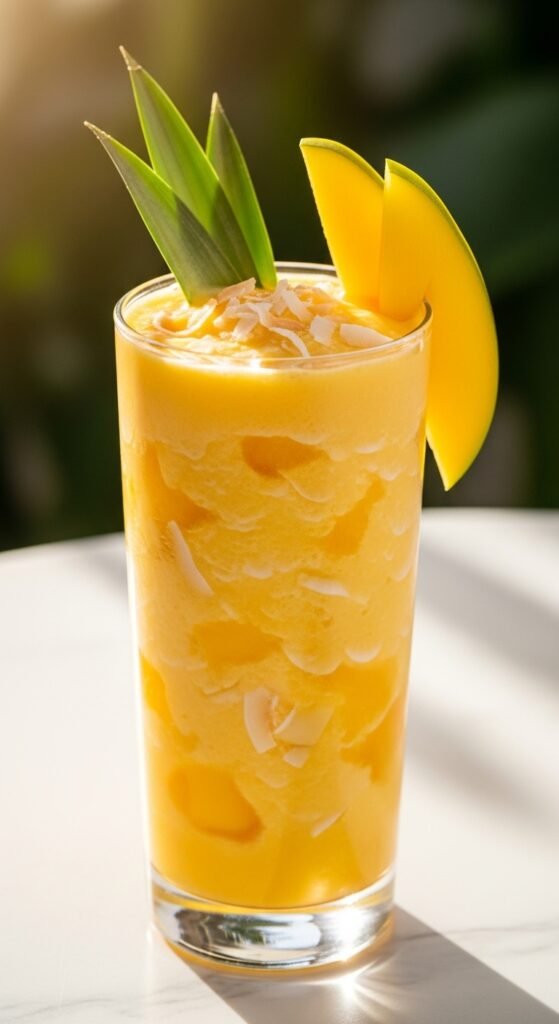
Not everyone wants dairy. That doesn’t mean you should miss out on creamy milkshake joy. This tropical version uses coconut milk ice cream and fresh mango for a fruity milkshake that tastes like a vacation.
Ingredients
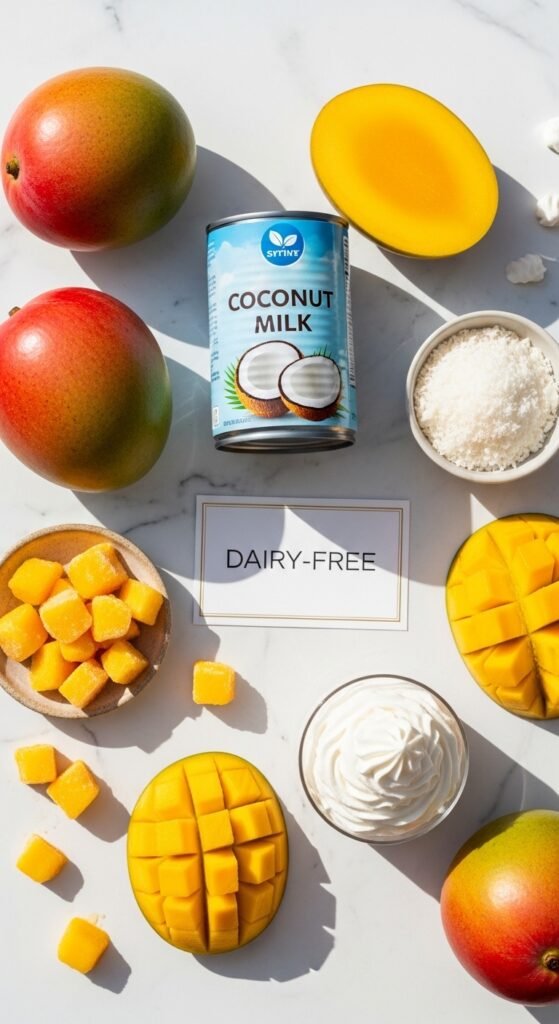
- 3 scoops coconut milk ice cream (or any dairy-free vanilla)
- ¼ cup full-fat coconut milk (from a can)
- 1 cup frozen mango chunks
- 1 tablespoon honey or agave
- Toasted coconut flakes
Step-by-Step Guide
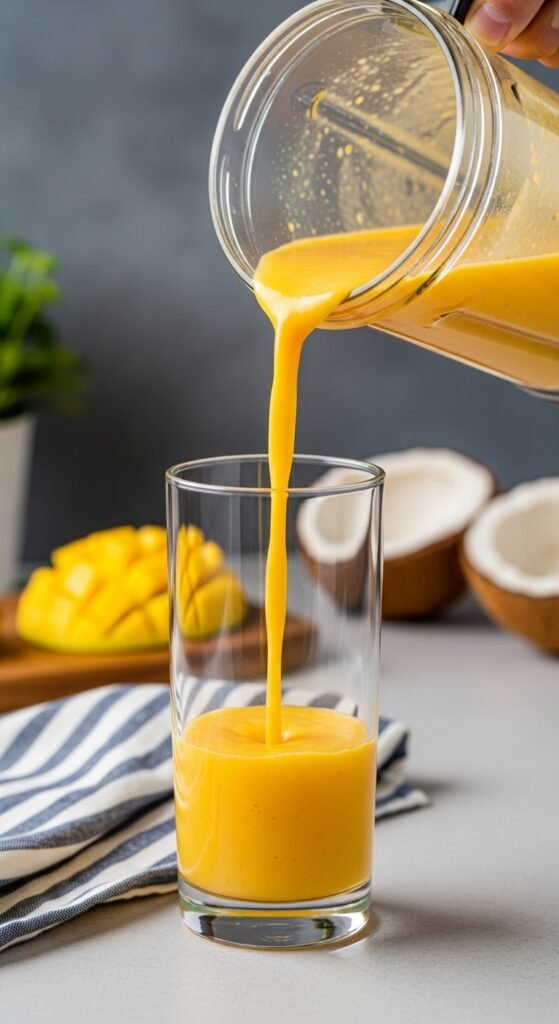
- Blend coconut milk ice cream, canned coconut milk, frozen mango, and honey.
- If it’s too thick, add 1 tablespoon more coconut milk.
- Pour into a glass.
- Garnish with toasted coconut flakes and a slice of fresh mango.
Anecdote: My aunt is lactose-intolerant and had given up on milkshakes entirely. She said they always made her feel sick. I made her this tropical milkshake using a plant-based milkshake blender setting, and she nearly cried. “I forgot what this felt like,” she whispered. That’s why I write these recipes.
Why you’ll love it: It’s dairy-free, but you’d never know. The coconut milk adds a natural sweetness and thickness that rivals any smooth milkshake made with cow’s milk.
10. Red Velvet Cake Batter Milkshake
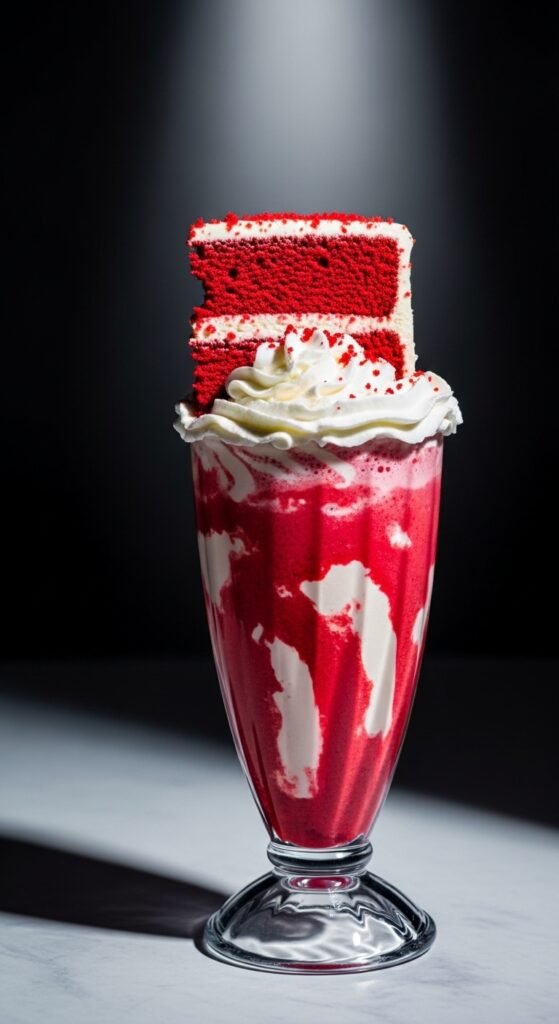
Finally, the showstopper. The birthday shake. The “I want to impress everyone on Instagram” shake. This red velvet milkshake uses actual cake crumbs and cream cheese frosting for a dessert that’s almost too pretty to drink. Almost.
Ingredients
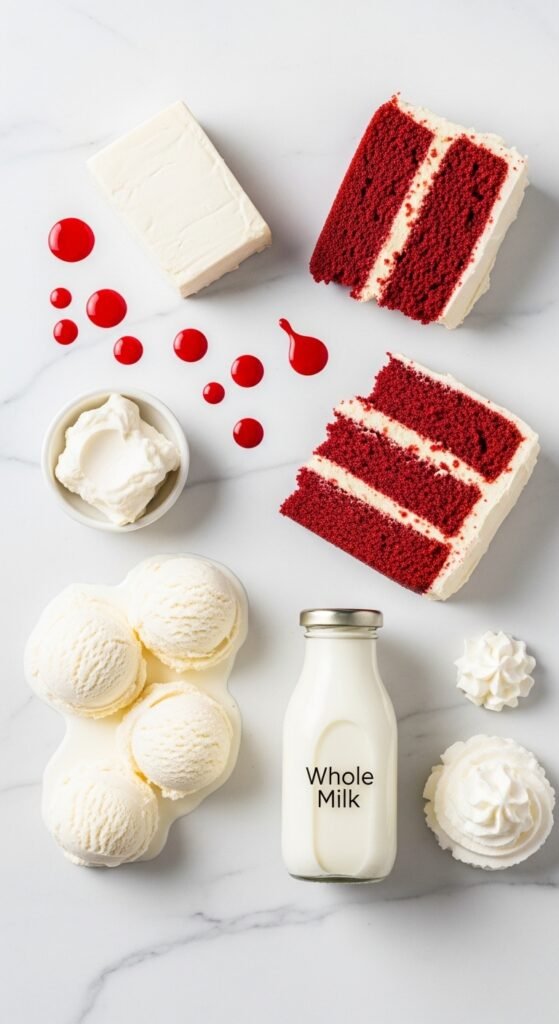
- 2 scoops red velvet ice cream (or vanilla + red food coloring + cocoa)
- 1 scoop cream cheese ice cream (or vanilla + 2 oz cream cheese)
- ¼ cup whole milk
- 1 slice red velvet cake (crumbled)
- 2 tablespoons cream cheese frosting
Step-by-Step Guide
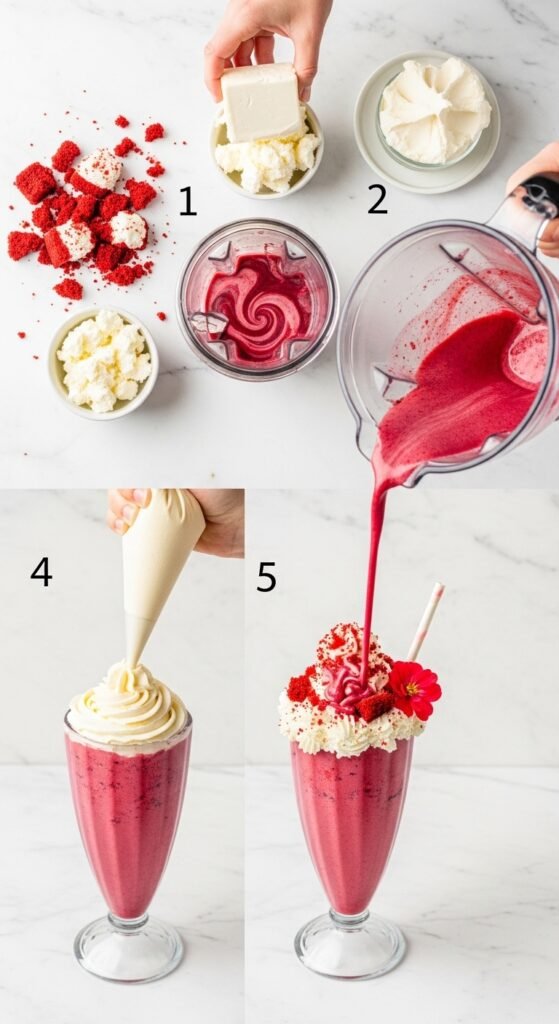
- Crumble half the red velvet cake into the bottom of your chilled glass.
- Blend ice creams and milk until thick.
- Pour half the shake over the cake crumbles.
- Add a layer of cream cheese frosting (dollop it in the center).
- Pour the remaining shake.
- Top with the rest of the cake crumbles, a swirl of frosting, and red sprinkles.
Pro tip: Use a milkshake blender with a paddle attachment if you have one. It folds in the cake without destroying the texture.
Keyword note: This red velvet milkshake is the crown jewel of these 10 milkshake ideas. It’s rich, indulgent, and completely unforgettable.
Anecdote: I made this for my wife on our anniversary. She took one look, laughed, and said, “You’re ridiculous.” Then she drank every last drop and asked me to marry her again. I didn’t, but I did make another shake.
Pro Tips for Mastering Any Milkshake Recipe

By now, you’ve seen the range—from vanilla milkshake classics to wild s’mores milkshake creations. Let’s solidify your skills with some universal advice.
1. Always Chill Your Glass
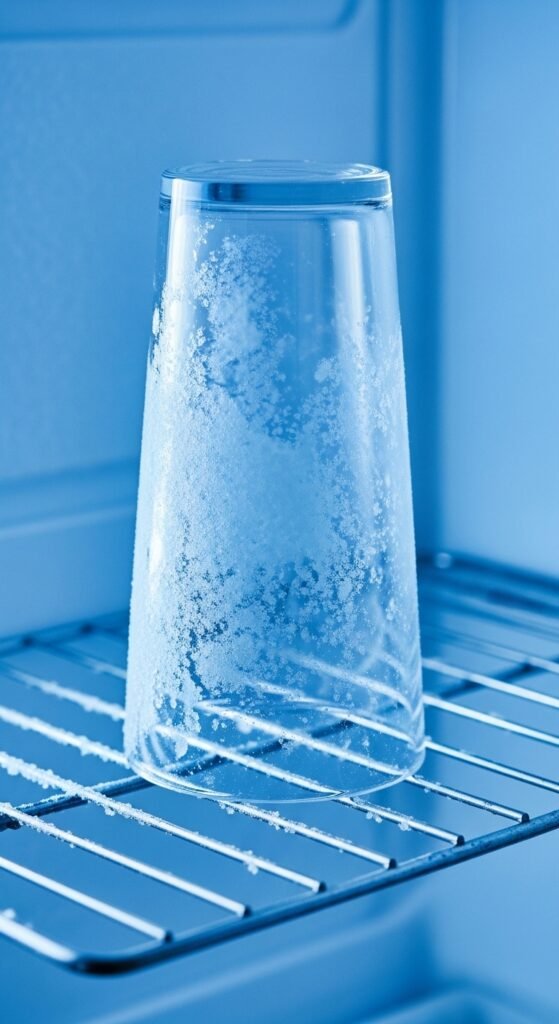
A warm glass melts the bottom of your shake instantly. Pop your glass in the freezer for 10 minutes before you start.
2. Use Full-Fat Ice Cream
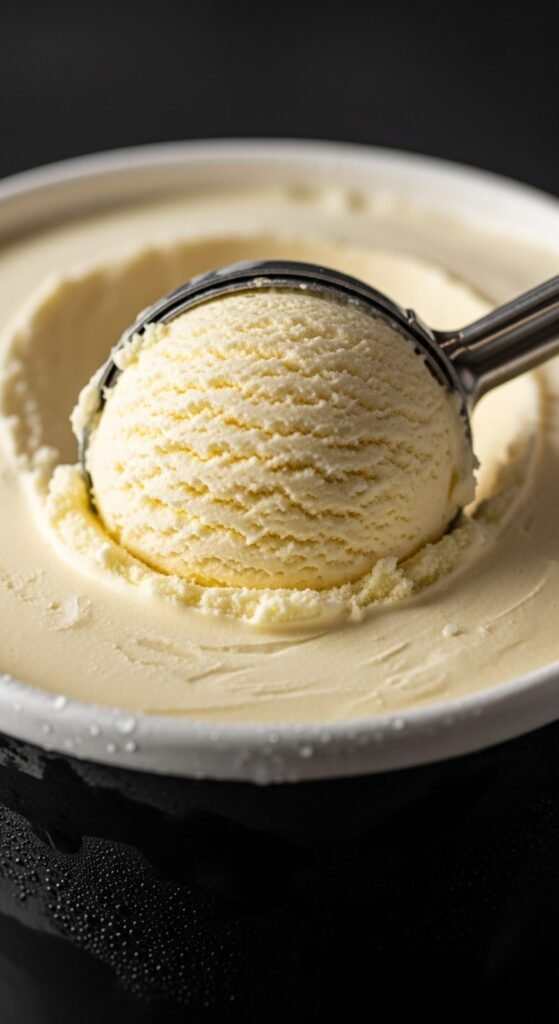
Low-fat or “diet” ice cream has more air and less fat. That equals a thin, icy shake. Splurge on the good stuff. Your creamy milkshake depends on it.
3. Milk Goes First
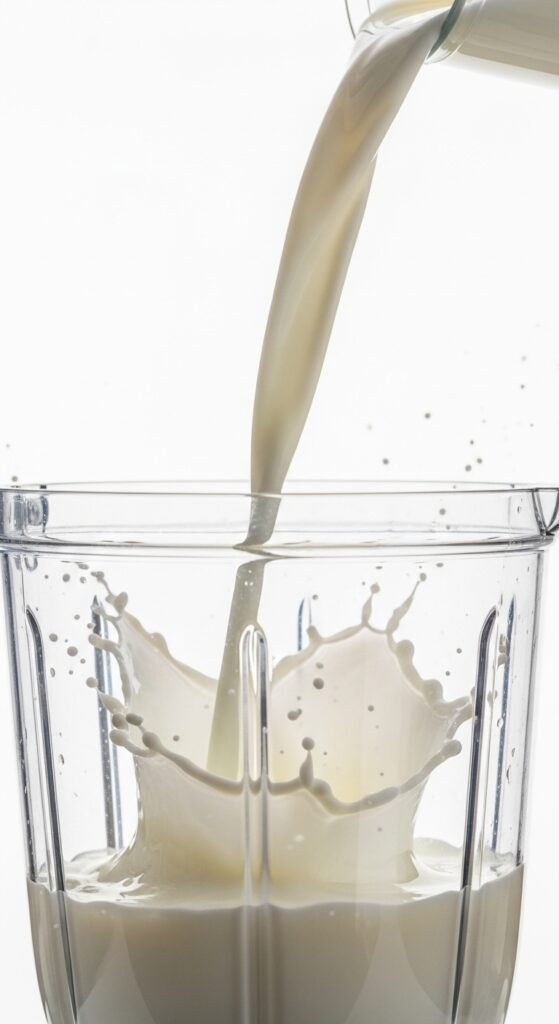
Adding milk before ice cream in your milkshake blender prevents dry ice cream from sticking to the blades. It also helps everything circulate better.
4. Don’t Over-Blend
A thick milkshake should be blended just until combined—about 20 to 30 seconds total. Over-blending melts the ice cream into liquid. If that happens, add another scoop of ice cream and pulse.
5. Layer Your Mix-Ins
Crushed cookies, brownie chunks, and fruit should be layered inside the glass, not just dumped on top. This creates texture in every sip.
Why You Need a Dedicated Milkshake Blender
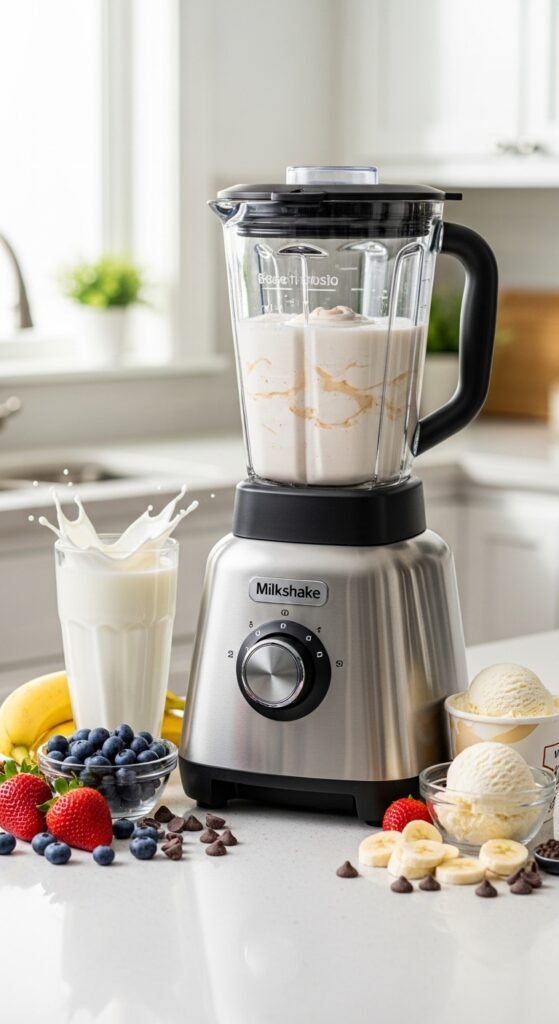
You might be thinking, “Can’t I just use my regular blender?” Sure. But here’s the thing: standard blenders are designed for smoothies and soups. They spin at 25,000 RPM or more. That much speed generates heat. Heat melts ice cream. Melted ice cream = sad milkshake.
A milkshake maker or milkshake blender spins slower (around 12,000 RPM) with a wider blade path. It folds air into the shake instead of beating it out. The result? A smooth milkshake that stays thick for 15 minutes instead of 15 seconds.
Top Features to Look For
- Slow start function to avoid splashing
- Dishwasher-safe cup (you’ll thank me)
- Metal drive system (plastic gears break)
- At least 500 watts of power
I personally use a retro-style milkshake maker with a chrome finish. It looks gorgeous on my counter, and it’s built like a tank. After three years and hundreds of shakes, it still whips up a perfect milkshake every single time.
Frequently Asked Questions (From Real Readers)
Q: Can I make these milkshakes without a special blender?
A: Yes, but expect a thinner result. Use the lowest speed on your regular blender and stop as soon as it’s combined. Better yet, use a handheld immersion blender in a tall cup.
Q: How do I make a vegan milkshake?
A: Use coconut or oat-based ice cream, plant milk (coconut or cashew work best), and skip the whipped cream or use coconut whip.
Q: My milkshake is too thick to drink. What now?
A: Add 1 tablespoon of milk at a time and stir with a spoon. Do not re-blend—that will melt it.
Q: Can I prepare milkshakes ahead of time?
A: Not really. A fresh milkshake is a beautiful thing. A refrigerated milkshake is a sad, separated science experiment. Make them to order.
Q: What’s the best ice cream brand for milkshakes?
A: Any premium brand with high butterfat content (like Häagen-Dazs, Ben & Jerry’s, or local creameries). Avoid “frozen dairy dessert” labeled products.
Final Thoughts: Your Milkshake Journey Starts Now
We’ve walked through 10 milkshake ideas, from the nostalgic vanilla milkshake to the over-the-top red velvet milkshake. We’ve talked technique, tools, and troubleshooting. More importantly, we’ve shared laughs, memories, and the kind of dessert joy that turns a bad day into a good one.
So here’s my challenge to you: Pick one recipe from this list. Just one. Go to the store, buy the ingredients, and make it tonight. Don’t wait for a special occasion. Don’t save it for guests. Make it for yourself.
And while you’re at it, invest in a quality milkshake blender or milkshake maker. Not because you need fancy equipment to be happy—but because you deserve a tool that makes the process effortless, consistent, and fun. Every time you pull that blender out, you’re not just making a drink. You’re making a moment.
Your Next Steps
- Save this article for future reference.
- Share it with a friend who loves dessert.
- Buy a milkshake blender today (your future self will high-five you).
- Tag me on social media with your creation—I genuinely want to see it.
Now go forth, blend boldly, and drink deeply. Life is short. Make it creamy.