
Chasing glass skin isn’t just about lighting a candle and hoping for the best. It’s a deliberate, loving ritual that transforms how your foundation sits on your face. When you marry the right glass skin foundation routine tips with your everyday makeup, you stop covering up and start showcasing luminous, almost reflective skin.
Many women believe glass skin is only for the genetically blessed or the heavily filtered. That’s simply not true. With the right sequence of preparation, product choices, and finishing moves, any skin type can wear foundation that looks like wet glass—smooth, plump, and radiant without feeling greasy or heavy.
1. Double Cleanse Without Stripping Your Natural Barrier
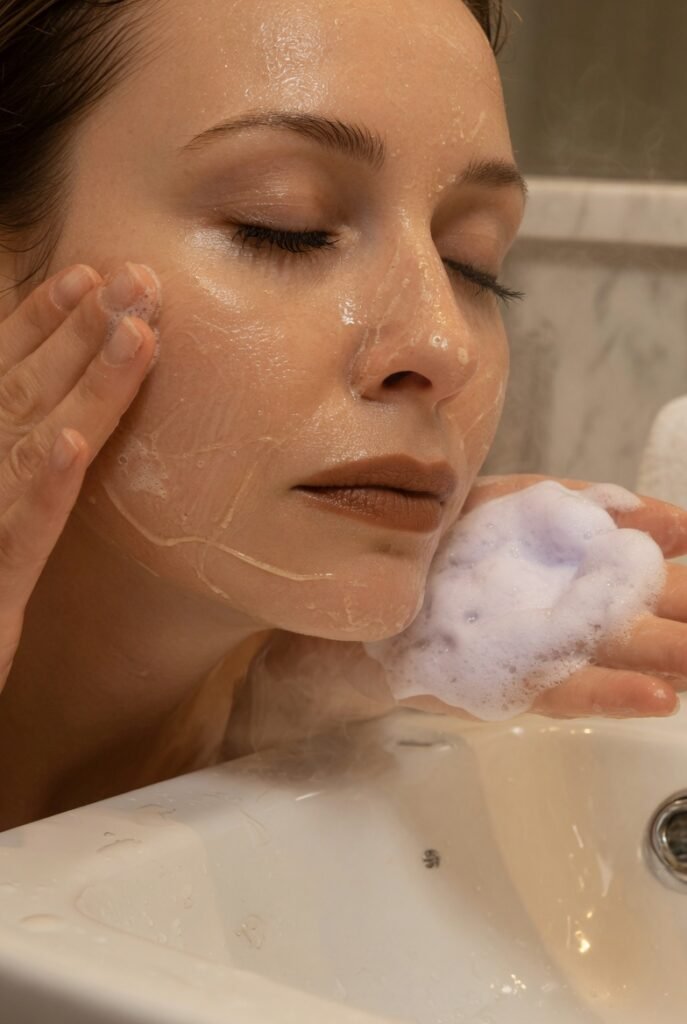
A truly luminous foundation application begins the night before, not minutes before your mirror session. Using an oil‑based cleanser first dissolves sunscreen, sebum, and any leftover makeup, while a water‑based second cleanse removes sweat and impurities. The goal is a squeaky‑clean canvas that still retains its natural moisture. If your skin feels tight or squeaky after washing, you have gone too far.
Glass skin foundation routine tips always emphasize gentle cleansing because a damaged moisture barrier cannot hold onto dewy foundation. Instead of harsh foams, look for creamy or milky textures that leave your face soft. Pat dry with a clean cloth—never rub—so your skin stays calm and ready to absorb the layers to come.
2. Layer a Hydrating Toner for That Plump, Bouncy Feel
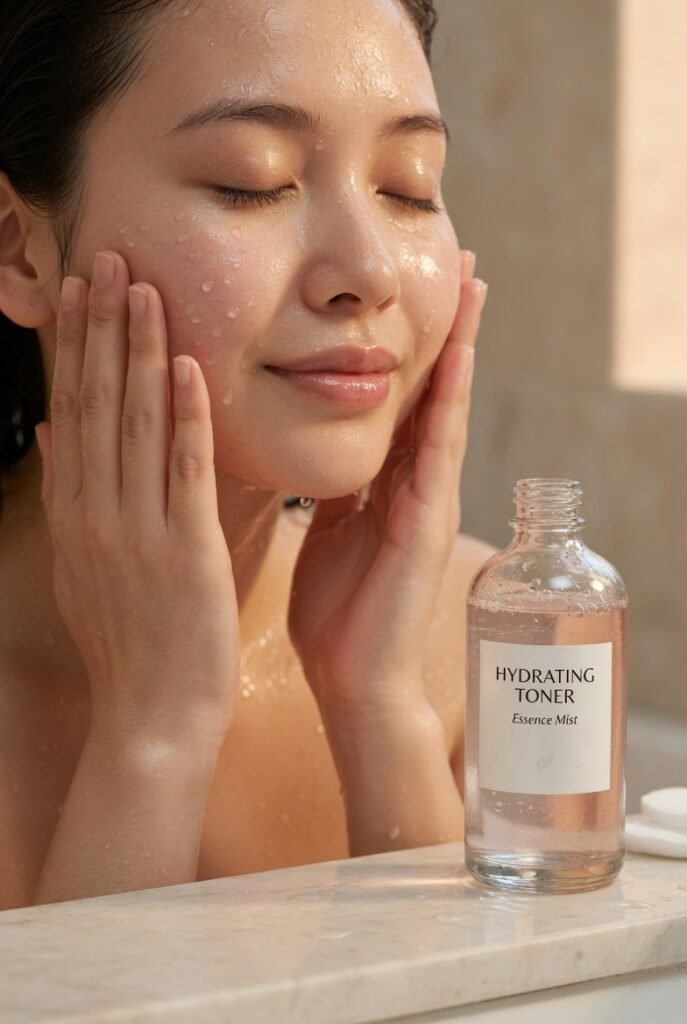
Many people skip toner, thinking it is an unnecessary step. But the right hydrating toner—often called a “skin softener” in Korean beauty—preps your face by lowering its pH and adding immediate moisture. Pour a small amount into your palms and press it gently into your skin, repeating two or three times. This is not about wiping; it is about building thin, absorbable layers.
When you pat on toner before foundation, you create a slightly tacky, springy surface that glass foundation adheres to beautifully. Think of it as wetting a sponge so it drinks up everything that follows. Without this step, even the most expensive foundation can sit on top of dry flakes or sink into fine lines. A hydrated face makes your base look naturally juicy, not painted.
3. Use a Elastic Serum to Bridge Skincare and Makeup
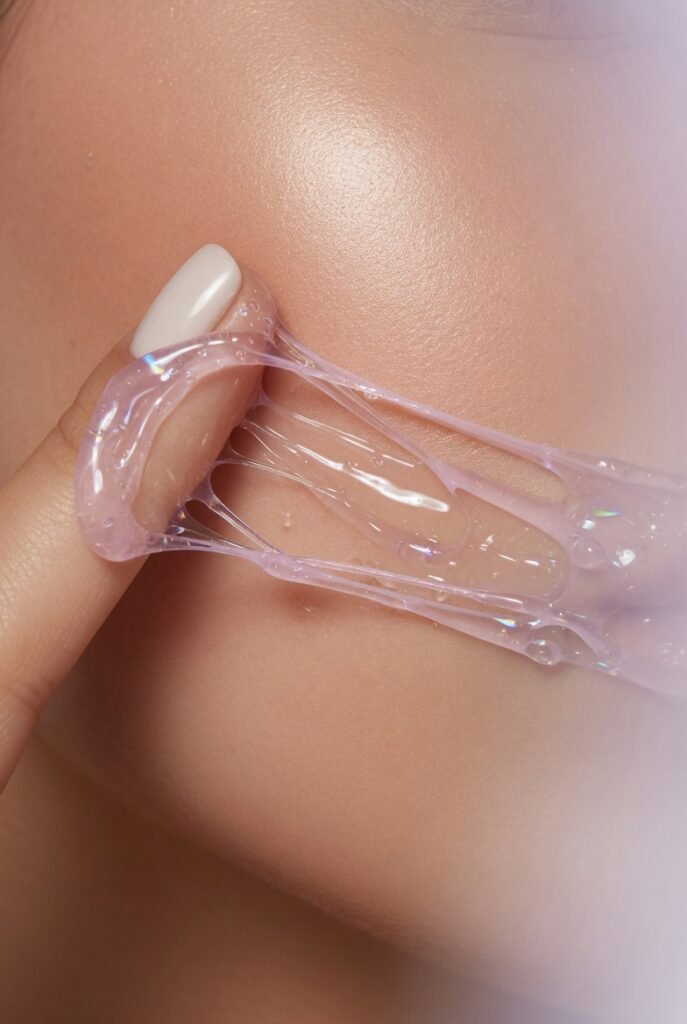
Serums that contain hyaluronic acid, glycerin, or beta‑glucan act like tiny magnets for moisture. After your toner, apply a few drops of an elastic, gel‑like serum and let it sink in for sixty seconds. This layer is crucial because it stops your foundation from absorbing into your skin and disappearing within an hour. Instead, the serum holds water just beneath the surface, giving you that coveted bounce.
Many glass skin foundation routine tips overlook the difference between a watery serum and a thicker, almost bouncy one. The bouncy texture mimics the natural elasticity of young skin, which helps foundation glide without tugging. You will notice that your concealer and base products blend twice as easily, with far less product needed to achieve full coverage that still looks transparent and healthy.
Also Read: 15 Ethereal Beauty Ideas to Transform Your Look into Dreamlike Art
4. Lock Everything With a Dewy, Non‑Greasy Moisturizer
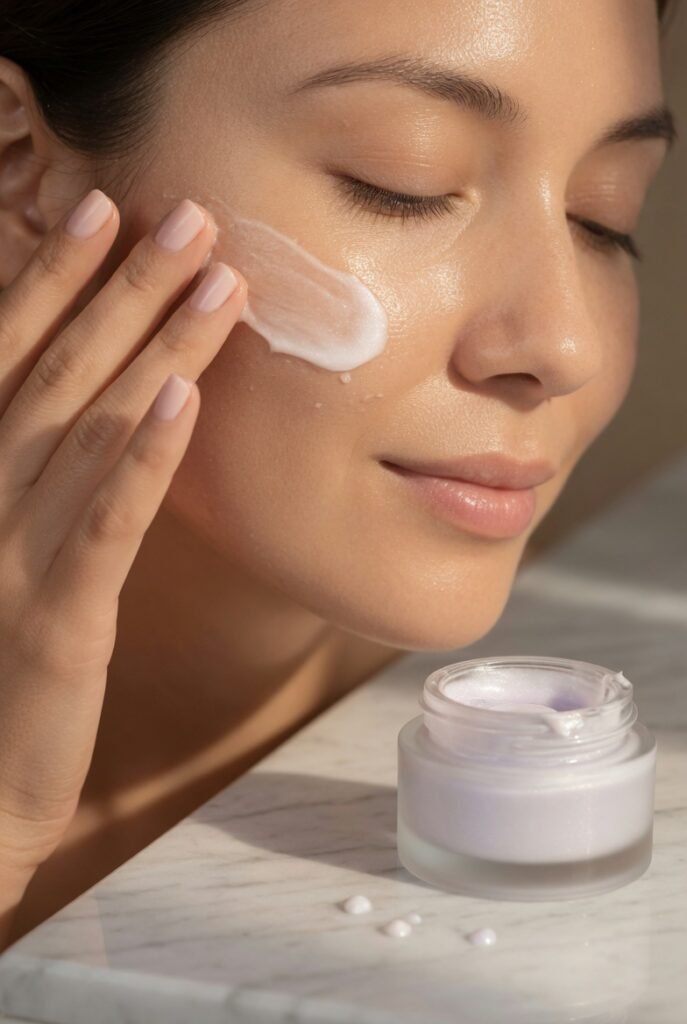
Moisturizer is the final skincare step before primer, but not just any cream will do. You need a dewy moisturizer that feels rich yet absorbs completely within two to three minutes. Avoid anything with a matte or velvety finish, because that will fight against the reflective look you are building. Look for words like “hydrating gel cream” or “moisture barrier repair” on the label.
Apply your moisturizer in upward sweeping motions, paying extra attention to the cheekbones, forehead, and chin—areas where light naturally hits. Wait a full two minutes before moving to foundation. This pause allows the cream to settle into your skin rather than sliding around on top. Following this sequence of glass skin foundation routine tips guarantees that your base makeup will not pill, crack, or turn patchy by midday.
5. Choose a Gripping, Hydrating Primer for Long Wear
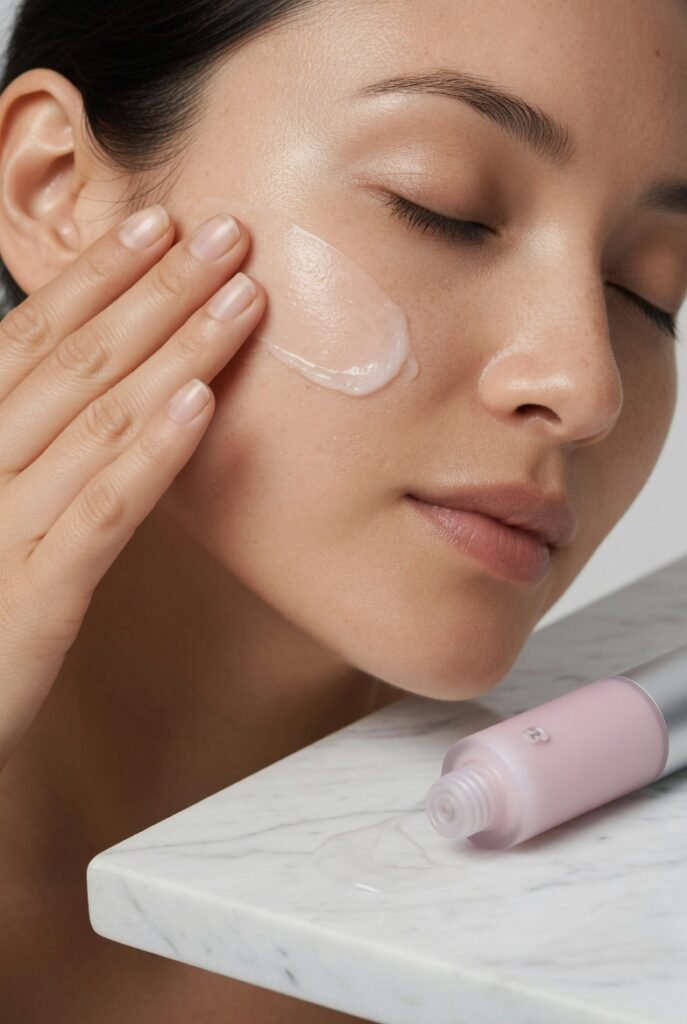
Primer often gets blamed for pilling or breaking down foundation, but that happens when formulas clash. For glass skin, you want a water‑based or gel‑based primer with a slightly tacky finish, not a slippery silicone feel. This type of primer creates microscopic suction that holds your foundation in place while adding another layer of hydration. Apply it only where you need extra smoothness—usually the cheeks, nose center, and chin.
Many women skip primer thinking moisturizer is enough, but the two serve different purposes. Moisturizer feeds your skin; primer creates a temporary web that catches pigment evenly. When you follow these glass skin foundation routine tips, you will notice that your foundation does not settle into pores or slide off by lunchtime. A gripping primer also reduces the amount of foundation you need, because every drop spreads further on a prepared surface.
6. Mix a Liquid Highlighter Into Your Foundation
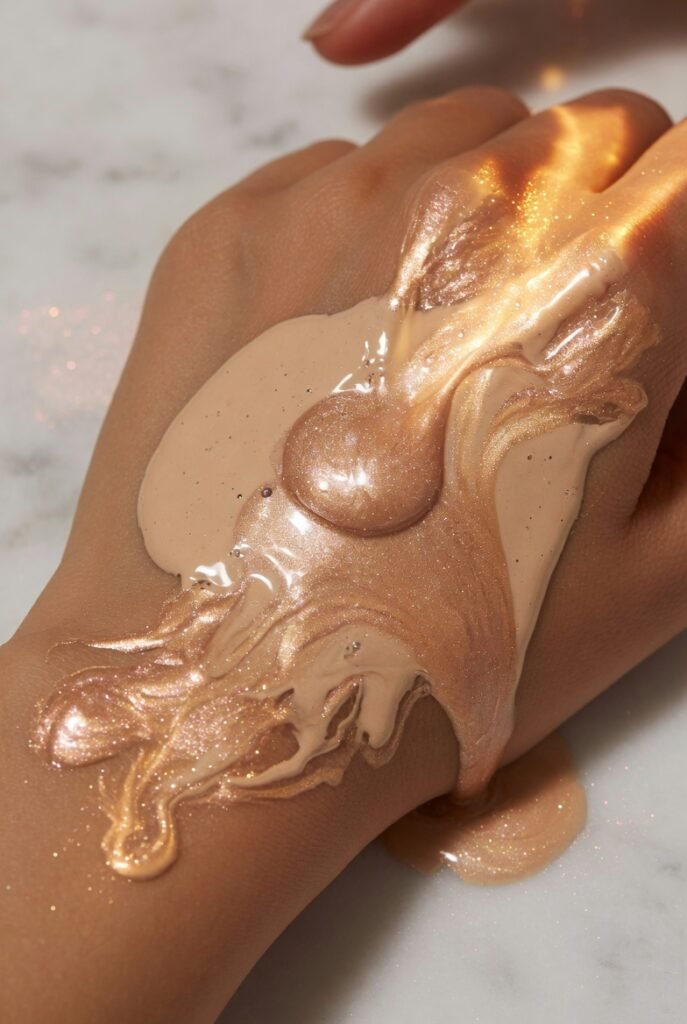
One of the most effective secrets for achieving glass skin is to custom‑blend your foundation with a few drops of liquid highlighter right on the back of your hand. Choose a highlighter that has a fine pearl or champagne shimmer, not chunky glitter. Mixing ratios matter: start with one part highlighter to three parts foundation, then adjust based on how much glow you want. This technique ensures an all‑over radiance rather than isolated streaks.
When you apply this custom mixture with a damp sponge, the light scatters evenly across your face. Do not powder over it heavily, or you will lose the effect. Many glass skin foundation routine tips warn against adding too much shimmer, which can look oily. The goal is a wet sheen, not a disco ball. Test the mix on your jawline first; if you can still see your natural skin texture underneath, you have the perfect balance.
7. Apply With a Damp Sponge in Patting Motions
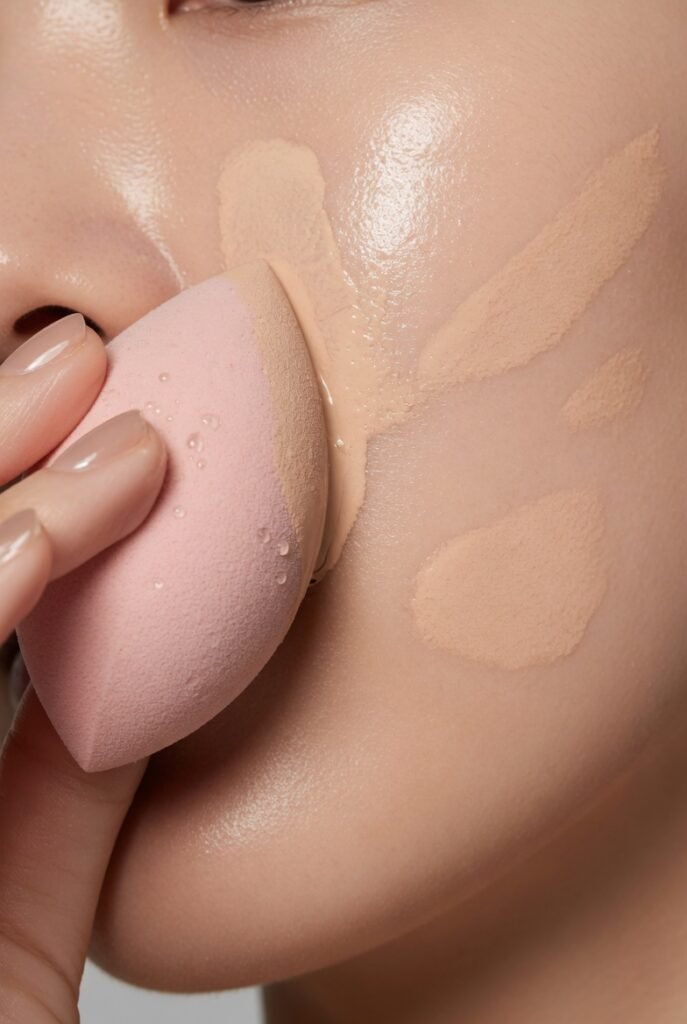
How you apply foundation changes the final finish more than the brand itself. A dense brush can buff product into dry patches, while fingers often leave streaks. The most reliable tool for glass skin is a soft, damp makeup sponge that has been squeezed until it is just moist, not dripping. Use a patting motion—never dragging—to press the foundation into your skin like you are stamping it on.
The patting motion forces the liquid into every tiny depression and pore, filling them evenly so light reflects without shadows. Dragging, on the other hand, lifts up dry flakes and creates a streaky appearance. When you master this application method as part of your glass skin foundation routine tips, you will see that even a medium‑coverage foundation looks like your own skin, only far more luminous. Work in small sections, and do not go back over an area once it has set.
8. Concentrate Coverage Only Where You Need It

Glass skin is not about masking your entire face in an even layer of pigment. In fact, that approach usually looks heavy and artificial. Instead, apply a thin, all‑over wash of your foundation mixture, then add a second, tiny amount only to areas with redness, dark spots, or uneven tone. Typically these are around the nose, the center of the forehead, and the chin. Leave the outer edges of your face and the high cheekbones with the sheerest possible layer.
This selective coverage technique preserves the natural shadows and highlights that make skin look real and three‑dimensional. Many glass skin foundation routine tips fail to mention that too much product is the number one killer of the glass effect. When foundation builds up, it stops light from passing through to your actual skin. By keeping the majority of your face almost bare under a thin veil, you achieve that coveted translucence that glass skin is known for.
9. Set Only the Oiliest Zones With Loose Powder

Powder is the enemy of glow, but a complete lack of powder leads to foundation sliding off within hours. The compromise is strategic, minimal powdering. Using a small, fluffy brush, tap a whisper of translucent loose powder only onto your T‑zone—forehead, nose, and chin. Avoid the cheeks, under‑eyes, and temples entirely. The powder should be invisible; if you see a matte finish, you have used too much.
Let your natural warmth set the rest of your face. As you go about your day, the un‑powdered areas will stay dewy while the T‑zone remains intact. Following this specific advice among all glass skin foundation routine tips prevents the common mistake of dusting powder everywhere, which instantly kills radiance. Remember that glass skin looks slightly wet, not powder‑soft. A tiny bit of powder is your insurance policy, not your finishing move.
10. Use a Fixing Spray With Glycerin or Pearl Particles
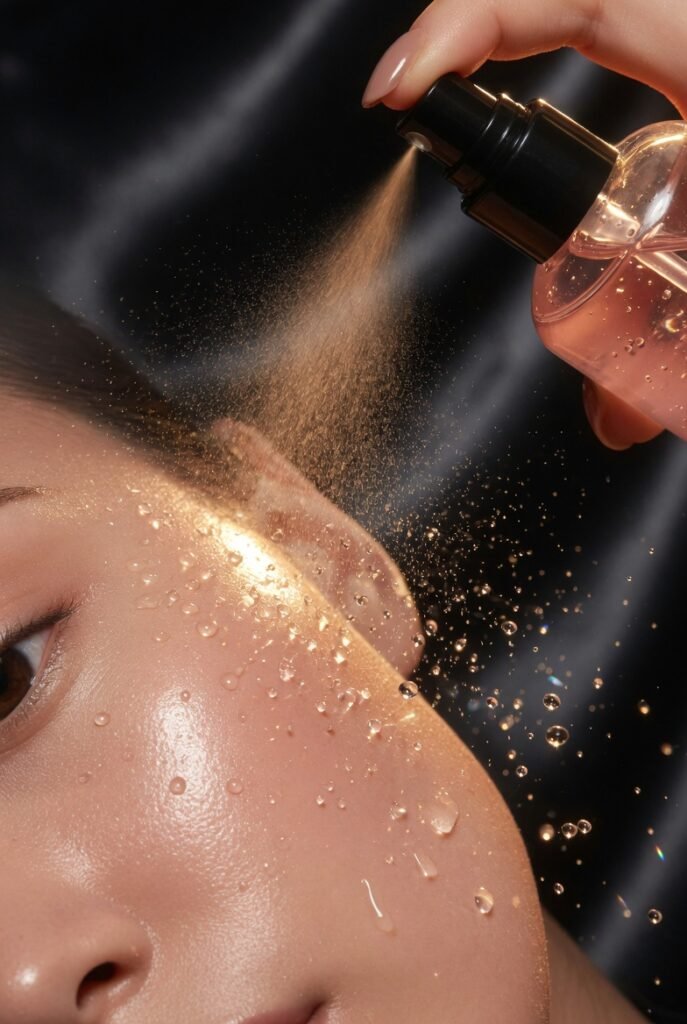
Setting sprays come in two families: alcohol‑based (which dry down matte) and glycerin‑based (which lock in moisture). For glass skin, you need a glycerin‑rich fixing spray, ideally one that also contains fine pearl particles or skin‑illuminating polymers. Hold the bottle eight inches from your face and mist in a gentle “X” and “T” motion. Do not drench yourself—two to three fine spritzes are enough.
The spray melts all your powder and foundation layers into one seamless film. As the water evaporates, the glycerin remains, attracting ambient moisture to your skin throughout the day. Many glass skin foundation routine tips underestimate the power of a well‑chosen setting spray. It can revive a foundation that looks dry after powdering and extends wear for hours. Avoid sprays that claim a “matte finish” or “poreless look,” as those work against your goals.
11. Blot, Don’t Powder, for Midday Touch‑Ups
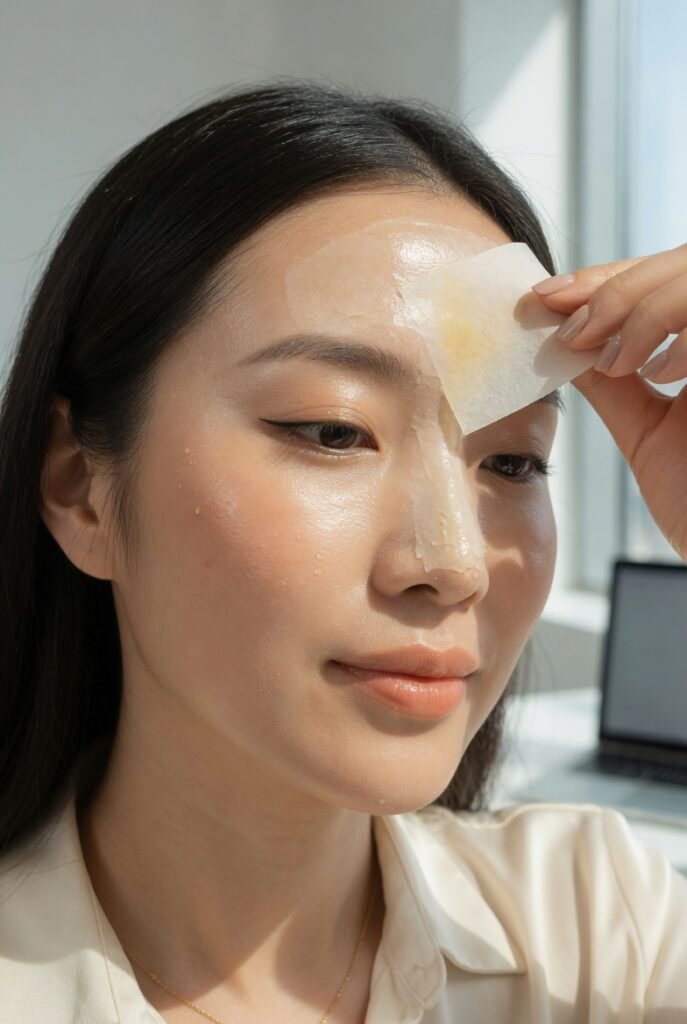
Around three or four hours after application, you may notice some shine breaking through—especially if you have oily skin. The natural reflex is to reach for pressed powder, but that adds another opaque layer. Instead, use a clean blotting paper or the tissue‑separator trick: tear a thin tissue in half, press it gently over shiny areas, and lift. The tissue absorbs excess sebum without disturbing the foundation underneath.
After blotting, take a fresh damp sponge (kept in a small case) and lightly tap over any areas where the foundation has separated. Do not add more product. This technique restores the original finish without building up texture. Among all glass skin foundation routine tips, learning to blot rather than powder is what separates a midday meltdown from an all‑day glow. Powdering repeatedly leads to a cakey, cracked appearance by evening, while blotting keeps your skin breathing.
12. Finish With a Facial Mist for Instant Renewed Radiance

The final step to maintain glass skin throughout the day is a fine facial mist that contains no alcohol. Look for mists with rose water, green tea, or hyaluronic acid. After blotting or whenever your skin feels tight, close your eyes and spritz lightly from a distance. The tiny droplets settle onto your foundation without displacing it, restoring the wet‑looking sheen that faded over time.
This last step also helps any powder you applied earlier to settle back into a natural finish. Many people stop at setting spray in the morning and never revisit hydration later. But true glass skin foundation routine tips acknowledge that skin changes over ten hours. A quick mist at 2 PM re‑activates the glycerin and pearl particles from your morning routine, making your foundation look freshly applied without any extra product. Keep a travel‑size mist in your bag, and your glass skin will last from dawn to dinner.
Conclusion
Achieving that glassy, lit‑from‑within look isn’t about expensive products or perfect genes—it’s about sequence, patience, and the small choices you make before your brush ever touches your face. Each of these 12 glass skin foundation routine tips builds on the last, from double cleansing to the final afternoon mist. Start by adopting just three or four of these habits, and you will notice your foundation behaving differently: blending smoother, lasting longer, and reflecting light instead of absorbing it. The goal is never to hide your skin but to celebrate it with a finish that feels as fresh as morning dew. Your dewiest, most radiant complexion is closer than you think.