There’s a moment in late spring when the farmer’s market explodes with color. Little green baskets overflow with fresh strawberries so red and fragrant they practically hum. I remember standing there two years ago, my toddler tugging at my sleeve, as an elderly farmer handed me a single berry. “Taste this,” she said. “Then tell me you still want the store-bought stuff.”
I bit into it. Sweetness exploded like a tiny firework. My eyes actually widened. That single bite changed everything. Right then and there, I decided I would learn how to make homemade strawberry jam—not the sugary, gelatinous spread from the supermarket, but the real deal: chunky, jewel-bright, and bursting with real fruit.
And friend, let me tell you: once you go homemade, you never go back.
In this article, I’m going to walk you through everything. From selecting the perfect berries to sealing your first jar. I’ll share my own kitchen disasters (including that time I accidentally made strawberry syrup instead of jam) so you can avoid them. By the end, you won’t just understand how to make this glorious spread—you’ll feel confident enough to gift it, sell it, or hoard it all for yourself.
So grab a spoon. Let’s dive in.
Why Homemade Strawberry Jam Beats Store-Bought Every Time
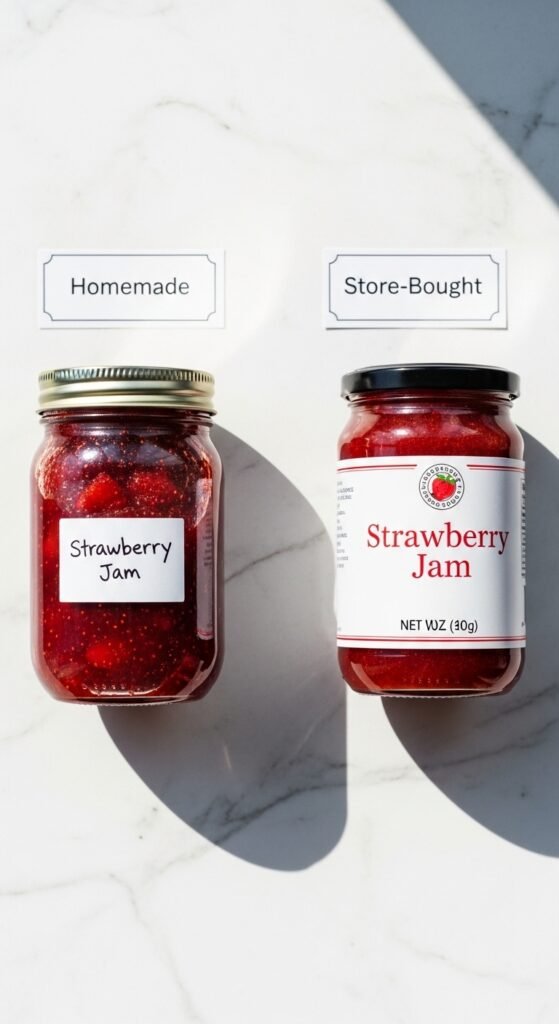
Before we get our hands sticky, let’s talk honestly. You might be thinking, “Why should I bother? I can buy a jar for three bucks.”
I get it. I thought the same thing. But then I compared labels.
Most commercial jams contain high fructose corn syrup, artificial preservatives, and only about 35% actual fruit. The rest is sugar water and pectin fillers. Meanwhile, homemade strawberry jam uses three to four ingredients: strawberries, sugar, lemon juice, and sometimes pectin. That’s it. You control the quality. You control the sweetness.
Moreover, the taste difference is night and day. Store-bought jam often tastes candied and flat. Homemade jam tastes like sun-warmed strawberries captured in a jar. It has texture. It has brightness. It has soul.
Still not convinced? Let me tell you a short story.
Last summer, my neighbor’s son came over for pancakes. He was a picky eater—chicken nuggets and ketchup kind of kid. I offered him my homemade strawberry jam. He stared at the little seeds and chunky bits suspiciously. “It looks weird,” he said. But after one tiny taste, his eyes went wide. He ate three pancakes. Then he asked if he could take a jar home. His mom texted me that night: “What did you put in that jam? He asked for strawberries at the grocery store.”
That’s the power of real food. It changes people.
The Emotional Connection: More Than Just a Spread
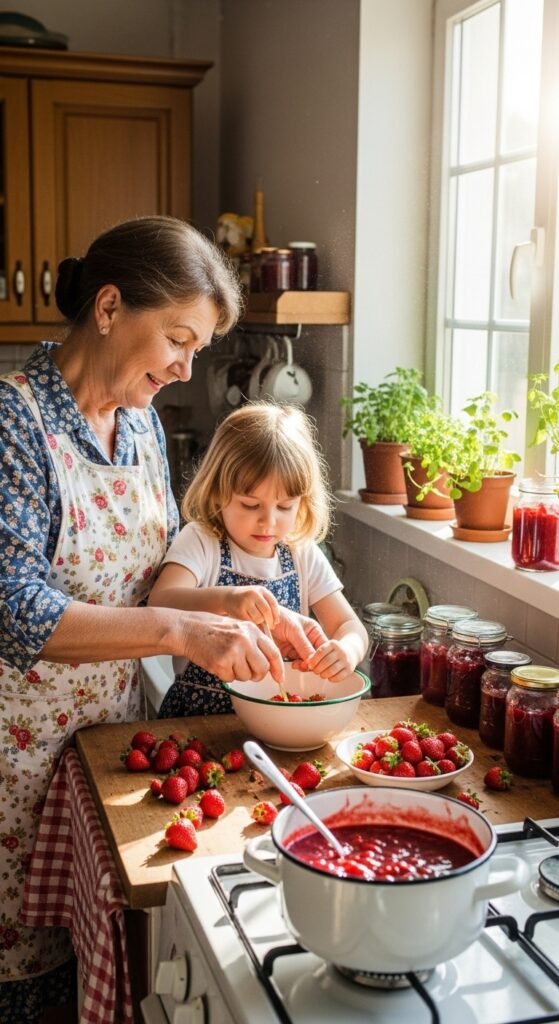
Let’s get a little sappy for a second. Homemade strawberry jam isn’t just food. It’s memory. It’s summer mornings with screen doors slamming. It’s your grandmother’s apron dusted with flour. It’s the first time you successfully sealed a jar and heard that satisfying pop.
I remember learning from my Aunt Clara when I was twelve. She didn’t use recipes. She used her eyes and her tongue. “Too much sugar ruins the berry,” she’d say, adding lemon juice drop by drop. “And never, ever walk away while it’s boiling.” She’s gone now, but every time I make her jam, I feel her standing next to me.
That’s the gift you’re giving yourself by learning this craft. You’re not just making preserves. You’re creating a tradition.
Essential Tools You’ll Need (Nothing Fancy, Promise)
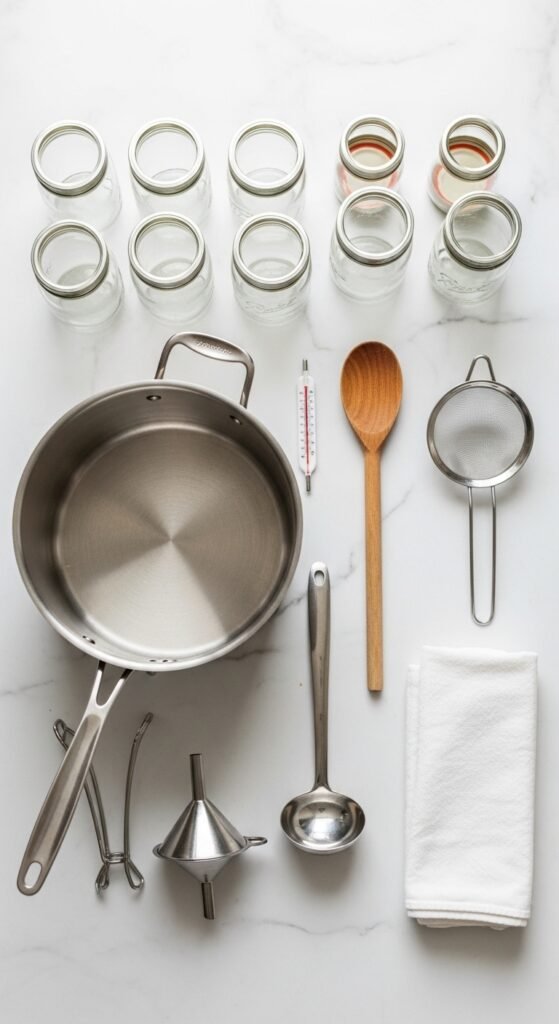
You don’t need a professional kitchen or expensive gadgets. Here’s my no-nonsense list:
- A large, heavy-bottomed pot (Dutch oven works perfectly)
- A potato masher or fork
- Canning jars with new lids (Mason jars are classic)
- A jar lifter or sturdy tongs
- A wide-mouth funnel (saves so much mess)
- A candy thermometer (helpful but not mandatory)
- Clean dish towels
- A ladle
That’s it. Most of these you probably already own. If not, a basic canning kit costs less than a pizza dinner.
Choosing the Best Strawberries: The Golden Rule
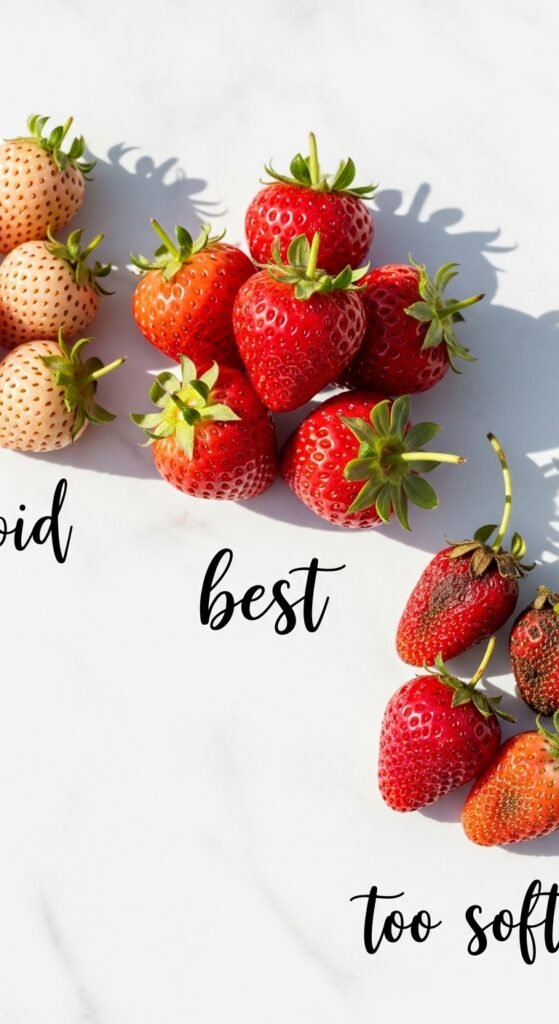
Here’s where most people mess up. They think the biggest, prettiest berries make the best jam. Wrong.
For homemade strawberry jam, you want ripe, slightly soft, deeply red strawberries. The ones that smell like a strawberry field on a hot day. The ones that leave red juice on your fingertips.
Why? Because underripe berries lack pectin and flavor. Overripe berries turn mushy and can make your jam runny. You want the sweet spot: firm enough to hold shape but soft enough to bruise if you squeeze too hard.
Pro tip from my failures: Don’t wash strawberries until you’re ready to use them. Moisture invites mold. Also, remove the green tops with a paring knife—not too much flesh, just the leaves and stem.
I once used gorgeous, picture-perfect berries from a chain grocery store. They were hard as rocks. The jam came out pale, sour, and thin. I nearly cried. Now I buy from local farms or pick my own. The difference is staggering.
The Ultimate Guide to Parmesan Crusted Tilapia: A Crispy, Buttery Dinner Miracle
Step-by-Step Guide to Perfect Homemade Strawberry Jam
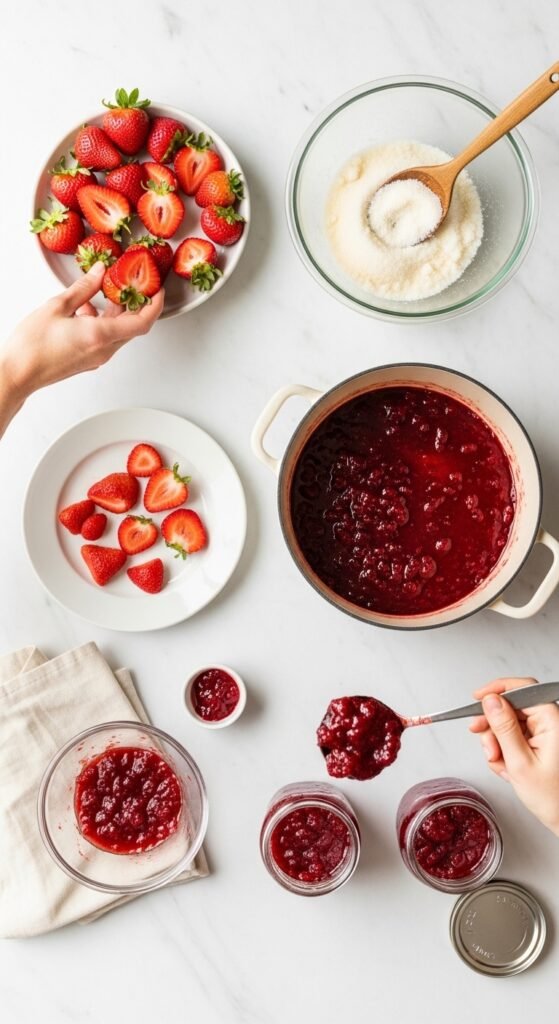
Alright, sleeves rolled up. Let’s make magic. This recipe yields about 4 half-pint jars. You can double it, but don’t triple it—large batches cook unevenly.
Step 1: Prep Your Berries (15 minutes)
Take 2 pounds of fresh strawberries (about 6 cups whole). Rinse them gently in cool water. Pat dry with a towel. Remove the green tops. Then chop them into small chunks—quarter or eighth pieces. Some folks mash them completely. I prefer a chunky texture, so I leave some small pieces intact.
Keyword alert: Using fresh strawberries gives you the highest natural pectin content, meaning your jam will set better without added thickeners.
Step 2: Macerate with Sugar (30–60 minutes)
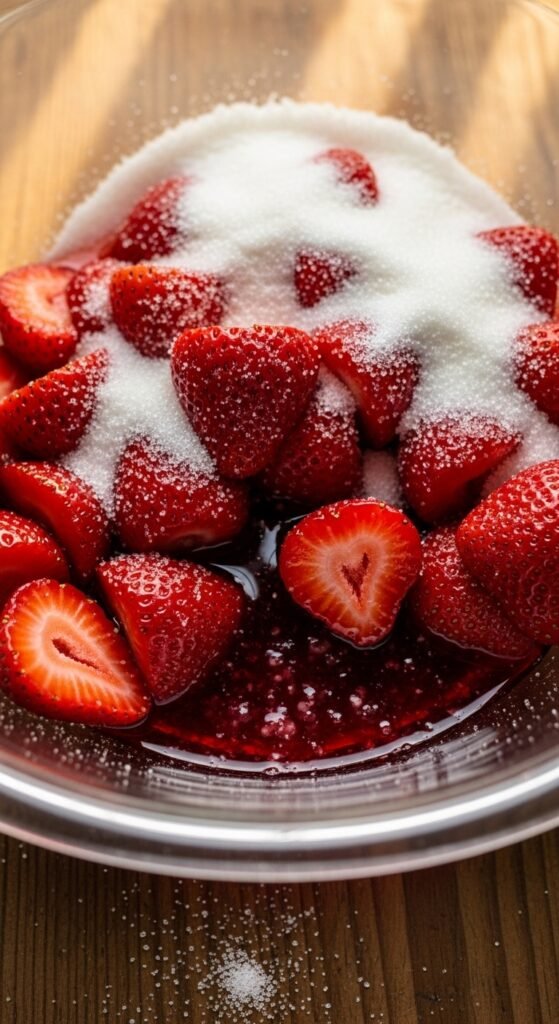
Place your chopped berries in a large bowl. Add 4 cups of granulated sugar. Yes, that sounds like a lot. But trust the process. Stir gently. Then cover and let it sit at room temperature for at least 30 minutes. During this time, the sugar pulls out the berry juices, creating a beautiful red syrup.
This step is called maceration. It’s not just science—it’s flavor magic. The sugar helps the berries hold their shape during cooking.
Anecdote time: The first time I did this, my four-year-old snuck a spoonful of the sugary berry mixture. He ran around the kitchen yelling, “Strawberry candy! Strawberry candy!” for an hour. So maybe hide the bowl if little hands are nearby.
Step 3: Cook the Jam (20–30 minutes)
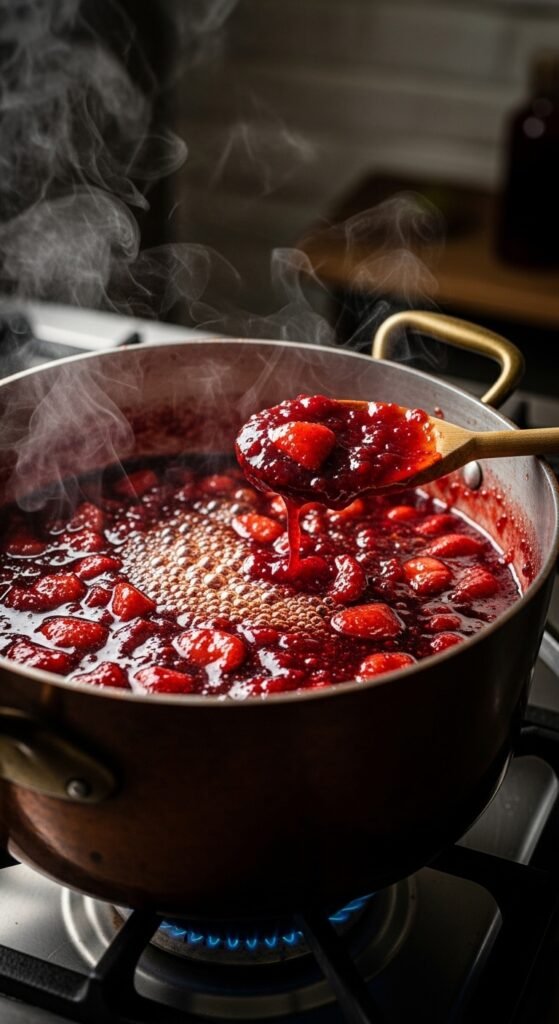
Pour the berry-sugar mixture into your heavy-bottomed pot. Add 2 tablespoons of fresh lemon juice. Lemon juice does three things: it brightens the flavor, helps the jam set, and balances the sweetness.
Turn the heat to medium. Stir occasionally. As it heats, foam will rise to the top. Skim it off with a spoon (or don’t—the foam is harmless but looks less pretty). Bring the mixture to a full rolling boil—that means it keeps boiling even when you stir.
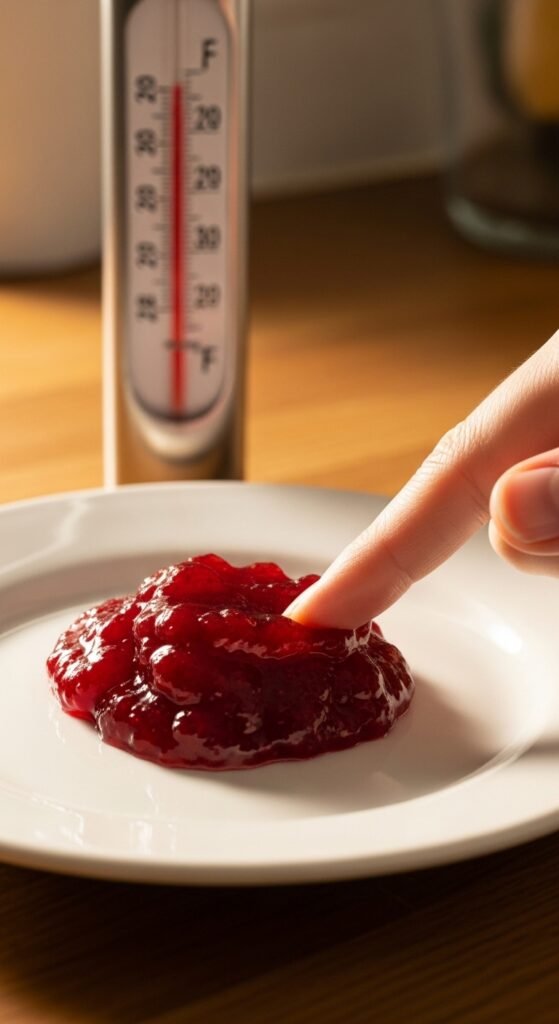
Now, here’s the tricky part. You need to cook until the jam reaches 220°F (105°C) on a candy thermometer. If you don’t have one, use the plate test: put a small plate in the freezer. Drop a little jam onto the cold plate. Wait 30 seconds. Push it with your finger. If it wrinkles and doesn’t run, it’s done. If it’s still liquidy, keep boiling for another 2–3 minutes.
I personally use both methods. The thermometer gives precision; the plate test gives confidence.
Step 4: Test for Doneness (Crucial!)
This is where many first-timers panic. Including me. My first batch was a runny disaster because I pulled it off the heat too early. My second batch was so thick I could have bounced a spoon off it.
The sweet spot is when the jam coats the back of a metal spoon and drips slowly, not instantly. Another sign: the bubbles become larger and slower. When you stir, you can see the bottom of the pot for a second before it fills back in.
Don’t rush this. Undercooked jam is strawberry sauce (delicious, but not jam). Overcooked jam is strawberry candy (hard and chewy). Patience pays off.
Step 5: Fill Your Jars (10 minutes)
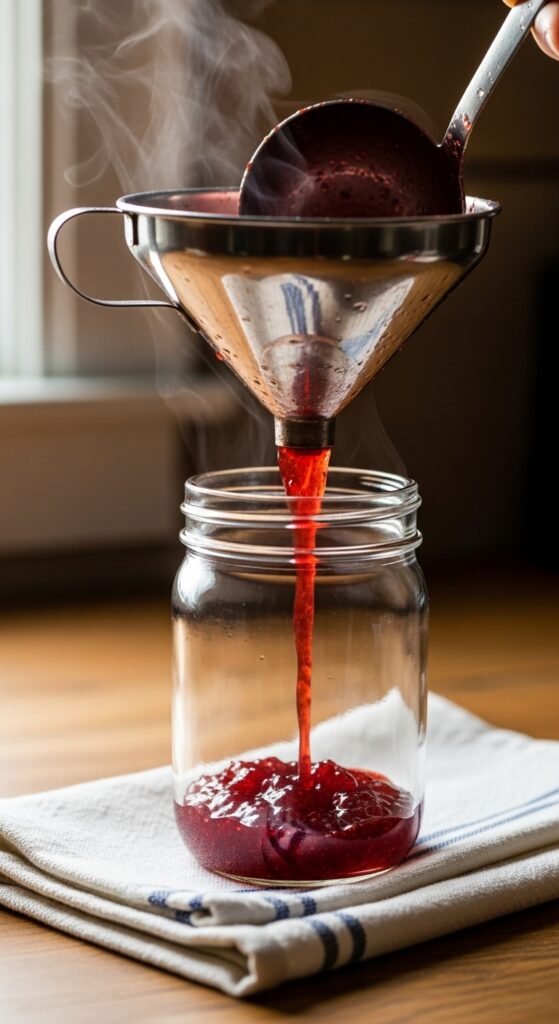
While the jam cooks, sterilize your jars. Wash them in hot soapy water, then boil them in a large pot for 10 minutes. Keep them hot until you’re ready to fill. New lids go in hot water (not boiling) to soften the rubber seal.
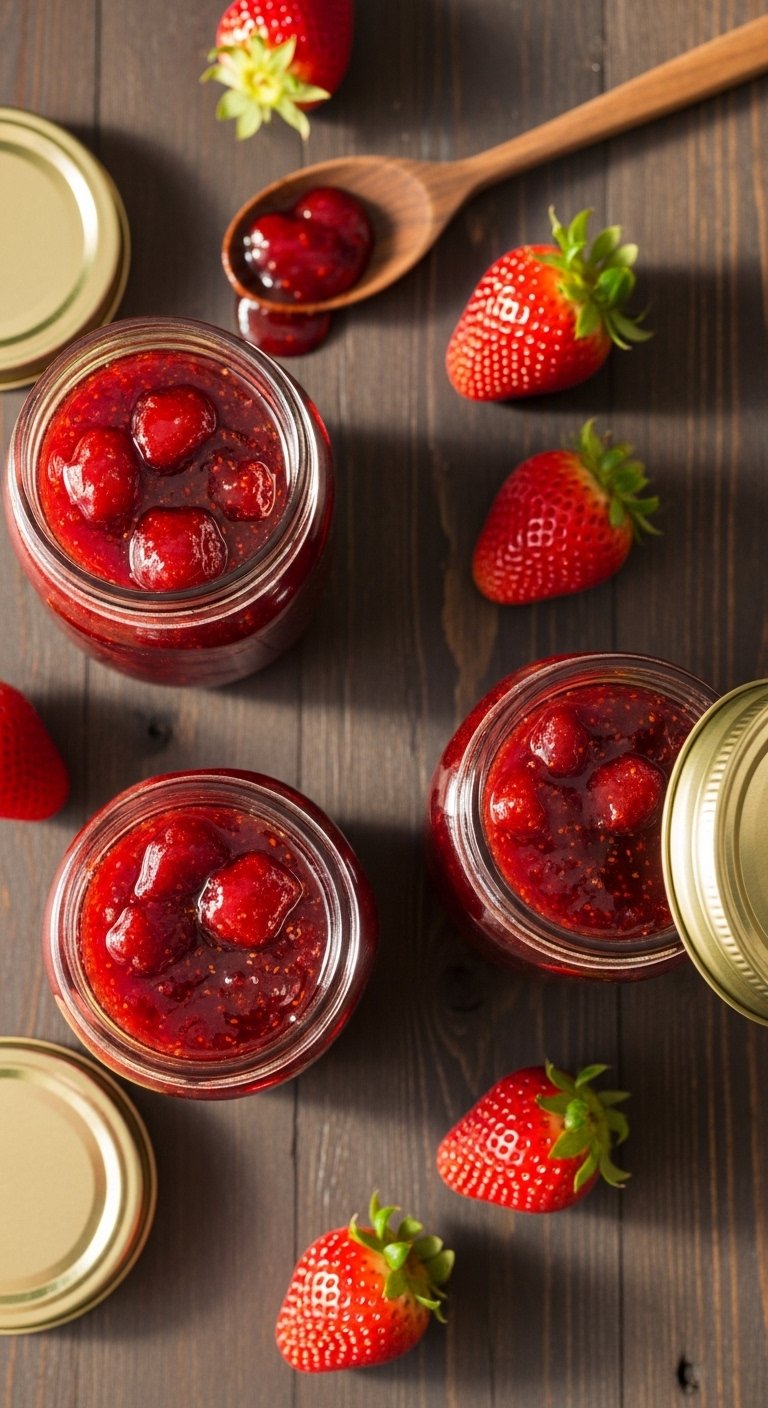
Once your jam is done, remove it from heat. Let it sit for 5 minutes—this prevents fruit from floating to the top. Then use your wide-mouth funnel and ladle to fill each jar, leaving 1/4 inch of headspace (space at the top). Wipe the rims clean with a damp towel. Place the lid on and screw the band fingertip-tight.
Step 6: Process in a Water Bath (10 minutes)
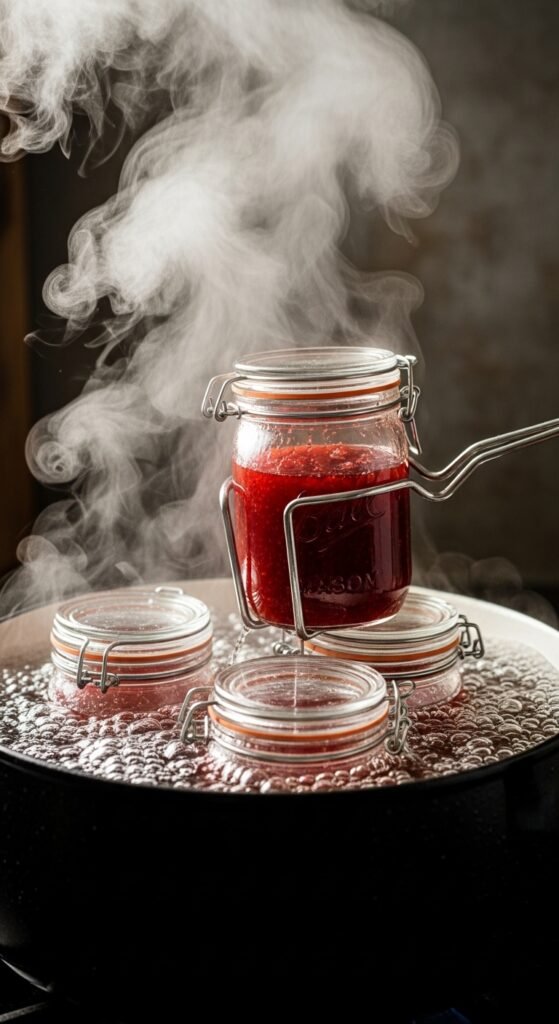
This step ensures your homemade strawberry jam is shelf-stable. Place filled jars in a boiling water canner or large pot with a rack. Water must cover jars by at least 1 inch. Bring to a boil and process for 10 minutes (adjust for altitude—add 1 minute per 1,000 feet above sea level).
Turn off heat. Remove jars with a jar lifter. Place them on a towel-lined counter. Do not touch them for 12–24 hours.
And then—the best sound in the world. Pop. Pop. Pop. Those little metal lids sealing shut. That’s success singing to you.
Troubleshooting Common Jam Problems
Even experienced cooks mess up. Here’s how to fix what goes wrong:
| Problem | Likely Cause | Solution |
|---|---|---|
| Jam is runny | Not enough cooking time | Re-cook with more lemon juice or liquid pectin |
| Jam is too stiff | Overcooked | Use as ice cream topping or bake into bars |
| Mold grew on top | Lids didn’t seal | Refrigerate immediately and use within 3 weeks |
| Fruit floats | Jam cooled too long before jarring | Gently invert jars for 5 minutes after filling |
| Crystals formed | Too much sugar or overcooking | Still safe to eat; blend into smoothies |
I’ve made every single mistake on this list. Runny jam became strawberry syrup for pancakes. Stiff jam became thumbprint cookies. Moldy jam—well, that went to the compost. You learn by doing.
Why You Should Buy Our Homemade Strawberry Jam
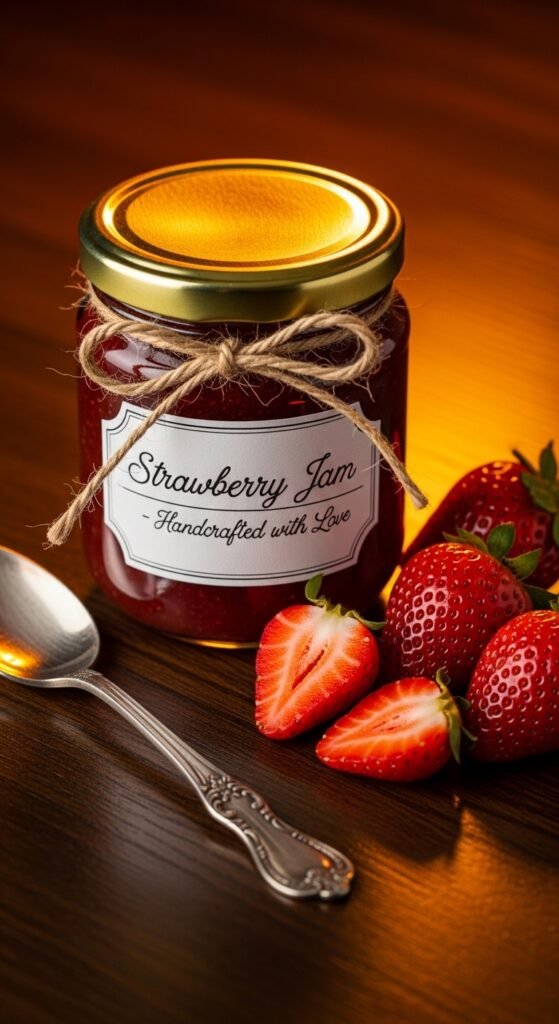
Now, I know this article is about making your own. And I truly believe everyone should try it at least once. But let’s be real: life gets busy. You might not have a free afternoon. Your stove might be tiny. Or maybe you just want that homemade taste without the mess.
That’s exactly why we created our small-batch homemade strawberry jam.
Here’s what makes ours different:
- We use locally grown strawberries from family farms within 50 miles. No tasteless, trucked-across-the-country berries.
- No artificial anything. No high fructose corn syrup. No preservatives. No citric acid fillers.
- Small batches only. We cook 6 jars at a time. Every batch is tasted and adjusted by hand.
- Real lemon juice, real cane sugar. Simple. Honest. Delicious.
- We double-process our jars for safety and extended shelf life (up to 18 months unopened).
But more than ingredients, we pour love into every jar. That sounds corny until you taste it. Our customers tell us it reminds them of childhood summers. Of grandmothers’ kitchens. Of picnics where the jam dripped down their chins.
Still hesitant? We offer a 100% happiness guarantee. If our jam doesn’t make you say “wow,” we’ll refund every penny. No forms. No returns. Just an email and your money back. Because we know once you taste real homemade strawberry jam, you’ll never settle for less.
Creative Ways to Use Your Jam (Beyond Toast)
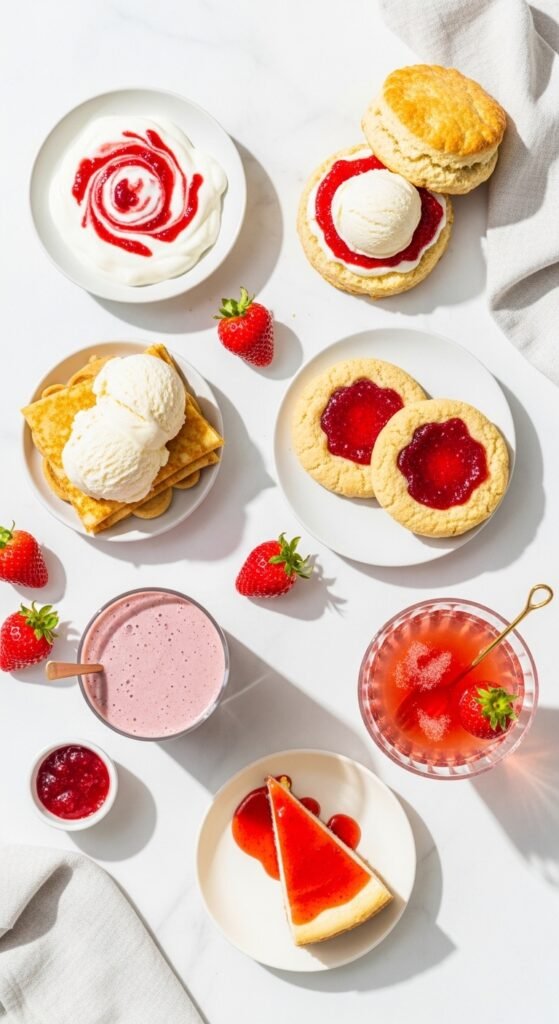
You’ve made (or bought) a gorgeous jar. Now what? Sure, spread it on warm buttered toast. That’s classic. But let me share my favorite unconventional uses:
- Swirl into plain yogurt or oatmeal. Instant breakfast upgrade.
- Fill thumbprint cookies. The tangy sweetness is unreal.
- Glaze grilled meats. Mix with balsamic vinegar and brush on chicken or pork.
- Layer into cakes. Between sponge layers with whipped cream? Heaven.
- Stir into cocktail. A spoonful in prosecco or bourbon smash.
- Top cream cheese with jam and serve with crackers. Ten-minute appetizer that disappears fast.
Last Christmas, I gave jars of my homemade strawberry jam as gifts. I tied a ribbon around each one with a little wooden spoon. My brother-in-law, who never cooks, called me three times asking for the recipe. He’s now on his fourth batch. That’s the ripple effect.
Health Benefits of Homemade Strawberry Jam
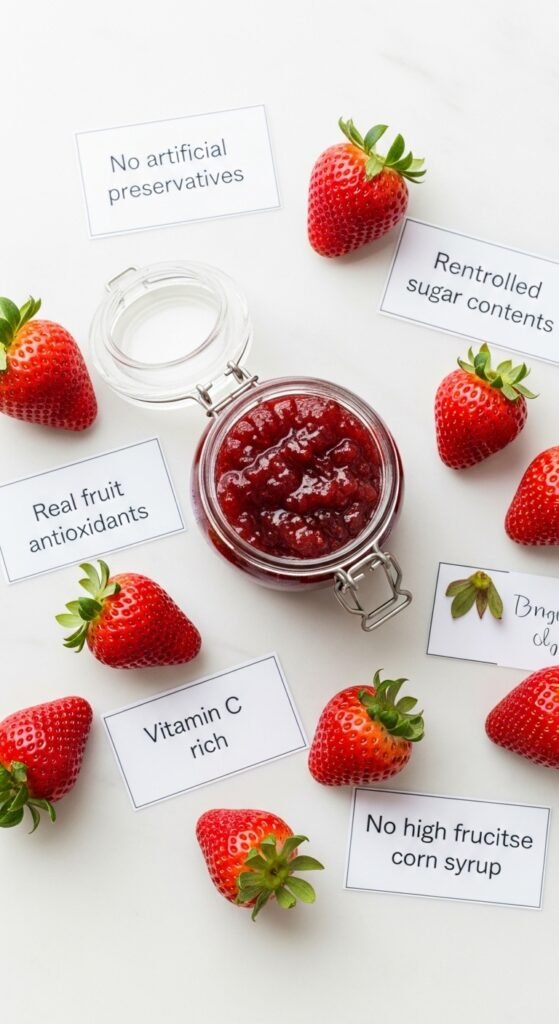
Let’s not pretend jam is a health food. But compared to store-bought? It’s night and day.
Strawberries themselves are nutritional powerhouses. They’re loaded with vitamin C (more than oranges by weight), manganese, and antioxidants like ellagic acid and flavonoids. These compounds reduce inflammation, support heart health, and may lower blood sugar spikes when eaten with meals.
When you make homemade strawberry jam with less sugar (you can reduce up to 25% without affecting set), you retain more of those nutrients. The cooking process does destroy some vitamin C, but the fiber and antioxidants remain largely intact.
One tablespoon of our jam contains about 35 calories, compared to 50+ in commercial brands. Plus, no artificial dyes—our jam gets its ruby color purely from berries.
Important note: If you’re diabetic or watching sugar intake, try our low-sugar version made with a special pectin that requires 75% less sugar. Same taste, smaller glycemic impact.
Frequently Asked Questions
**How long does *homemade strawberry jam* last?**
Properly sealed and stored in a cool, dark place, it lasts 12–18 months. Once opened, refrigerate and use within 3–4 weeks.
Can I freeze it instead of canning?
Absolutely. Skip the water bath. Pour cooled jam into freezer-safe containers, leaving 1/2 inch headspace. Freeze for up to 1 year. Thaw in fridge overnight.
Why is my jam too sweet?
Reduce sugar by 1/2 cup next time. But remember, sugar acts as a preservative and helps gel. Too little sugar can cause runny jam or spoilage.
Can I use frozen strawberries?
Yes! Thaw them first and drain excess liquid. Frozen berries are actually great because they’re picked at peak ripeness. Just know they release more water, so cook longer.
Do I really need pectin?
No. Many old-fashioned recipes use only strawberries, sugar, and lemon. The natural pectin in strawberries is low, so you’ll need to cook longer and accept a softer set. I personally prefer added pectin for reliability.
Final Thoughts: Your First Jar Awaits
If you take nothing else from this article, remember this: homemade strawberry jam is not difficult. It’s forgiving. It’s rewarding. And it tastes like love.
Start small. One pound of berries. One hour of your afternoon. Invite a friend or put on a podcast. Stir slowly. Taste often. And when you hear that first lid pop, raise your spoon in victory.
And if you’d rather skip the mess but still want that honest, fruit-forward flavor, our small-batch jam is waiting for you. Every jar is made with the same care I’ve described here—because I make it myself. No factory. No shortcuts. Just strawberries, sugar, lemon, and time.
Ready to taste summer? Click below to order our homemade strawberry jam. Choose from classic, low-sugar, or spicy (with a hint of black pepper and balsamic). Each order ships free and includes a handwritten note from our kitchen to yours.