Let’s be real for a second. Do you remember your first time attempting a full face of makeup? I certainly do. Picture this: a fifteen-year-old me, huddled over a bathroom sink, armed with a foundation three shades too dark and a tube of mascara that was more glue than cosmetic. The goal? To look like one of those airbrushed models in the magazine. The result? Let’s just say I looked less “supermodel” and more “super raccoon.” My neck and face were two different zip codes, and my lashes were clumped together like tiny spiders having a party.
We’ve all been there, right? That feeling of being overwhelmed by the beauty aisles, confused by the jargon, and terrified of making a mistake. But here’s the secret I’ve learned since those tragic bathroom-sink days: makeup isn’t about hiding who you are; it’s about showcasing the best version of yourself. It’s a form of self-expression, a confidence booster, and honestly, a whole lot of fun.
This comprehensive makeup tutorial is designed to be your gentle guide. Forget the intimidating, perfectionist advice. We’re going to walk through this together, step by step, using simple language and techniques that anyone can master. By the end, you won’t just have a beautiful face; you’ll have the confidence to play, experiment, and truly enjoy the world of beauty. And yes, I’ll even help you feel good about investing in the right products, because the right tools make all the difference.
Skincare for Makeup: Laying the Groundwork
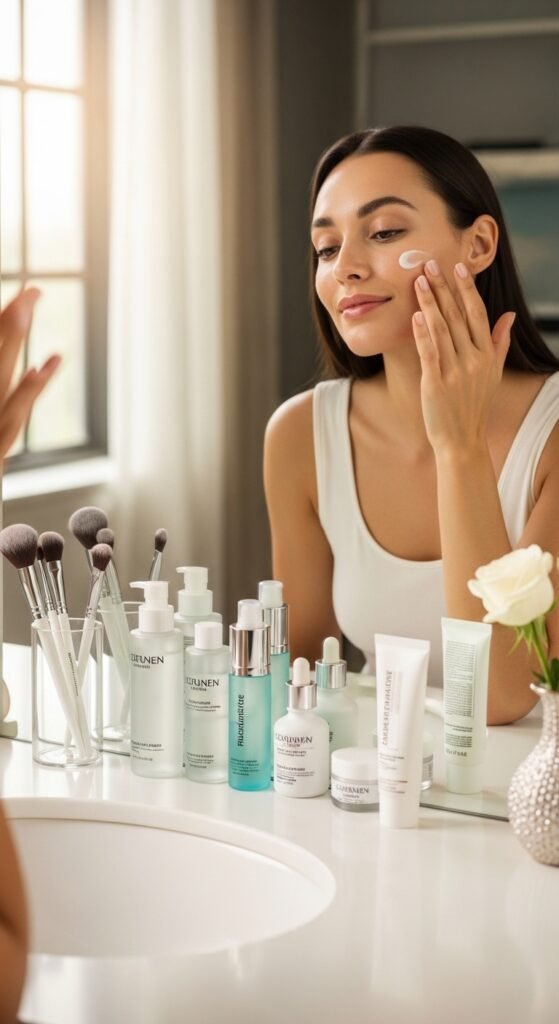
Before we even think about color, we have to talk about the canvas. You wouldn’t paint a masterpiece on a rough, unprimed wall, would you? The same logic applies to your face. A good skincare routine is the absolute non-negotiable first step to any great makeup application.
Step 1: Cleanse and Hydrate
Always start with a clean face. Use a gentle cleanser to wash away any overnight oils or dirt. Pat your skin dry, no rubbing! Then, it’s hydration time. Apply your favorite moisturizer. This is crucial, even for oily skin. When your skin is dehydrated, it overproduces oil to compensate, leading to a shiny, slippery mess by midday. A good moisturizer creates a smooth, balanced base.
Step 2: The Magic of Primer
Now, this is where we can get the results we truly want. Primer is like double-sided tape for your makeup. It fills in fine lines, minimizes the look of pores, and gives your foundation something to grip onto. This means your makeup will last longer, won’t slide around, and will look infinitely smoother.
Think of it this way: without primer, your foundation is sinking into every tiny crevice of your skin. With primer, it glides right over the top, creating that flawless, airbrushed effect. Whether you choose a hydrating primer for dry skin or a mattifying primer for oily zones, this step is a game-changer. Investing in a quality primer is the first secret to long-lasting, professional-looking makeup.
Foundation Application: Creating Your Perfect Base
This is the part that scares most people, but it shouldn’t! The goal of a base isn’t to create a mask, but to even out your skin tone and create a unified complexion.
Step 3: Finding Your Match and Your Method
First, the shade. Please, learn from my past mistakes. Never test foundation on your hand or wrist. Your hand is a different color than your face! Always test a stripe of foundation on your jawline. The perfect shade should disappear into your skin, seamlessly blending into both your face and your neck.
Now, for the finish. Do you want a natural, “your-skin-but-better” look? Reach for a tinted moisturizer or a skin tint. Do you want more coverage? A liquid foundation is your best friend.
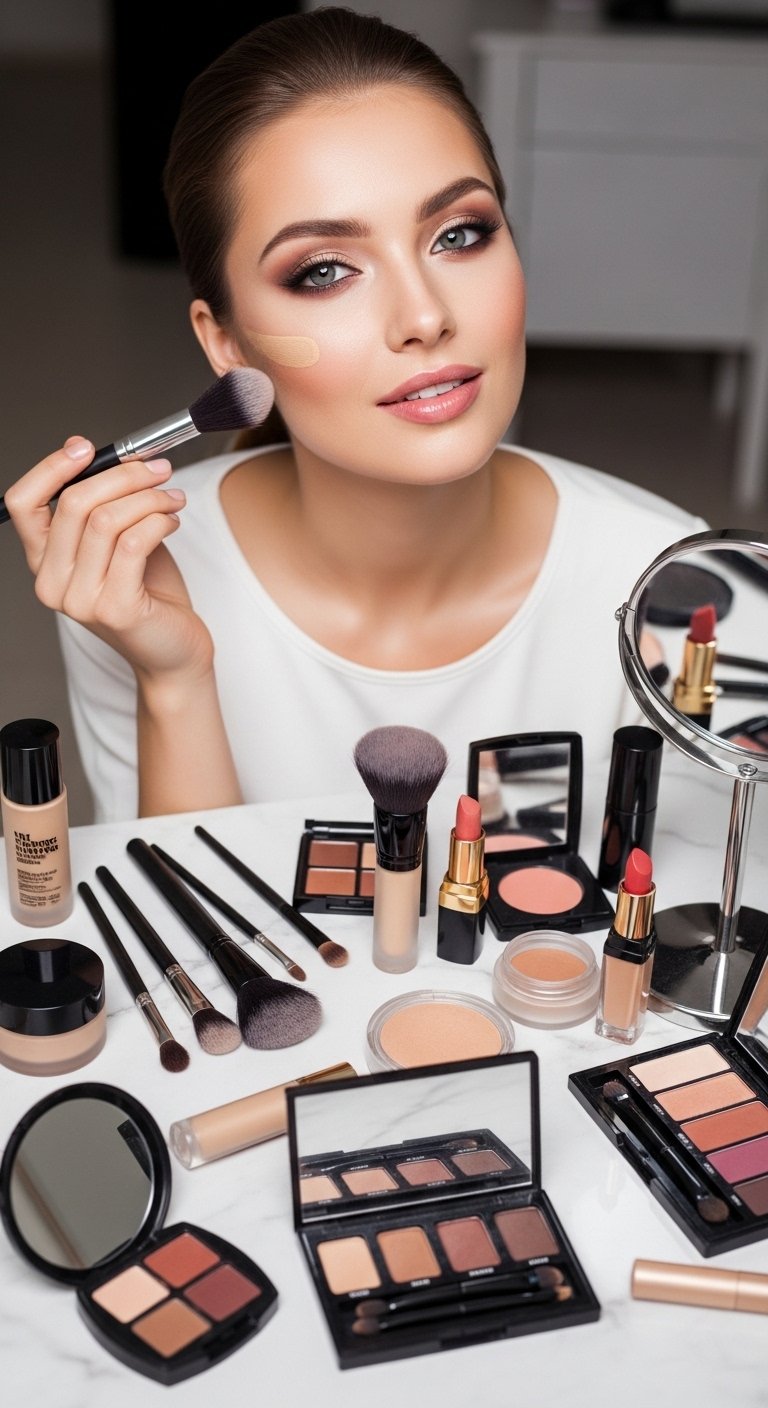
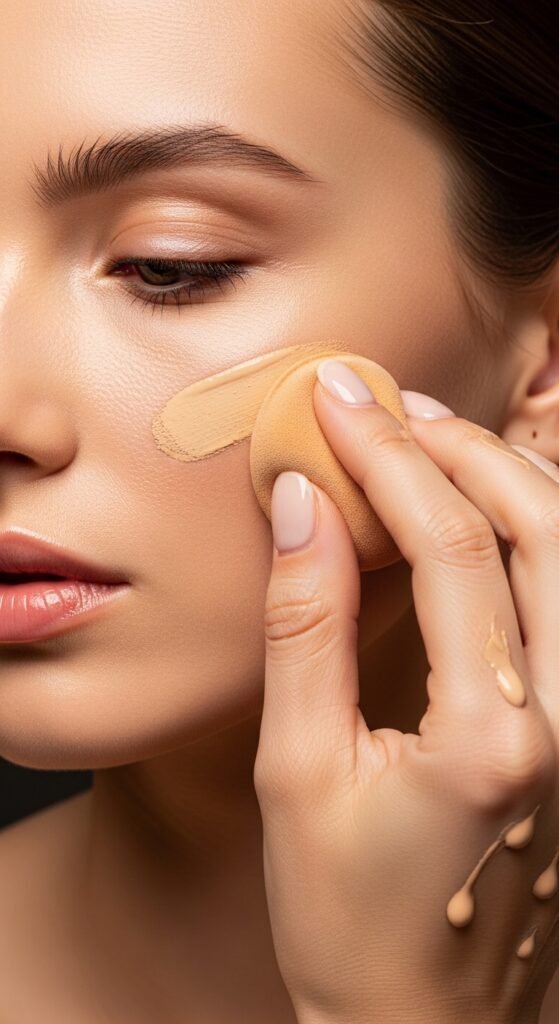
- Application Technique: You don’t need to be a pro artist. You can use your fingers (the warmth helps melt the product in), a brush, or a damp beauty sponge.
- Pro-Tip: My favorite method is to use a damp beauty sponge. Wet it, squeeze out all the excess water so it’s just damp, and then bounce it across your face. This “bouncing” motion, known as stippling, ensures the product is pressed into the skin rather than being wiped around, giving a natural, streak-free finish.
Concealer Tips for a Bright-Eyed Look

Step 4: The Ultimate Confidence Booster
Concealer is like a magic eraser for your little worries. A tiny dot of concealer can brighten under-eye circles, hide a blemish, and neutralize any redness.
- For Under Eyes: Choose a concealer that’s one shade lighter than your foundation. Apply it in an upside-down triangle shape under your eyes. This shape instantly lifts and brightens the whole face, rather than just covering the dark circle.
- For Blemishes: Use a concealer that matches your foundation exactly. If it’s too light, it will highlight the spot instead of hiding it. Use a small, precise brush to dab it directly onto the blemish, then gently pat the edges to blend.
Step 5: Set It and (Almost) Forget It
To stop your hard work from sliding off by lunchtime, we need to set the base. Using a large, fluffy brush, swirl it into a translucent setting powder. Tap off the excess (this is important!) and then gently press and roll the brush all over your face, focusing on the T-zone (forehead, nose, and chin) where you tend to get oiliest.
This step locks everything in place, blurs imperfections, and gives your skin a soft, velvety finish.
Natural Makeup Look: Adding Dimension and Color
Now for the fun part! This is where we bring the face to life.
Step 6: Bringing Back the Color with Bronzer and Blush
After applying foundation, your face can sometimes look a little flat. We need to add dimension.
- Bronzer: Think of bronzer as a way to mimic a healthy, sun-kissed glow. Suck in your cheeks to find the “hollows.” Smile, and apply bronzer in a “3” shape on both sides of your face: starting at your temple, gliding down to your cheek hollow, and then sweeping up along your jawline. Don’t forget a little on your neck to blend!
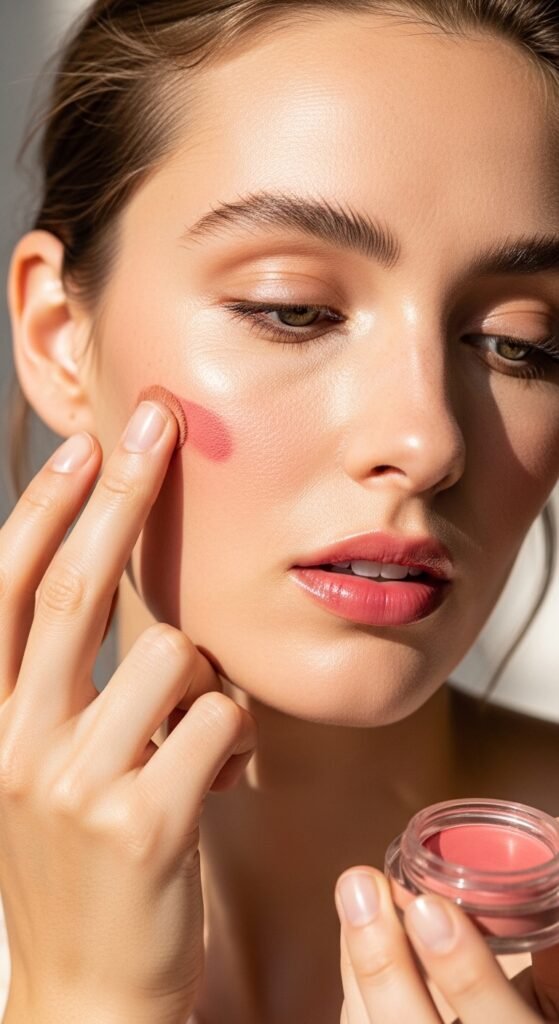
- Blush: A sweep of blush on the apples of your cheeks instantly makes you look fresh, awake, and healthy. Smile, dot a cream blush or powder blush onto the roundest part of your cheek, and blend it back towards your hairline. It’s an instant mood booster, both to look at and to apply.
Step 7: Highlighter – For That Lit-from-Within Glow
Highlighter is the cherry on top. It catches the light and brings attention to the high points of your face. Apply it with a small, fan brush to the tops of your cheekbones, the bridge of your nose, your cupid’s bow (right above your lip), and just under your brow bone. A little goes a long way here. You’re aiming for a dewy glow, not a disco ball.
| See Also |
| 15 Bimbocore Makeup Ideas The Ultimate Guide to Mastering the Hyper-Feminine Beauty Trend |
| 20 Pale Skin Makeup Ideas A Complete Guide to Flawless, Radiant Looks |
Eyeshadow Tutorial for Beginners
Eye makeup can feel intimidating, but with a few simple techniques, you can enhance your eyes beautifully.
Step 8: The Perfect Everyday Eye Look
You don’t need a million colors to make your eyes pop. A simple three-shade strategy works wonders.
- The Base Shade: Sweep a neutral eyeshadow (a shade close to your skin tone or slightly lighter) all over your lid, from lash line to brow bone. This creates a smooth base.
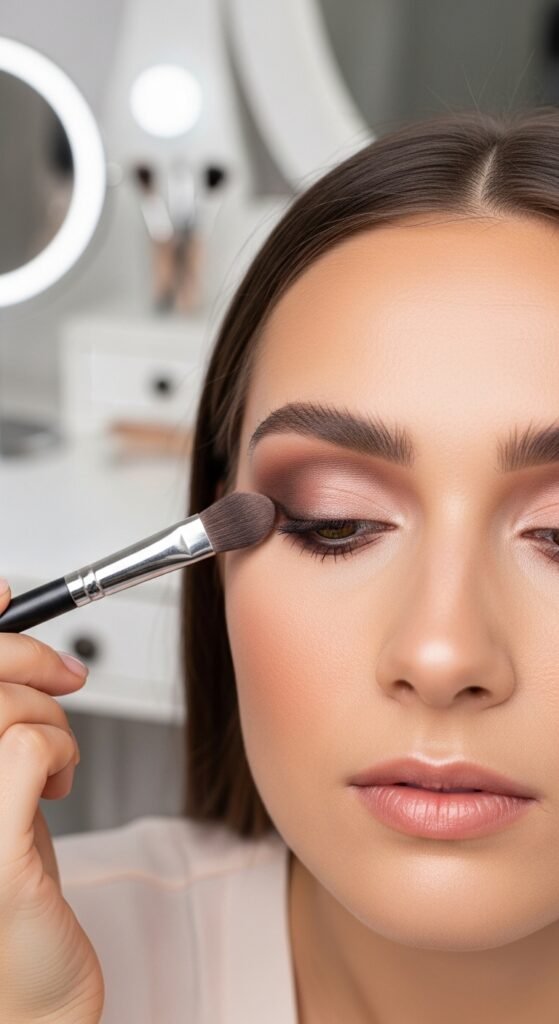
- The Crease Shade: Take a slightly darker, matte brown shade and a fluffy blending brush. Gently wiggle the brush back and forth in the crease of your eye. This adds instant depth and makes your eyes look bigger.
- The Lid Shade: Pat a shimmery eyeshadow in champagne, rose gold, or soft bronze onto the center of your moving eyelid. This adds a pop of light and draws attention to your eyes.
- Blend, Blend, Blend: This is the most important rule of eyeshadow. If you see any harsh lines, take a clean brush and softly swirl it around the edges until everything melts together seamlessly.
Step 9: Liner and Lashes
- Eyeliner: For a soft, forgiving look, skip the liquid liner. Take a dark brown pencil liner and tight-line your upper lash line. This means gently lifting your lid and dotting the liner right at the base of your lashes. It makes your lashes look instantly thicker without a harsh line. You can smudge it out slightly with a small brush for a smoky effect.
- Mascara: Mascara is the single most impactful product. It opens up your eyes like nothing else. Wiggle the wand at the very base of your lashes, then slowly pull it through to the tips. This ensures every lash is coated from root to tip. For lower lashes, hold the wand vertically and just touch the tips.
Step 10: Brows – The Frame of Your Face
Never underestimate the power of well-groomed brows. They frame your entire face. You don’t need to create a whole new brow; just enhance what you have.
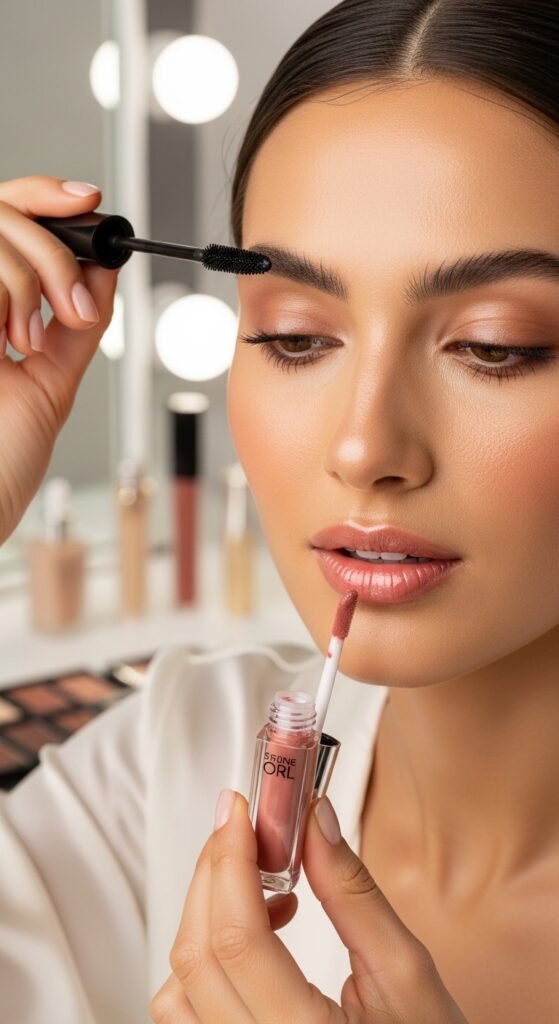
Use a brow pencil with a fine tip to make light, hair-like strokes in any sparse areas. Then, brush through with a spoolie (a clean mascara wand) to blend the color and set the hairs in place. If you want more hold, you can use a clear or tinted brow gel.
Everyday Makeup: The Final Touch
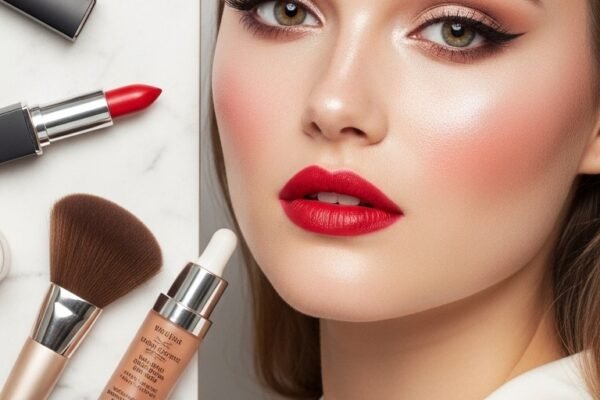
Step 11: Lips
For a look that lasts all day, start with a lip liner that’s close to your natural lip color. Outline your lips and fill them in completely. This creates a base for your lipstick or lip gloss and prevents it from bleeding. Then, apply your favorite lipstick or lip gloss on top. A tinted lip balm is also a fantastic, low-maintenance option for a hint of color and hydration.
Step 12: Lock It In
You’ve put all this work in, so let’s make sure it stays! Hold a setting spray about arm’s length from your face, close your eyes, and mist it in an “X” and “T” shape. This will melt all the layers of makeup together, take away any powdery look, and help everything last for hours.
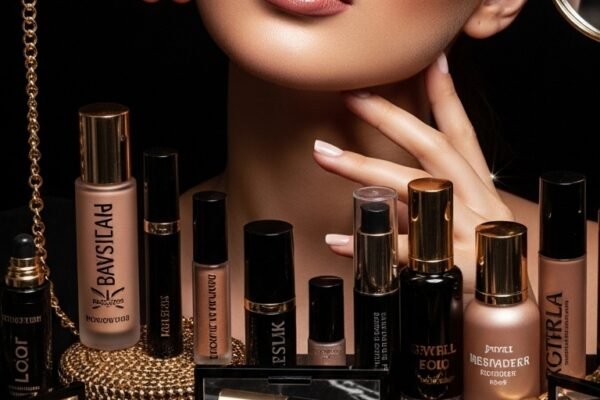
Makeup Tips for Buying with Confidence
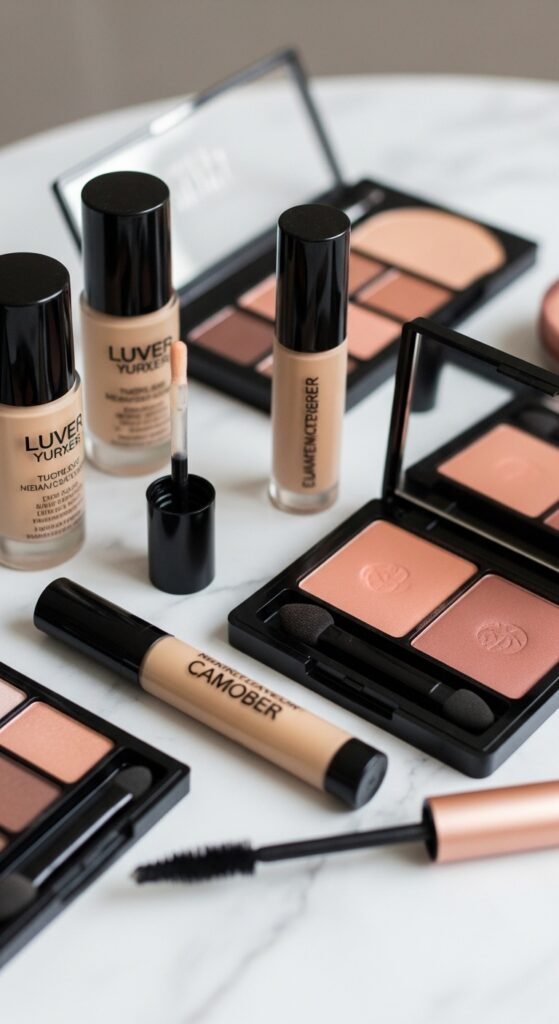
Throughout this guide, I’ve mentioned some key players: primer, foundation, concealer, and so on. But with thousands of options out there, how do you buy with confidence? Here’s the mindset shift:
- You’re Not Buying a Miracle; You’re Buying a Tool: A foundation isn’t magic; it’s a tool designed to do a specific job. The right tool for the right job makes the task easier. A good primer is the right tool for longevity. A quality setting spray is the tool for a lasting finish. Think of them as investments in your own confidence and enjoyment.
- Quality Ingredients Make a Difference: Higher-quality products often contain better ingredients that are better for your skin. They have more pigment, so a little goes further, meaning they last longer. They blend more easily, which saves you time and frustration in the morning. When you buy a well-made eyeshadow palette, you’re paying for the color payoff, the buttery texture, and the blendability, all of which make the application process a joy, not a chore.
- The Confidence Boost is Priceless: Think about how you feel when you know you look good. You stand a little taller, you smile a little more, and you tackle your day with a little extra oomph. That feeling is real, and it’s valuable. Investing in products that help you achieve that feeling is an investment in your own well-being.
- Do Your Research (and Then Trust It): Before you buy, read reviews from people with your skin type. Watch videos of people applying the product. See how it performs. Once you’ve done that research and chosen a product that fits your needs, trust that decision. You’ve done the work. Now, enjoy the reward.
Simple Makeup Routine: Your Face, Your Rules
So, there you have it! A complete, no-nonsense guide to creating a beautiful, natural makeup look. Remember that scared fifteen-year-old with the mismatched foundation? She eventually learned that makeup isn’t about achieving an unattainable standard of perfection. It’s about the quiet confidence you feel when you look in the mirror and see the best version of yourself looking back.
This makeup tutorial is just a starting point. The real magic happens when you take these techniques and make them your own. Maybe you love a bold lip, go for it! Maybe you prefer to skip foundation and just rock some concealer and mascara, that’s perfect, too.
The most important thing is to have fun with it. Play music, take your time, and experiment. Don’t be afraid of mistakes; they’re just lessons learned. And when you find those products that make your heart sing and your skin glow, buy them with confidence. You deserve to feel beautiful, empowered, and ready to take on the world, one perfectly blended swipe at a time.
Now go forth and glow!