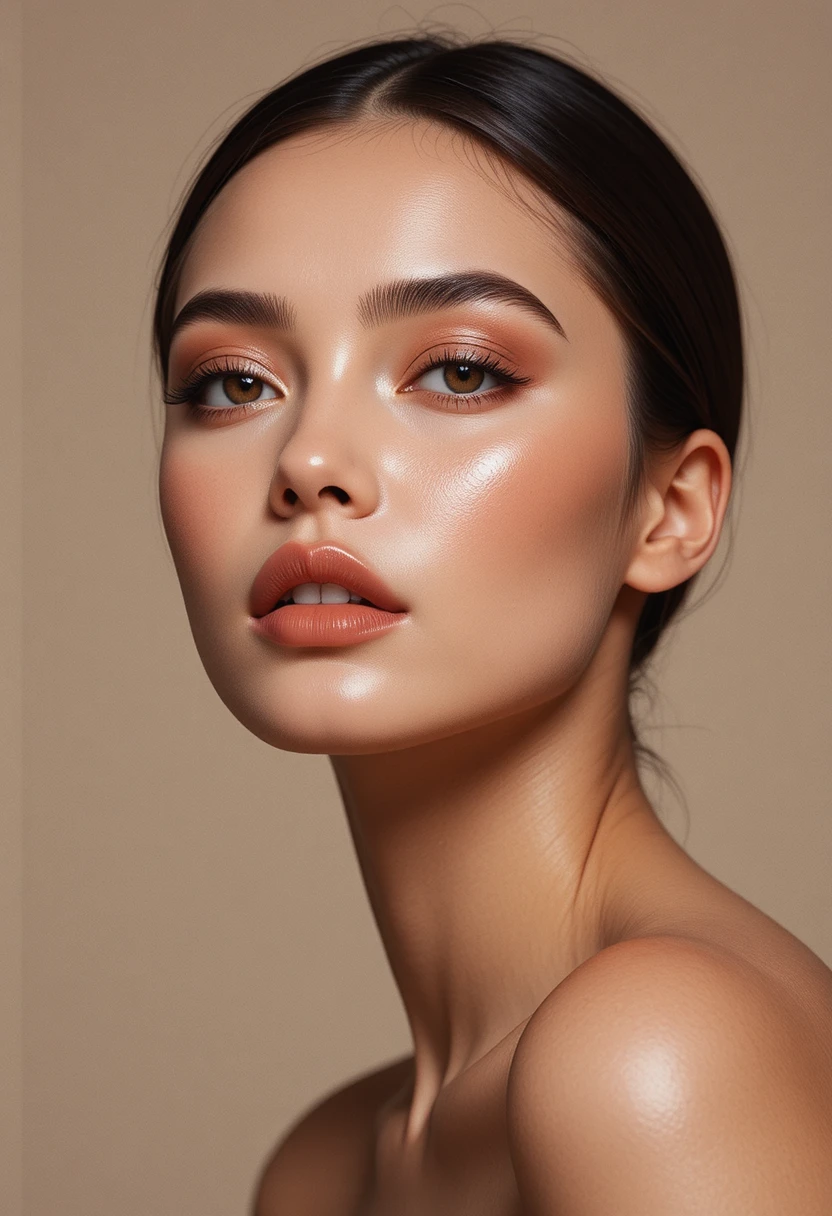
If you have a round face, you already know how beautifully soft and youthful your natural shape can be. The key to next‑level makeup isn’t changing your bone structure—it’s working with it through clever product placement that adds dimension where you want it. Whether you’re aiming for lifted cheekbones, a longer‑looking forehead, or a more defined jawline, these twenty placement ideas will transform how you apply everything from bronzer to highlighter. Each technique focuses on subtle shifts in where you put color, not heavy contouring or complicated steps.
Let’s dive into specific placement strategies that celebrate roundness while creating the gentle angles you love. Remember, the goal is always enhancement, not hiding. By moving your blush slightly higher or angling your bronzer differently, you can highlight the charm of a round face while adding just the right amount of structure. These ideas work for every skin tone and makeup style, from barely‑there natural to full glam.
1. Blush Placed High on the Outer Cheeks
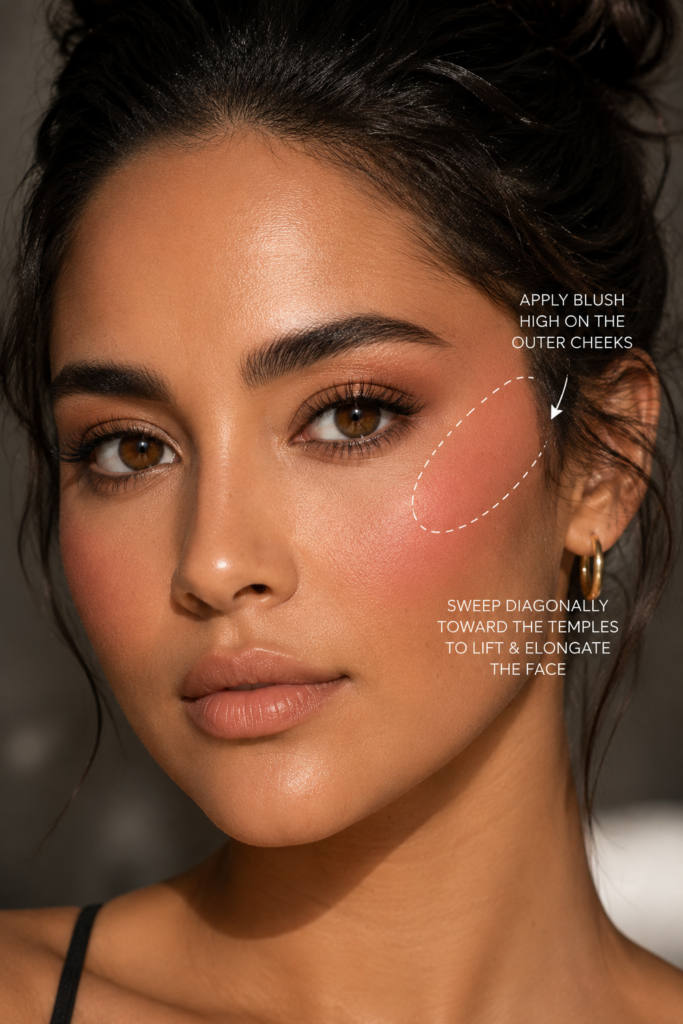
Instead of dusting blush onto the apples of your cheeks, which can widen the face, focus your blush placement on the outer edges near your temples. Sweep the color starting from the center of your eye’s outer corner and blend upward toward your hairline. This draws the eye diagonally and creates the illusion of lifted cheekbones without any harsh lines. A soft, buildable formula works best—think cream or powder blush in rose, peach, or berry tones.
When you place blush high and outward, you also reduce the flushed “circle” effect that can emphasize roundness. Keep the inner cheek area (closest to your nose) nearly bare of blush, letting your foundation or concealer act as a natural highlight. This placement works especially well with smiling slightly while applying so you can see exactly where your cheekbone naturally rises. The result is fresh, youthful, and subtly sculpted.
2. Bronzer Applied in a Number “3” Shape
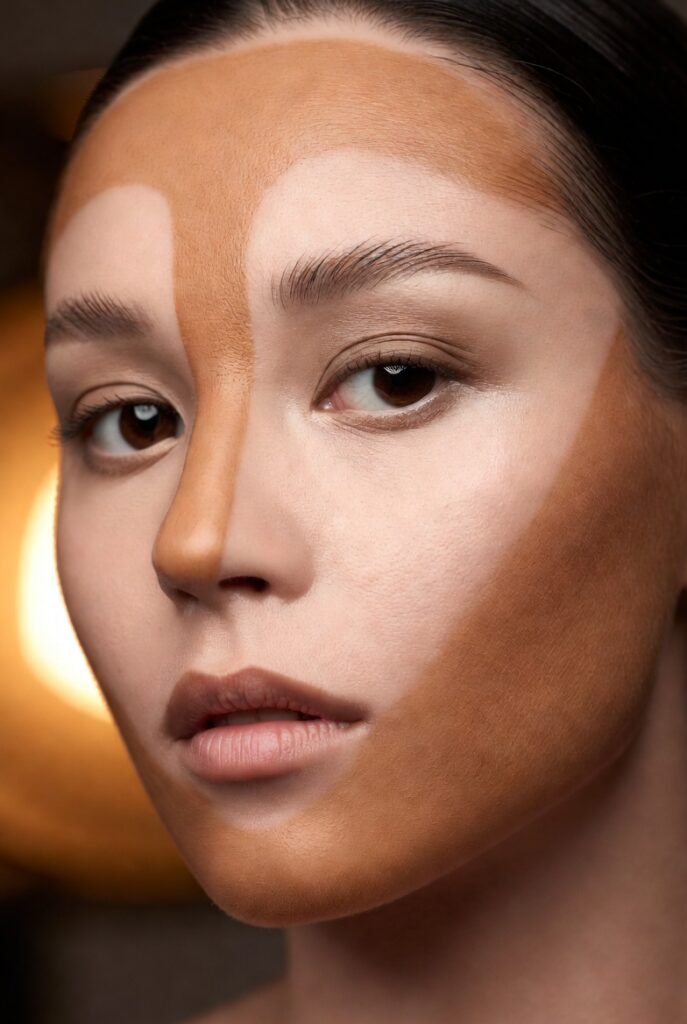
Trace a soft number 3 on each side of your face to naturally narrow a round face. Start at your upper forehead near the hairline, curve inward just above your temple, then sweep out again along the hollows of your cheeks, and finally angle down toward your jawline. This connected movement creates a continuous shadow that visually elongates the side profile. Use a matte bronzer one or two shades deeper than your skin tone for the most believable effect.
The beauty of the “3” shape is that it mirrors how light naturally falls on a more angular face. Keep the pressure light on the forehead and jaw, building slightly more intensity in the cheek hollows. Blend well with a fluffy brush so there are no visible stripes. You will notice how your face appears longer and more defined without any harsh contour lines. This technique works brilliantly for round, oval, and heart shapes alike.
3. Highlighter Concentrated Down the Center
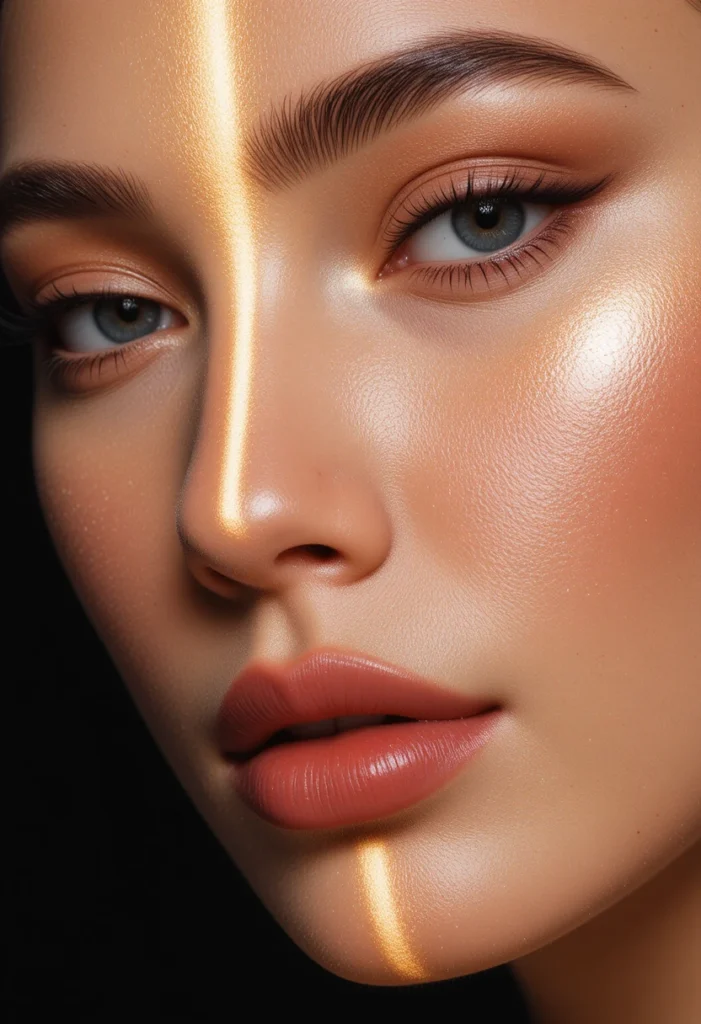
Placing highlighter strictly down the vertical center of your face pulls attention inward and creates length. Apply a creamy, finely milled highlighter to the center of your forehead, the bridge of your nose, the cupid’s bow, and the center of your chin. Avoid spreading it to the temples or outer cheeks, as that can widen the face. The goal is a soft, lit‑from‑within glow that draws the eye up and down rather than side to side.
This central placement works especially well when paired with matte or softly shadowed outer features. Your round face already has natural fullness; adding shine to the middle emphasizes your most symmetrical axis. Use a small, tapered brush or your ring finger for precise application. The result is a gorgeous, elongated look that still keeps your cheeks looking plump and healthy—just in a more structured way.
4. Contour Placed Below the Cheekbone Hollow
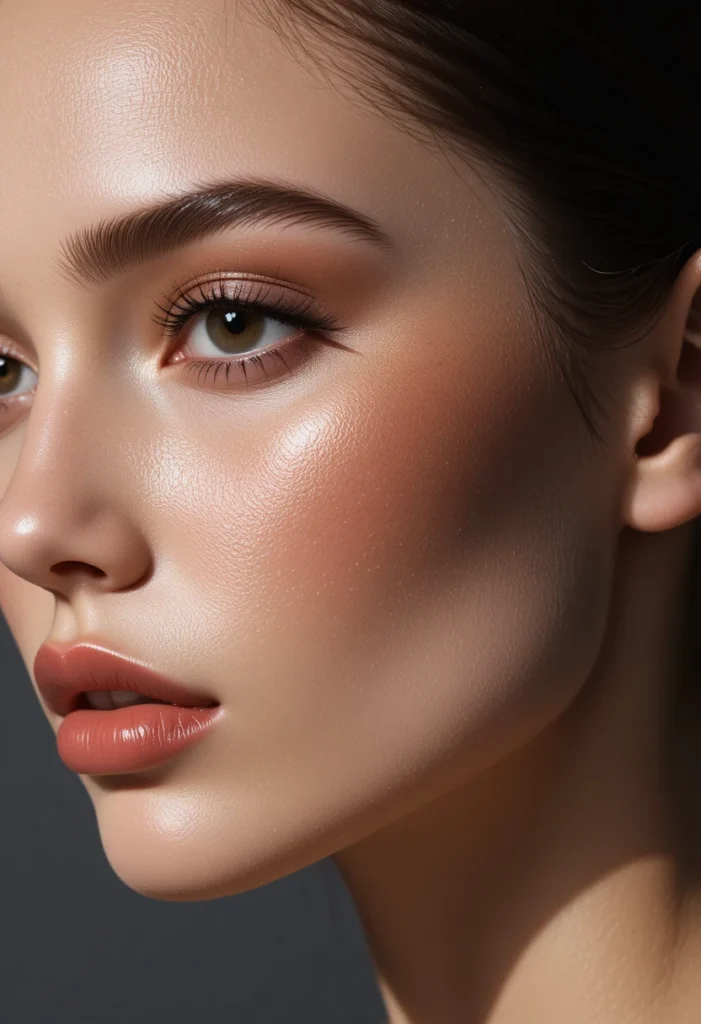
For a round face, contour placement directly below your cheekbone (not on the apple) is transformative. Suck in your cheeks to find the natural hollow, then place a cool‑toned contour product in the shallow dip right underneath that line. Sweep from just above your ear toward the outer corner of your mouth, but stop about two finger‑widths away from your lips. This angled line visually cuts the cheek, adding a subtle shadow that mimics higher bone structure.
Blending is everything here. Use a small, dense brush to apply, then soften the edges with a clean blending brush or damp sponge. Keep the contour low enough that it doesn’t creep onto the apples of your cheeks. When you look straight ahead, the shadow should be visible only on the sides of your face. This trick is subtle but powerful—it reshapes the appearance of your cheek area while allowing your natural roundness to still shine through.
5. Vertical Blush Strip Along Cheek Side
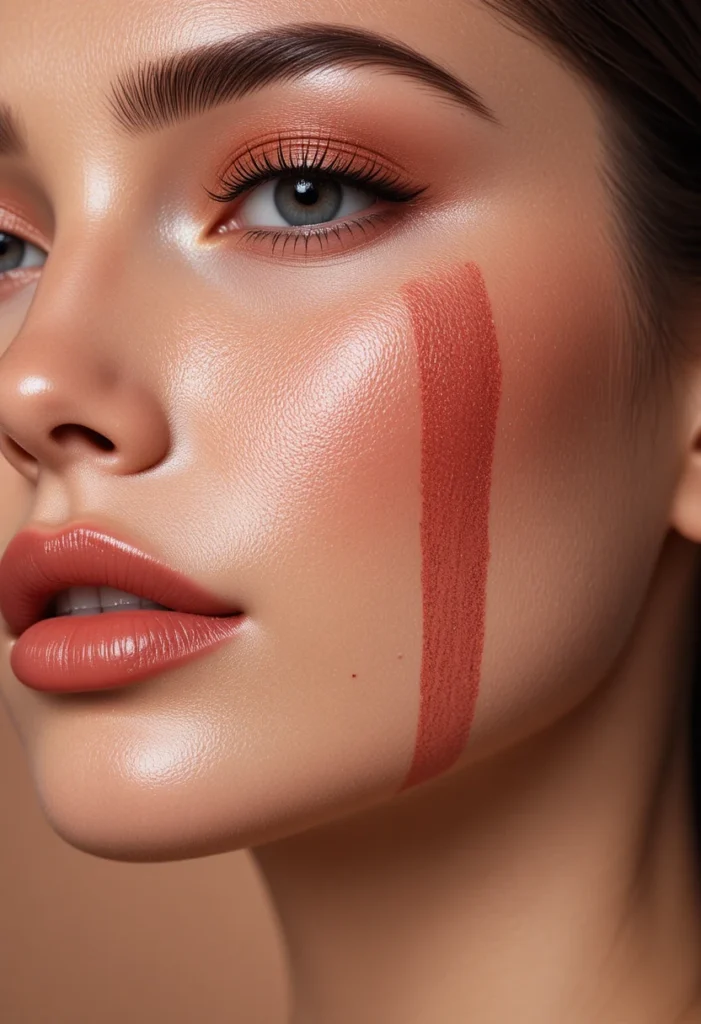
Instead of circular blush motions, try a vertical strip that runs from your temple down to the level of your nostril. Place your brush at the highest point of your cheekbone (near the outer corner of your eye) and swipe downward in a narrow, straight line. Keep the blush concentrated along the side of your face, not moving inward toward your nose. This creates a shadow‑like effect that lengthens and slims the cheek zone.
Choose a blush that is slightly darker than your natural flush for this technique—dusty rose, terracotta, or mauve work beautifully. Blend the edges so the line softens into your foundation, but maintain the vertical direction. You will see immediate definition: the roundness becomes more of an oval, and your face gains a refined, sculpted look. This is an excellent alternative for anyone who finds traditional blush placement too widening.
Read Also:20 Colorful Makeup Looks Ideas: Unleash Your Creative Side with Vibrant, Joyful Beauty
6. Highlighting the Forehead Center Only
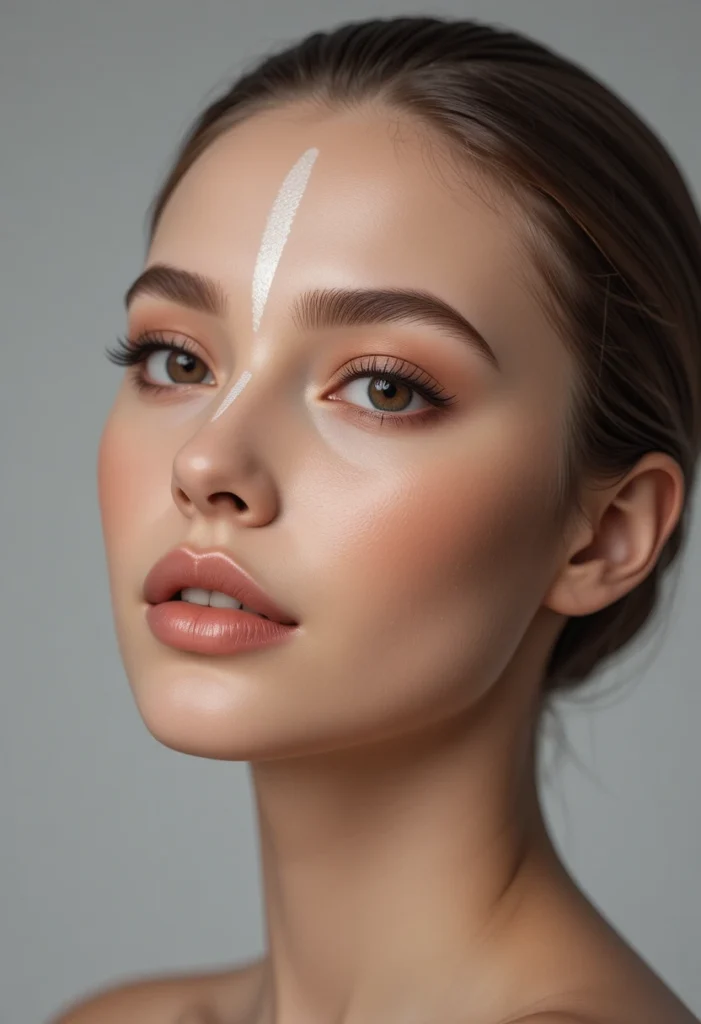
Many round faces have a naturally wider forehead. To counteract this, apply highlighter solely to the center third of your forehead. Imagine a vertical stripe running from your hairline down to between your eyebrows—that is your target zone. Use a tiny amount of liquid or powder highlighter, keeping the sides of your forehead completely matte. This draws attention to the middle, creating the optical illusion of a narrower, more oval shape.
Matte bronzer on the outer corners of the forehead helps reinforce this effect. Blend your regular foundation or concealer over the temples and upper sides, then add just a whisper of highlighter in the center. The contrast between the luminous middle and the shadowed sides reduces width immediately. This placement is especially flattering in overhead lighting or natural daylight, where the central shine catches attention first.
7. Lip Color Blended Slightly Above Cupid’s Bow
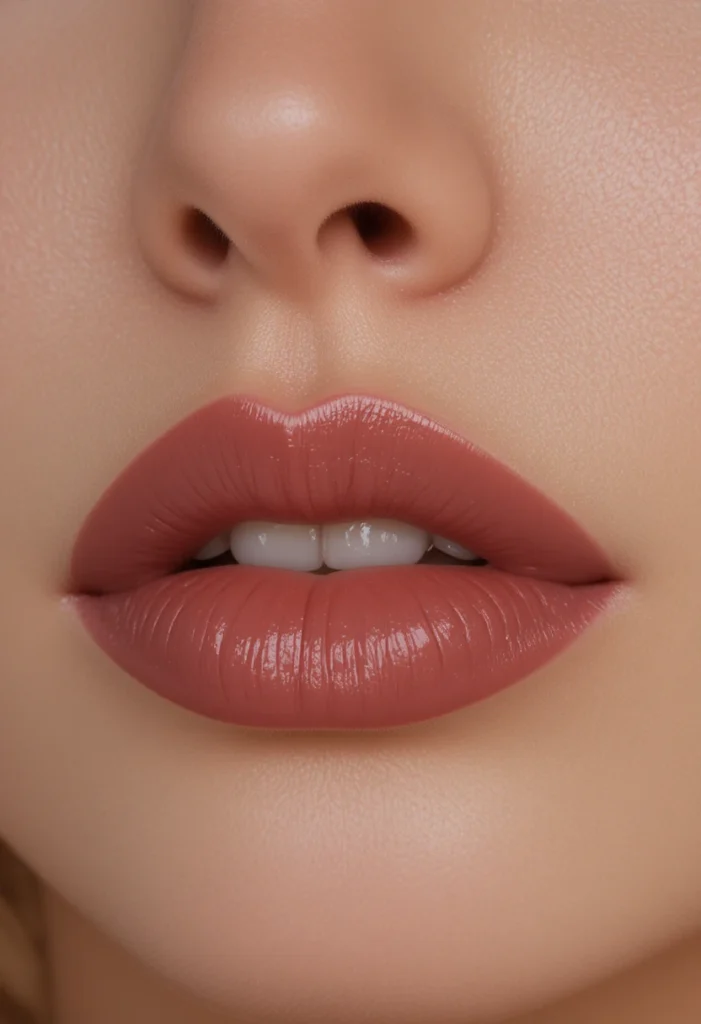
Overlining your lips a millimeter above the cupid’s bow draws the eye vertically and balances a round face. Use a lip liner that matches your natural lip shade or your lipstick color, and trace just outside your natural vermillion border at the very peak of your cupid’s bow. Do not overline anywhere else—just that tiny dip. Then fill in with your chosen lipstick, blending the overlined area seamlessly.
This micro‑adjustment creates a subtle upward pull that visually shortens the space between your nose and upper lip, making your midface appear longer and leaner. Pair this with a slightly glossy finish in the center of your lower lip for extra vertical emphasis. The overall effect is a more elongated lower face that harmonizes beautifully with round cheeks. It is a tiny detail that delivers surprising sculpting power.
8. Brow Bone Highlight Extending Outward
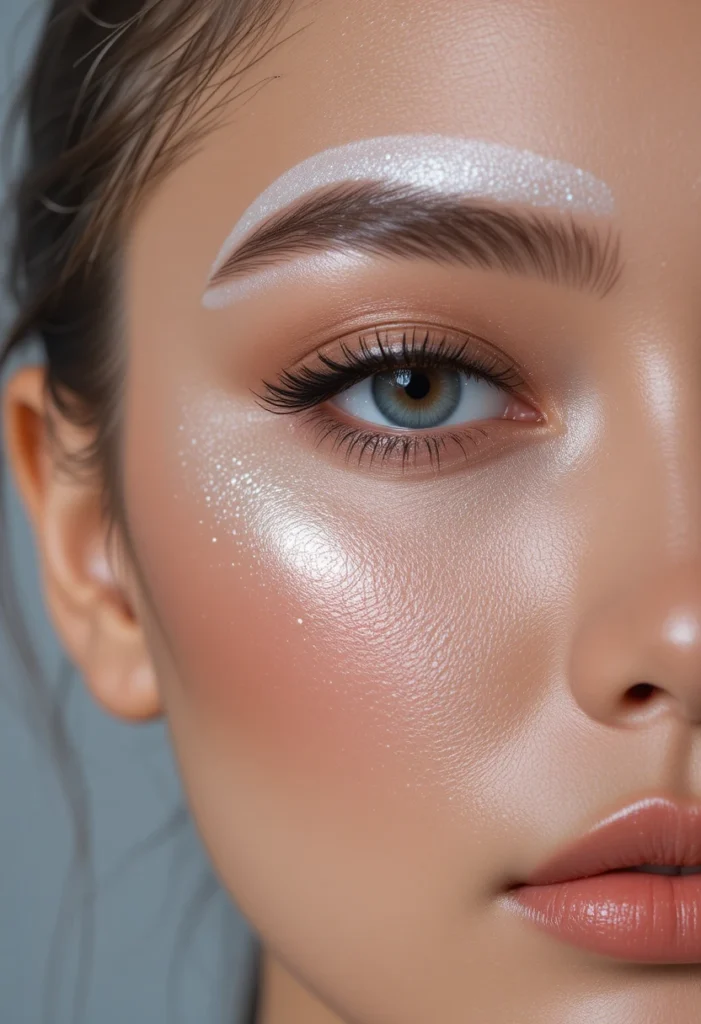
Take your brow bone highlighter and sweep it from the inner edge of your brow all the way past the outer tail. Use a matte or satin champagne shade just under the arch, then extend it horizontally toward your hairline. This outward movement visually widens the upper eye area, balancing a rounder lower face. Many people stop at the brow tail, but the extra length creates a lifting effect that counteracts width in the cheeks.
Keep the rest of your eye makeup soft and blended. The extended highlight acts like a horizontal anchor, pulling the eye outward and making your face appear more oval from temple to jaw. Use a small, flat brush for precision, then blend with a clean finger. This technique works beautifully for both day and evening looks and pairs especially well with a winged liner that also angles upward and outward.
9. Nose Contour Only on the Lower Half
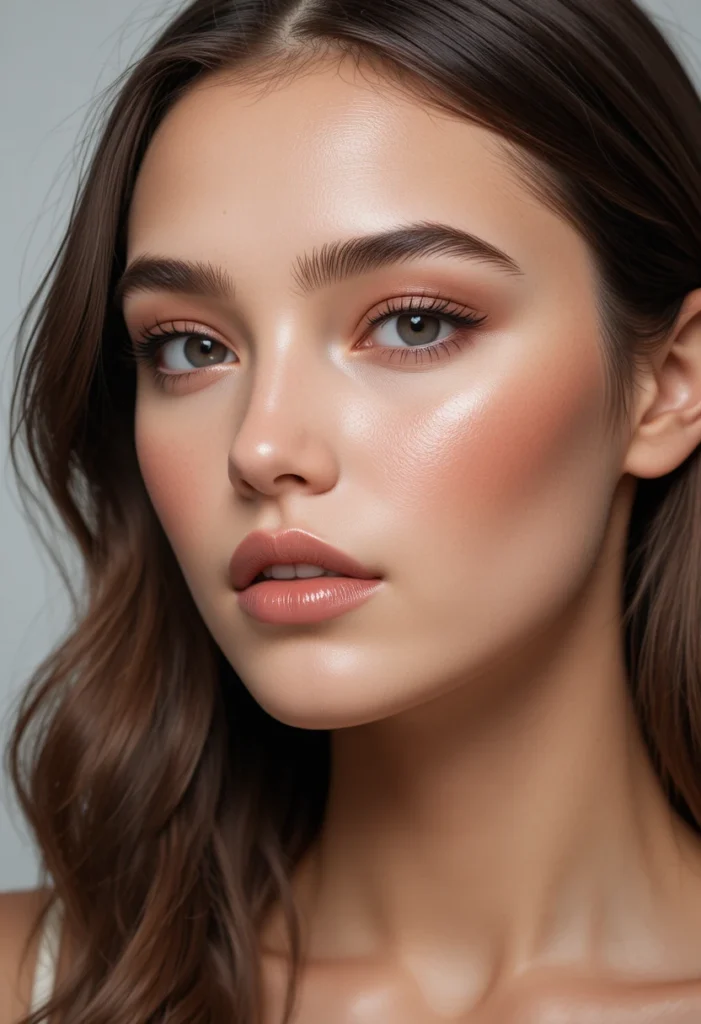
Instead of contouring your entire nose, focus on the lower half from the bridge midpoint down to the tip. Use a thin, angled brush and a cool taupe contour shade to draw two parallel lines starting just below your brow bone meeting point and stopping at your nostril flares. Keep the lines close together at the top and slightly wider at the bottom. This creates a tapered effect that makes the nose look longer and slimmer, which in turn elongates the whole face.
Blend the lines into your foundation so there are no sharp edges. Leave the upper bridge (between your eyes) completely untouched—that area should stay bright and natural. By only contouring the lower nose, you avoid making the center of your face look pinched. The result is a gentle, believable shadow that supports an oval silhouette without any heavy makeup feel.
10. Under‑Eye Brightener in a Triangle Shape
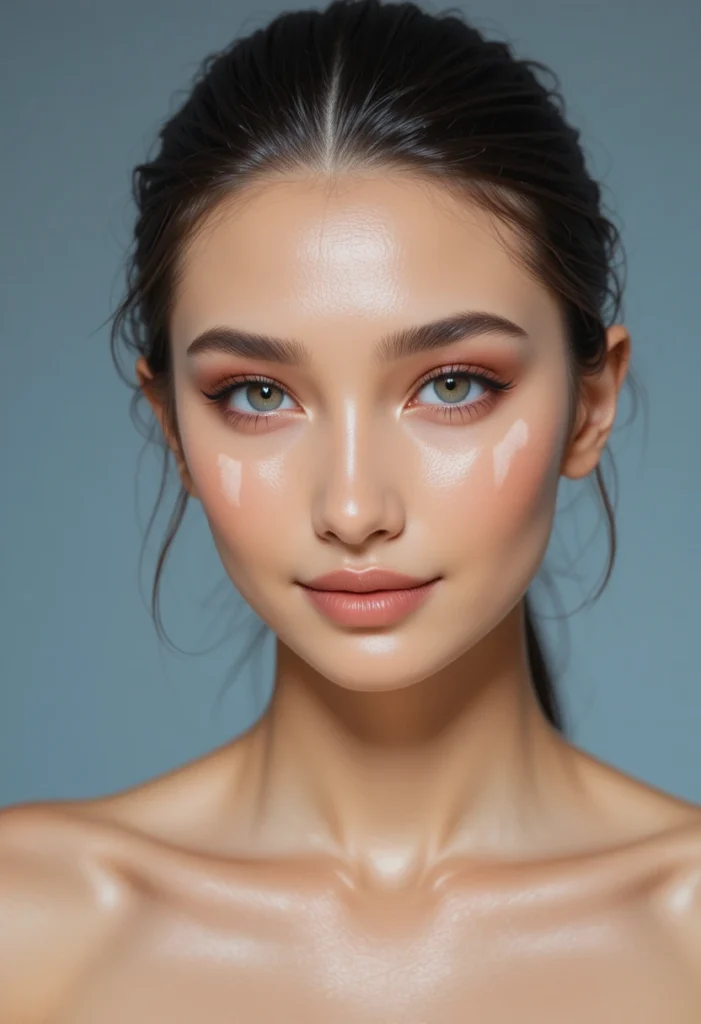
Place your under‑eye brightener or concealer in an inverted triangle shape, with the base along your lower lash line and the point aiming toward the top of your cheekbone. Avoid swiping the product in a simple half‑moon under your eye. The triangle shape directs light downward and outward, which visually lengthens the midface. Use a shade one or two tones lighter than your foundation for maximum brightening.
Blend the edges so the triangle diffuses seamlessly into your cheeks. This placement draws the eye into the center of your face and then diagonally down, creating a subtle elongating effect. It also reduces the appearance of under‑eye circles and adds a lifted look to the entire eye area. For round faces, this trick is particularly effective because it breaks up the circular pattern of the face and introduces a sharp geometric contrast.
11. Blush Below the Pupil, Not on Apples
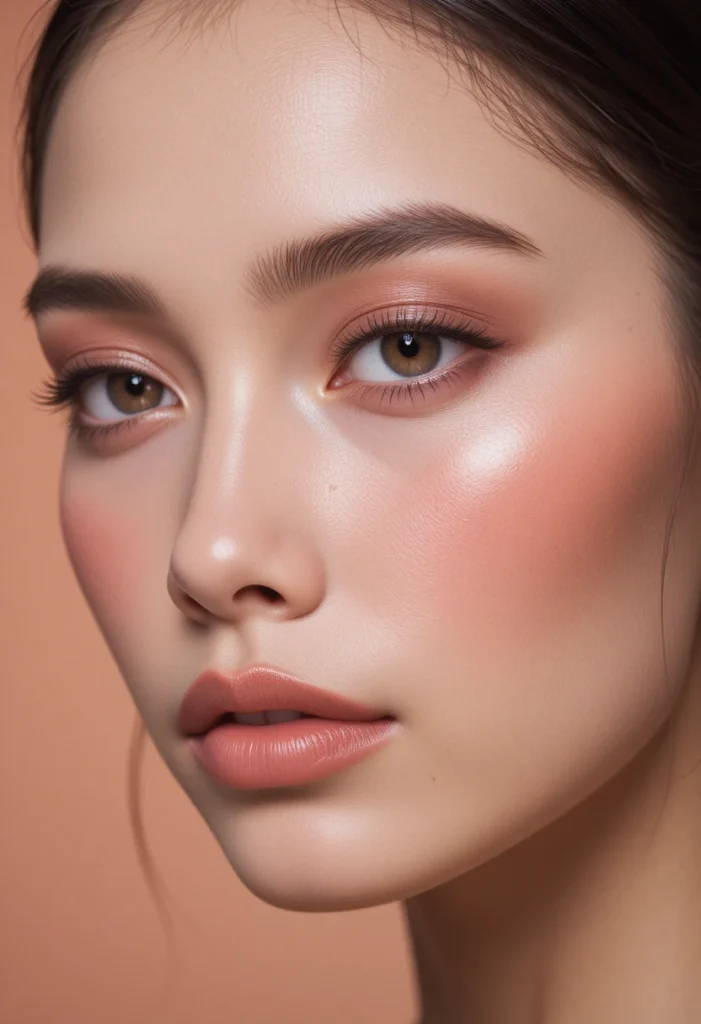
Position your blush so that its highest intensity sits directly below your pupil, where your cheek naturally rounds out, but keep it narrow. Instead of covering the whole apple, place a small dot of cream blush exactly under your pupil, then blend it outward toward your ear in a straight horizontal line. The color should be concentrated in a slim band, not a circular patch. This shifts the visual weight from the center of the cheek to the side.
Because the blush is directly below your eye rather than at the cheek’s widest point, it doesn’t add horizontal width. Choose a muted, skin‑like shade such as fig or soft brick for a natural effect. Blend the edges thoroughly but preserve the horizontal direction. You will notice your face appears more structured and less “full” in the mid‑cheek area. This is a favorite among professional makeup artists for round face shapes.
12. Bronzer Under the Jawline Only
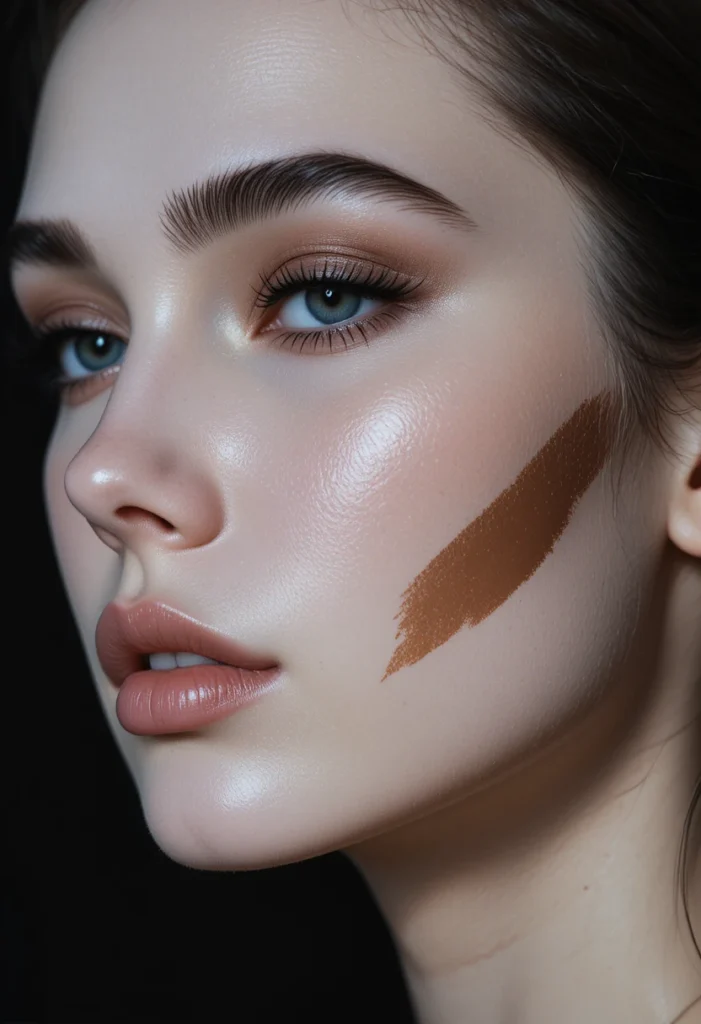
For immediate definition at the bottom of a round face, apply bronzer exclusively under the jawline—not on the cheeks or forehead. Tip your head back and feel for the soft space where your jaw meets your neck. Using a small, domed brush, sweep a matte bronzer along that entire underside curve, from just below one ear to the other. Blend downward onto the neck so there is no harsh line when you look straight ahead.
This technique creates a shadow that visually separates your jaw from your neck, making the jaw appear sharper and the face longer. Do not bring bronzer onto the front of your chin or up toward your cheeks. Keep it strictly underneath. The contrast between your brightened jaw front and the shaded underside gives a subtle, chiseled look that works beautifully for round, soft jawlines. Pair with central highlighter on your chin for extra length.
13. Eyeliner Wing Extended Horizontally
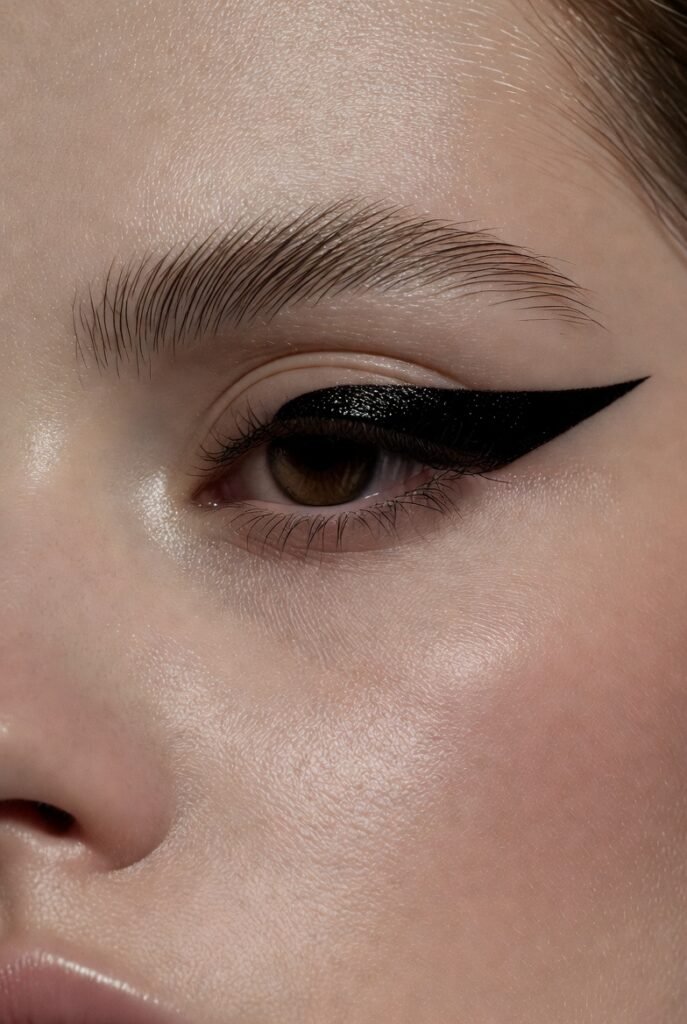
Instead of flipping your eyeliner wing upward, draw it straight out toward your hairline in a long, horizontal line. Use a liquid or gel liner to create a thin tail that extends just past the outer corner of your eye, parallel to the ground. This horizontal movement tricks the eye into seeing a wider, more angular upper face, which balances the roundness of your lower face. Keep the line thin and precise for a modern, sophisticated look.
Avoid curling the wing upward, as that can shorten the face visually. Pair this liner with a soft, smoked‑out lower lash line to anchor the horizontal effect. The overall shape of your eye makeup will mimic a gentle cat eye but with a straighter trajectory. This placement works exceptionally well on round eyes (common with round faces) and adds a subtle, elongating lift without any contour products.
14. Powder Only in the T‑Zone
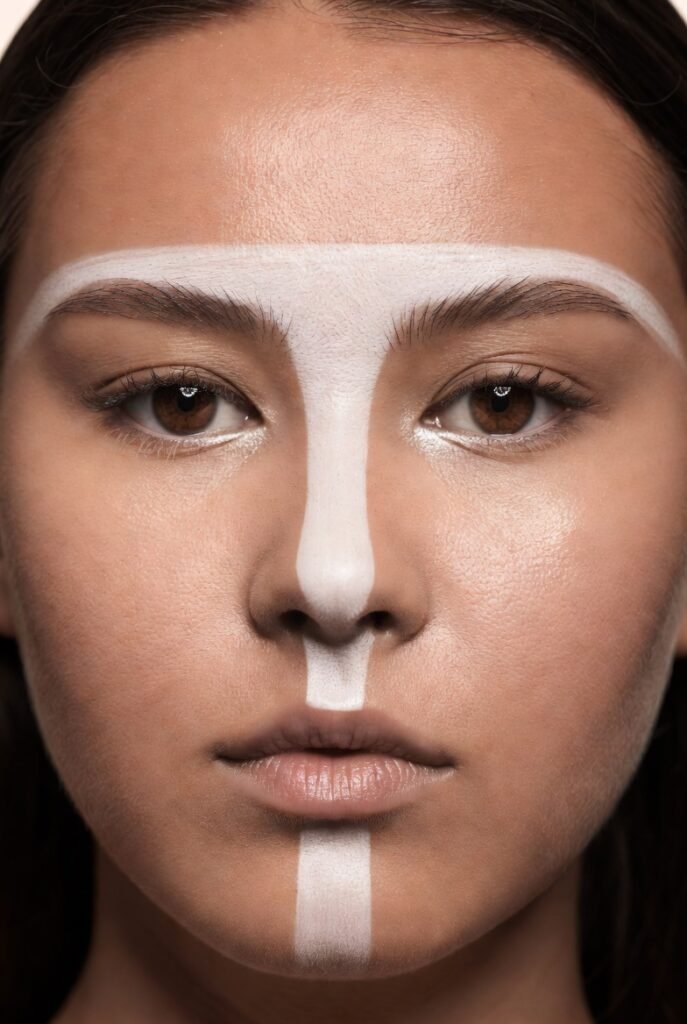
To reduce unwanted shine on the outer curves of a round face, set only your T‑zone with powder: forehead center, nose bridge, and chin. Leave your temples, outer cheeks, and jawline untouched or only lightly set with a translucent powder if absolutely necessary. By keeping those outer areas slightly dewy or natural, you create a soft shadow effect that slims the face’s perimeter. The matte center pulls focus inward, adding perceived length.
Use a loose or pressed powder that matches your skin exactly. Apply with a small, fluffy brush in patting motions, not sweeping. The contrast between the matte center and the natural outer curves is subtle but effective. This placement also prevents your makeup from looking cakey or flat. It is an ideal technique for oily or combination skin types who still want a sculpted, round‑friendly finish.
15. Highlighting Temples for Width Balance
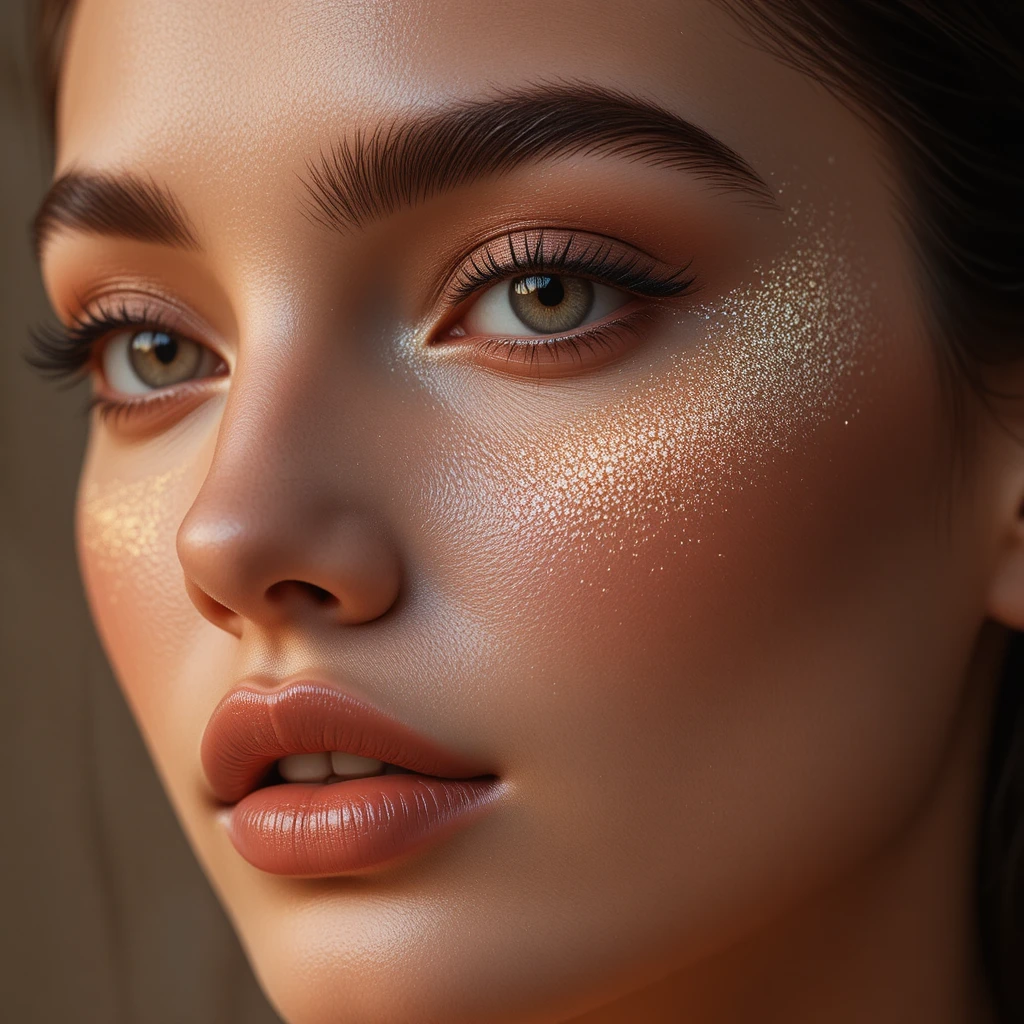
Ironically, adding highlight to the temples can help balance a round face when done correctly. Sweep a soft, pearl‑finish highlighter in a small crescent shape starting from the end of each eyebrow and curving up toward the hairline. This brightens the upper sides of your face, drawing attention upward and outward. The key is keeping the highlight very subtle—no glitter or intense shimmer—so it reads as natural light reflection.
Combine this with a matte bronzer placed below the cheekbones and under the jaw. The upper brightness paired with lower shadow creates a diagonal line of interest that reduces the visual weight of round cheeks. Use a fan brush for a diffused application. This technique is especially flattering on round faces with a wider forehead, as it harmonizes the upper and lower thirds beautifully.
16. Blush Placed in a “C” Around the Eye
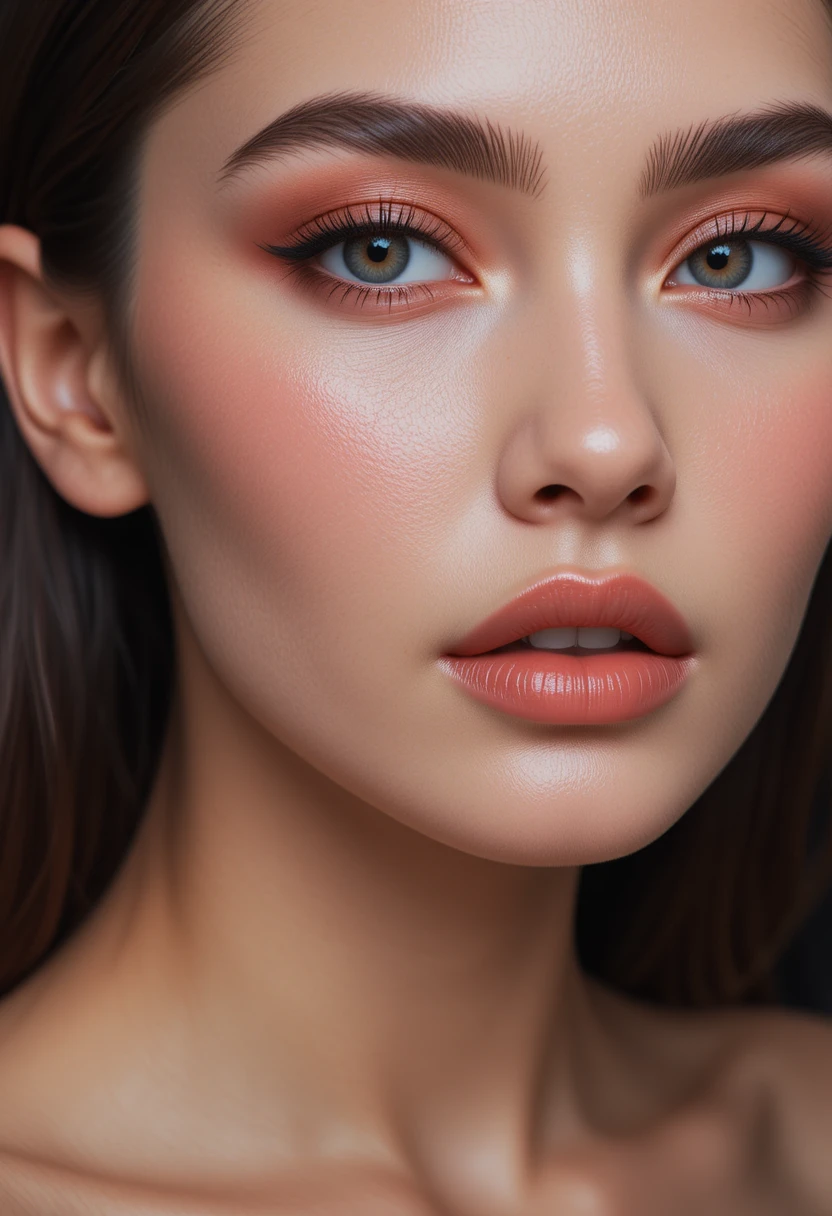
Create a “C” shape that starts at your eyebrow tail, curves around the outer corner of your eye, and ends at your cheekbone’s high point. Use a cream blush in a muted rose or soft coral, and blend it in a continuous C movement. This connects the eye area and the cheek, producing a lifted, elongated effect. The blush should not extend lower than your nostril level, and it should stay on the outermost edge of your face.
This placement is excellent for round faces because it breaks the circular blush pattern entirely. Your face will look more sculpted and angular even with very little product. Blend thoroughly so there are no visible edges, but preserve the shape. The “C” technique also brightens your under‑eye area by proxy, as the blush acts as a subtle color corrector. It is surprisingly easy to master and looks fresh for both day and evening looks.
17. Nose Highlight in a Thin Vertical Line
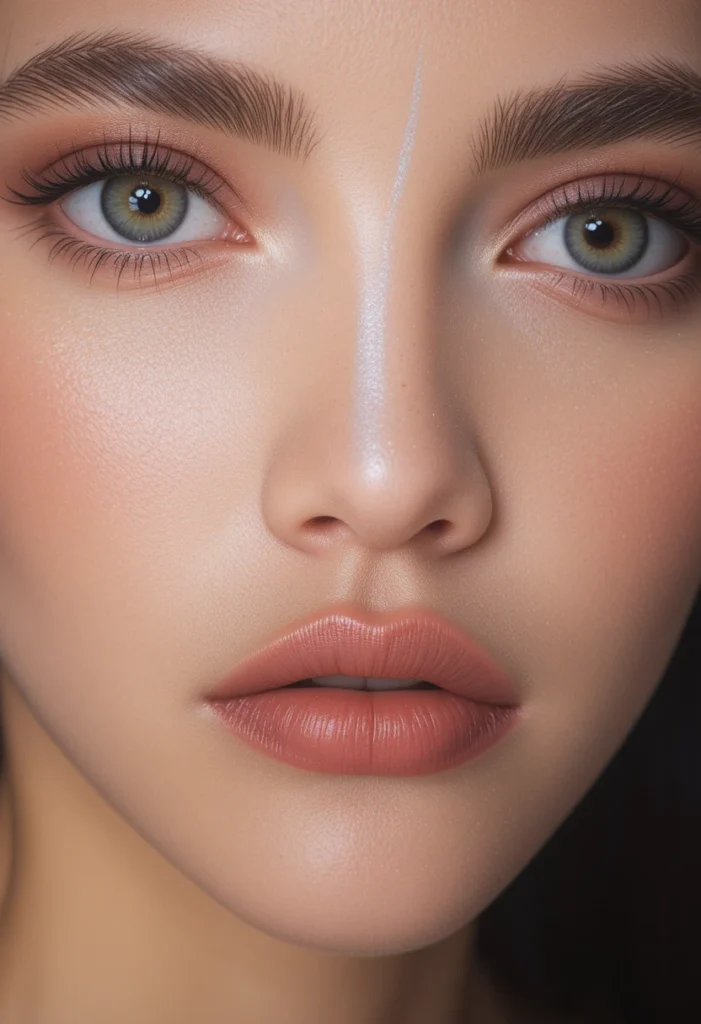
Apply a tiny amount of highlighter in an ultra‑thin vertical line down the very center of your nose, from between your brows to just above the tip. Use the back of a thin brush or a pencil‑style applicator to draw a line no wider than 2 millimeters. Avoid highlighting the sides of your nose or the tip itself. This concentrated vertical stripe draws the eye straight down the middle, making the nose appear longer and the entire face more oval.
For round faces, a wide nose highlight can actually emphasize width, so precision is critical. Pair this with matte foundation on the sides of your nose to enhance the contrast. Blend the top and bottom of the line so it fades softly into your skin. The result is a subtle, natural shine that guides the gaze vertically. This one tiny change can significantly alter how your face shape is perceived.
18. Contour on the Outer Forehead Corners
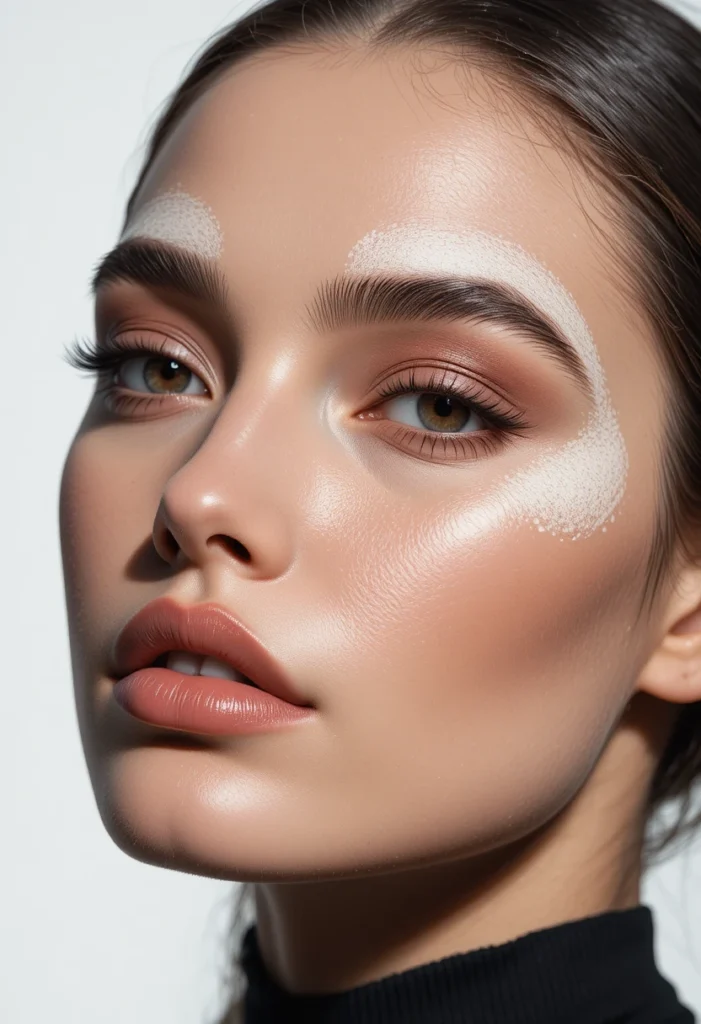
Place a small amount of cool brown contour on the extreme outer corners of your forehead, right where the forehead meets the hairline. Use a small, angled brush to draw a curved line that follows the hairline for about an inch inward. Blend toward the center but keep the concentration at the edges. This shadows the widest part of a round forehead, visually narrowing the upper face and creating a smoother transition into an oval shape.
Do not apply contour across the whole forehead—that can look muddy and dark. Keep the middle of your forehead bright and highlighted. This targeted placement works synergistically with central forehead highlighter (idea #6). Together, they reshape the forehead perimeter without heavy product. Blend with a clean sponge for a seamless finish. This is a pro trick often used in bridal and red carpet makeup.
19. Lipstick Fading Out at the Corners
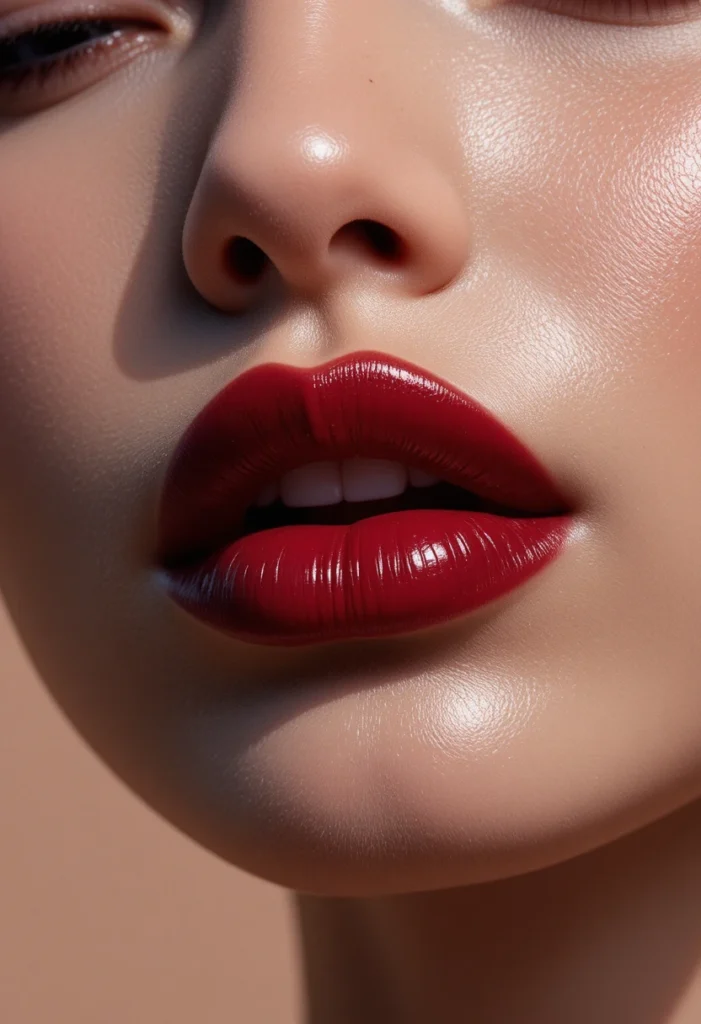
Apply a deeper lipstick shade to the center of your lips, then fade it out as you move toward the corners. Use a lip brush to deposit the most pigment in the middle of your upper and lower lips, then blend outward with a clean finger so the corners are almost bare or only tinted. This gradient effect—often called “gradient lips” or “blurred lips”—draws the eye horizontally, but paradoxically, it elongates a round face because it de‑emphasizes the mouth’s width.
Pair this with a touch of clear gloss in the very center of both lips. The darker center and lighter corners prevent the mouth from visually widening the lower face. Choose shades like berry, brick, or plum for the center, and use your natural lip color or a nude balm at the corners. This technique is especially flattering on round faces with fuller lips, as it creates a delicate, heart‑shaped appearance that adds length.
20. Highlighting the Chin Center Only
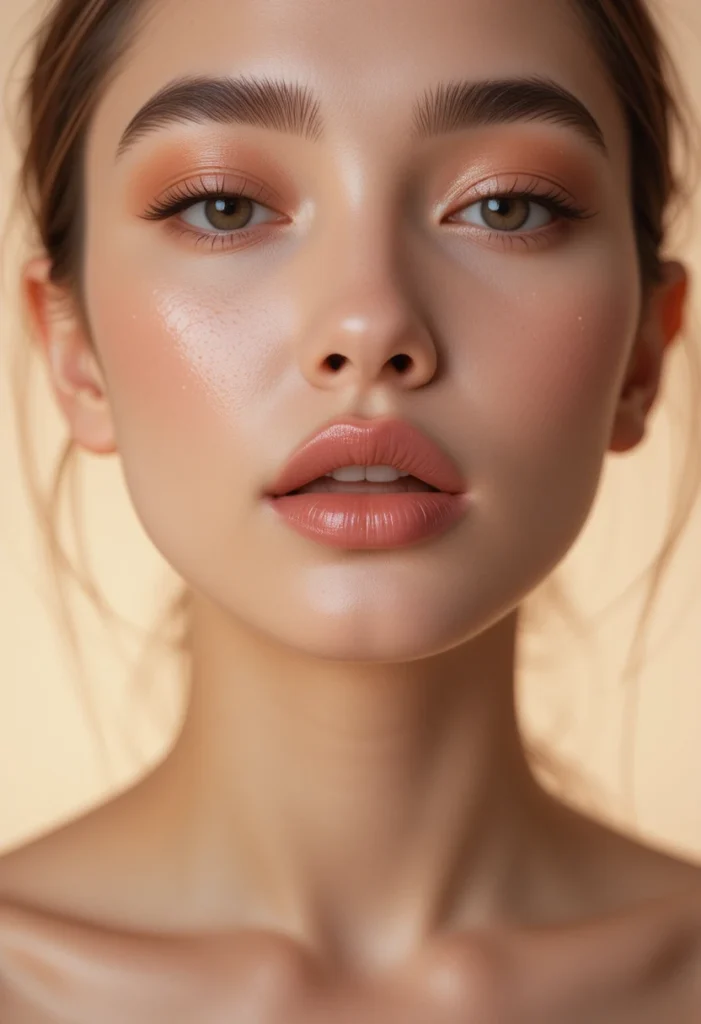
For the final idea, apply a dot of highlighter exactly in the center of your chin, about the size of a pea. Use a liquid or cream formula and tap it in with your ring finger until it diffuses slightly but remains brightest in the middle. Avoid highlighting the sides of your chin or the jawline. This single point of shine pulls the eye downward, visually lengthening the lower third of your face—a common goal for round face shapes.
Combine this with matte foundation or powder on the rest of your chin and jaw. The contrast between the luminous center and the shadowed sides creates a subtle V‑shape effect that slims and elongates. This placement works beautifully with a bold lip or a nude lip; it does not compete. It is the perfect finishing touch to any round‑face makeup routine, adding a polished, sculpted look without any extra contour.
Conclusion
Mastering makeup placement for a round face isn’t about hiding your natural shape—it’s about using light, shadow, and color to enhance what you already love. Each of these twenty ideas works on its own, but you can also combine two or three for even more striking results. Start with one or two placements that feel most comfortable, then experiment gradually. The more you practice, the more intuitive it becomes to see your face as a beautiful canvas for creative expression. Embrace your roundness, play with placement, and enjoy makeup that truly works with you, not against you.