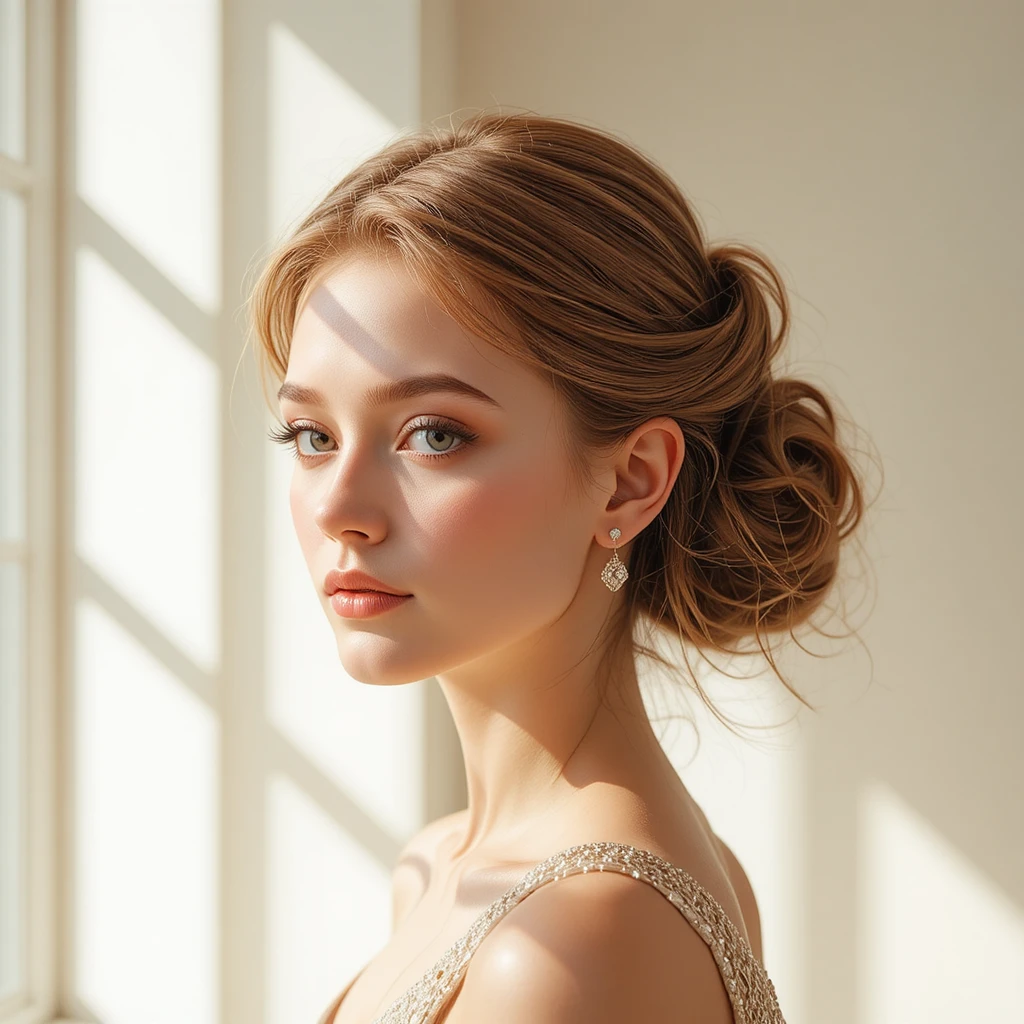
If you have thinner hair, you might think updos are out of reach. The truth is, the right style can create the illusion of thicker, richer volume while keeping your hair secure and beautiful. From twisted half‑ups to soft buns, these 23 looks work with your hair’s natural texture, not against it. No heavy teasing or complicated steps required—just simple techniques that make every strand count.
1. The Loose Textured Twist
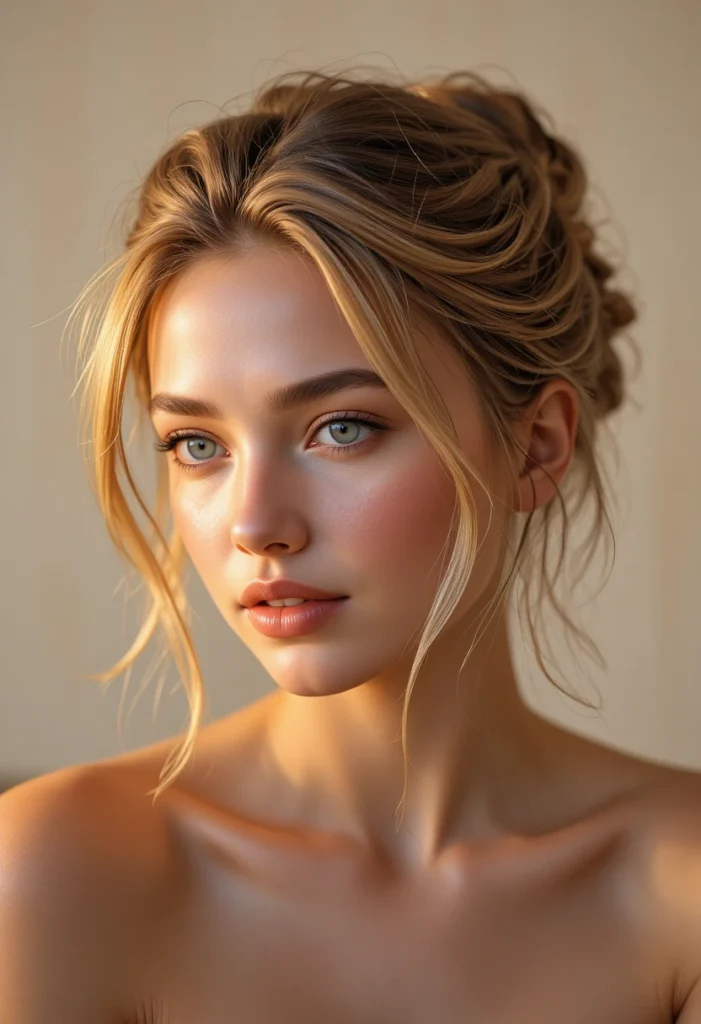
This style starts with a small amount of texturizing spray at the roots. Gather your hair as if you’re making a low ponytail, but instead of pulling it all the way through on the last turn, leave a small loop. The remaining ends wrap around the base to hide the elastic. Because thinner hair is lighter, the loop holds its shape without pulling downward.
The loose twist works best on second‑day hair, when natural oils give strands a little grip. Gently tug at the sides of the loop to widen it—this creates the appearance of a much fuller bun. A few face‑framing pieces left out soften the look and add movement. What you get is a carefree updo that looks intentionally undone while making your hair seem twice as thick.
2. The Rolled French Pin
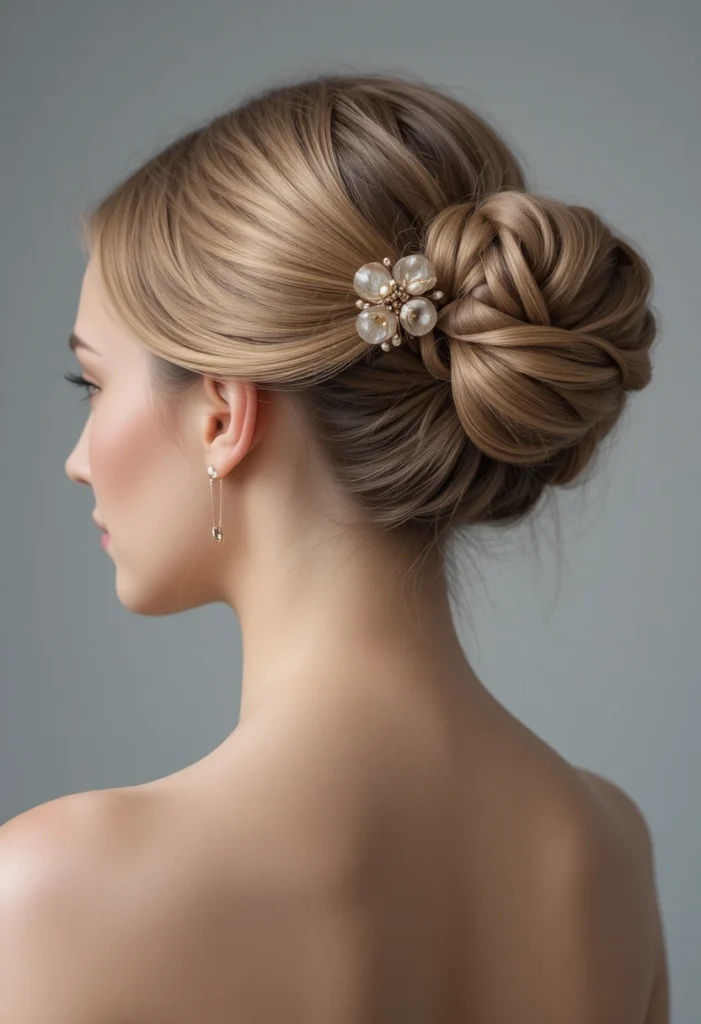
Start by flipping your head forward and brushing all hair toward your crown. Secure a small, low ponytail at the nape, then use a rat tail comb to create a shallow pocket just above the elastic. Roll the ponytail upward into that pocket, tucking the ends underneath. Two or three long bobby pins crossed like an X will hold everything flat against your head.
Because thinner hair has less weight, the roll stays snug without sagging. The smooth surface reflects light, which visually plumps each section. For extra hold, mist with a flexible hairspray before rolling. This updo looks polished for work or brunch, and the tucked‑under technique adds a surprising amount of body where you need it most.
3. The Braided Accent Bun
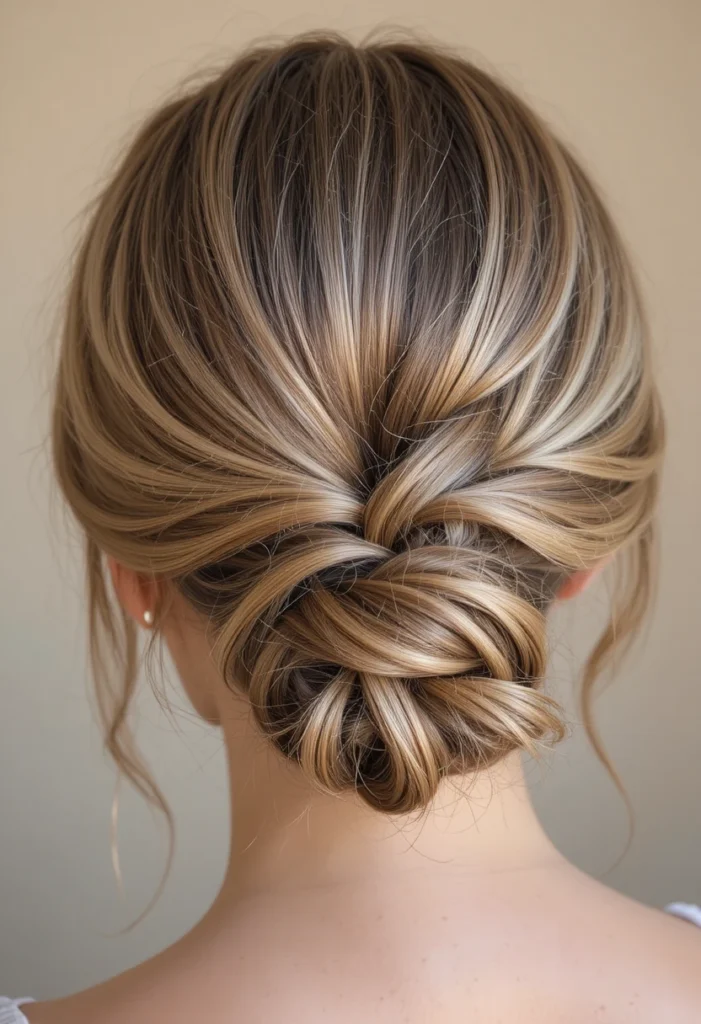
Divide your hair into three horizontal sections: top, middle, and nape. Leave the top section loose, then braid the middle section very loosely into a simple three‑strand braid. Gather the nape section into a tiny bun at the center. Wrap the braid around that bun, pinning as you go, and finally drape the top section over everything to hide the pins.
The key is keeping the braid intentionally messy—pulled stitches create air pockets that mimic density. Thinner hair responds well to this layered approach because no single piece has to carry all the volume. The finished style looks intricate but takes only minutes. Friends will ask how you got so much hair, and you can smile knowing the secret is all in the wrap.
4. The Low Diagonal Crisscross
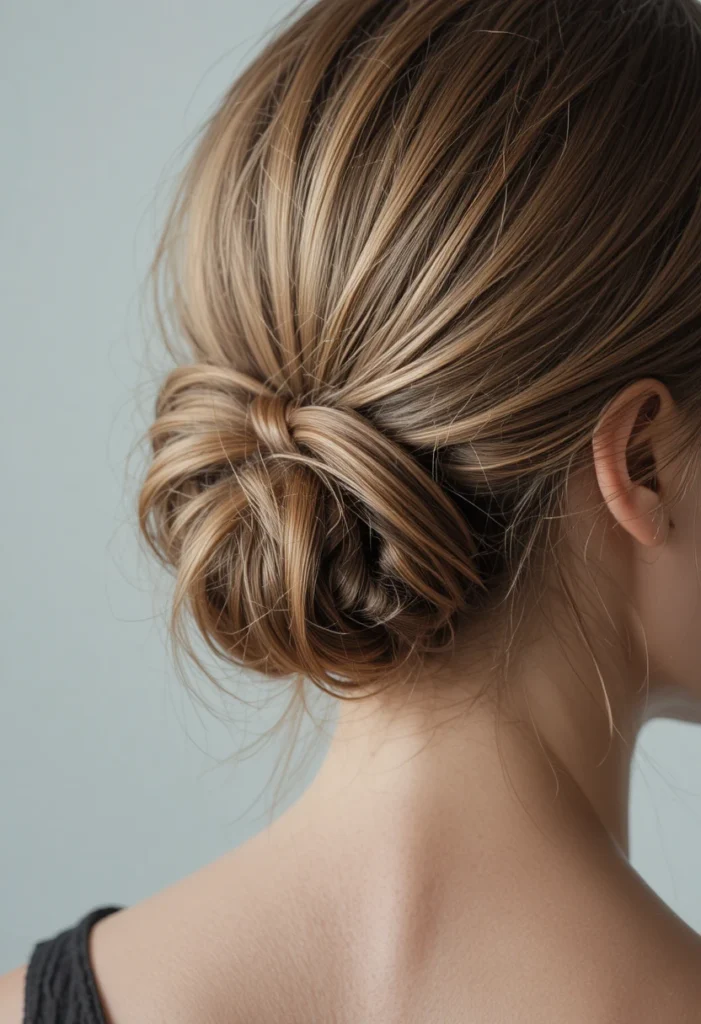
Make a deep side part, then divide your hair into two large sections—one on the heavier side, one on the lighter. Twist each section toward the back of your head, crossing the right twist over the left at the nape. Secure with a clear elastic, then tuck the ends under the crossed twists and pin flat. The diagonal line breaks up the scalp’s visibility, a common concern with fine hair.
Because the twists lay against each other rather than stacking, they create a woven look that adds textural interest. This style works beautifully on hair that falls just past the shoulders; shorter layers stay put thanks to the crosswise tension. Spray lightly with a volumizing mist, and the crisscross will hold all day while making each strand appear thicker than it really is.
Read Also:15 Two Toned Hair Styles: Unleash Your Dimensional Color with These Stunning, Low-Maintenance Looks
5. The Double Knot Wrap
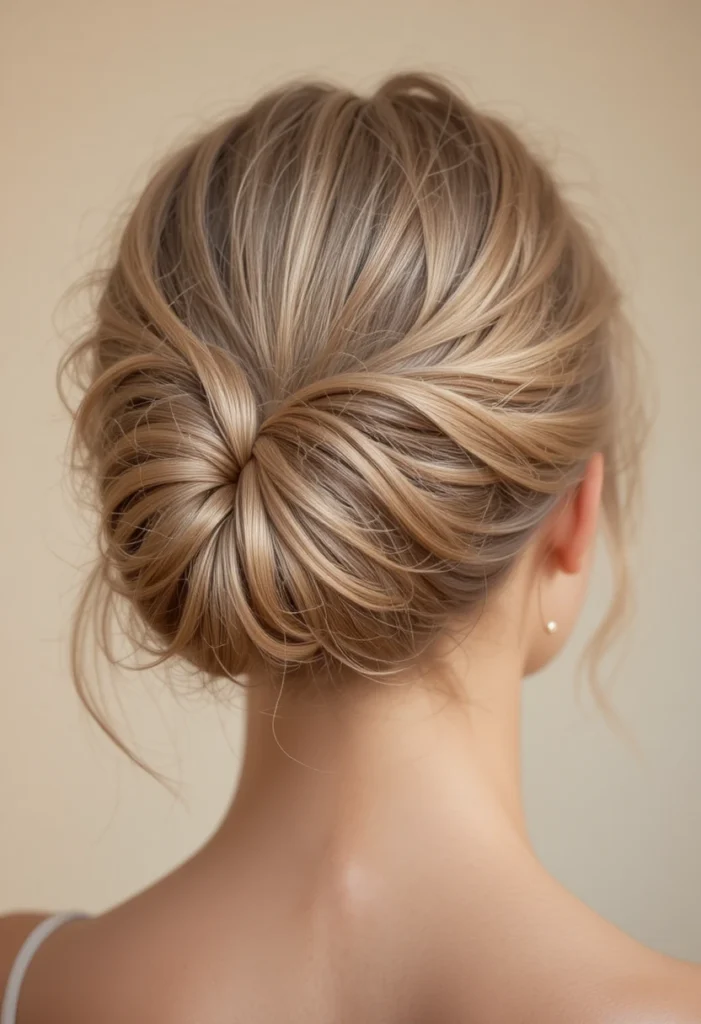
Gather your hair into a mid‑height ponytail, but don’t pull the ends through on the first pass—leave a loop. With the remaining tail, tie a simple overhand knot around the loop’s base. Then take the tail and wrap it once more around the knot, hiding the elastic completely. Pin any straggly ends underneath. The double knot creates two distinct bulges that read as full, rounded volume.
Thinner hair holds knots well because there’s less bulk to slip apart. You can gently pull on the edges of each knot to expand them, making the style look even larger. This updo is surprisingly secure for dancing or windy days, and it requires no heat or backcombing. For a romantic touch, pull out a few wispies around the ears and nape.
6. The Side‑Sweep with Hidden Volume
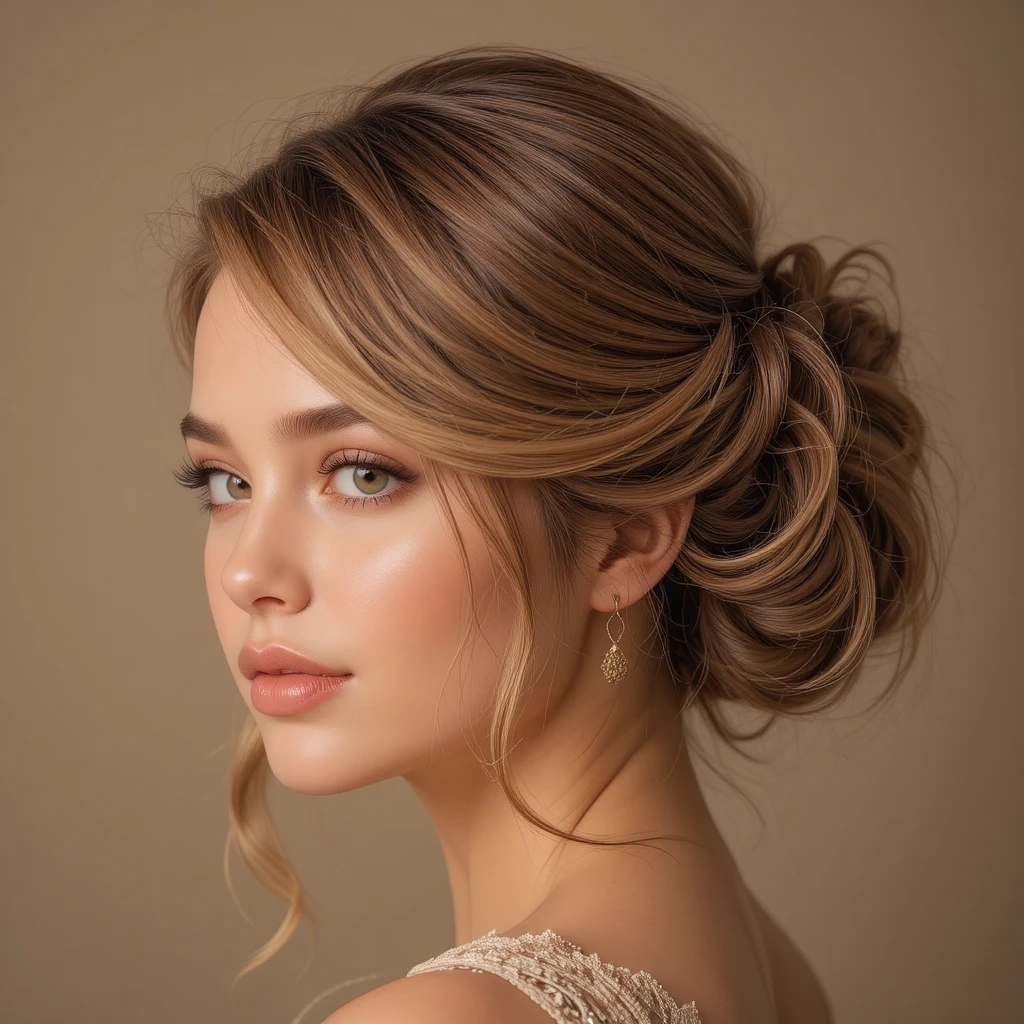
Brush all hair to one side as if you’re making a low side ponytail. Before securing, use your fingers to lift the roots on the opposite side—you’re creating a tiny ridge of air under the hair. Then twist the gathered hair toward the back of your head and pin it in a flat spiral against your occipital bone. The spiral should lie horizontally, not vertically.
That lifted ridge on the empty side gives the illusion of root volume even in very fine hair. By sweeping diagonally, you also camouflage any sparse areas near the temples. This style looks especially elegant with a decorative comb or a small velvet scrunchie. The flat spiral stays light and bouncy because no single pin carries too much weight. It’s a five‑minute fix for flat, lifeless hair.
7. The Bubble Pony Fold
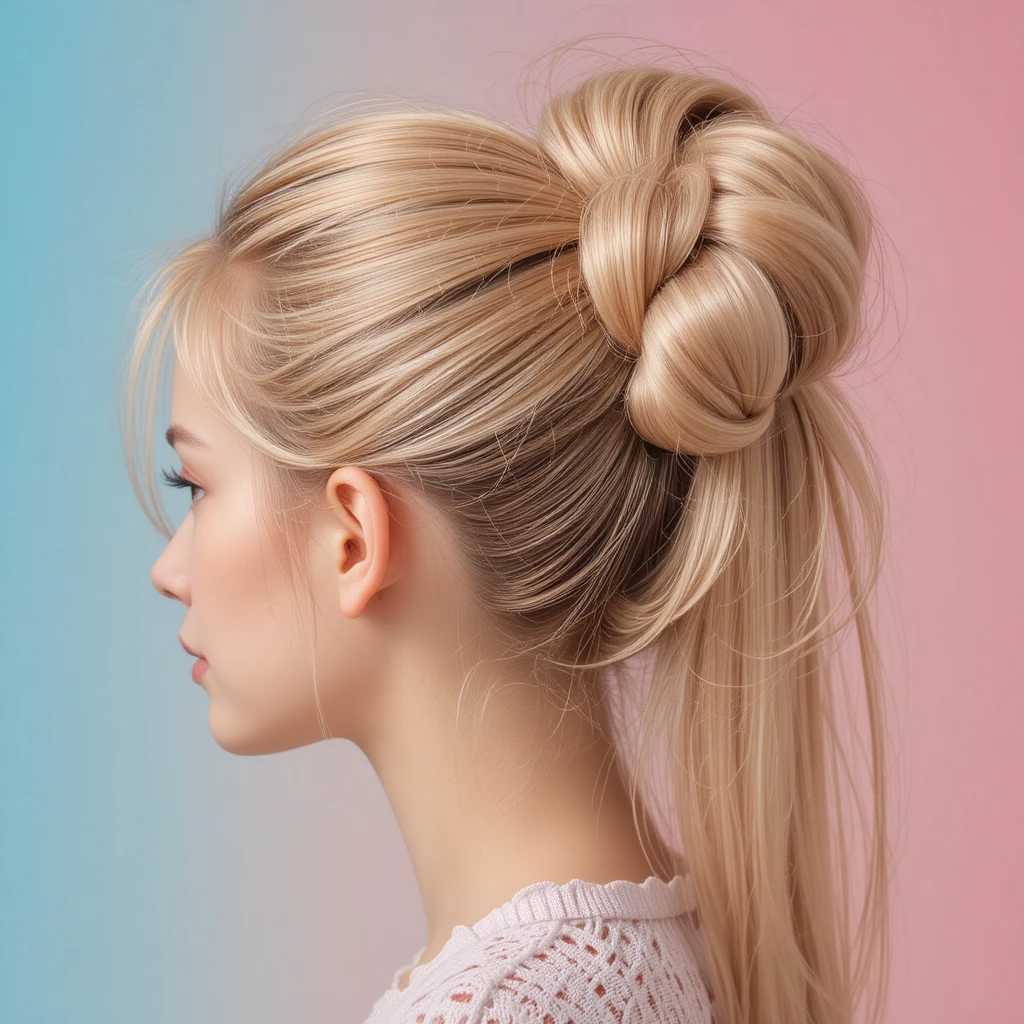
Start with a low, loose ponytail secured by a soft elastic. About two inches down the ponytail, add another elastic, then gently pull the section between the elastics to create a “bubble.” Repeat once more if your length allows. Now take the entire bubbled ponytail and fold it upward, tucking the tip under the base elastic. Pin the fold flat against your head.
The bubbles add structured volume that makes thinner hair look deliberately puffy rather than sparse. Because each bubble is hollow inside, you get visual fullness without actual bulk. This modern style works on straight or wavy textures and holds up during humid weather. You can leave one bubble slightly asymmetrical for an edgy, playful finish that draws attention away from thinness and toward creativity.
8. The Rope Braid Wrap
Divide your hair into two equal sections. Twist each section tightly toward your scalp, then twist the two sections around each other in the opposite direction to form a rope braid. Secure the end with a small elastic. Coil the rope braid into a flat cinnamon‑roll shape at your crown and pin the edges down firmly. The double twist creates air pockets between the strands, which makes fine hair look unexpectedly dense.
Because rope braids don’t require sectioning as precisely as French braids, they work wonderfully on thinner hair that might otherwise show gaps. The coiled shape sits close to the head but still offers height. You can gently loosen the outer edges of the coil with a pin tail comb for an even fuller silhouette. This style lasts two days with a silk scarf at night.
9. The Tucked Under Half Up
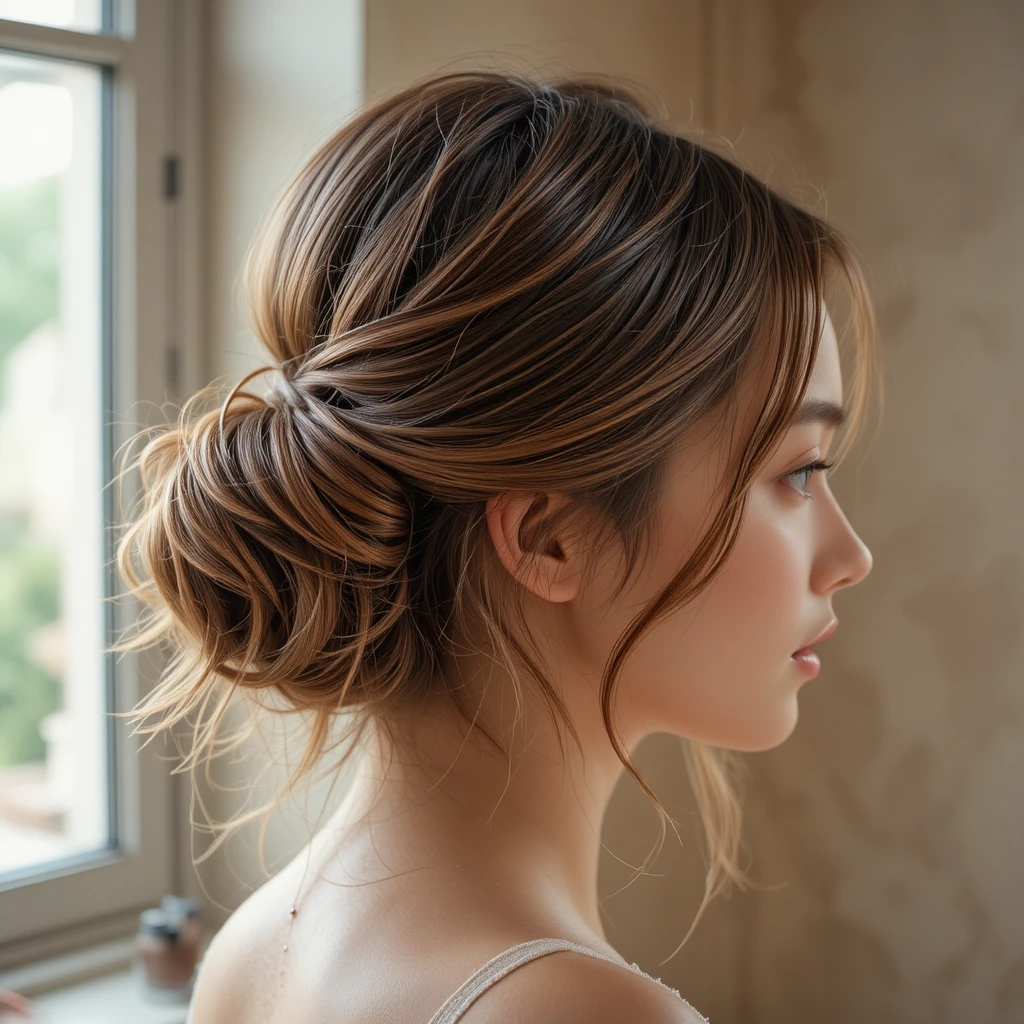
Take the top half of your hair from ear to ear and gather it into a small ponytail at the crown. Before securing the elastic, flip the ponytail forward and create a horizontal slit just above the elastic. Tuck the ponytail up and through that slit, then pull gently to tighten. The result is a flipped half‑up that stands away from the scalp. Leave the bottom half loose and slightly waved.
The flipped section creates a built‑in volume bump without any backcombing. Thinner hair benefits from this trick because the tucked part forms a hidden pocket of air. For extra fullness, mist the bottom half with sea salt spray before air drying. The contrast between the lifted crown and the flowing lengths gives the illusion of much thicker overall density. It’s casual enough for grocery runs but polished for coffee dates.
10. The Soft Pinwheel Cluster
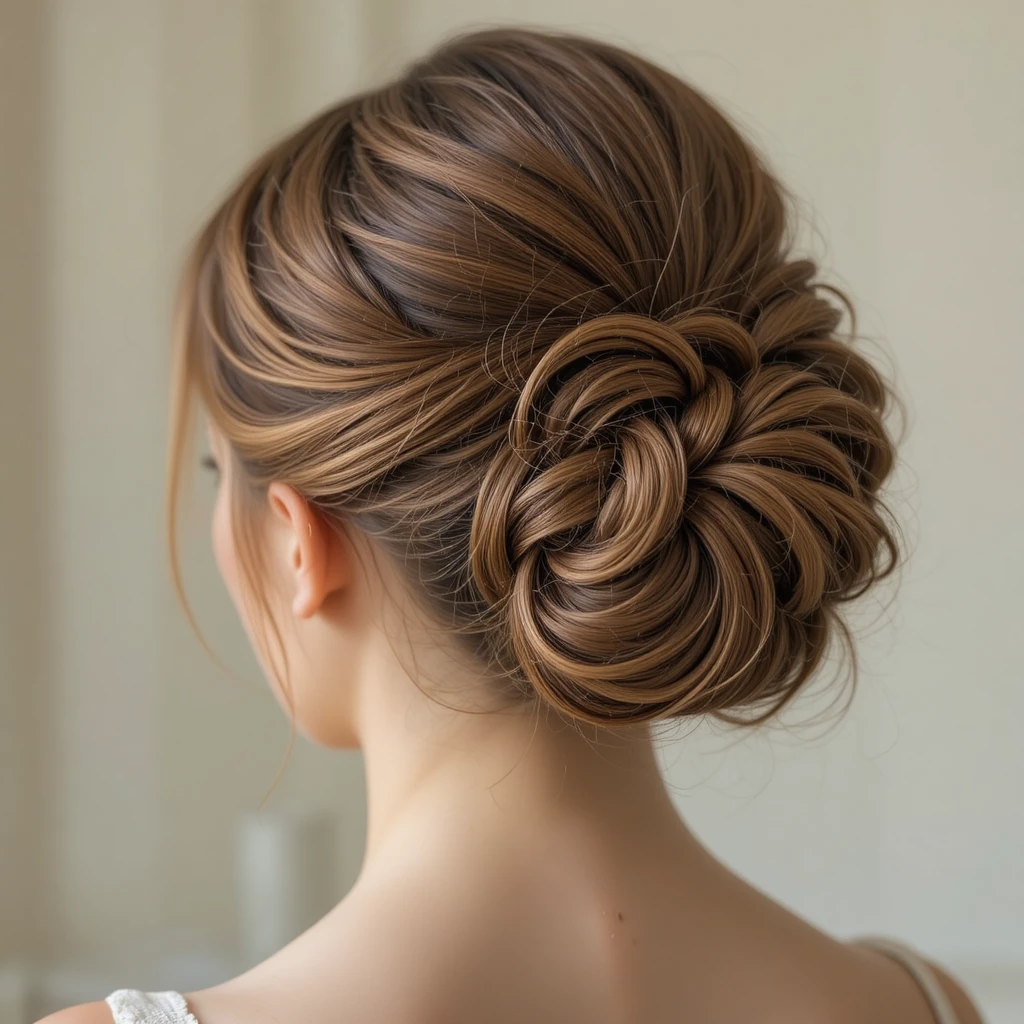
Gather all hair into a very loose ponytail at the nape. Instead of twisting the whole ponytail, split it into four small sections. Twist each section individually into a tiny pinwheel shape—like a mini bun—and pin each one close to the elastic, clustering them together. The four small pinwheels will overlap and blend into one larger, textured cluster. Leave a few ends poking out for softness.
Because each pinwheel is small and separate, they collectively look like one big, lush bun. Thinner hair handles multiple tiny sections better than one large bun, which can collapse under its own weight. You can arrange the pinwheels asymmetrically for a more artistic feel. This updo works especially well on layered haircuts, as shorter pieces tuck neatly into their own pinwheel without slipping.
11. The Diagonal Rope Twist
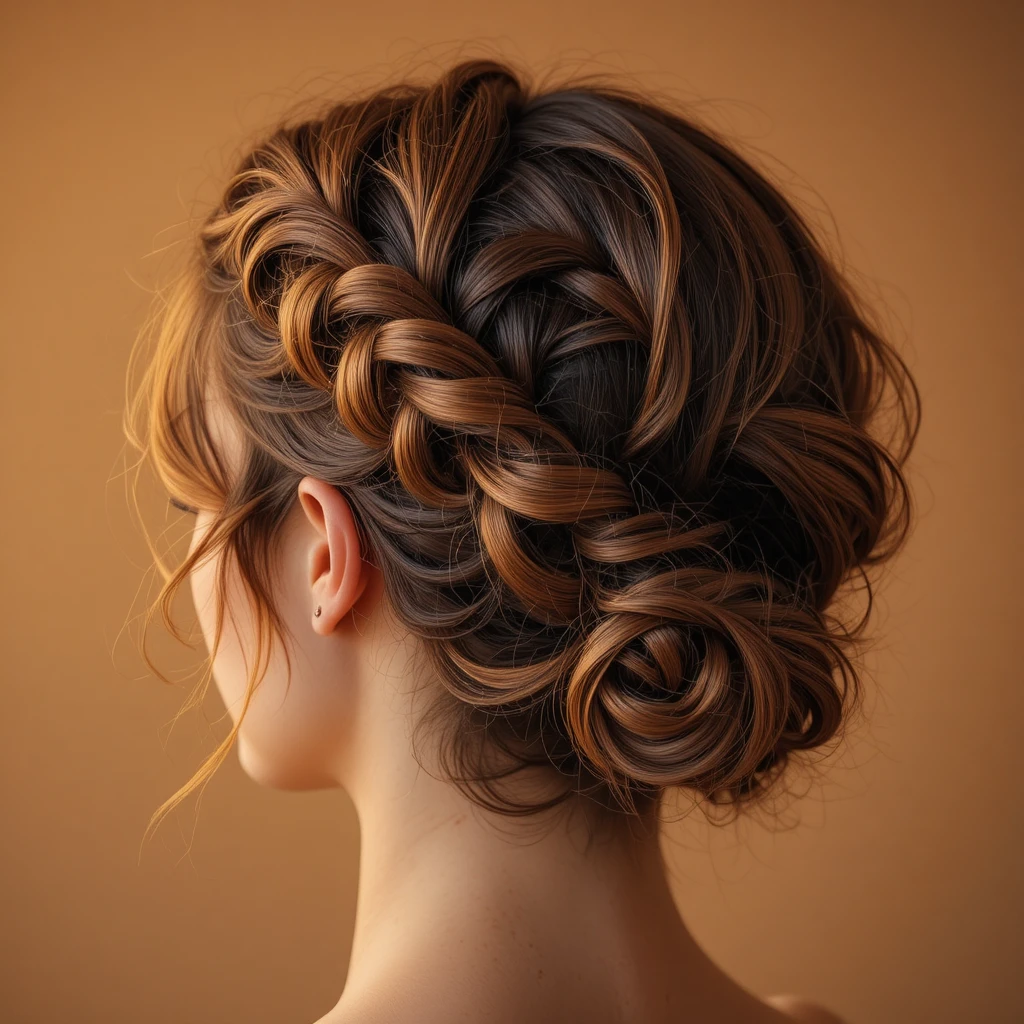
Make a deep side part on the left. Starting at the part line, take a one‑inch section and begin a two‑strand rope twist, moving diagonally down toward the right nape. As you twist, add small pieces of hair from your hairline only—not from the deep interior. Secure the finished rope twist with a clear elastic at the nape, then tuck the tail under and pin. The diagonal path creates a visible texture line.
The key is keeping the twist loose enough that you see the rope pattern but tight enough to stay. Thinner hair shows the rope’s ridges beautifully, and each ridge acts like a tiny wave that reflects light. This style pulls hair away from the face while leaving the rest of your hair free, so you get the best of both worlds: an updo feel with easy maintenance. A light spritz of working spray keeps the rope defined for hours.
12. The Low Chignon with Pinch Pleats
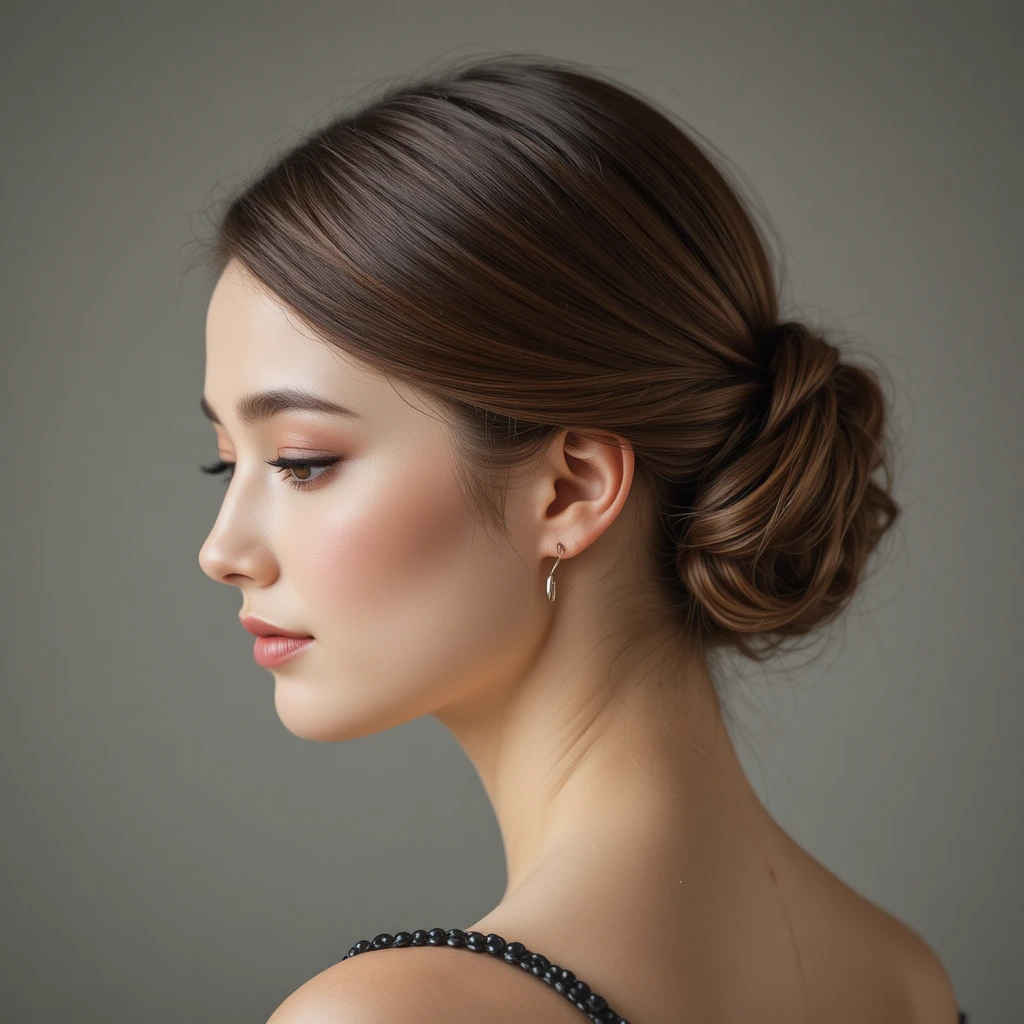
Brush all hair to the back as if making a low ponytail, but don’t use an elastic yet. Instead, fold the entire length of hair upward against your nape, creating a horizontal fold. Use one hand to pinch the fold in three places—left, center, right—creating small pleats. Slide long bobby pins through each pinch, angling them down into the hair underneath. The ends of your hair will fan out above the pleats like a tiny fountain.
Pinch pleating works because the folds trap air and create structured ripples across the surface. Even very fine, straight hair will hold these pleats for several hours with a bit of hairspray before pinning. The fountain of ends adds height at the crown without teasing. This chignon looks sophisticated and architectural, perfect for evenings out. Nobody will guess your hair is thin—they’ll just admire the clever pleating.
13. The Wrapped Ponytail Fold
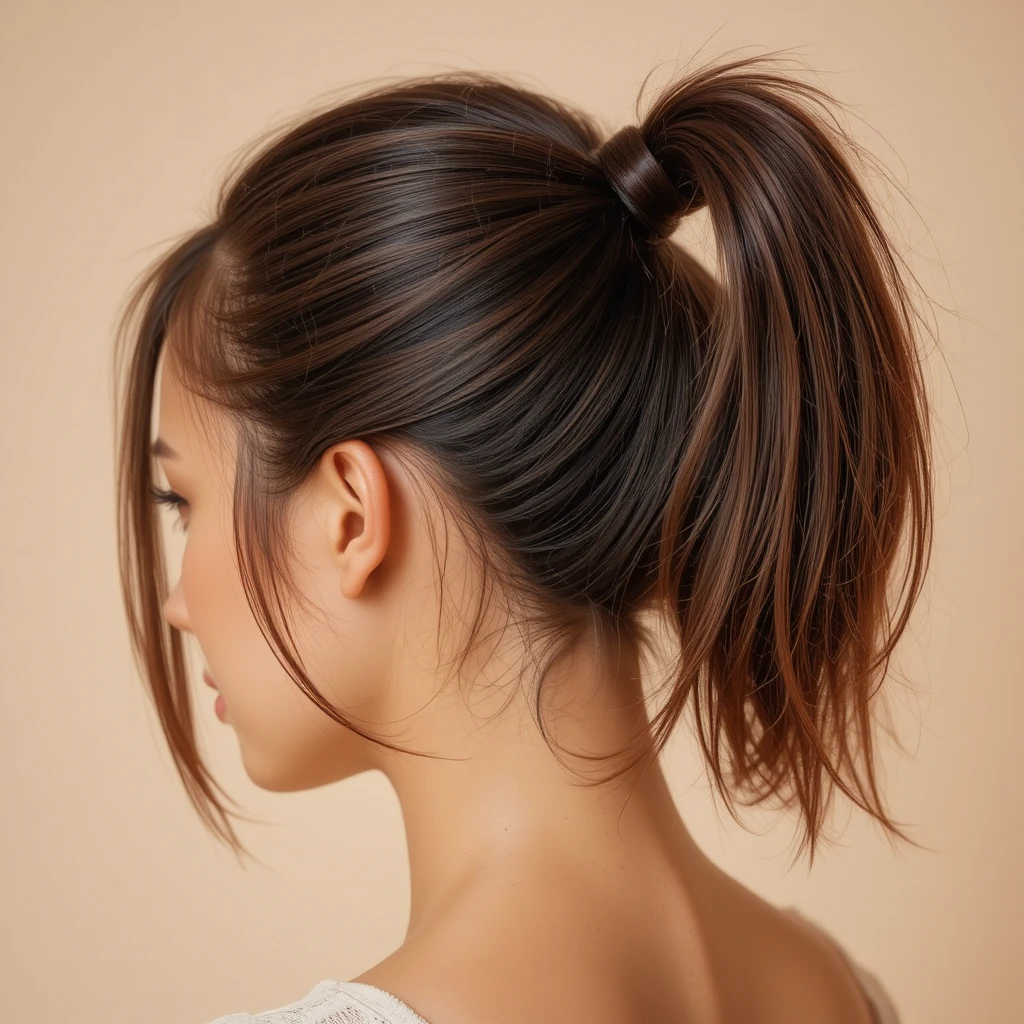
Start with a low ponytail secured by a soft fabric elastic. Take a one‑inch strand from underneath the ponytail and wrap it around the elastic until the elastic is completely hidden. Pin the end of that wrapper strand flat. Now divide the remaining ponytail into two equal parts. Cross the right part over the left, then fold both parts upward together and pin the fold against the base. The fold creates a wide, flat shape.
Hiding the elastic with a wrapper strand makes the whole style look seamless and intentional. The folded ponytail spreads out into a fan shape that visually doubles your hair’s width. Thinner hair excels at this because there’s no excess weight to pull the fold downward. For a softer look, pull out two thin pieces near each ear. You’ll have an updo that takes ninety seconds but looks like you visited a stylist.
14. The Three‑Pin Figure Eight
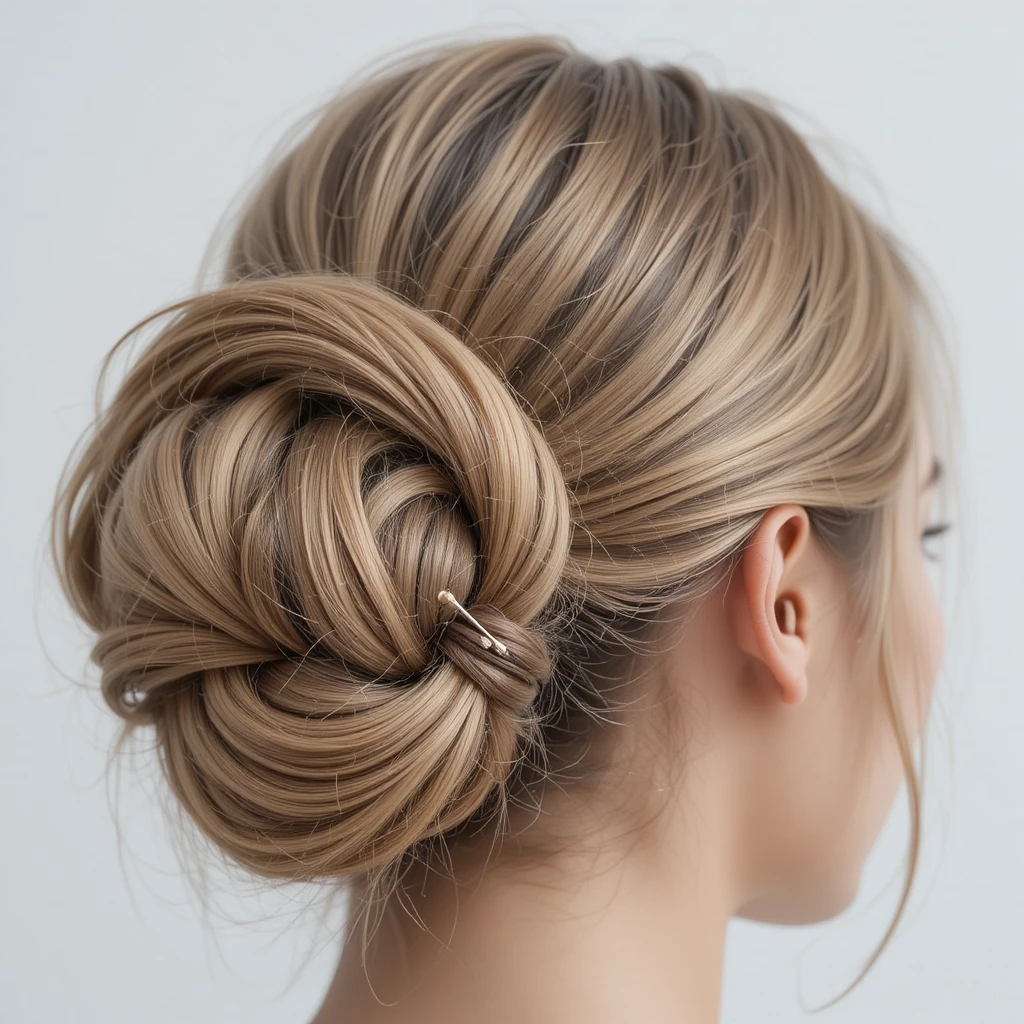
Gather all hair into a very loose ponytail at mid‑height. Do not use an elastic. Instead, twist the entire ponytail once, then loop it upward to form the top circle of a figure eight. Bring the remaining tail down and loop it backward to form the bottom circle. Insert three long bobby pins: one at the crossover point, one at the top circle’s outer edge, and one at the bottom circle’s outer edge. The figure eight stays because the twists lock together.
This classic style is perfect for thinner hair because the open loops show negative space, which tricks the eye into seeing more hair than actually exists. The figure eight’s shape also distributes tension evenly, so no single area feels pulled tight. You can make the loops larger by gently tugging outward after pinning. Wear this to a wedding or a gallery opening—it’s elegant, secure, and surprisingly lightweight.
15. The Satin Roll Under
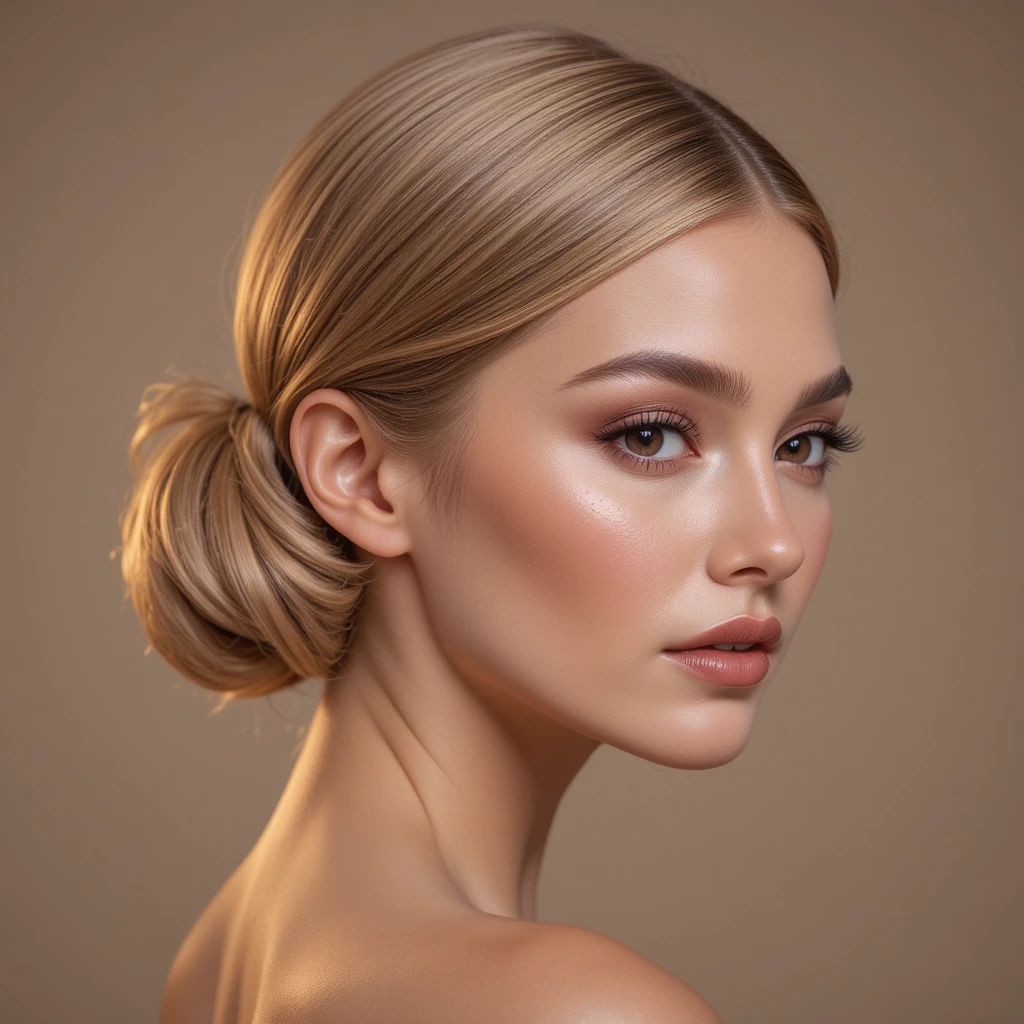
Spray dry shampoo at your roots for grip. Brush all hair into a smooth, low ponytail at the nape. Slide a satin scrunchie over the ponytail, but instead of pulling the ends through, roll the entire ponytail upward toward your crown like a jelly roll. As you roll, tuck the ends underneath the scrunchie. The satin fabric creates friction that holds the roll without slipping. Pin the roll’s sides against your head.
Satin scrunchies are game‑changers for thin hair because they grip without creasing. The rolling motion compresses the hair into a neat cylinder that looks much denser than a traditional bun. Because the roll sits vertically along the back of your head, it adds length and height simultaneously. This updo takes under two minutes and works on any hair length longer than a bob. It’s your new default for rushed mornings.
16. The Pinned Spiral Curl
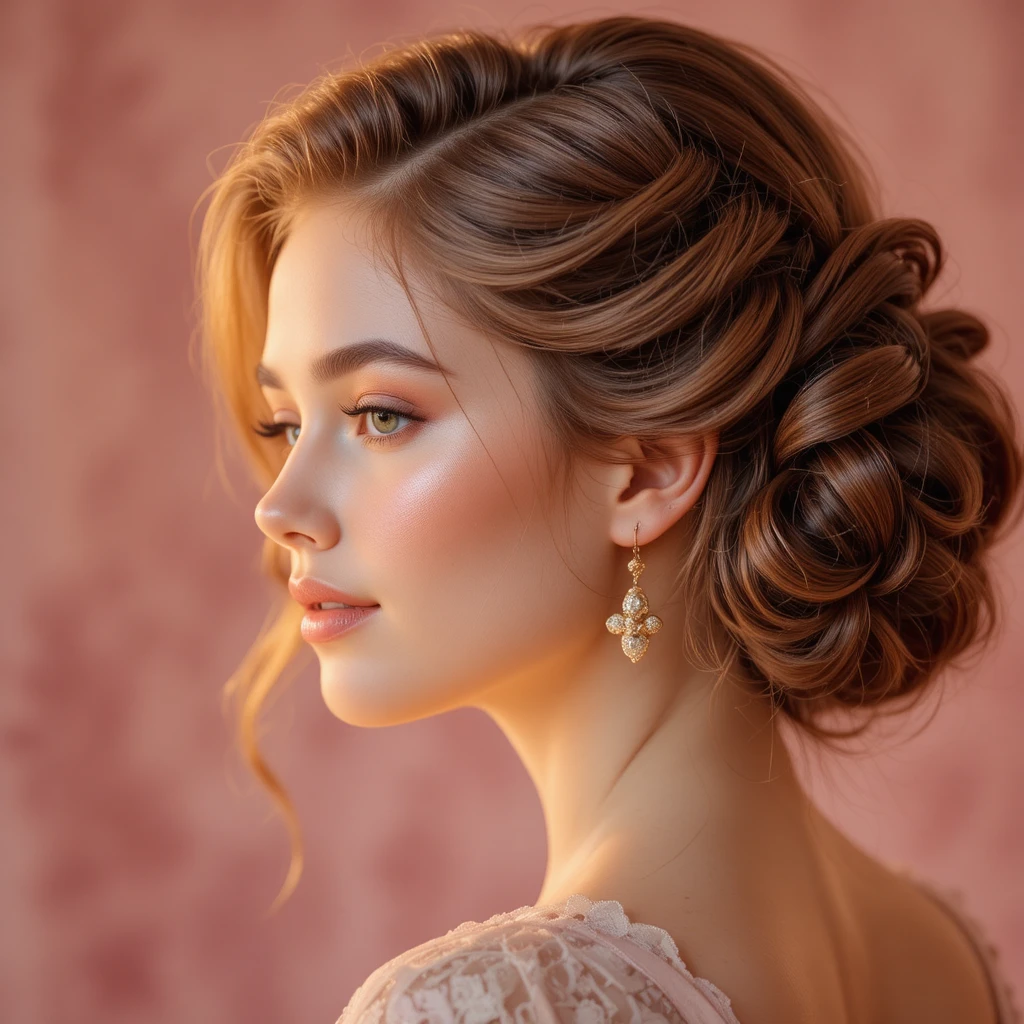
On damp hair, apply a lightweight mousse. Divide hair into four sections—two on top, two on bottom. Twist each section into a tight spiral against your scalp, then coil the spiral into a flat disc and pin it. Let your hair air dry completely inside these pinned spirals. Once dry, remove the pins and gently separate the spirals with your fingers. Then gather all spirals into a loose, low bun, pinning only the outer edges so the spirals stay visible.
The pre‑pinned spirals add wave memory that creates natural‑looking volume. Even after gathering into a bun, the individual spirals peek out, giving the illusion of many more strands. This technique requires a little planning—drying time—but the result is stunning. Thinner hair looks rich, bouncy, and full of life. Wear the bun high for a playful look or low for romantic evenings.
17. The Crisscross Ribbon Weave
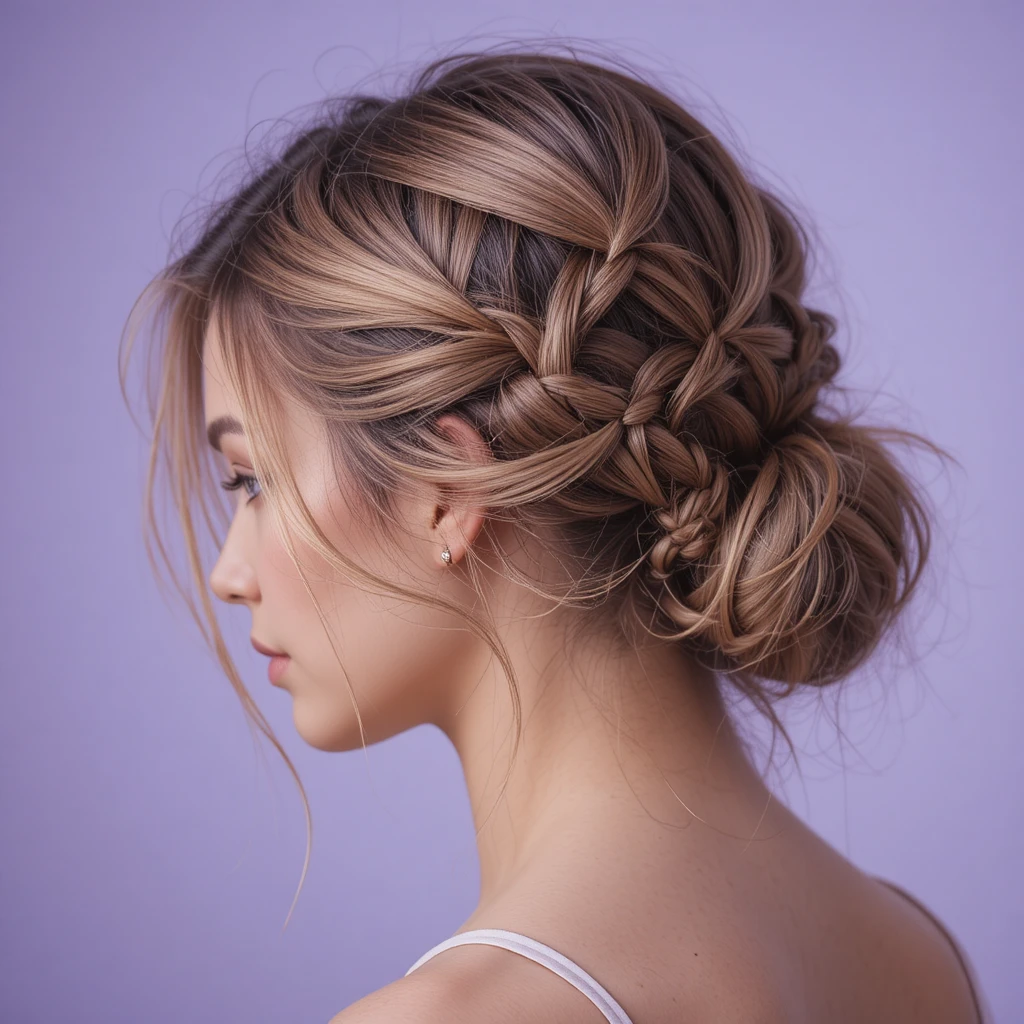
Take a one‑inch piece of ribbon—velvet works best for grip—and tie it around your ponytail base as if it were an elastic. Divide your ponytail into two halves. Cross the left half over the ribbon and pin it to the right side of your head. Cross the right half over the ribbon and pin it to the left side. Continue alternating, weaving the hair over the ribbon in an X pattern until all hair is pinned. Tuck the ribbon’s ends under the last cross.
The ribbon acts both as decoration and as structural support for thin hair. Because the hair only crosses over the ribbon without being tightly bound, you get a flat, woven pattern that appears incredibly intricate. This style hides any thin spots completely. Choose a ribbon color close to your hair for a subtle look or a contrasting color for drama. The crisscross weave stays put for twelve hours without re‑pinning.
18. The Two‑Minute Knot Cascade
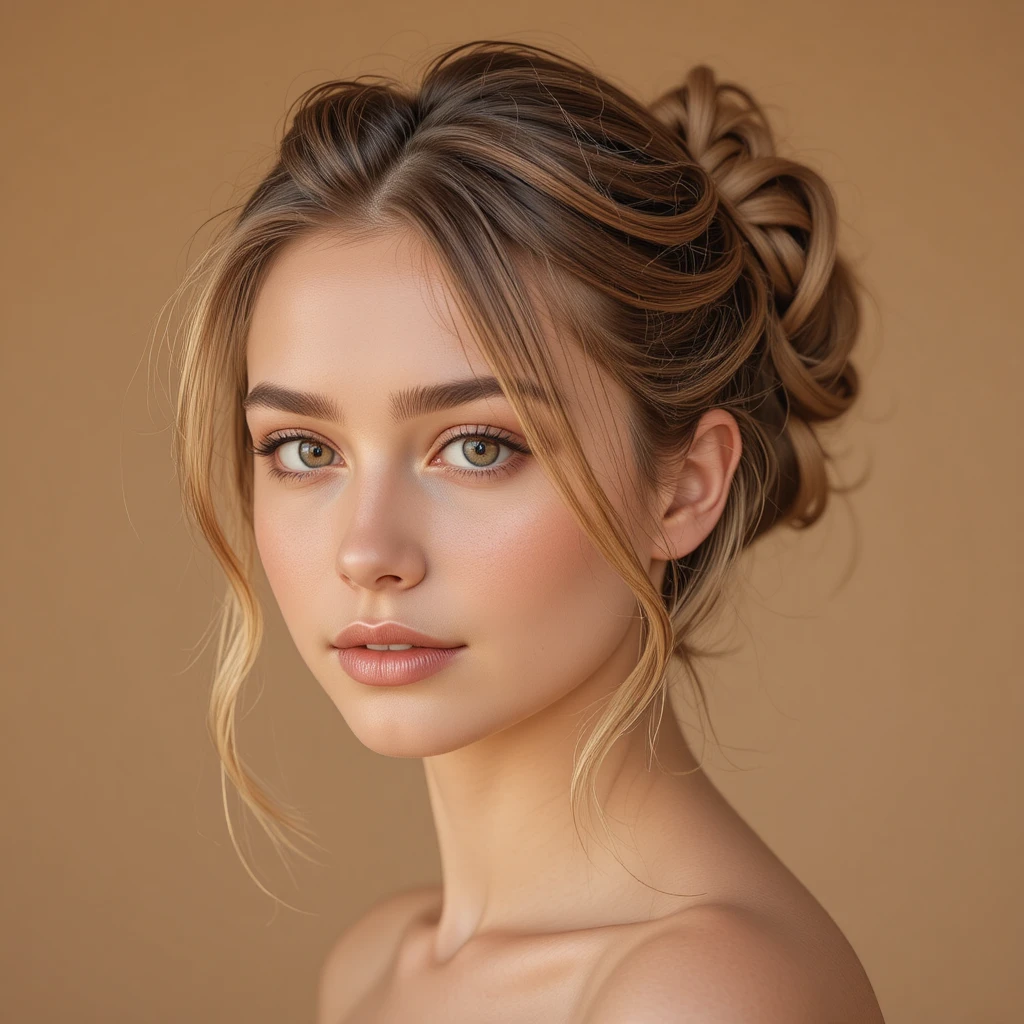
Separate your hair into three sections: left, right, and back. Take the left section and tie it into a simple overhand knot close to the root. Do the same with the right section. Now take the two knotted sections and tie them together loosely behind your head, creating a third knot. Pin the cascade of knots flat against your nape. The back section remains loose to cover any pins.
Knots add visible texture and bulk in seconds. Because each knot sits slightly above the previous one, they form a cascade that draws the eye vertically, making your hair look longer and fuller. Thinner hair knots easily without becoming heavy or painful. This updo looks messy‑chic and works brilliantly on second‑day hair. Pair with hoop earrings for an effortless cool‑girl vibe.
19. The Hidden Pocket Flip
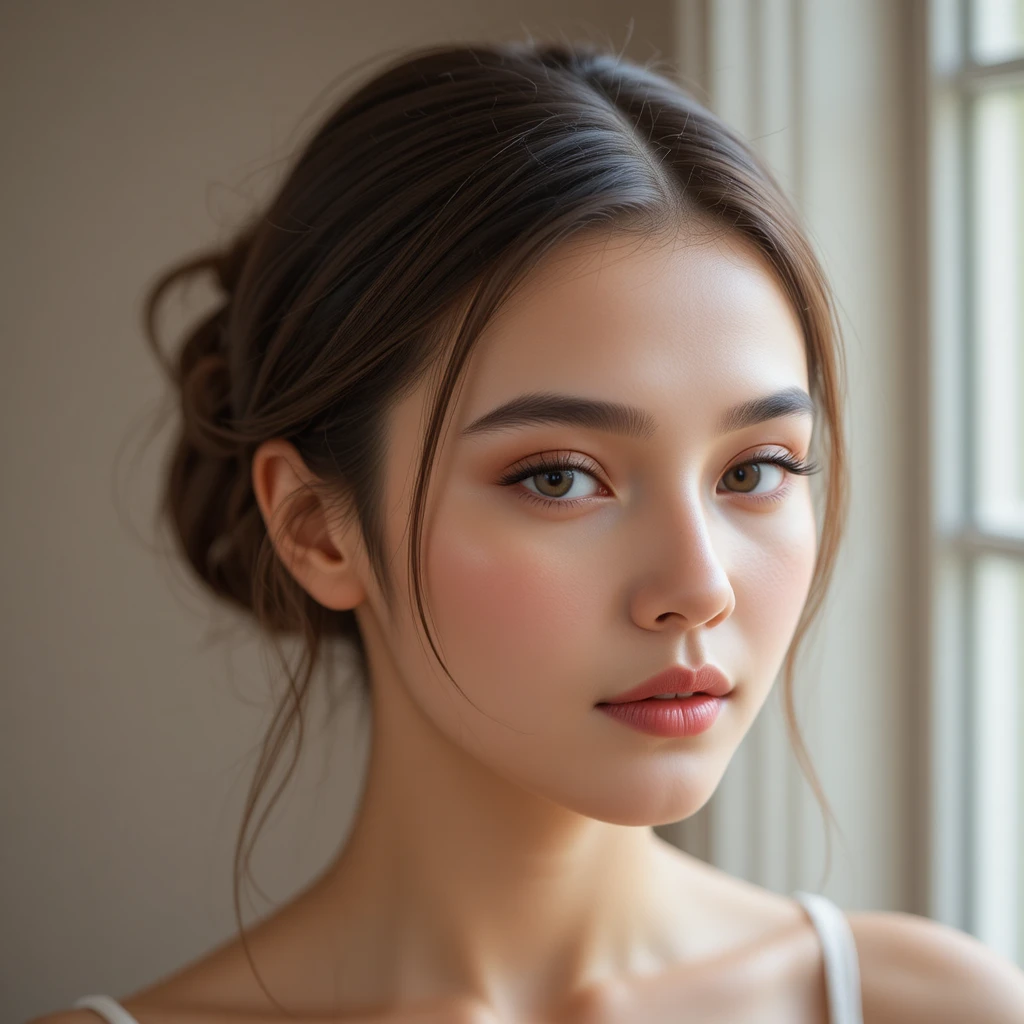
Create a low ponytail and secure it with a clear elastic. Using your index finger, poke a hole in the hair just above the elastic from underneath. Flip the entire ponytail up and through that hole, then pull the ponytail downward to tighten the flip. The hair will now sit in a “pocket” against your head. Tuck the ends of the ponytail under the pocket and pin them invisibly.
The hidden pocket creates a smooth, rounded shape that looks like a full chignon but uses half the amount of hair. Thinner hair loves this trick because the pocket holds everything snugly without needing extra volume underneath. You can make the pocket as wide or narrow as you like by adjusting how far you pull the flipped ponytail. This style is so secure you can exercise in it, yet it looks refined enough for client lunches.
20. The Asymmetric Ear Tuck
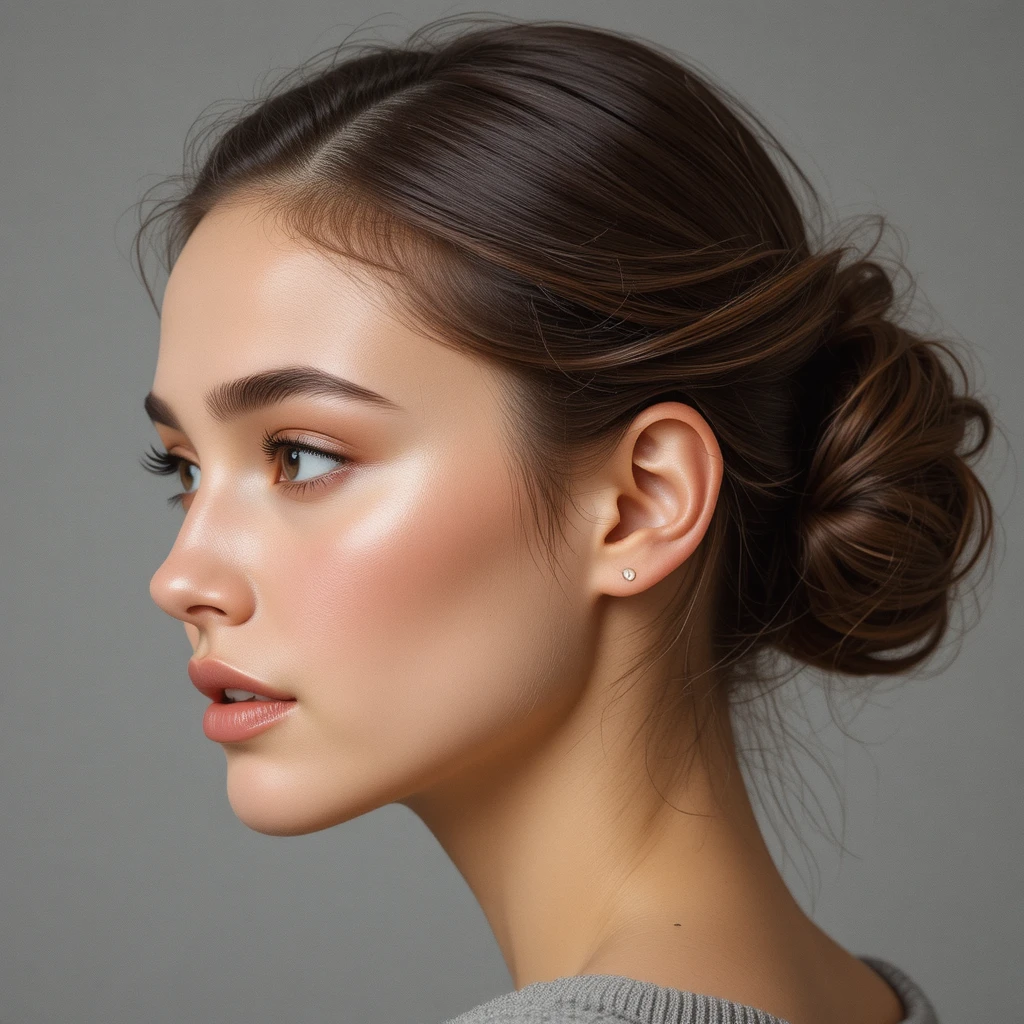
Brush all hair to one side, as if making a deep side part that starts at your forehead and ends at the opposite ear. On the heavier side, take a two‑inch section from above your ear and twist it loosely. Pin that twist right behind your ear. Let the remaining hair fall freely over the twist. Repeat the twist‑and‑pin once more a little lower. The hair that falls over the twists hides the pins completely.
This style works because the twists act as anchors that gently hold hair away from your face without requiring a full updo. The asymmetric line creates movement and draws attention to your jawline, away from thinness at the crown. You can add a small clip or barrette for extra hold. It’s the perfect compromise when you want hair out of your eyes but don’t want to commit to a full bun. Fresh, modern, and takes sixty seconds.
21. The Mermaid Tail Fold
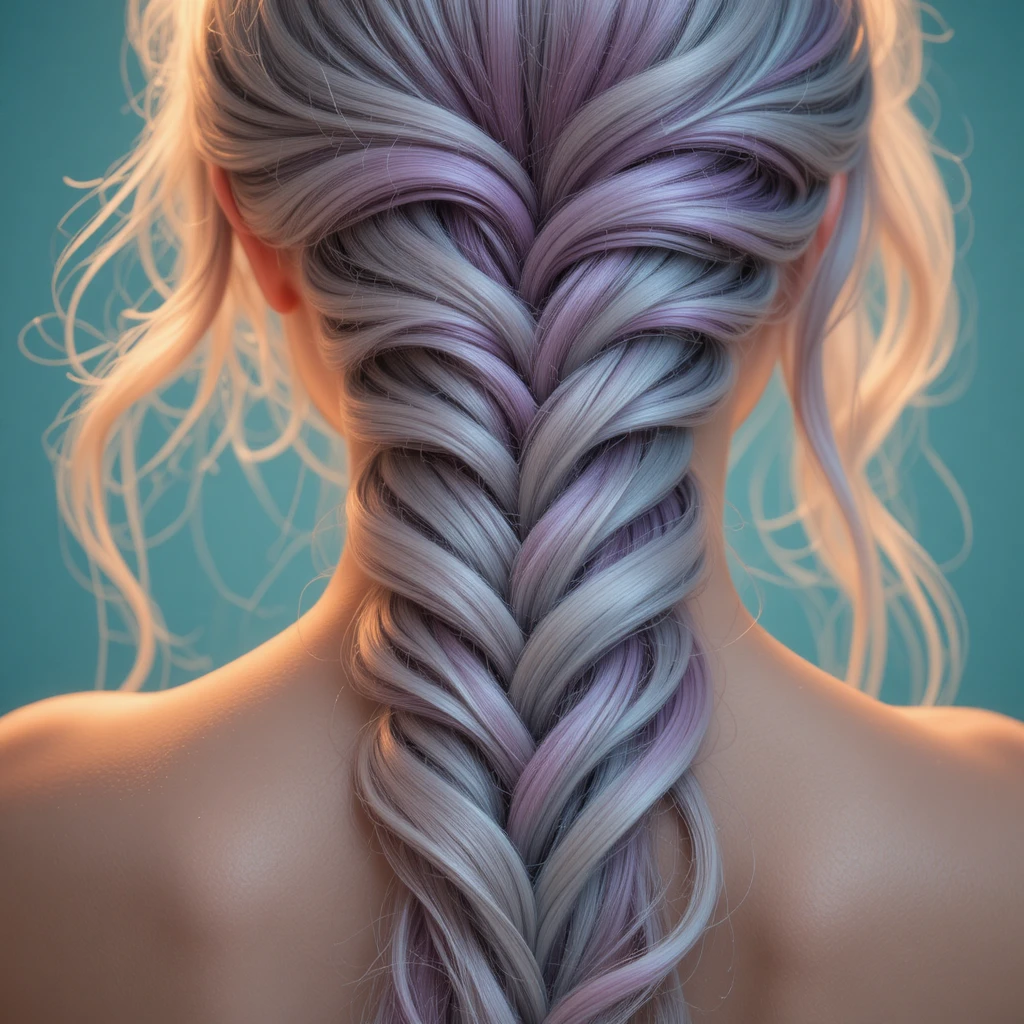
Gather hair into a mid‑height ponytail. Divide the ponytail into two equal parts. Fold the right part over the left, then fold the left part over the right—like a simple braid without adding new hair. Secure the end with an elastic. Now fold the entire folded ponytail upward and pin the fold flat against the base. The folds stack on top of each other, creating a ridged, tail‑like shape.
Because the folds are hollow, each ridge looks thick and substantial. Thinner hair holds this folded structure better than thick hair, which would become too heavy and flop over. The mermaid tail shape stands upright or leans to one side depending on where you pin it. For a whimsical touch, pull a few fine strands loose around your face. This updo gets compliments everywhere—from the grocery line to date night.
22. The Crown Pinwheel Circle
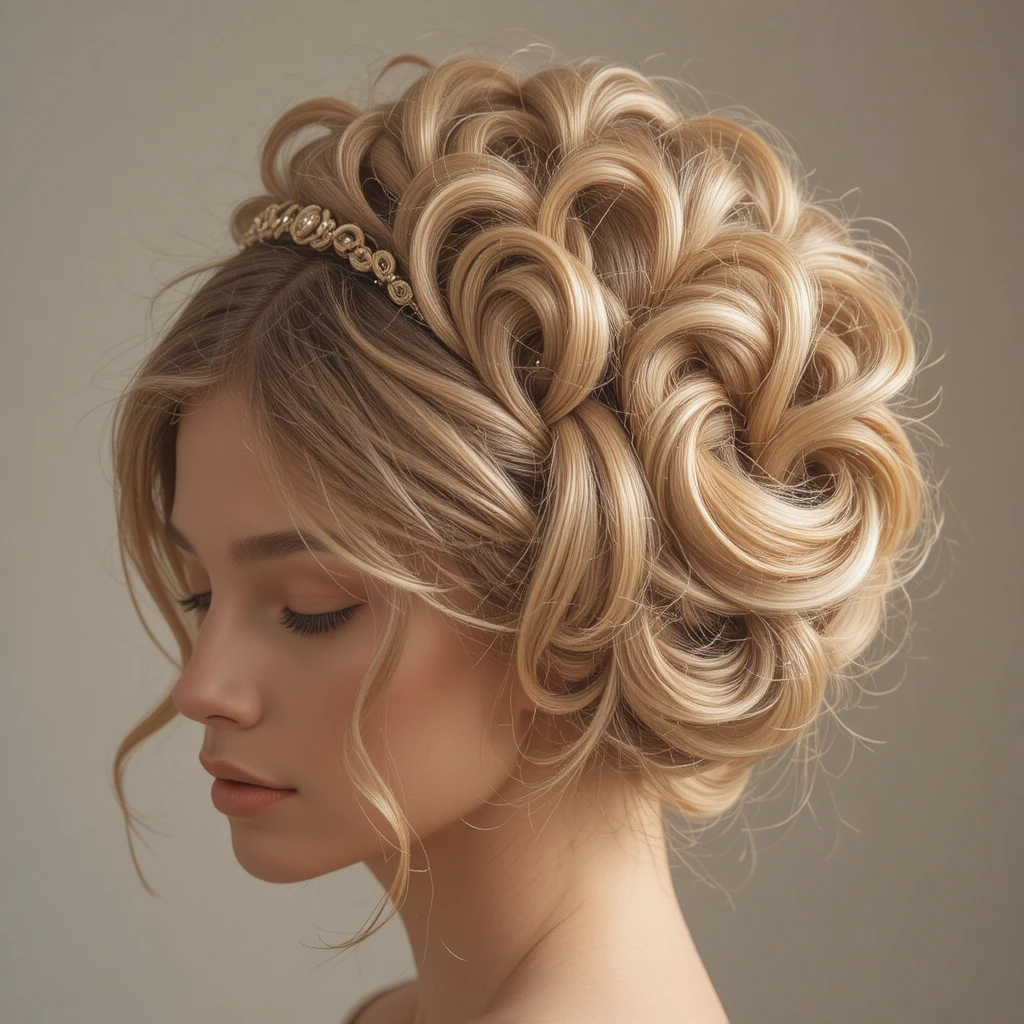
Start by taking a one‑inch section from your hairline at the forehead. Twist it loosely and pin it flat in a small circle on top of your head. Move back about an inch, take another one‑inch section, twist it into a pinwheel, and pin it overlapping the first circle slightly. Continue this process in a circular pattern around your crown until all hair is pinned into overlapping pinwheels. The final pinwheel sits at the nape.
Overlapping pinwheels create a continuous, textured surface that looks like intricate braiding without any actual braiding. Thinner hair benefits because each pinwheel only requires a tiny amount of hair, so there’s no tugging or pulling. The crown circle adds noticeable height and makes your hair appear twice as thick. This style looks like a Victorian updo but takes less than ten minutes. Wear it to garden parties or Sunday brunches.
23. The Sleek Rope Frame
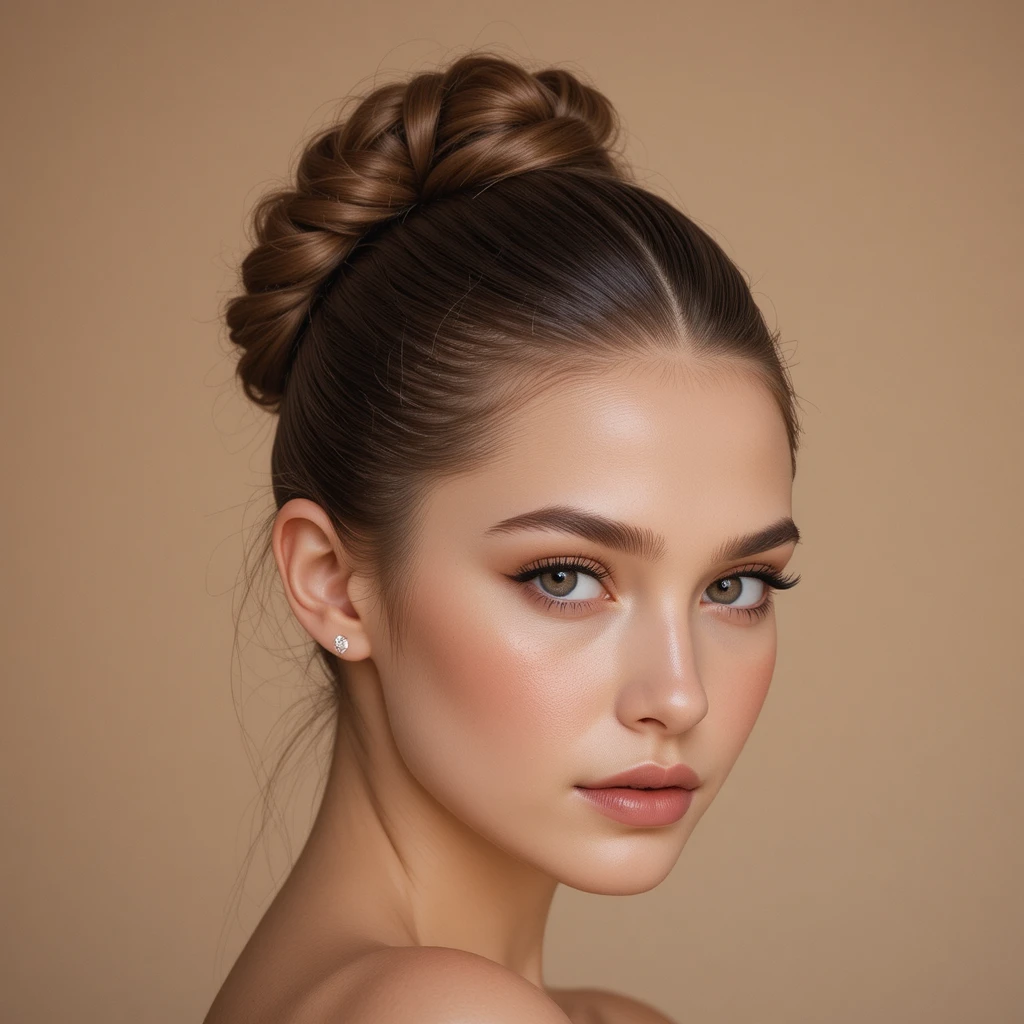
Brush all hair back smoothly. Take a half‑inch section from each temple and rope‑twist them tightly toward the back. Instead of continuing the twist, cross the right rope over the left rope and pin them together at the center back. Now take all remaining hair and twist it into a single, very loose rope. Coil that loose rope around the crossed temple ropes, hiding the pins completely. Tuck the end under and pin.
The sleek temple ropes act as a frame that adds structure and polish. The loose coil around them provides the volume. This combination works beautifully for thinner hair because the contrast between tight ropes and loose coil creates depth. You can adjust the coil’s looseness throughout the day without ruining the style. It’s elegant enough for weddings, yet the rope frame keeps flyaways controlled for hours. A single spritz of shine spray finishes the look.
Conclusion
Having thinner hair never means settling for boring styles or feeling self‑conscious about volume. These 23 easy updos for thinner hair looks tips prove that with a few clever twists, folds, and pinning techniques, you can create hairstyles that look rich, textured, and intentionally full. The secret isn’t more hair, it’s working with what you have in ways that build hidden pockets of air, use lightweight accessories, and play with asymmetry and shape. Try two or three of these styles this week, and you’ll quickly find your go‑to looks that make you feel gorgeous, confident, and effortlessly put together every single day.