Do you remember your childhood bedroom? I do. Mine was a time capsule of bad 90s decisions. I had a lava lamp that took forty-five minutes to “warm up” and a star projector that sounded like a jet engine taking off. The walls were a depressing shade of builder-grade beige, and the main light was a single, unforgiving ceiling fixture that made me look like I was in a police interrogation room.
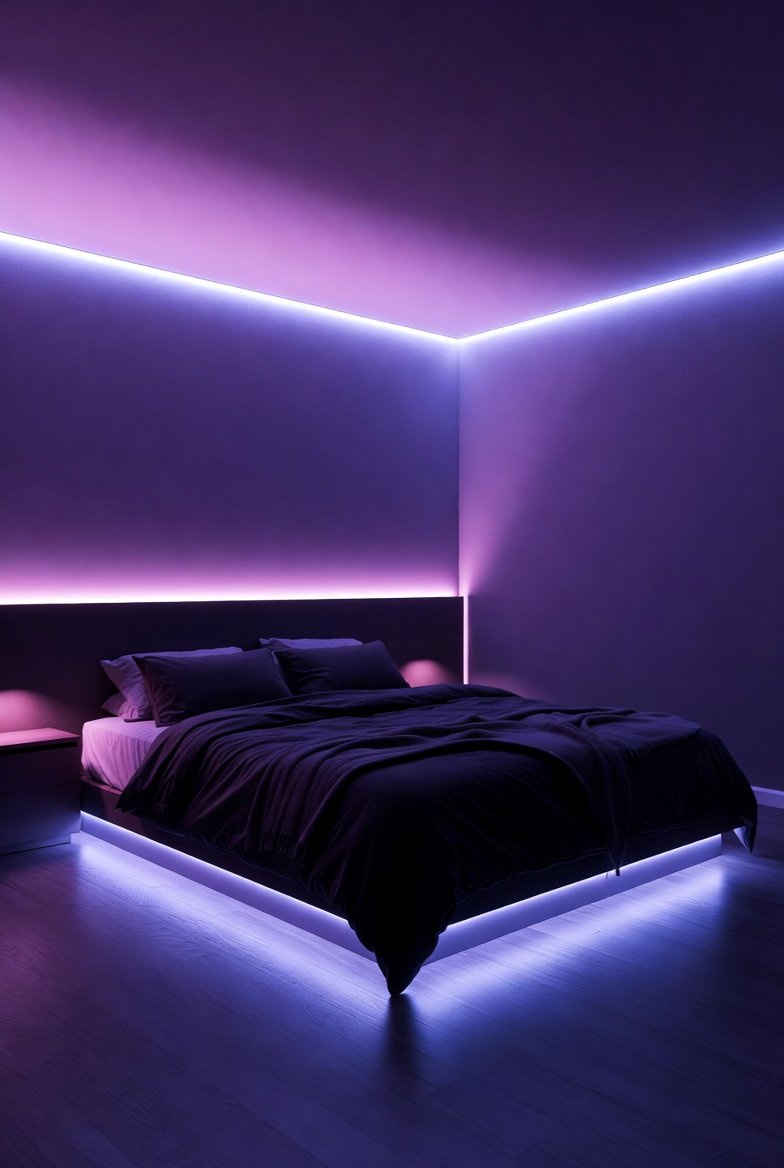
Fast forward to last Tuesday. At 11:30 PM, I was lying in my current apartment, scrolling through social media, when I saw a video of a guy whose room looked like the inside of a calm, beautiful video game. His walls were washed in a soft, pulsing amber glow. His bed seemed to float in a sea of purple tranquility. He called it “the coziest place on earth.” I looked up at my own harsh overhead light, sighed, and immediately typed “LED lights bedroom” into a search bar.
That was seven days ago. Today, my room looks like that video. And let me tell you, the transformation didn’t just change how my room looks; it changed how I feel when I walk into it. That is the magic we are going to unpack here.
If you are tired of boring, flat lighting and want to turn your sleeping space into a sanctuary, a futuristic den, or a romantic hideaway, you have come to the right place. By the end of this guide, you won’t just want to buy LED lights for bedroom use; you will know exactly how to install them, where to put them, and why they are the single best upgrade you can make for under $50.
Why Bother? The Real Reason Bedroom LED Lights Are a Game Changer
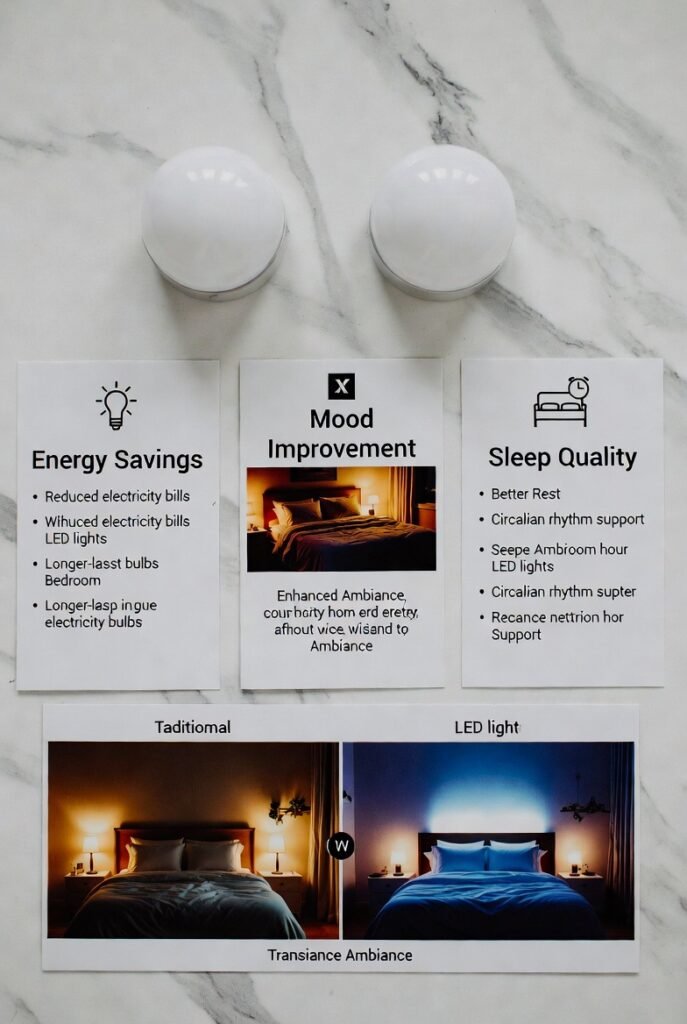
Let’s be real for a second. When you hear “LED lights,” you might think of a teenage gamer’s setup with blinding neon pink strips everywhere. While that is one look, it is far from the only one. Modern bedroom LED lights have evolved. They now offer millions of colors, adjustable brightness, and even warm white settings that mimic candlelight.
The Mood Matrix
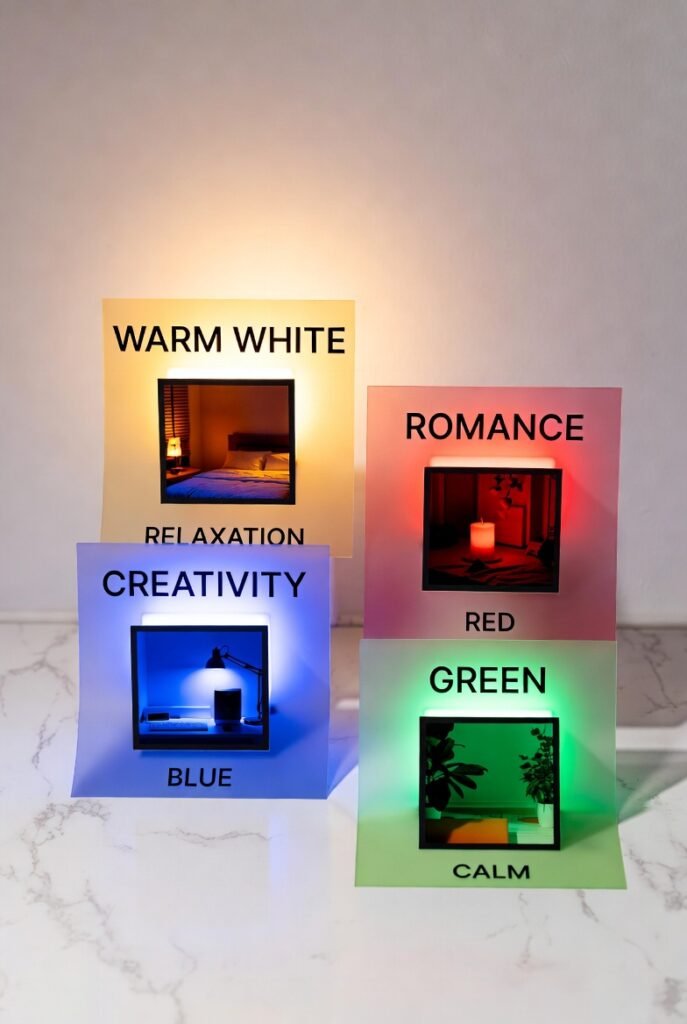
Have you ever noticed how a hospital waiting room makes you feel tense? That is the light. Conversely, think about how a sunset makes you feel relaxed. LED lights for bedroom ceilings or walls allow you to become the director of your own mood.
- Morning (Bright White/Blue): Mimics daylight. Tells your brain to wake up. Perfect for finding your socks or doing makeup.
- Afternoon (Natural White): Great for working from home or reading a book.
- Evening (Warm Yellow/Orange): Signals your body to produce melatonin. This is the “winding down” light.
- Night (Deep Red/Purple): Lowers the heart rate. Ideal for watching movies or relaxing activities.
I remember the first night I set mine to a soft sunset orange. I wasn’t just tired; I was sleepy in a way I hadn’t been since I was a kid. The anxiety of the day just melted off my shoulders.
The Anatomy of LED Strip Lights Bedroom Kits
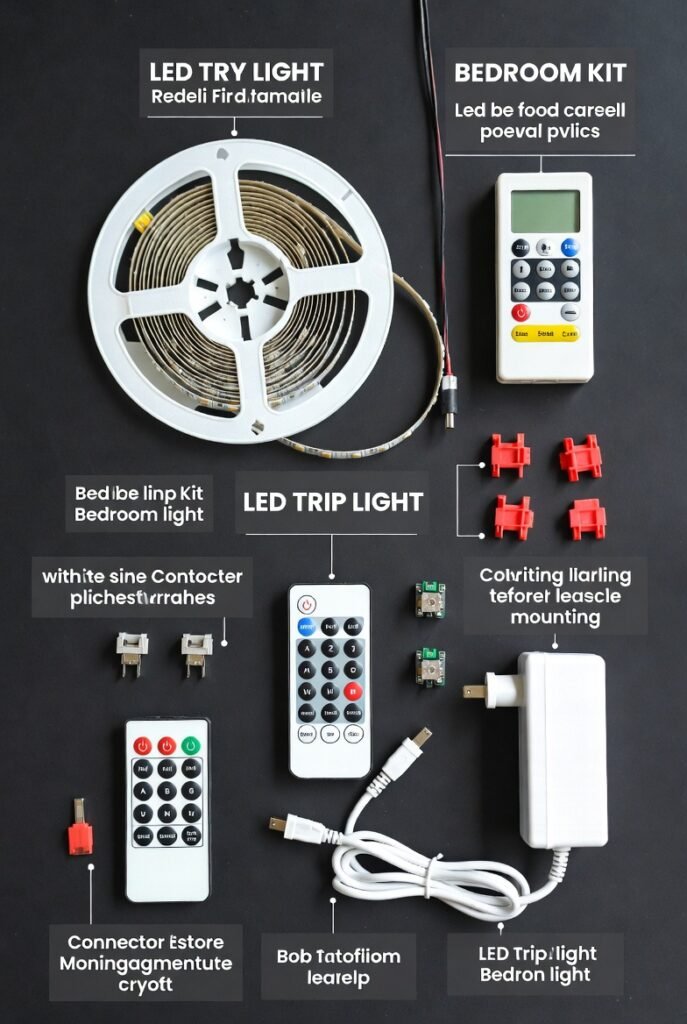
Before we start sticking things to your walls, let’s understand what you are buying. There are three main types of LED lights bedroom solutions.
Also Read: 13 Study Desk Ideas That Will Transform Your Homework Zone Forever
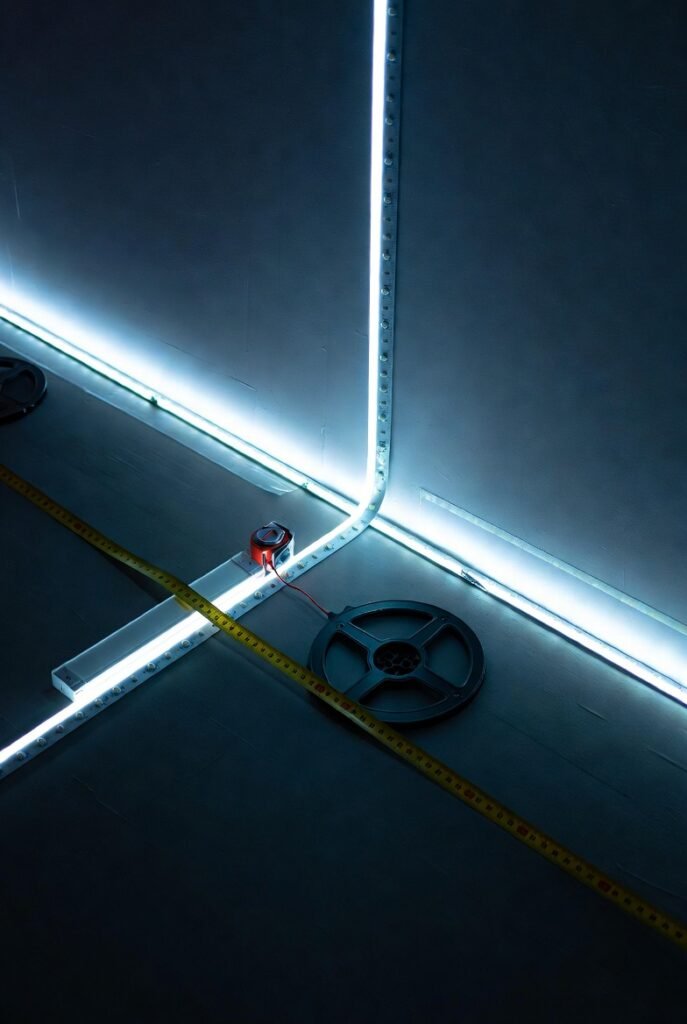
1. Standard Strip Lights (The Backbone)
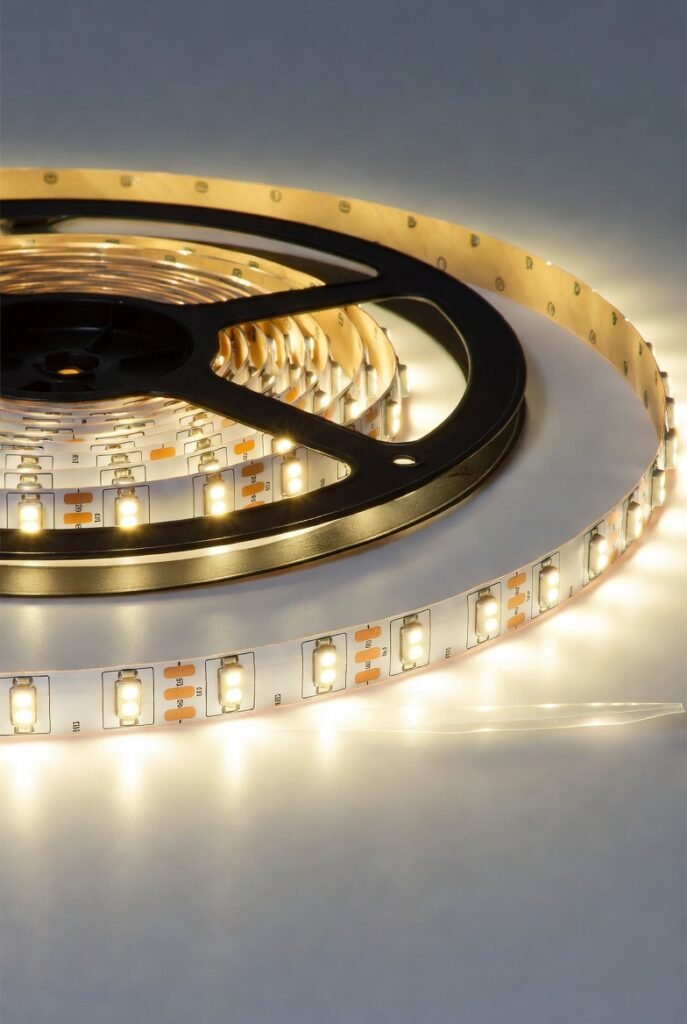
These are the flexible circuit boards with sticky backs. They come in a reel (usually 16ft to 65ft). You cut them at marked copper dots and connect them to a power supply. Most people start here.
2. Neon Rope Lights (The Grown-Up Option)
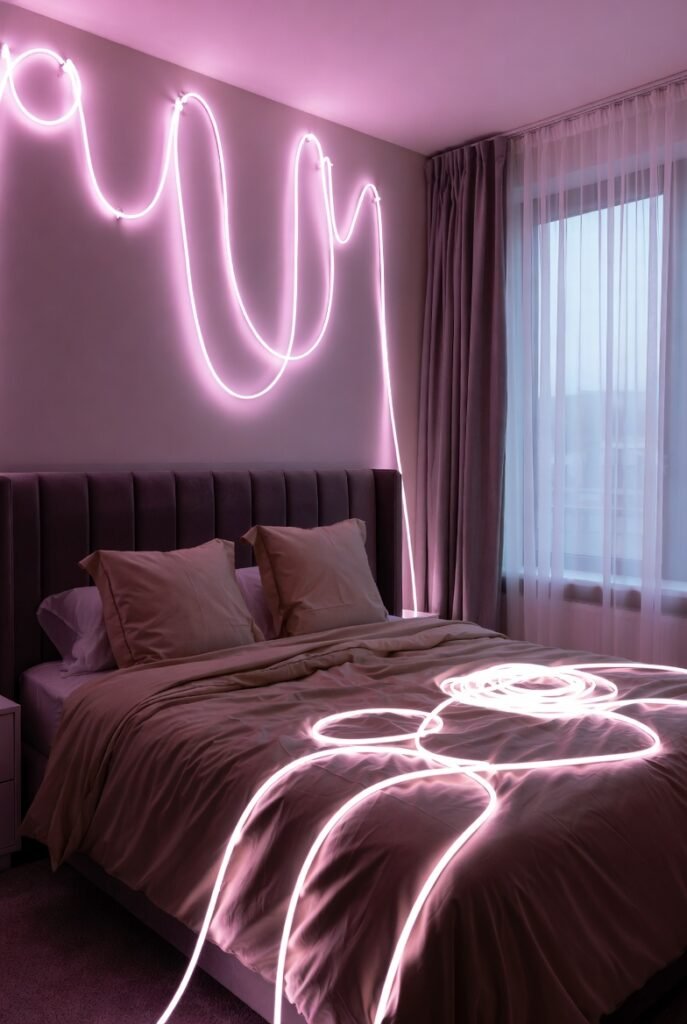
These are thicker, silicone-encased tubes that look like neon. They bend into shapes without flickering. They are great for headboards or tracing the outline of a mirror because they cast a smoother glow.
3. Panels and Bars (The Pro Setup)
Think hexagonal shapes that stick to the wall. These are more expensive but look incredibly professional. They create a “cyberpunk” or “modern art” vibe.
My advice for beginners? Start with a cheap 32ft strip kit that includes a remote control and a smartphone app. You need to learn how you use the space before investing in the fancy stuff.
Step-by-Step Guide: Installing LED Lights for Bedroom Walls
Alright, grab a coffee or a beer. This is the hands-on part. I made a huge mistake my first time—I stuck the lights directly onto dirty paint. They fell off three hours later. Do not be like past me. Follow this guide.
Step 1: The “Dry Run” (Don’t Peel Yet!)
Take your strip out of the box. Plug it into the USB/power adapter. Lay it loosely on the floor or your bed where you think you want it. Turn it on.
- Walk around the room. Do you see the individual LED dots reflecting off the wall? (That is bad). You want the strip hidden behind a lip or edge so you see the glow, not the bulbs.
- Check the cord length. Is the outlet far away? You might need an extension cord.
Anecdote time: I originally wanted my lights to go in a straight line across the ceiling. When I did the dry run, I realized that straight line looked like a landing strip for airplanes. It was awful. I moved them to the back of my headboard, and suddenly, it looked like a $5,000 hotel room. Always dry run.
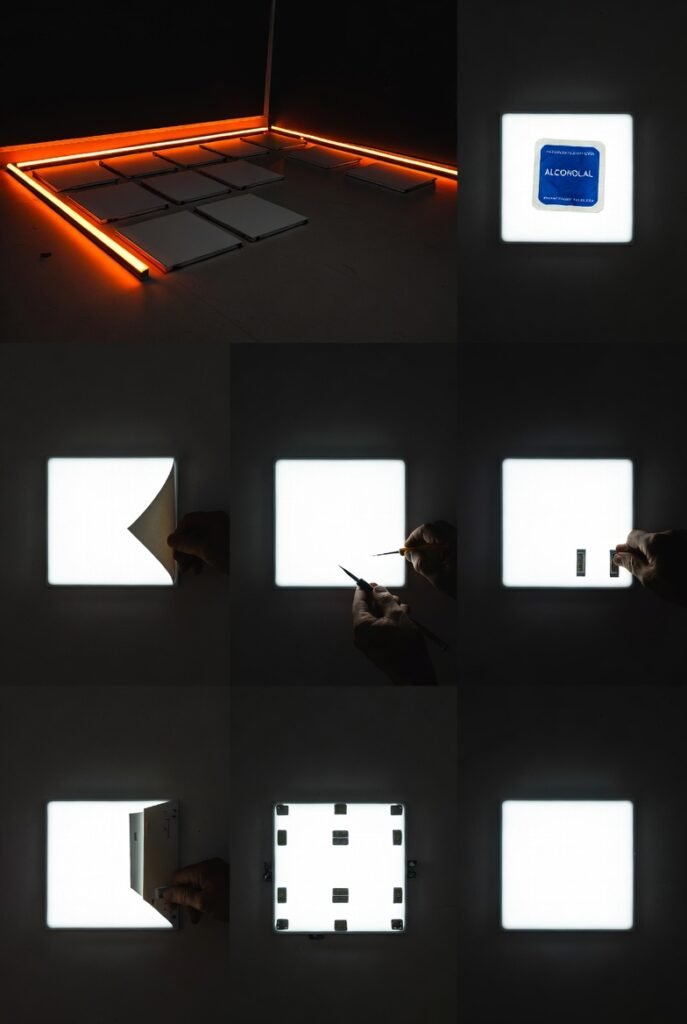
Step 2: Surface Prep (The Sticky Secret)
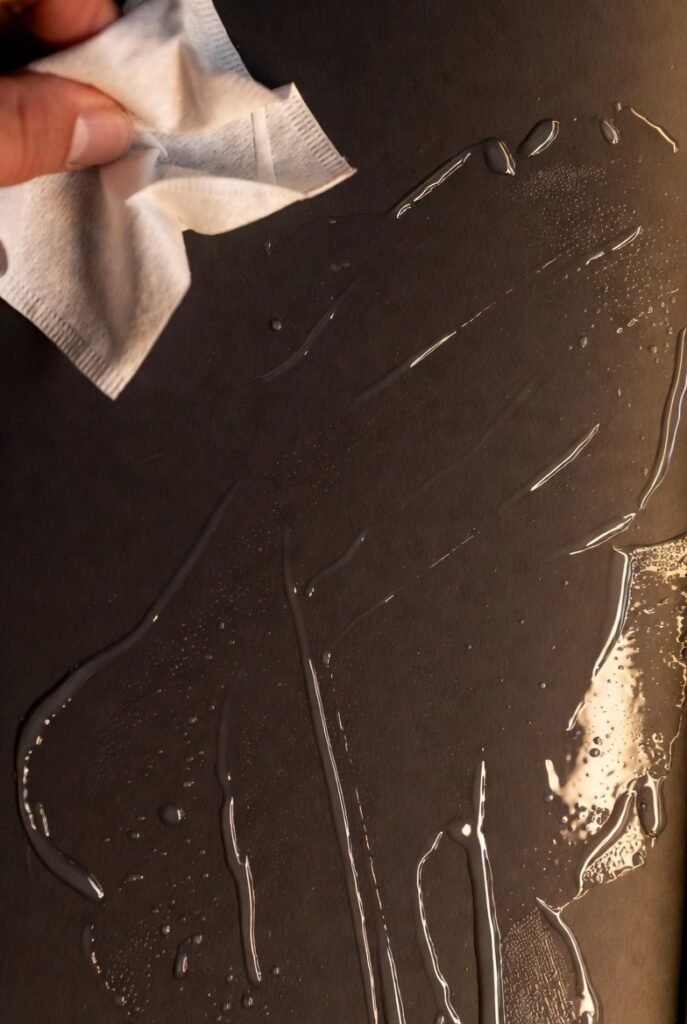
LED lights bedroom installations fail because of dust.
- Wipe the target surface with rubbing alcohol (or hand sanitizer in a pinch) on a paper towel.
- Wait 60 seconds for it to dry.
- If your wall is textured (like popcorn ceiling), the sticky back will not work. You will need mounting clips (little plastic brackets that you screw or nail in). Buy these now to save tears later.
Step 3: Peeling and Sticking
Start from the corner nearest the power outlet.
- Peel back 2 inches of the 3M tape backing.
- Stick that corner down firmly for 30 seconds.
- Slowly pull the backing as you press the strip into the corner.
- Rule of thumb: Press for 5 seconds every 6 inches.
Step 4: Corners and Cuts
LED strips do not like turning sharp 90-degree corners. Do not bend them sharply; they will break the copper wires. Instead:
- Method A (Lazy): Loop the strip into a small “U” shape at the corner. It hides the weirdness.
- Method B (Pro): Use “corner connectors” (little plastic L-shapes included in some kits).
- Method C (Scissors): Cut at the copper dots. Use a solderless connector to join two pieces at a 90-degree angle.
Step 5: Hiding the Wires
That little wire between the strip and the plug is ugly. Hide it.
- Run it down the corner of the doorframe.
- Tape it to the back of a bed leg.
- Use white electrical tape if your walls are white.
Step 6: The Big Reveal
Turn off your main overhead light. Turn on your bedroom LED lights. Step back. Smile.
Where to Put Them: 6 Genius LED Lights Bedroom Layouts
You have the tools. Now, where do they actually go for maximum “wow” factor?
1. Behind the Headboard (The Classic)
This is my favorite. Mount the strip on the back of your headboard facing the wall. The light bounces off the wall and creates a floating halo effect. It makes a small bed look luxurious and a large bed look majestic.
2. Under the Bed (The Spaceship)
Run the strip along the inside edge of your bed frame, facing down at the floor.
- Why it works: It looks like your bed is hovering. Plus, if you get up to pee at 3 AM, you have a soft floor light that won’t blind you. No more stubbing your toe.
3. Inside a Wardrobe or Alcove (The Smart Storage)
Put a motion sensor LED strip inside your closet. When you open the door, it lights up. Suddenly, you can actually see your black socks. This is less about “vibes” and more about “not looking like a raccoon digging through trash.”
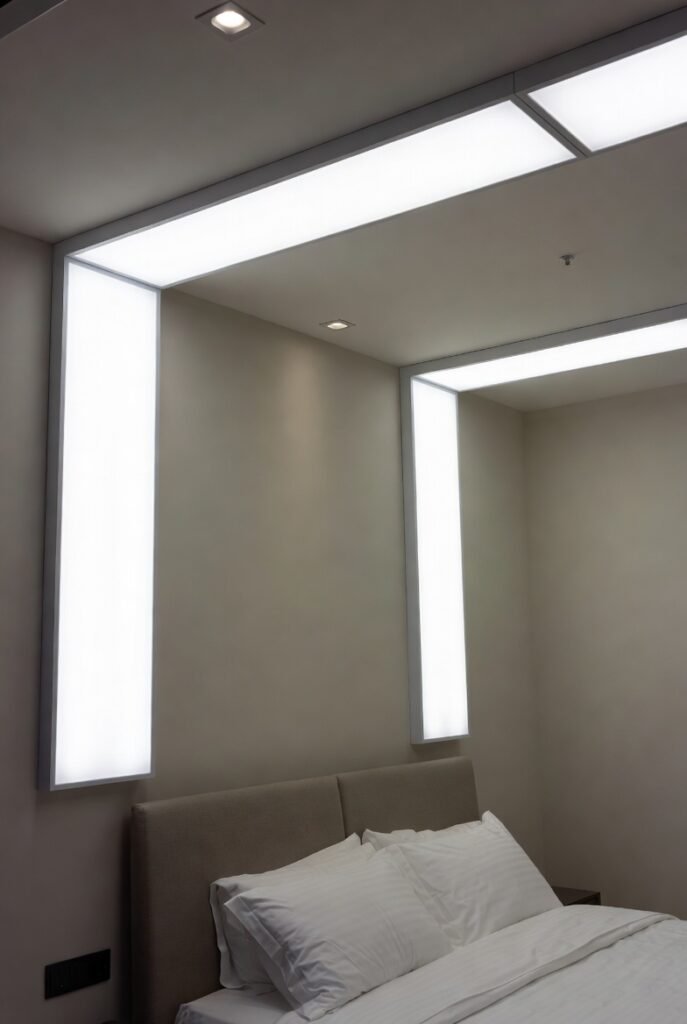
4. Ceiling Crown Molding (The Architect)
If you have a lip where the wall meets the ceiling (crown molding), tuck the strip up there. The light washes down the wall. This makes a low ceiling feel taller. It is the most expensive-looking trick for the cheapest price.
5. Behind the TV (The Eye Saver)
This is crucial for gamers and binge-watchers. Stick the LED lights for bedroom TV backs.
- The science: Bias lighting reduces the contrast between the bright TV screen and the dark room, reducing eye strain. Plus, it looks super cool in action movies.
6. The DIY “Neon” Sign
Use the flexible rope-style LED to write a word on your wall (e.g., “Dream,” “Stay,” or your name). Trace the outline on parchment paper first, then glue the rope to clear acrylic. It costs $20 to make what stores sell for $200.
Convincing You to Buy: The Psychology of Light
I am not here to sell you a specific brand. I am here to sell you on the concept. You might be thinking, “Do I really need this?”
Let me ask you a question. When was the last time you walked into your bedroom and felt a genuine, deep sense of relief?
For most of us, the bedroom is just where we crash. It is where the laundry basket lives and where the phone charger barely reaches the bed. But humans are creatures of environment. Casinos use bright, no-window lighting to keep you gambling. Grocery stores use cold white light to make vegetables look fresher. Your bedroom? Your bedroom should be a weapon against stress.
LED lights bedroom setups give you control. They give you agency over your own nervous system.
- Anxious? Turn on deep green or blue. Studies show green light reduces anxiety in mice (and humans).
- Romantic evening? Dim magenta or soft amber.
- Sunday morning coffee? Bright, cool white to wake up the brain.
- Migraine or headache? Red light at 10% brightness is the only light that doesn’t hurt.
You cannot buy peace of mind in a bottle. But you can buy a $25 remote-controlled light strip that turns your room into a sensory deprivation tank (or a dance club) at the push of a button.
Overcoming the “But What If…” Objections
Let’s address the fears.
“Won’t it look cheap and tacky?”
Only if you install it badly. If you see the individual diodes reflecting on the wall, you did it wrong. Hide the strip. Use diffuser channels (aluminum tracks that scatter the light). A hidden LED strip looks like architecture. A visible one looks like a teenager’s car.
“Are they hard to install?”
If you can put a sticker on a lunchbox, you can install these. No wiring. No electrician. It is literally peel-and-stick. The only tool you might need is scissors.
“Will they ruin my paint?”
Cheap strips might. But high-quality bedroom LED lights use “3M VHB” tape. To remove them, you don’t yank. You use a hairdryer to heat the glue for 30 seconds, then roll the tape off with your thumb. Zero damage.
“Don’t blue lights keep you awake?”
Yes! That is the point. You set a schedule. Use the app to make the lights turn to “warm sunrise” at 7 AM to wake you gently, and “deep red” at 10 PM to tell your brain to shut down. You are not stuck with one color.
The Tech Specs You Actually Need to Know
When you are shopping for LED strip lights bedroom kits, you will see confusing numbers. Here is the cheat sheet.
- Lumen: How bright? For a bedroom accent light, you want 200-400 lumens per meter. Too bright (1000+) is for a garage.
- Color Rendering Index (CRI): This is how “real” colors look. Aim for CRI 80+. If it is CRI 90+, your skin will look healthy, not jaundiced.
- Density (LEDs/m): Standard is 30 LEDs per meter (you see dots). Better is 60 LEDs/m (smooth line). Best is 144 LEDs/m (looks like a solid glass tube).
- App Control: Ensure it has 2.4GHz Wi-Fi (most do) or Bluetooth. Avoid strips that only come with a remote control (you will lose it in the couch).
The Routine: A Day in the Life with LED Lights for Bedroom
Let me paint you a picture.
6:30 AM: Your alarm goes off. But instead of a harsh BEEP, your bedroom LED lights slowly fade from 0% to 60% cool white over 15 minutes. You wake up feeling like you slept in a cloud.
9:00 AM: You are working from home. You switch the lights to 100% bright white. It is so bright you don’t need the overhead light. Your Zoom call background looks intentional.
2:00 PM: Post-lunch slump. You change the color to a mint green. It feels fresh. You finish your spreadsheet.
7:00 PM: Movie night. You turn the main lights off. You set the LED lights bedroom TV back to “Dynamic” mode. The colors on the wall match the colors on the screen. Your eyes don’t get tired.
10:30 PM: Reading time. You set a “candle flicker” mode (many apps have this). The light dances like a real flame, but there is no fire risk. You read three chapters.
11:30 PM: Sleep. You hit the “Goodnight” button. The lights fade to deep red, then turn off after 5 minutes. You put your head on the pillow. You are asleep in 90 seconds.
That is not science fiction. That is a standard Tuesday for anyone who spends $40 on Amazon.
My Personal Recommendation (And Why I Am Buying Another Set)
After my conversion last week, I went a little crazy. I bought a 100ft roll. I put strips under my kitchen cabinets, behind my living room sofa, and in my bathroom mirror. My electric bill? It went up by about 14 cents a month. LEDs are insanely efficient. You can run them for a year for the cost of one Starbucks coffee.
But here is the specific advice for your bedroom:
- Buy a kit with a physical remote AND an app. The app is great, but when you are lying in bed, you don’t want to open your phone. A little remote control under your pillow is magic.
- Buy “RGBIC” or “Addressable” strips if you want patterns. Standard strips are one color at a time. RGBIC strips can do a rainbow wave effect. If you just want a solid color, save your money and buy standard RGB.
- Do not buy the cheapest one. I bought a $10 strip once. The adhesive was glue stick quality. The white color was actually pink. The remote worked from 2 feet away. Spend $25-$40. That is the “sweet spot” for quality.
The Final Verdict: Just Do It
Look, I am a skeptic by nature. I thought LED lights for bedroom use was a fad. I thought it was for streamers and kids. I was wrong.
The ability to change the emotional temperature of your room instantly is a superpower. We spend one-third of our lives in our bedrooms. Why is that one-third lit by a boring, ugly, overhead “boob light” (you know the one I mean)?
For less than the cost of a pizza and a movie ticket, you can upgrade your sleep, your mood, and your aesthetic.
Stop scrolling. Stop wondering “if” they will look good. Go buy a kit. Do the dry run. Prep the wall. Stick them behind your headboard.
Then, tonight, when you turn off the big light and turn on that soft, purple, floating glow, you will look around and think, “Why didn’t I do this years ago?”
Your bedroom is your castle. It is time to light it like one.
Frequently Asked Questions (Quick Hit List)
Q: Can I cut LED strip lights bedroom strips to size?
A: Yes. Look for the scissor icon printed on the strip. Cut only on the copper dots.
Q: How long do they last?
A: About 50,000 hours. That is 6 years of being on 24/7. You will move houses before they burn out.
Q: Are they a fire hazard?
A: No. They run on low voltage (5V or 12V or 24V). The plug gets warm, but the strip stays cool to the touch.
Q: Can I connect two strips together?
A: Yes, if the total length doesn’t exceed the power supply limit (usually 32ft). Use a “connector clip.”
Q: Will they stick to brick or concrete?
A: No. The sticky back only works on smooth, clean surfaces. For brick, you need glue dots or mounting clips.