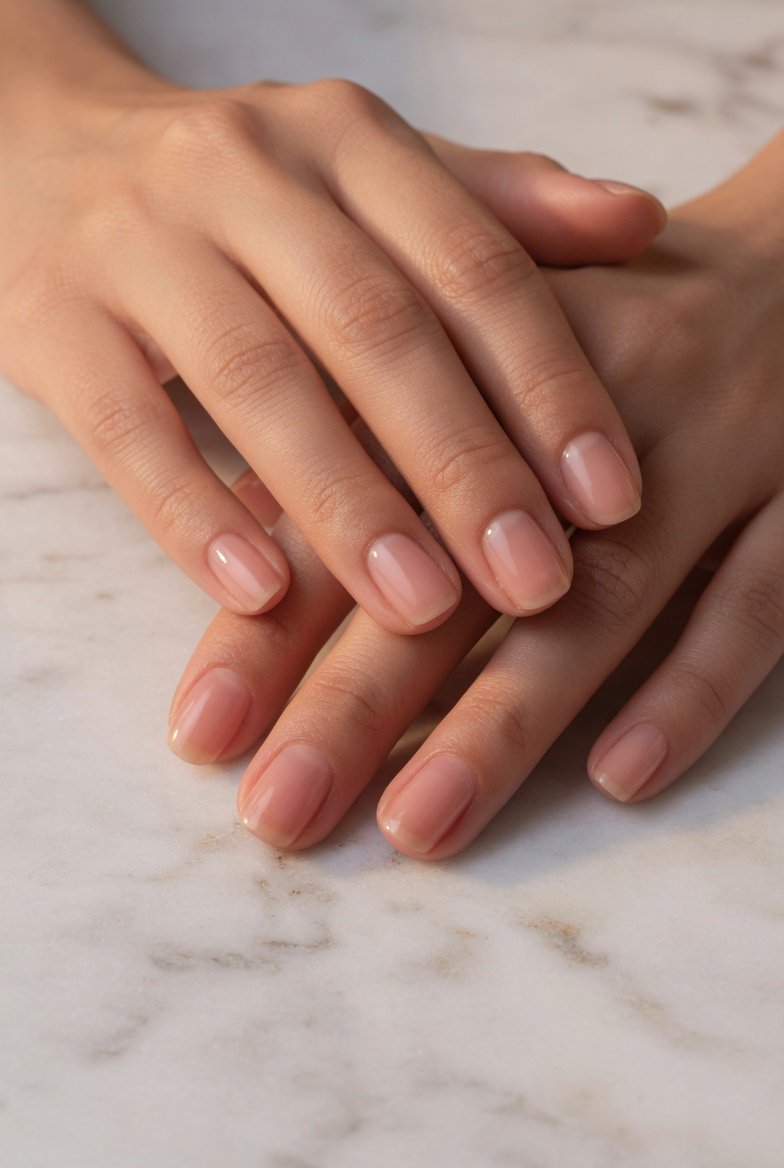
Bitten nails can feel like a never-ending cycle of shame and frustration. You hide your hands in meetings, avoid getting a manicure, and feel that familiar sting when someone glances at your fingers. The good news is that you don’t need to wait months for perfect nails to feel proud again. There are practical, gentle ways to help your nails recover while still looking presentable every single day. These 13 bitten nails ideas focus on real-life fixes—not quick promises—so you can rebuild both your nail health and your confidence without harsh tricks or bitter polishes that punish you.
Thinking beyond the usual “stop biting” advice opens the door to creative, soothing methods. Instead of focusing on willpower alone, you can work with your hands’ natural growth cycle using simple care routines and clever disguises. Many people assume damaged nails need aggressive treatments, but the opposite is true: kindness and smart camouflage often work faster than any bitter-tasting solution. From reshaping tricks to protective coatings, these strategies meet you where you are right now, even if your nails are short, ragged, or peeling.
Reshape with a Glass File for a Smooth, Polished Edge
A standard emery board can tear already weakened nail layers, making the ragged look worse. Switching to a fine-grit glass file changes everything because it seals the keratin layers as it shapes. You gently file in one direction from the side to the center, which stops splintering and gives even the shortest bitten nail a clean, oval edge. This simple switch reduces the urge to pick at uneven spots because your fingertips no longer catch on snags or rough patches.
Within a week of using a glass file every other day, your nail tips will feel smoother against your lips and clothing—two common triggers for unconscious biting. The lack of sharp corners also means your nails look intentionally short rather than damaged. Keep the file at your desk or in your bag so you can instantly smooth any new roughness before it tempts you to bite. Over time, this consistent gentle shaping trains your nails to grow forward instead of peeling backward.
Apply a Ridge-Filling Base Coat as an Instant Camouflage
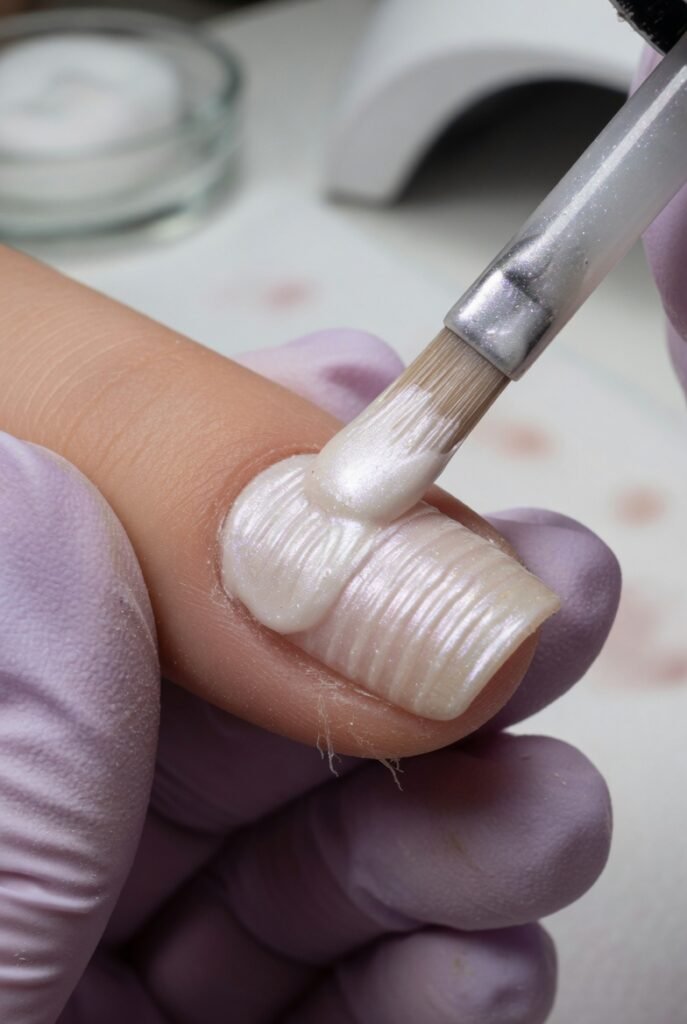
Ridges, dents, and uneven surfaces are the hallmarks of bitten nails, and they make bare fingers look messy even if you haven’t bitten in days. A ridge-filling base coat works like spackle for your nails: it contains tiny reflective particles and thickening agents that fill in dips and create one flat, uniform surface. After two thin layers, your nail plate looks naturally smooth and healthy, which immediately reduces self-consciousness and the urge to “fix” imperfections by biting.
This base coat also acts as a physical barrier. When your fingers drift toward your mouth, you’ll feel the slick, slightly thick texture instead of your natural nail. Many ridge-filling formulas include strengthening ingredients like calcium or silk proteins that penetrate the top layers while you wear them. Apply a fresh coat every three days, even over bare nails, and you’ll notice less flaking and a more even growth pattern. The visual reward of seeing smooth, uniform nails is a powerful motivator to keep going.
Use Press-On Nails as a Protective Shield for Growing Edges
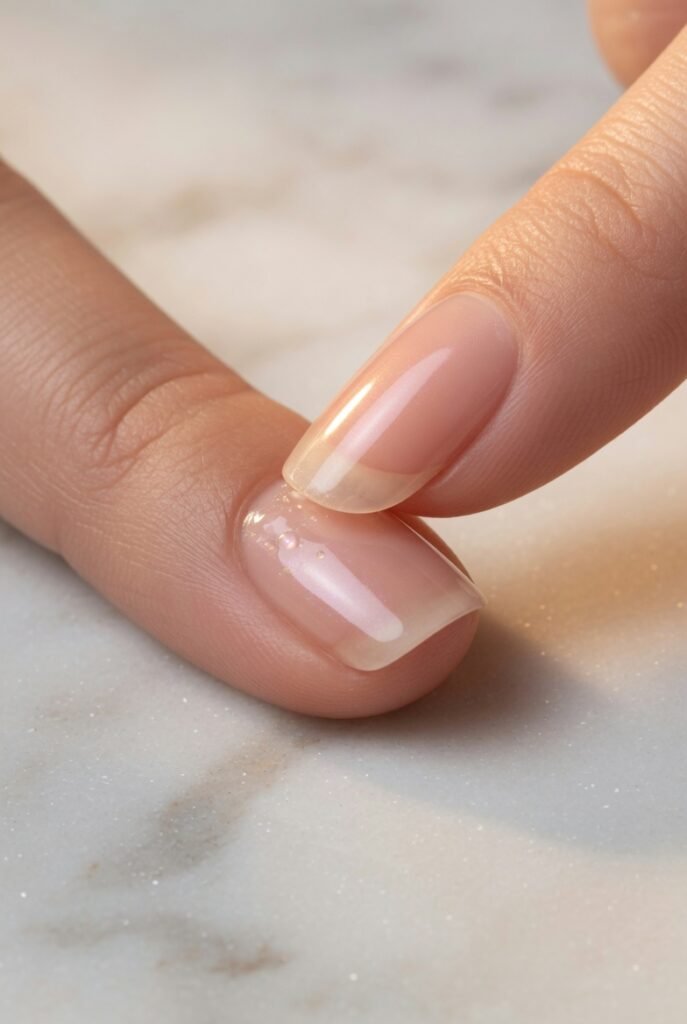
Short bitten nails often lack the length to hold traditional acrylics, but modern press-on nails are designed for compromised natural nails. Look for short, rounded styles labeled “natural length” or “active length” so they don’t look obviously fake or snag on hair and clothing. The key is to gently buff your nail surface without over-filing, then apply tab-style adhesive strips rather than liquid glue. This method lets the press-ons pop off easily if snagged, protecting your healing nail bed underneath.
Wearing press-ons for one to two weeks gives your real nails a complete rest from biting triggers. Your fingers feel smooth, finished, and socially comfortable, which breaks the habit loop of biting due to stress or boredom. When you remove them, you’ll often see white tips on your natural nails for the first time in months—a small victory that builds momentum. Reapply a second set if needed, but always let your natural nails breathe for 24 hours between applications to prevent moisture trapping.
Try a Nail Strengthener with Keratin and Horsetail Extract
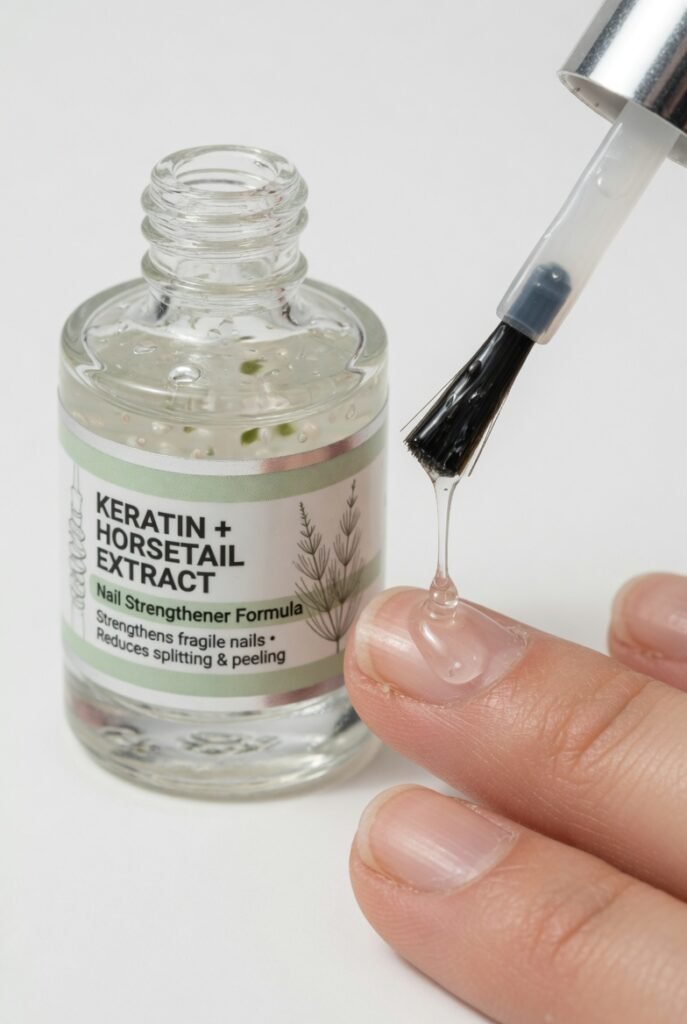
Bitten nails are often thin, flexible, and prone to bending, which makes them easy targets for your teeth. A liquid nail strengthener formulated with hydrolyzed keratin and horsetail extract works from the outside in, depositing microscopic fibers that bond to existing keratin layers. You apply it like a clear polish every two days for two weeks, then take a week off to prevent over-hardening. The goal is resilience, not brittleness.
What makes this different from a standard hardener is the addition of silica-rich horsetail, which improves flexibility so your nails bend rather than snap when accidentally knocked. Thin, bendy nails are more likely to be bitten because they feel flimsy under pressure. After consistent use, you’ll notice your nails resisting that easy peel or split that used to trigger a biting session. Keep the strengthener next to your toothbrush so you never miss an application.
Also Read: 19 Sakura Nails Design Ideas: Embrace Spring’s Delicate Beauty with These Stunning Floral Manicures
Conceal with Semi-Sheer “Your Nails But Better” Tints
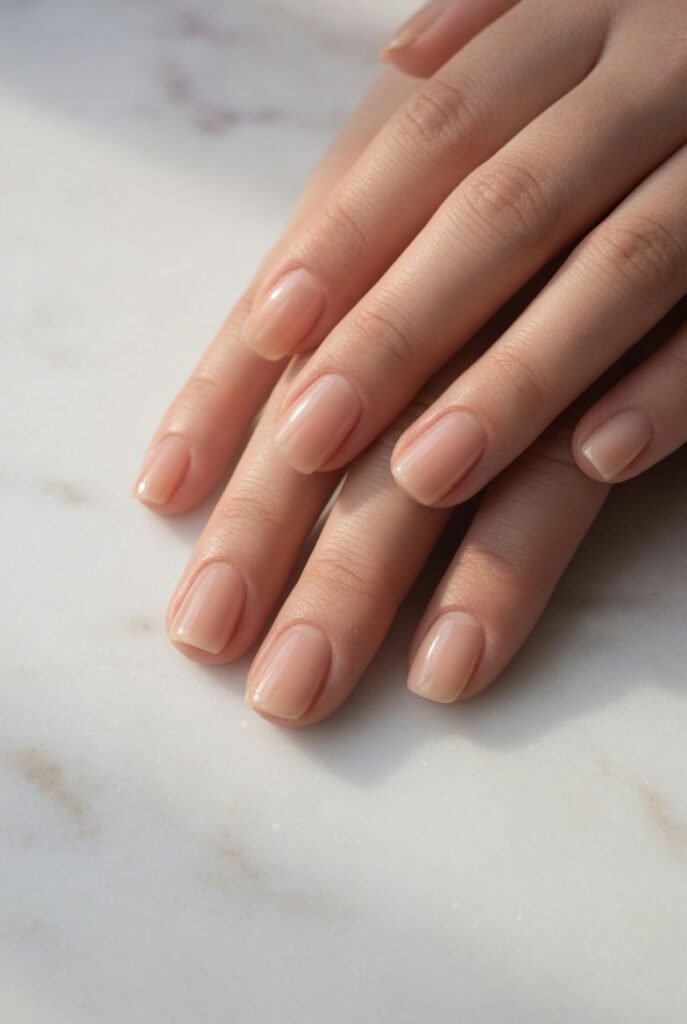
You don’t need opaque polish to make bitten nails look presentable. Semi-sheer nude or pink tints blur imperfections while still looking like natural nails. These formulas contain micro-fine pigments and often include nourishing oils like jojoba or vitamin E. One coat evens out redness from bitten cuticles and discoloration from old trauma, while two coats add a subtle glossy barrier that feels smooth to your tongue—making biting less satisfying.
These tints work because they don’t draw attention to your hands; instead, they quietly make your nails look clean, cared for, and healthy despite their short length. People will notice your tidy appearance rather than the fact that your nails are bitten. Reapply every three days, and use a non-acetone remover to avoid drying out the already fragile nail plate. Over a month of consistent tinting, the visual feedback of seeing “nice” nails every time you look down reduces the subconscious biting urge.
Massage Cuticle Oil into the Proximal Fold Nightly
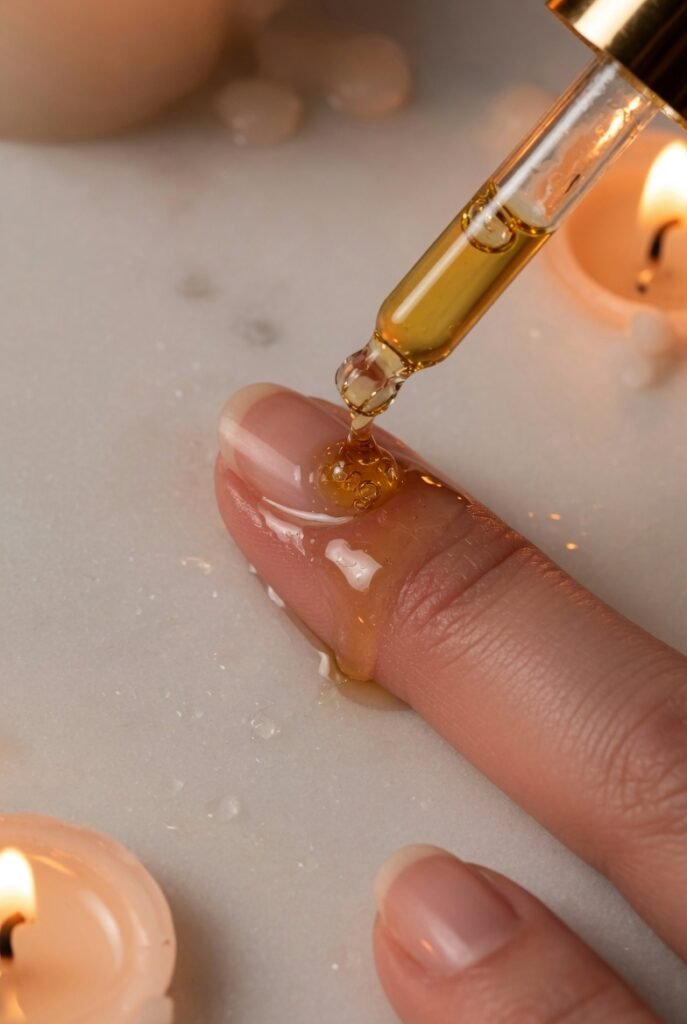
Bitten nails commonly have dry, torn, or inflamed cuticles that act as picking targets. Cuticle oil—especially blends with almond oil, vitamin E, and tea tree—softens the hardened skin that tempts you to chew. Apply one drop to each nail bed and massage in small circles for thirty seconds before bed. The massage increases blood flow to the matrix (the hidden growth center), which can speed up healthy nail production by up to 25 percent.
Well-hydrated cuticles lie flat and smooth, removing the little dry tags and hangnails that trigger the bite-pick-bite cycle. After one week of nightly oiling, you’ll notice fewer rough edges and less inflammation around your nails. Keep a small roll-on oil pen in your pocket during the day; any time you feel the urge to bite, you redirect that energy into applying oil instead. This replaces the oral habit with a grooming habit that actually helps your nails recover.
Wear Soft Cotton Gloves During Screen Time or Reading

Many people bite their nails during passive activities like watching movies, scrolling phones, or reading. Soft cotton gloves (often sold for moisturizing hands) remove the physical access while adding a sensory reminder to stop. You can still type, turn pages, or use a touchscreen with thin cotton gloves on. The gentle friction against your fingertips feels noticeably different from bare skin, which interrupts the automatic hand-to-mouth motion before you even think about it.
Wearing gloves for just one hour during your highest-risk time of day—say, evening TV watching—can reduce biting incidents by half within a week. Choose breathable white or beige gloves so you don’t stand out if you wear them around family. The gloves also trap any hand cream or cuticle oil you applied earlier, creating a mini spa treatment while you relax. After a few weeks, your brain starts to associate those passive moments with protected hands rather than oral fixation.
Apply a Matte, Non-Glossy Top Coat to Reduce Oral Attraction
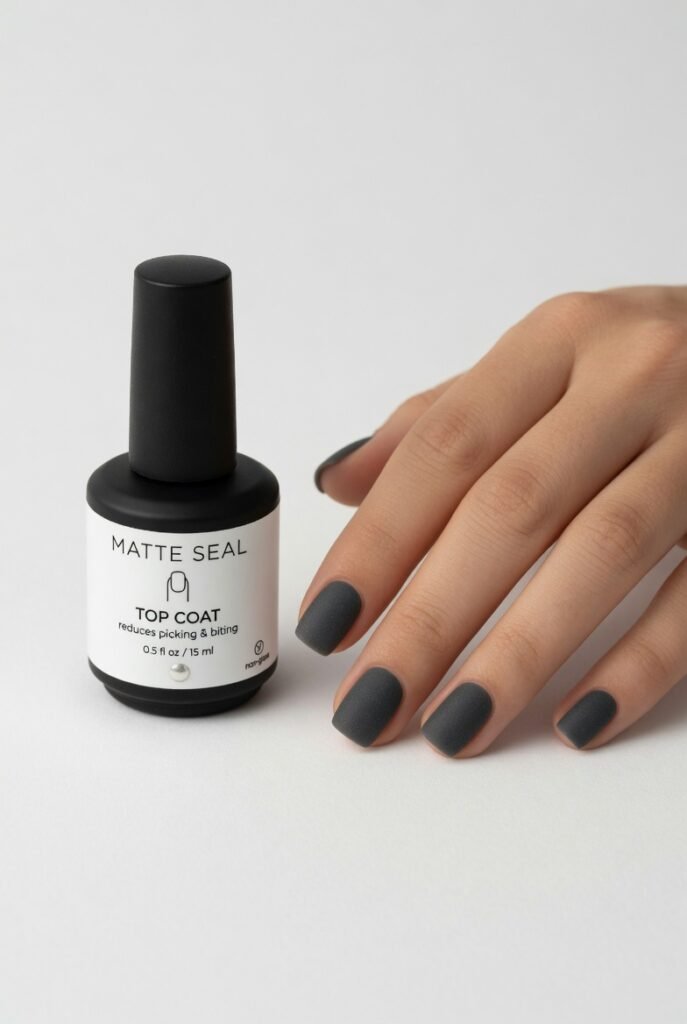
Some people bite because they’re drawn to the glossy reflection or the slick feel of smooth nails. A matte top coat eliminates shine entirely, leaving a velvety, almost powdery texture. This texture is far less appealing to your tongue and lips compared to glossy surfaces. Apply it over your ridge-filling base coat or sheer tint for a modern, natural finish that doesn’t scream “manicure.”
The psychological trick here is simple: you remove the sensory reward. Biting a matte surface feels dry and slightly grainy, which doesn’t satisfy the same urge as biting a slick, shiny nail. Many former biters report that switching to matte finishes helped them quit within two weeks because the hand-to-mouth motion became unpleasant rather than soothing. Reapply the matte top coat every three days, as natural hand oils can gradually restore some shine.
Try a Nail Wrapping System with Adhesive Silk Strips
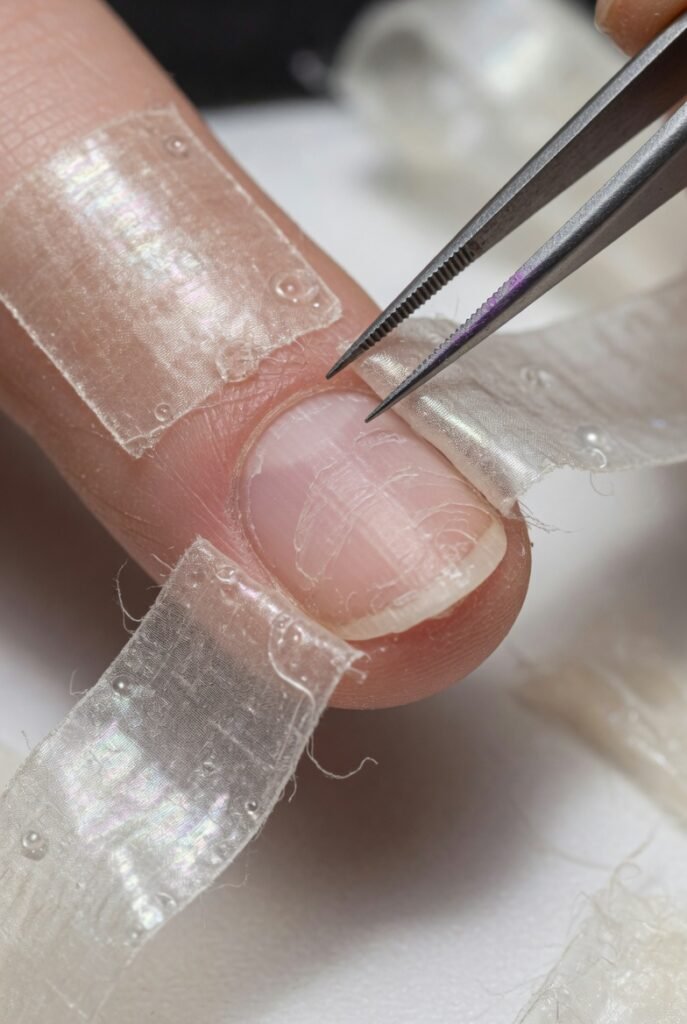
For nails that are bitten down to the quick or have deep horizontal grooves, adhesive silk wraps provide immediate structure. These ultra-thin, flexible sheets stick directly onto the nail plate and are sealed with a brush-on resin. Once cured, they feel like a second skin and protect the sensitive nail bed from further trauma. You can trim the wrap to fit even the tiniest bitten nail, and the finished result is a smooth, sturdy surface that discourages biting.
Wraps are different from press-ons because they move with your natural nail and don’t add significant length, so they look very discreet. They also hold broken or split nails together while the damage grows out, which can take four to six months. During that time, the wrap acts as a physical barrier that your teeth cannot easily puncture. Each application lasts seven to ten days, and after three months of continuous wrapping, many people find their natural nails have grown past the fingertip for the first time in years.
Use a Hydrating Hand Mask Once a Week
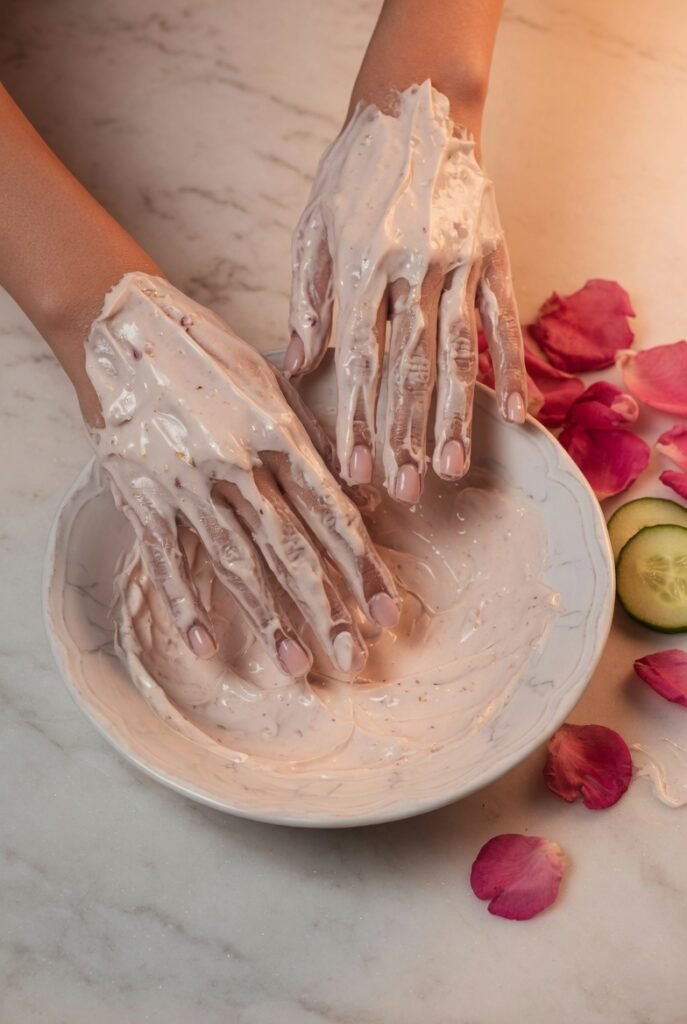
Dry, cracked skin around bitten nails is both a trigger and a result of biting. Hydrating hand masks (gel-lined gloves you wear for 15 minutes) drench the entire nail unit in a blend of glycerin, shea butter, and ceramides. This reduces the flaky, peeling skin that tempts you to chew. After one mask, your cuticles look visibly plumper and less ragged, and the effect lasts for several days.
Buy a box of single-use masks or a reusable pair of cotton gloves plus a tube of thick hand cream for a DIY version. Apply the cream generously, put on the gloves, and wear them while you answer emails or watch a show. The intense hydration softens any hardened skin that previously felt like something to pick or bite. Over four weekly masks, the skin around your nails becomes so smooth and healthy that your mouth loses its usual target.
Switch to a Nail Smoothing Buffer Block
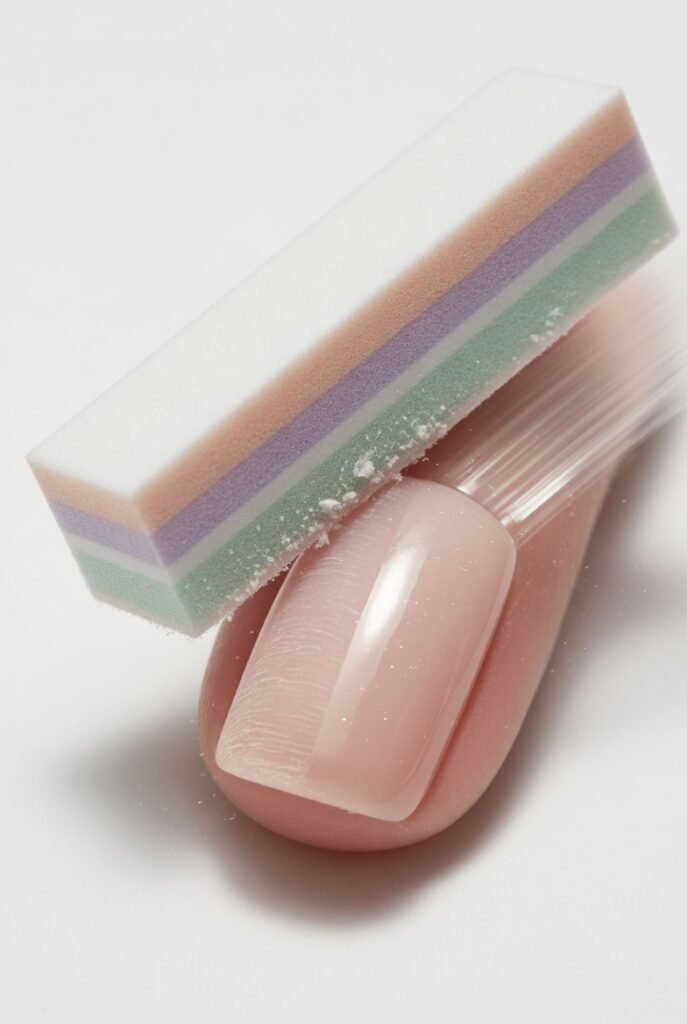
A rough, jagged nail edge is an open invitation to bite. Four-way buffer blocks (grit levels 100/240/600/4000) let you gradually smooth and shine even the shortest bitten nails without removing essential thickness. Start with the coarser side to level out ridges and chips, then move to the finer grits for a natural, polished gloss. You stop at the 600-grit stage for a matte look or continue to 4000 for a subtle sheen.
The difference between a buffer and a file is that buffing compresses the nail layers rather than scraping them away. This reduces future peeling and the “sticky out” corners that your teeth love to grab. Buffer your nails once every five days for no more than thirty seconds per nail. Over time, you’ll notice that your fingertips feel smooth and finished, removing one of the major sensory triggers for biting. Keep the buffer in your car or work drawer for quick touch-ups.
Paint Just the Free Edge with a Bitter-Tasting Clear Coat
If you absolutely need a deterrent, confine it to the last millimeter of nail. Most bitter polishes fail because people dislike the taste spreading to their food, so they stop using them. Instead, use a tiny brush to paint a bitter clear coat only on the very tip of each nail (the “free edge”). Your teeth will hit that bitter zone when you bite, but your fork and fingers won’t transfer the taste to your lunch.
This targeted method works because it preserves the motivation to stop without punishing you all day. Choose a bitter agent like denatonium benzoate (the most bitter compound known) in a clear, quick-dry formula. Reapply every two days, focusing only on the growing edge. Many people find they need less than two weeks of this targeted bitterness before their habit breaks, and they can stop using it entirely.
Use a Single Accent Nail as a Weekly Progress Tracker
Pick one nail—usually your non-dominant thumb—and treat it as your growth marker. Leave it bare while applying your chosen treatments to the other nine nails. This one bare nail shows you the real, unvarnished progress: new white edge growth, reduced redness, smoother surface. Photograph it every week under the same lighting. Watching that one nail slowly transform from a bitten mess to a healthy shape provides concrete evidence that your efforts are working.
Because you’re not covering it with polish or wraps, you also can’t hide from setbacks. If you bite that marker nail, you see the damage immediately, which helps you identify triggers and adjust. The other nine nails stay protected, so you always have “good” fingers to look at. After two months, when the marker nail has grown completely past the fingertip, you’ll have undeniable proof that recovery is possible—and you’ll likely want to keep all ten nails looking just like it.
Final Thoughts
Healing bitten nails isn’t about punishment or perfection. It’s about small, kind actions repeated often enough that your hands start to feel like something you want to protect instead of hide. You don’t need to try all 13 bitten nails ideas at once. Pick two or three that fit your lifestyle—maybe a glass file and a sheer tint, or silk wraps and cuticle oil—and give them two weeks of honest effort. Your nails grow back. Your confidence can too. Start with one gentle change today, and let your own progress surprise you.