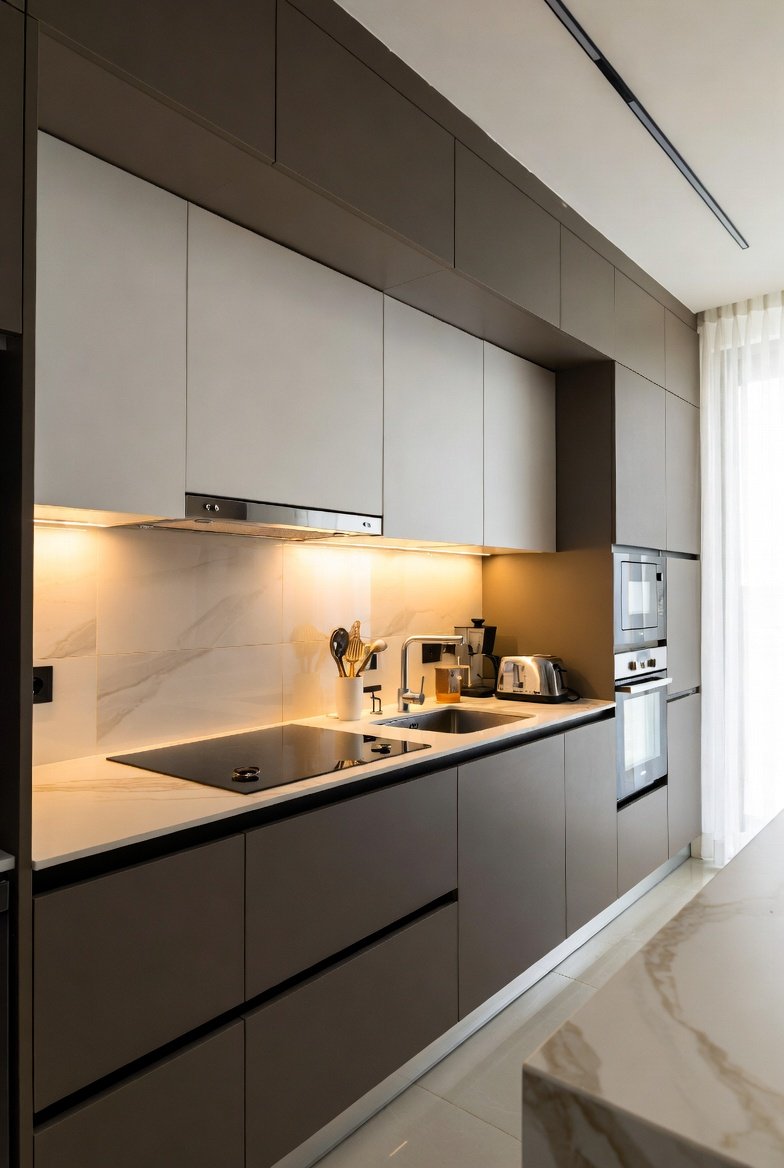
Let me start with a quick confession. For years, my kitchen was what I lovingly called “a culinary cave.” It was dark, cramped, and had the kind of counter space that could barely hold a coffee mug and a cutting board at the same time. I remember one Thanksgiving trying to roll out pie dough on a tiny sliver of granite while balancing a hot casserole dish on the stovetop. It was chaos.
Then, one Saturday afternoon, I decided enough was enough. I didn’t have $50,000 for a full renovation, but I started browsing ideas. Slowly, piece by piece, I began applying what I now call smart kitchen design ideas. The result? My pie crusts are flaky, my family actually hangs out in the kitchen while I cook, and I genuinely look forward to washing dishes. Yes, you read that right.
Whether you’re building from scratch, planning a minor refresh, or just daydreaming, these 18 kitchen design ideas will guide you step-by-step. By the end of this article, you won’t just feel inspired—you’ll feel confident enough to buy the right products and start your own transformation.
Why Your Kitchen Layout Matters More Than You Think
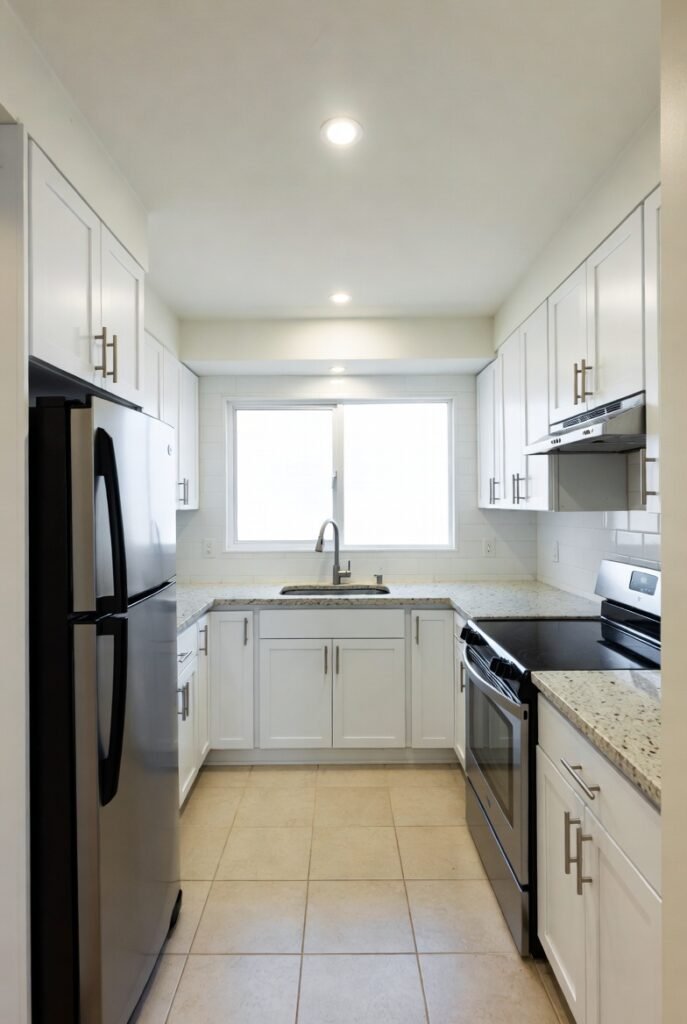
Before we dive into the list, let’s talk about the work triangle. That’s a fancy term for the distance between your sink, stove, and refrigerator. In a great kitchen, these three points form a triangle that allows you to move without bumping into cabinets or doing the awkward sideways shuffle.
Most kitchen design ideas fail because people focus on looks first and function second. Don’t fall into that trap. Instead, follow this simple rule: Form follows function. Once the flow is right, then we add the beauty.
Ready? Let’s get into the 18 specific ideas.
1. The Hidden Appliance Pantry
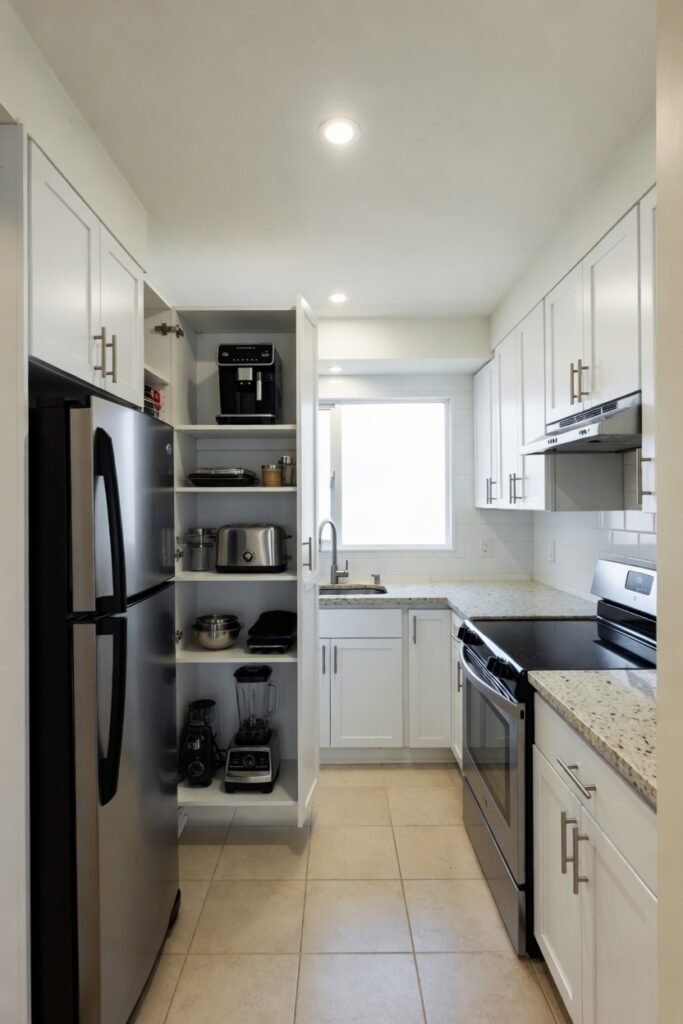
Imagine a wall of cabinets that looks like simple, elegant wood paneling. Then, you press a latch, and a door swings open to reveal your toaster, air fryer, stand mixer, and coffee maker—all plugged in and ready to go. This is called an appliance garage, but I prefer the term hidden appliance pantry.
Step-by-step guide to implement this:
- Measure the height of your tallest appliance (usually a stand mixer).
- Work with a carpenter or use a ready-made cabinet from IKEA that is at least 24 inches deep.
- Install electrical outlets inside the cabinet.
- Add a roll-up or bi-fold door to hide the mess.
Why buy this? Clutter is the enemy of peace. When you hide the visual chaos, your kitchen instantly feels twice as large. Look for appliance garages with built-in ventilation to keep things cool.
2. Open Shelving with a Twist
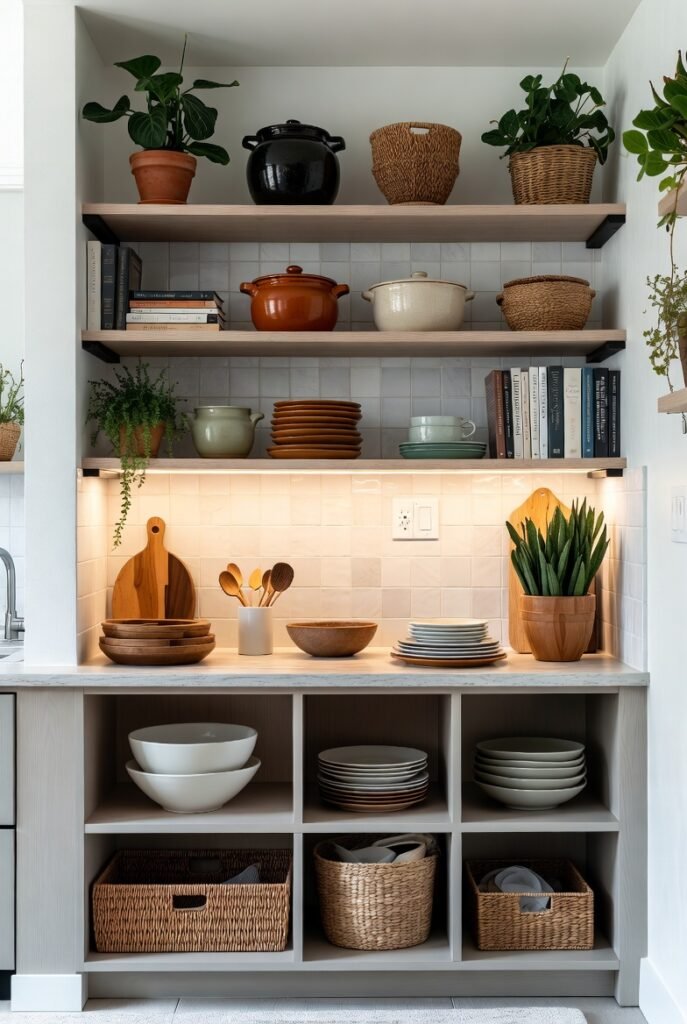
I know what you’re thinking: “Open shelving gets dusty.” You’re right. But hear me out. The twist here is strategic open shelving. Instead of replacing all your upper cabinets, remove just one or two doors next to a window.
Anecdote time: My friend Sarah removed the cabinet door above her coffee station. Now, she displays three beautiful white mugs, a ceramic canister of sugar, and a small plant. The rest of her mismatched coffee cups stay hidden behind closed doors. She told me, “It forces me to keep that one spot clean, and it makes the whole kitchen look curated.”
Pro tip: Use open shelves for items you use daily—plates, bowls, and glasses. Install them at eye level so you don’t need a step stool.
Read Also: 17 Bean Bag Living Room: The Ultimate Guide to Comfort, Style, and Versatility
Convincing you to buy: Purchase floating shelves made of solid walnut or white oak. They are stronger than particleboard and won’t sag over time. A good set of durable floating shelves costs around $150 but adds $1,000 in perceived value to your home.R
3. The Waterfall Edge Countertop
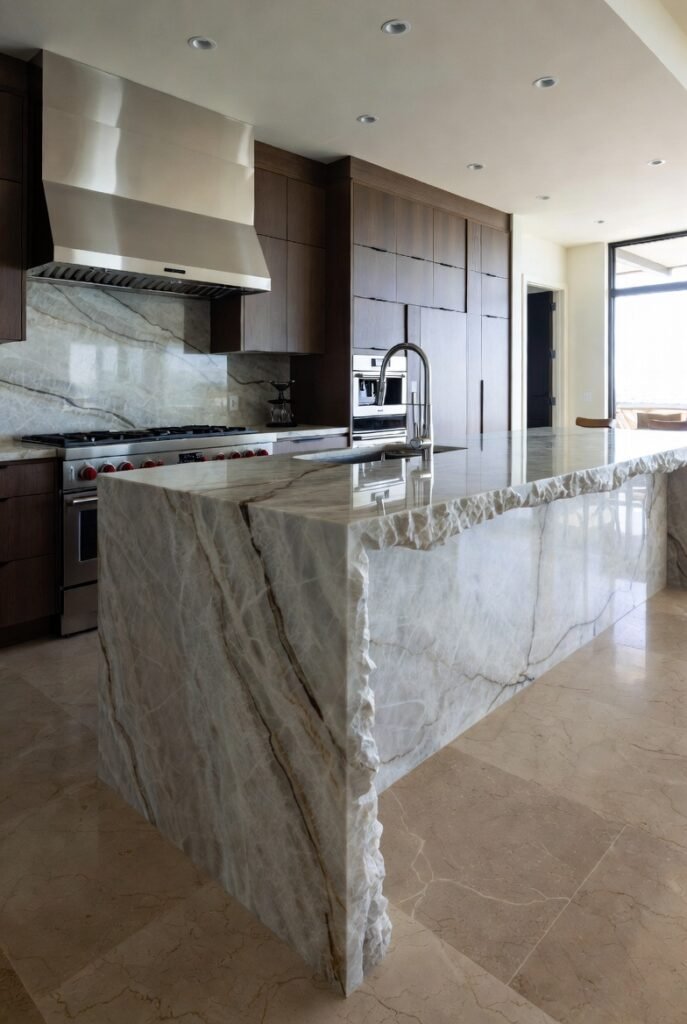
You’ve seen these in luxury home magazines. A waterfall edge means the countertop material flows vertically down the side of the island or cabinet, creating a continuous “waterfall” effect.
Why is this one of the best kitchen design ideas for resale value? Because it looks expensive—but it doesn’t have to be. While marble or quartzite costs a fortune, you can achieve the same look with quartz countertops or even a high-quality laminate designed to mimic stone.
Step-by-step:
- Choose a slab that has consistent veining.
- Ensure your fabricator miters the corner at a perfect 45-degree angle.
- Use the same material for the backsplash to create a seamless “monolithic” look.
Buying advice: Look for quartz brands like Caesarstone or MSI that offer prefabricated waterfall legs. These are cheaper than custom cuts and ship directly to your installer.
4. Two-Tone Cabinetry
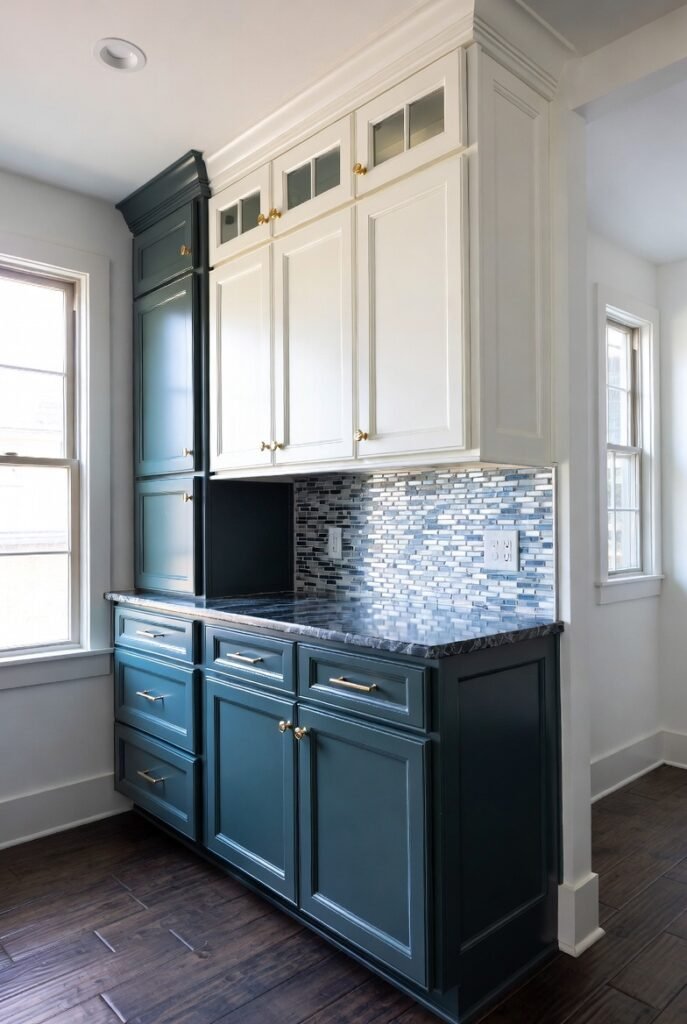
Gone are the days when every cabinet had to match. Two-tone cabinets are one of the most forgiving kitchen design ideas because they hide wear and tear.
The formula: Dark colors on the bottom (navy, charcoal, forest green) and light colors on the top (white, cream, light gray). This grounds the room and draws your eye upward, making the ceiling feel higher.
Anecdote: My neighbor Bob is a messy cook. He splatters tomato sauce everywhere. He painted his lower cabinets dark espresso, and now? You can’t see the stains. His upper cabinets are soft white, which reflects light and keeps the space airy.
What to buy: Cabinet paint from Benjamin Moore (their Advance line is self-leveling) or pre-finished shaker-style doors. If you’re buying new, request a sample door in your two colors before committing.
5. Smart Under-Cabinet Lighting
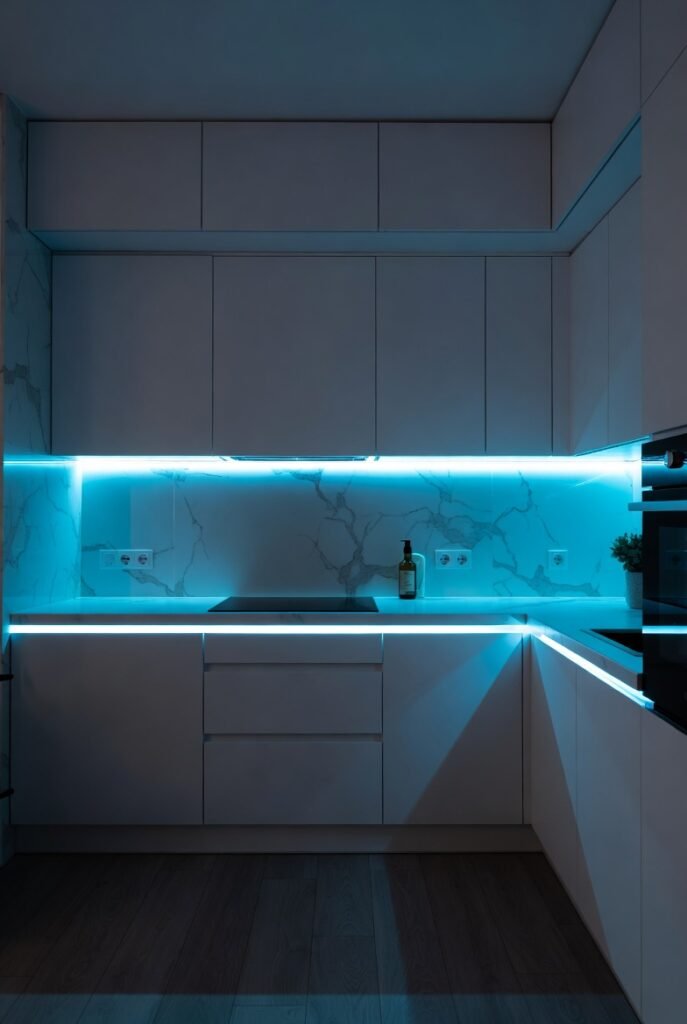
This is the single biggest “bang for your buck” upgrade you can make. Under-cabinet lighting transforms a dark, shadowy counter into a bright, safe workspace.
Step-by-step installation:
- Choose between puck lights (small circles) or linear LED strips.
- Measure the length of each cabinet run.
- Buy a plug-and-play system from a brand like GE or Philips Hue.
- Mount the lights using adhesive clips (no drilling required for most).
- Connect them to a smart switch so you can say, “Alexa, turn on prep lights.”
Why you need this now: If you’ve ever tried to chop onions in your own shadow, you know the frustration. Good lighting reduces eye strain and prevents knife accidents. I recommend dimmable LED strip lights with a color temperature of 3000K (warm white) for a cozy feel.
6. A Deep, Single-Basin Sink
Forget the double sink. Seriously. The double sink was invented when people washed dishes in one side and rinsed in the other. Now, we have dishwashers. What you actually need is a deep single-basin sink that can fit a large baking sheet or a Dutch oven flat on the bottom.
Anecdote: Last Christmas, I was trying to wash a 16-inch roasting pan. In my old double sink, it had to sit diagonally, splashing water everywhere. In my new 30-inch single basin? It fits flat. I can even bathe my small dog in there (don’t tell my spouse).
What to buy: Fireclay or 16-gauge stainless steel. Fireclay is non-porous and resists chips. Stainless steel is lighter and cheaper. Look for a sink that is at least 10 inches deep. Brands like Kraus and Ruvati offer affordable options.
7. Pull-Out Trash and Recycling Drawers
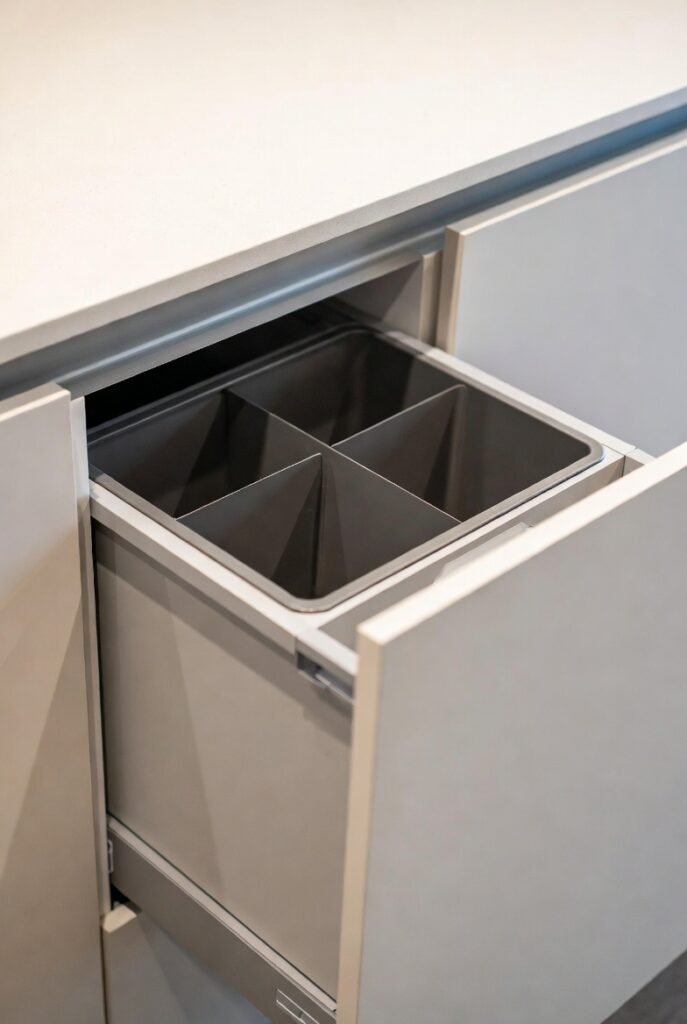
Let’s be honest: A trash can on the floor is ugly and a tripping hazard. A pull-out trash drawer hides the mess and makes it effortless to sweep crumbs directly into the bin.
Step-by-step to retrofit:
- Remove a lower cabinet door next to the sink.
- Measure the interior width and depth.
- Buy a slide-out trash can system from Rev-A-Shelf or Simplehuman.
- Screw the rails into the cabinet frame.
- Attach the lid mechanism (so the lid opens automatically when you pull).
Convincing you to buy: The average person opens their trash can 20 times per day. A smooth-glide, soft-close system costs around $120 but saves you from bending over and wrestling with a sticky lid every single time. That’s a quality-of-life win.
8. Backsplash That Goes All the Way to the Ceiling
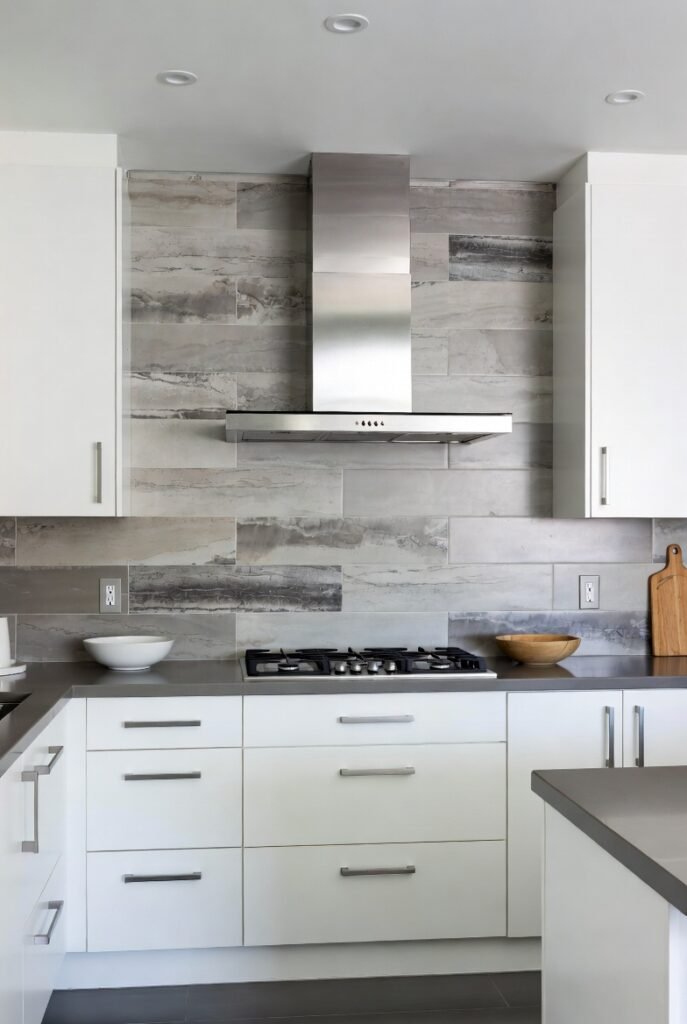
Most people stop their backsplash 18 inches above the counter. Wrong move. Take your floor-to-ceiling backsplash idea and run with it. This creates a stunning focal point and makes cleaning grease splatters a breeze—just wipe the tile.
Anecdote: I once visited a friend’s home where the kitchen had a brick-like backsplash that stopped abruptly halfway up the wall. It looked like the builder forgot to finish. Then, I saw a renovation where they used the same herringbone marble tile from counter to ceiling behind the stove. It looked like a piece of art.
What to buy: Peel-and-stick tiles are great for beginners, but real ceramic or glass tile lasts forever. Buy a marble-look porcelain tile—it’s cheaper than real marble and resists staining from spaghetti sauce.
9. Magnetic Knife Strip (Not a Block)
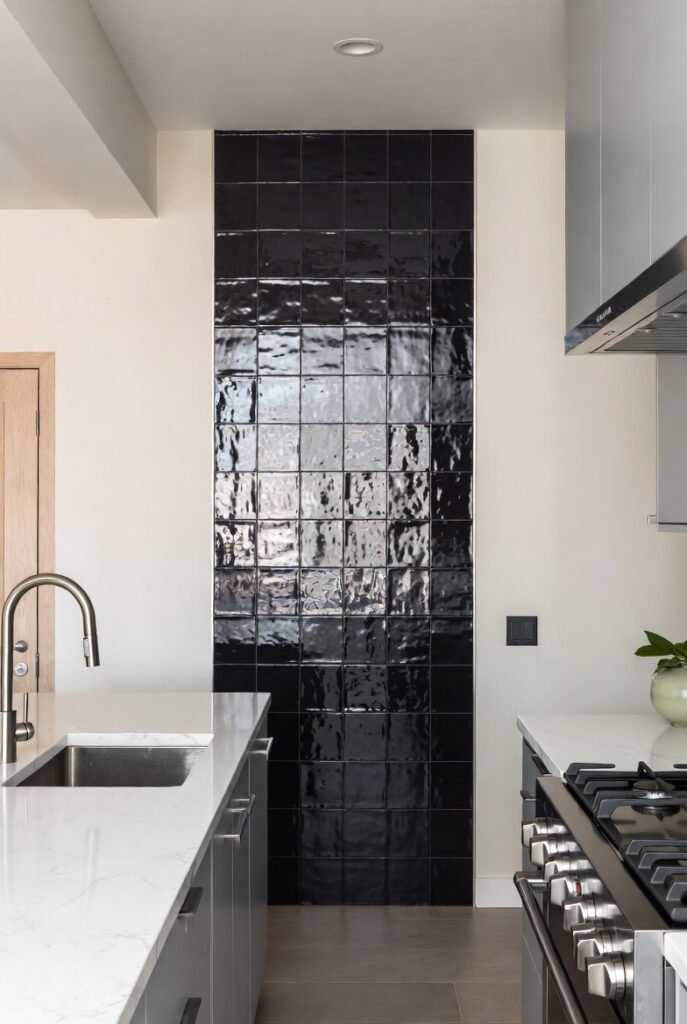
Knife blocks take up precious counter space and trap bacteria in the slots. Switch to a magnetic knife strip mounted on the backsplash or under a cabinet.
Why it’s better:
- Knives dry faster, preventing rust.
- You see all your options at a glance.
- It frees up 6 inches of counter space.
Step-by-step:
- Buy a stainless steel magnetic strip with a strong rating (at least 10 lbs of pull).
- Use a level to mark screw holes on the wall.
- Drill into a stud or use heavy-duty drywall anchors.
- Mount the strip and attach your knives by the spine (not the blade edge).
Buying advice: Look for wooden-faced magnetic strips from brands like Wusthof or Utopia Kitchen. They look warm and won’t scratch your knife handles.
10. A Rolling Kitchen Cart with Butcher Block
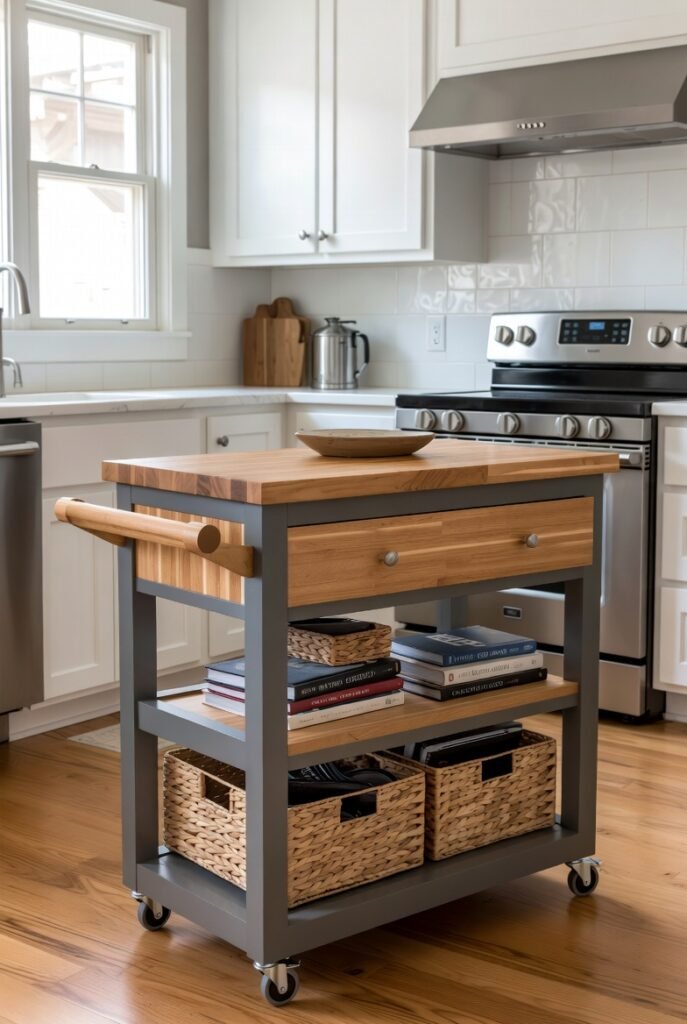
Not everyone has a permanent island. That’s where the rolling kitchen cart saves the day. It gives you extra prep space, storage, and seating, but you can roll it into a corner when guests arrive.
Anecdote: My first apartment had a “kitchen” that was basically a hallway. I bought a $200 butcher block cart from IKEA (the Bekväm model). I rolled it next to the stove for prep, then rolled it to the dining area to serve food. That cart lasted me seven years and three moves.
What to buy: A cart with locking casters, a solid wood top (not particleboard), and at least two drawers. The wooden butcher block top can be sanded and re-oiled when it gets scratched. That’s a lifetime product.
11. Drawer-Within-a-Drawer (Cutlery Organizer)
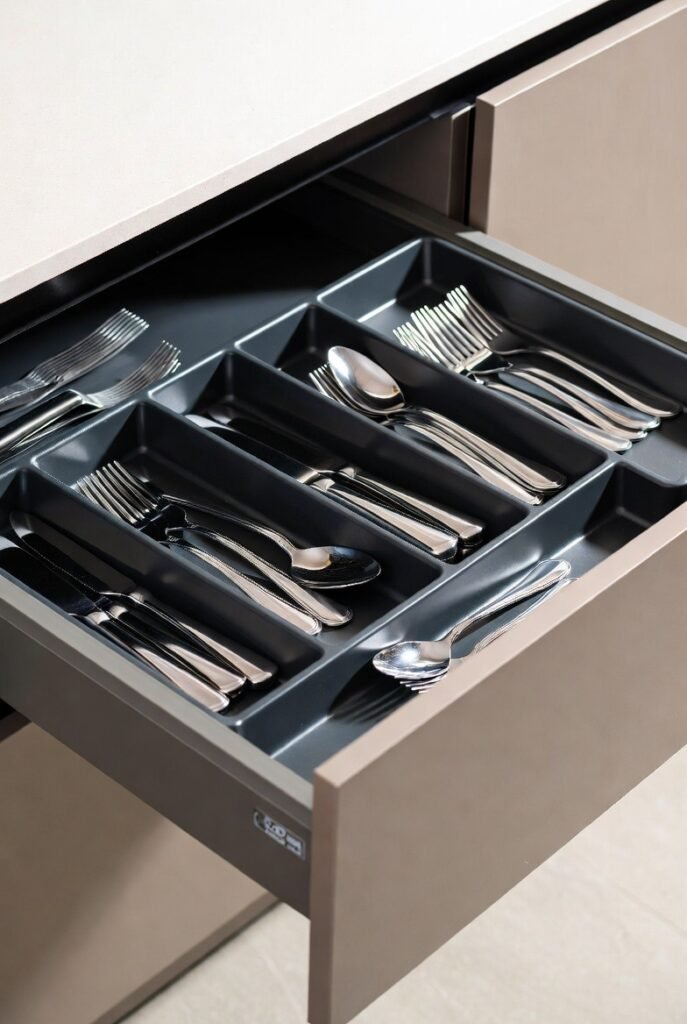
Standard cutlery trays waste a ton of space. Upgrade to a customizable drawer organizer that has a removable top layer for spoons and a deeper bottom layer for serving utensils.
Step-by-step:
- Remove your existing cutlery tray.
- Measure the drawer’s interior height (you need at least 4 inches).
- Buy a bamboo or felt organizer with adjustable dividers.
- Place the shallow tray on top, then lift it out to access the deep tray below.
Why buy this: You’ll fit twice as many utensils in the same drawer. Plus, felt liners prevent rattling when you close the drawer hard. Search for expandable bamboo drawer dividers on Amazon—they cost under $30.
12. Pot Filler Faucet Over the Stove
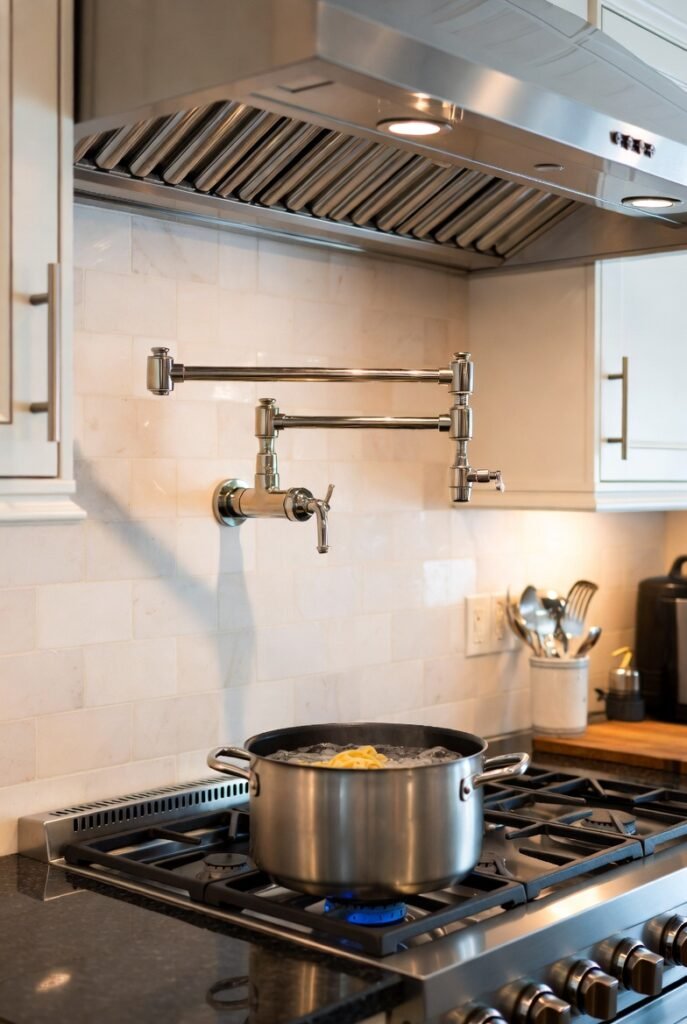
This is the ultimate “wow” feature for anyone who cooks pasta, soup, or anything involving large pots. A pot filler faucet swings out from the wall over your stovetop, so you fill the pot right where you’ll cook it.
Anecdote: I used to carry a heavy stockpot full of water from the sink to the stove. At 8 pounds per gallon, a 5-gallon pot weighs 40 pounds. I spilled water on the floor constantly. Now? I swing the pot filler, fill the pot, and cook. No spills, no back strain.
Installation note: You need a plumber to run a water line inside the wall. This is a renovation-only project, not a DIY rental upgrade. But if you own your home, it’s worth the $300–$500 investment.
What to buy: A double-jointed brass faucet from Delta or Kraus. Make sure it has a metal lever handle (plastic ones break).
13. Glass-Front Cabinet Doors for Display
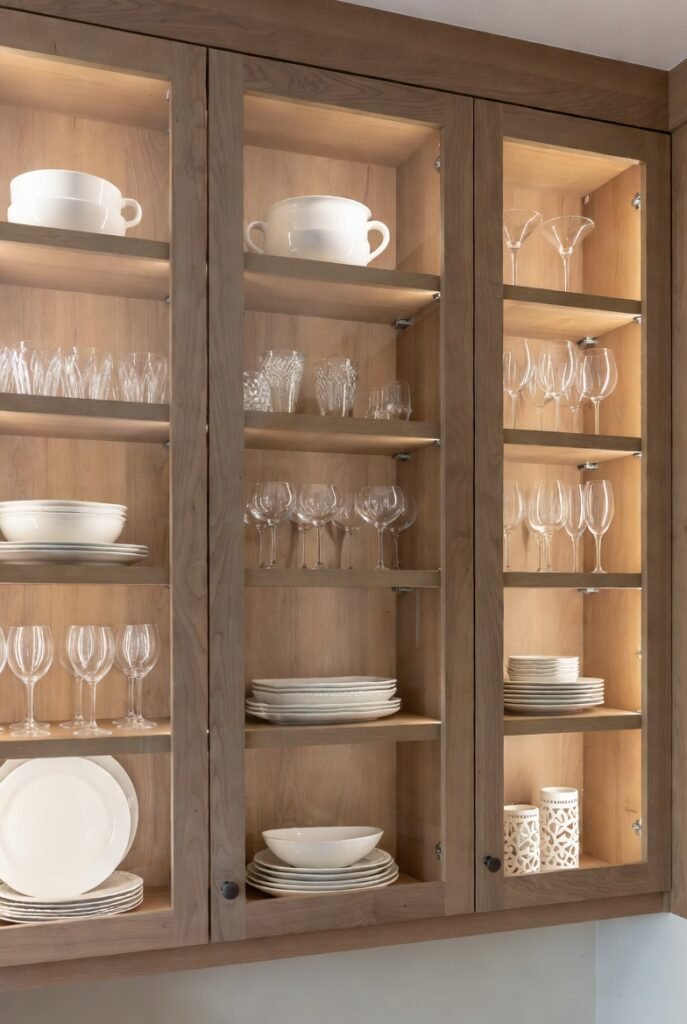
You don’t have to fill your cabinets with expensive china. Use glass-front cabinet doors to display everyday items in a pleasing way. Stack white plates, arrange colorful bowls, or store your cookbook collection.
Step-by-step:
- Choose one upper cabinet near the dining area.
- Remove the solid door and replace it with a glass panel.
- Add interior lighting (battery-operated puck lights work).
- Arrange items by color or height.
Why this works: It breaks up the monotony of solid wood. Plus, it forces you to stay organized because everyone can see inside. I recommend fluted or reeded glass—it’s textured, so it hides minor smudges better than clear glass.
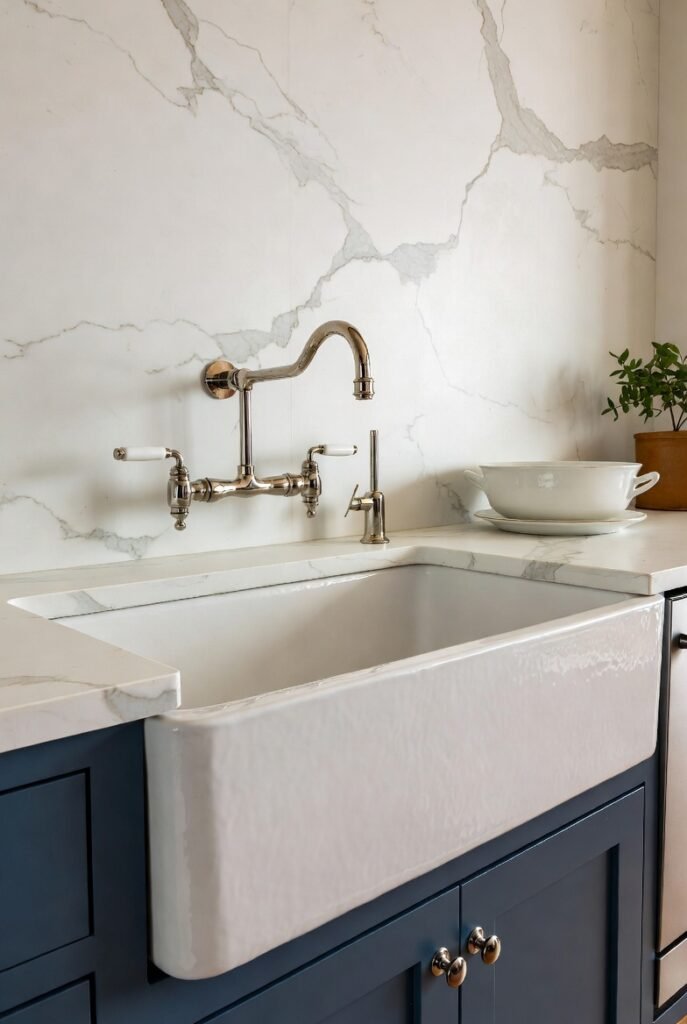
14. An Apron-Front (Farmhouse) Sink
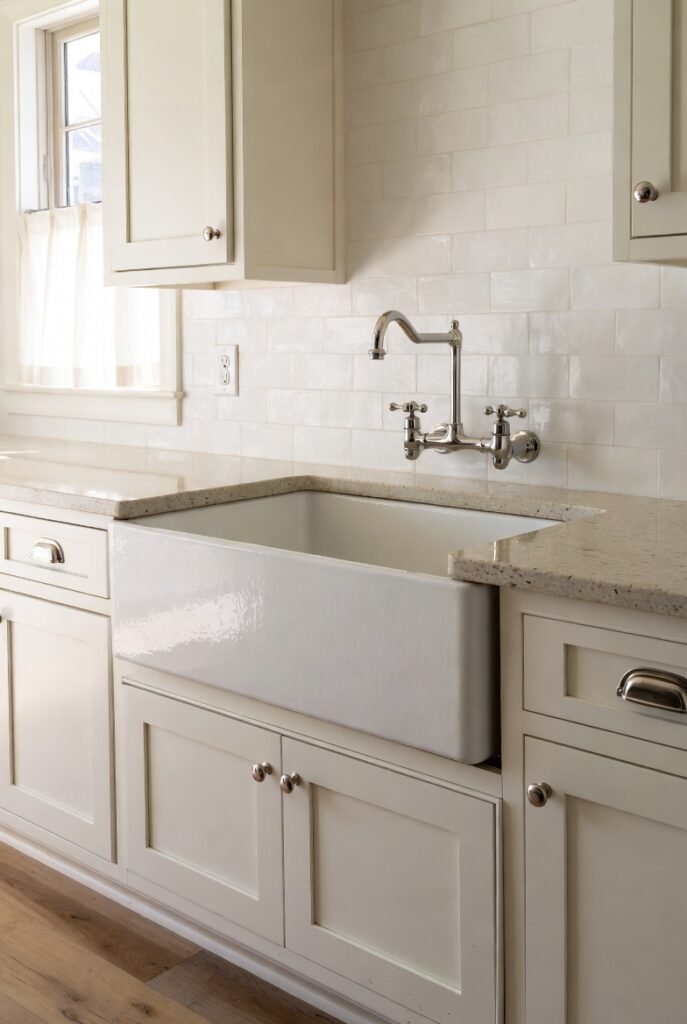
The farmhouse sink trend is not going away, and for good reason. An apron-front sink extends slightly past your countertop, so you can stand closer without leaning over. The front is flat, making it easy to wipe water directly into the sink.
Anecdote: My mother-in-law has arthritis in her back. She told me her farmhouse sink was “life-changing” because she no longer has to hunch over to wash dishes. The sink’s front lip supports her forearms.
What to buy: Fireclay is the most durable but also the heaviest (you may need to reinforce the cabinet). Stainless steel farmhouse sinks are lighter and cheaper. Look for a single-basin farmhouse sink at least 33 inches wide. Brands like Sinkology offer affordable fireclay options.
15. Pull-Out Spice Racks (Narrow Cabinet)
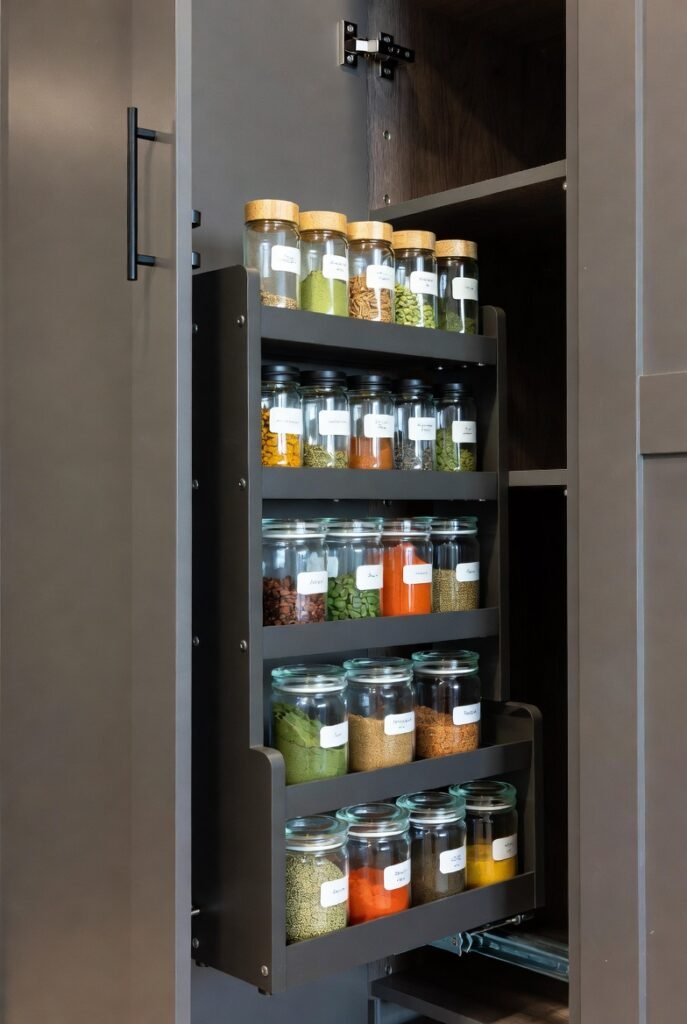
That awkward 3-inch gap between the fridge and the wall? Or the skinny cabinet next to the stove? Turn it into a pull-out spice rack. These are tall, narrow drawers on wheels that hold dozens of spice jars.
Step-by-step retrofit:
- Measure the width of your narrow gap (usually 3 to 6 inches).
- Buy a pre-made pull-out spice rack from Rev-A-Shelf.
- Remove the existing cabinet face or toe kick.
- Slide the rack in and screw it to the floor or wall.
- Organize spices alphabetically (trust me).
Why buy this: Spices left in a cabinet get lost. You end up buying duplicate jars of cumin because you couldn’t find the old one. A visible, sliding rack means you use what you have, saving money and reducing waste.
16. A Chalkboard or Dry-Erase Wall
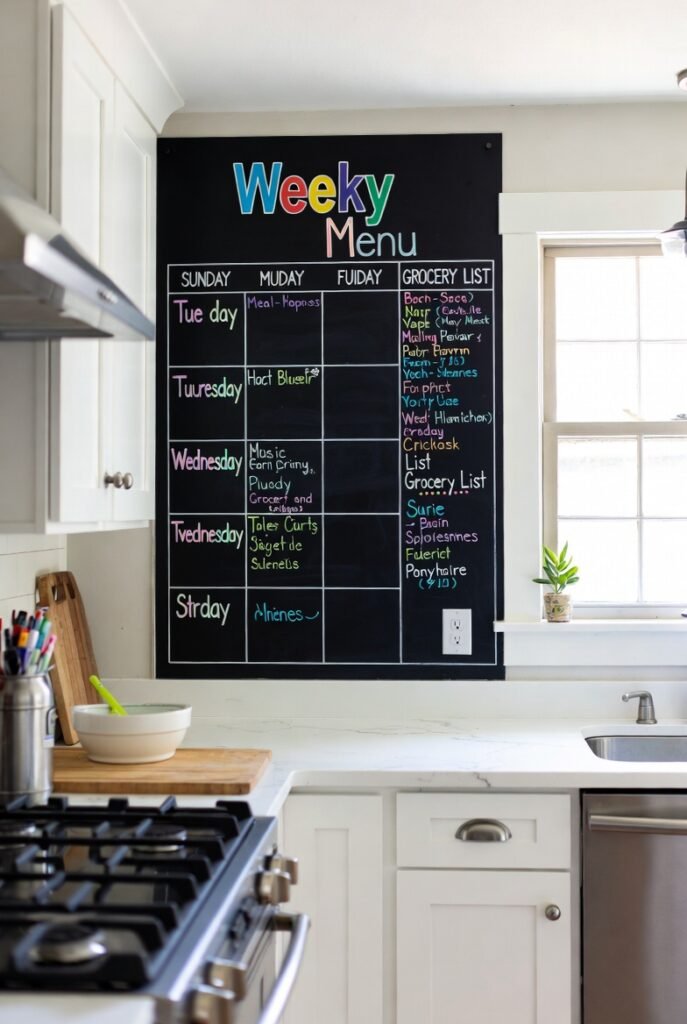
Paint one section of your kitchen wall (or the side of your refrigerator) with chalkboard paint. Or, install a dry-erase sheet on a cabinet door. This becomes your family command center.
Uses:
- Grocery list (write as you run out of milk)
- Dinner menu for the week
- Kids’ chore chart
- A place for guests to leave sweet notes
Step-by-step:
- Clean the wall surface thoroughly.
- Tape off edges with painter’s tape.
- Apply 2-3 thin coats of chalkboard paint (use a foam roller for smoothness).
- Season the board by rubbing a piece of chalk sideways and erasing.
- Mount a small tray below to hold chalk and an eraser.
What to buy: Rust-Oleum’s chalkboard paint is cheap ($15 per can). For a cleaner look, buy a magnetic dry-erase sheet that sticks to your fridge—no painting required.
17. Deep Drawers Instead of Lower Cabinets
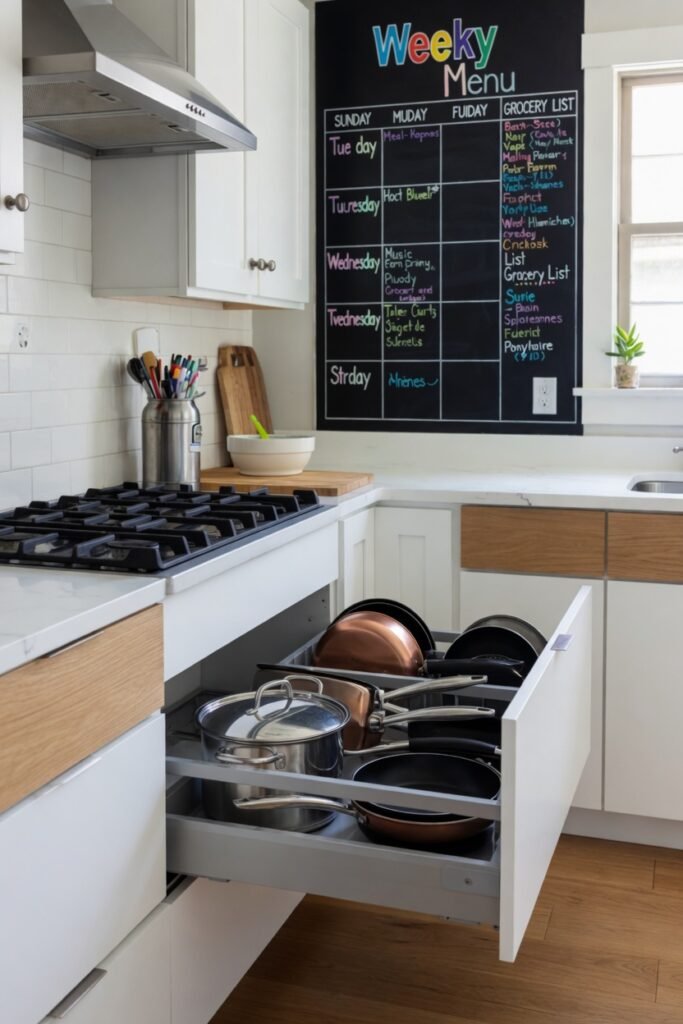
Here’s a radical but brilliant idea: Replace all your lower cabinets with deep drawers. No more kneeling down, crawling on the floor, and digging in the back of a dark hole for your roasting pan.
Anecdote: I renovated my kitchen and installed six deep drawers instead of three lower cabinets. The difference is shocking. To get a pot from the back of a drawer, I simply pull the drawer open and see everything at once. No blind corners. No lost lids.
What to buy: Look for full-extension soft-close drawer slides (Blum is the gold standard). The drawer boxes should be made of 5/8-inch plywood, not particleboard. A set of three large drawers costs about $400, but the convenience is priceless.
Step-by-step to convince your spouse:
- Go to your current lower cabinet.
- Get on your knees.
- Reach into the dark corner and try to grab a heavy pot.
- Now imagine pulling a drawer open to waist height.
- Sold yet?
18. A Dedicated Coffee Station or Beverage Station
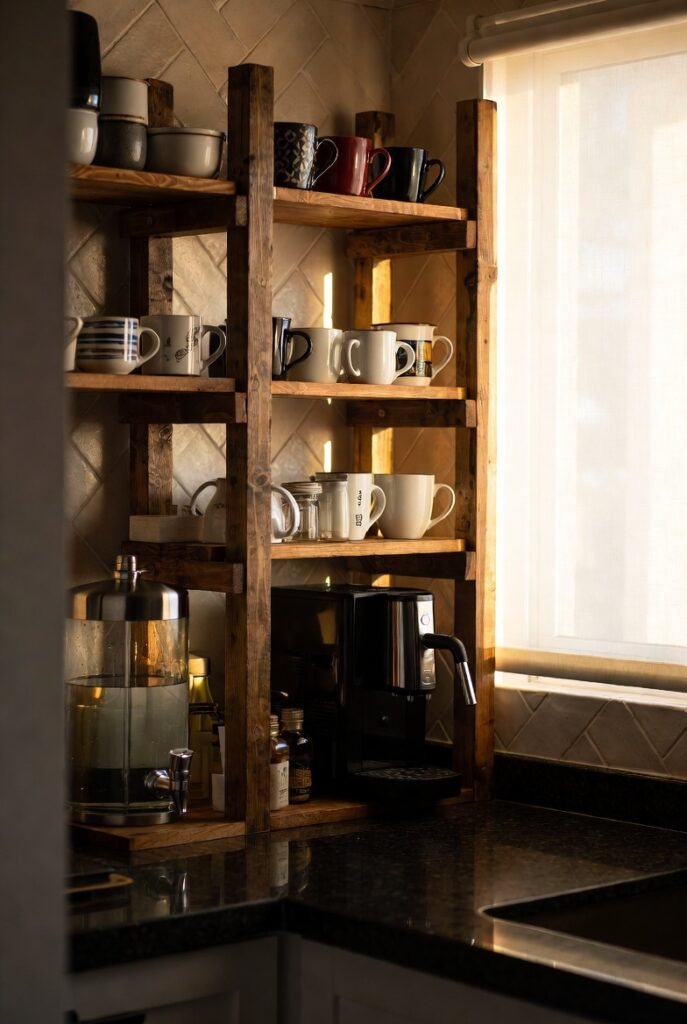
Finally, carve out a 24-inch-wide zone just for drinks. This coffee station should have its own small sink (if possible), a drawer for pods or beans, and a mini fridge for milk below.
Why this is genius: It keeps the morning chaos away from the main cooking area. One person can make coffee while another fries eggs without bumping elbows.
What to buy:
- A compact counter-depth refrigerator (under 18 inches wide) for creamers.
- A tall, narrow cabinet for mugs and syrups.
- A water boiler tap (like a Quooker) for instant hot water.
Step-by-step to create one on a budget:
- Clear off a 2-foot section of counter.
- Place a small tray to catch spills.
- Add a power strip with USB ports.
- Install a floating shelf above for coffee bags and cute cups.
- Buy a programmable coffee maker that starts brewing before you wake up.
How to Put These Kitchen Design Ideas Into Action (A Final Step-by-Step Plan)
You’ve read 18 ideas. That’s a lot. Don’t try to do them all at once. Instead, follow this simple 4-phase plan:
Phase 1 (Weekend projects, under $200):
- Install under-cabinet lighting (#5)
- Add a magnetic knife strip (#9)
- Paint a chalkboard wall (#16)
Phase 2 (Month-long projects, $200–$800):
- Swap to a deep single-basin sink (#6)
- Install pull-out trash drawers (#7)
- Add a rolling kitchen cart (#10)
Phase 3 (Major investments, $800–$3000):
- Replace lower cabinets with deep drawers (#17)
- Install a pot filler faucet (#12)
- Upgrade to a farmhouse sink (#14)
Phase 4 (Dream renovations, $3000+):
- Waterfall edge countertops (#3)
- Hidden appliance pantry (#1)
- Floor-to-ceiling backsplash (#8)
The Psychology of Buying: Why You Should Act Now
I’ve learned that waiting for “someday” means living with frustration every single day. The kitchen is the heart of the home. It’s where you start your morning with coffee, pack school lunches, and unwind with a glass of wine while dinner simmers.
Every single one of these kitchen design ideas solves a real, tangible problem:
- Clutter → Hidden pantry
- Back pain → Farmhouse sink
- Wasted space → Pull-out spice racks
- Bad lighting → Under-cabinet LEDs
When you buy the right product—whether it’s a deep drawer slide system or a quartz waterfall countertop—you aren’t spending money. You are investing in daily joy.
I remember the exact moment my kitchen went from “place I tolerate” to “place I love.” It was after installing the pot filler. I stood there, watching water pour directly into my pasta pot, and I laughed out loud. It felt like magic. But it wasn’t magic. It was a good decision backed by a quality product.
Your Next Step: Create Your Shopping List
Open a new note on your phone. Write down the three kitchen design ideas from this list that annoyed you the most. For me, it was the sink size, the trash can, and the dark counters.
Then, visit a home improvement store or browse online. Read reviews. Touch the materials. Measure your space twice.
Finally, buy one item this week. Just one. Install it. Live with it for seven days. I promise you will wonder how you ever lived without it.
Your kitchen deserves better. And so do you.