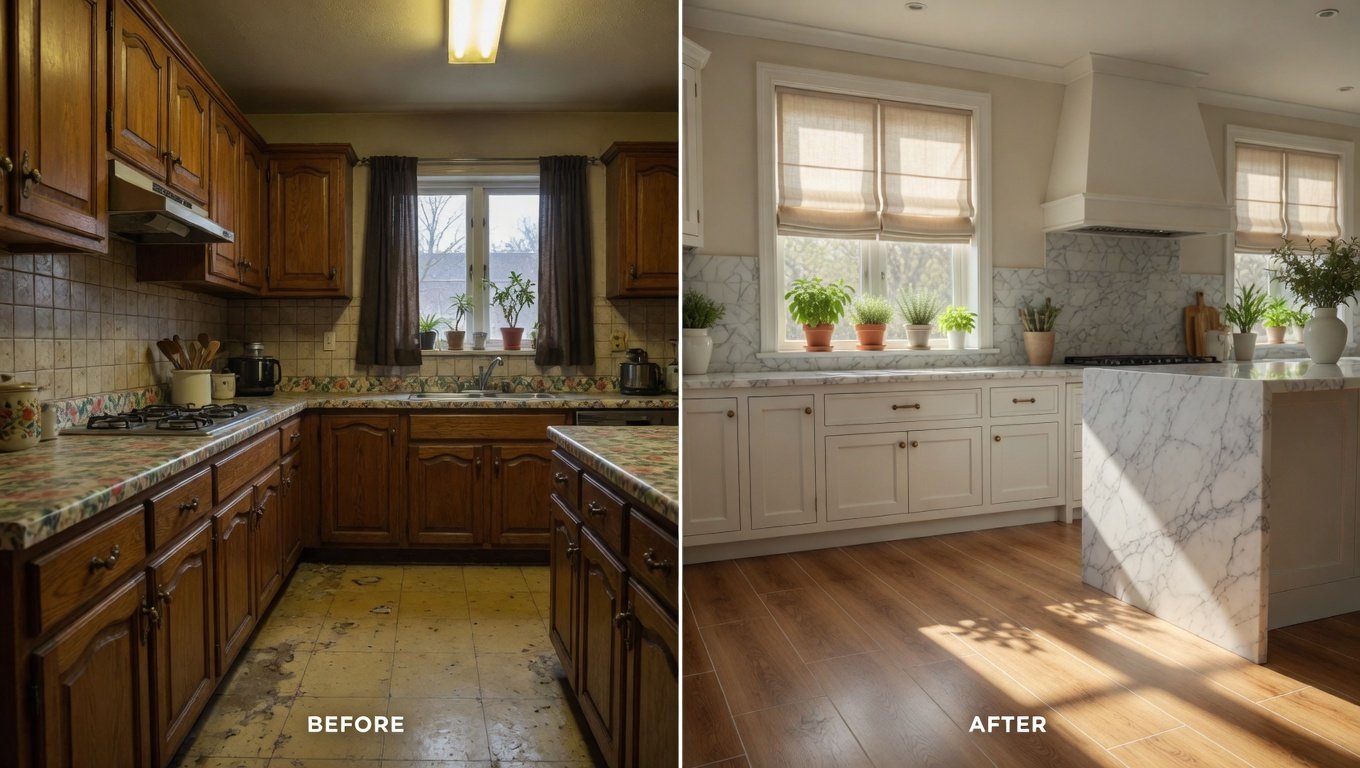
Let me tell you something funny. Last year, my sister looked at her kitchen and literally cried. Not happy tears – the frustrated, “I-can’t-take-this-anymore” kind. Her cabinets were peeling, her countertops had more stains than a coffee shop napkin, and her lighting made everything look like a horror movie set. She was convinced she needed a full demolition and a fifty-thousand-dollar renovation.
Fast forward three months, and she hosted Thanksgiving dinner for fourteen people with a kitchen she was actually proud of. The kicker? She spent less than two thousand dollars.
That is the magic of a 15 kitchen makeover approach. You do not need to swing a sledgehammer or take out a second mortgage. You just need smart strategies, a little creativity, and the right guidance. In this article, I will walk you through fifteen powerful transformations that have worked for my family, my friends, and hundreds of readers just like you.
So grab a cup of coffee (from your soon-to-be-improved kitchen), and let us dive in.
Why a Kitchen Makeover Matters More Than You Think
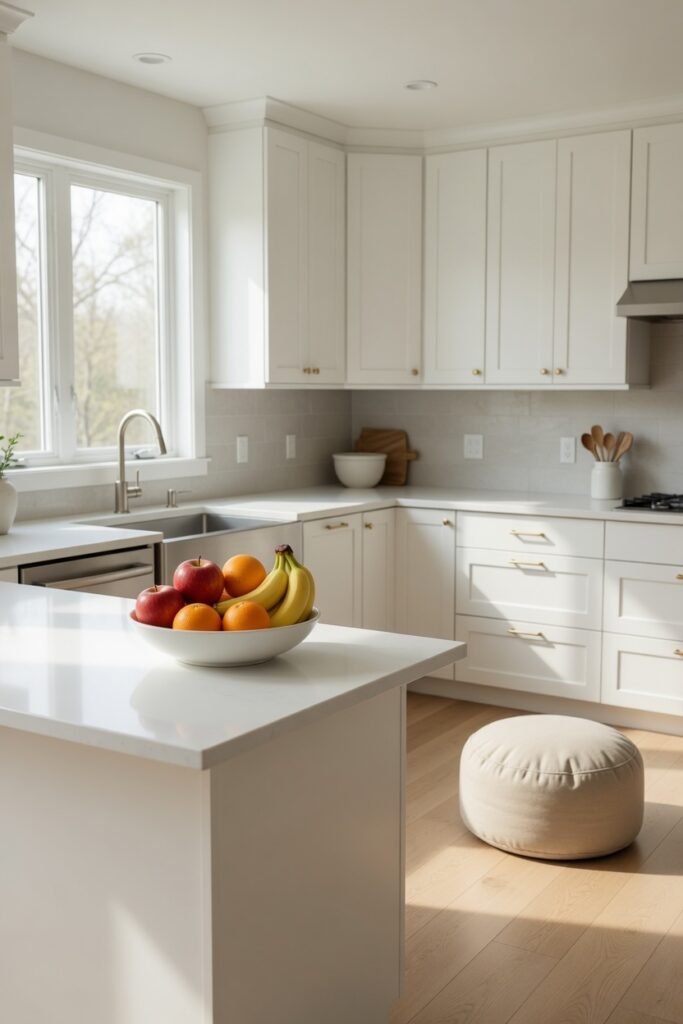
Before we jump into the details, let me share a quick story. My neighbor Dave is a retired mechanic who swore he did not care about his kitchen. “It is just where I microwave things,” he used to say. Then his daughter came to stay for a month with her new baby. Dave could not find anything. His drawers were a mess, his counters were cluttered, and he felt embarrassed every time he tried to warm a bottle.
We spent one weekend doing a budget-friendly kitchen update – just reorganizing cabinets, adding some pull-out shelves, and changing the faucet. Dave called me the next week practically in tears. He said, “I did not know cooking could be enjoyable. I made my granddaughter scrambled eggs this morning, and I wasn’t fighting with my own kitchen.”
That is what we are after here. Not just pretty pictures for Instagram. A kitchen that actually works for your life.
Before You Start: The Three Golden Rules
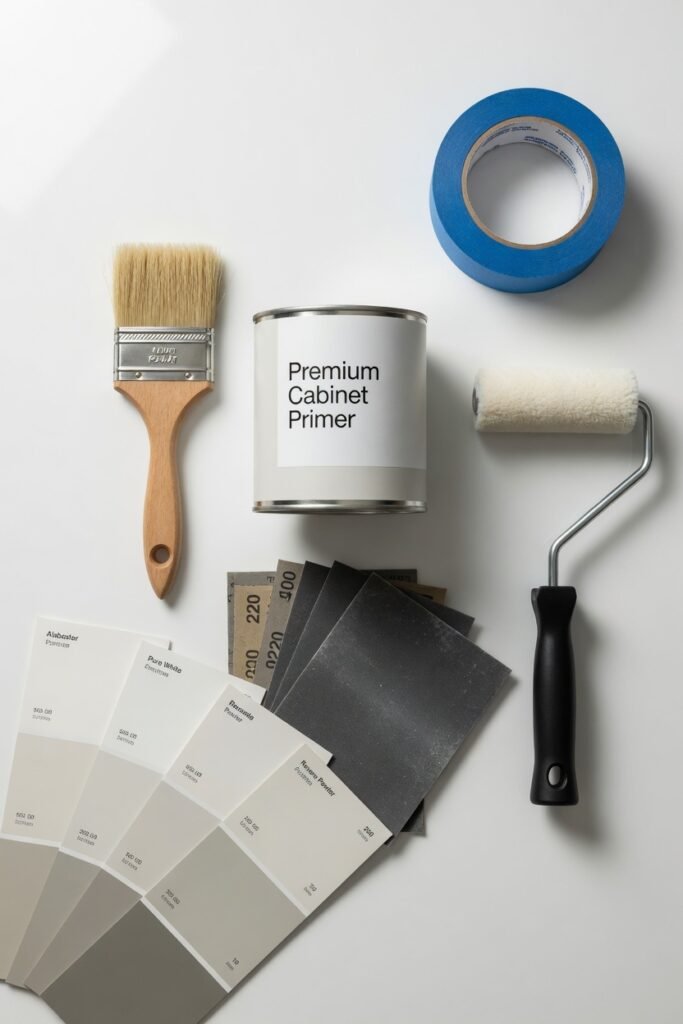
Here is what I have learned from countless makeovers. Follow these rules, and you will save time, money, and heartbreak.
Rule One: Live in your kitchen for one full week before changing anything. Notice what frustrates you. Where do you pile mail? Which cabinet do you avoid opening? What task makes you sigh? Write it all down.
Rule Two: Set a realistic budget and add a twenty percent cushion. Unexpected things happen. Maybe you find water damage behind a cabinet. Maybe you need different tools. That cushion keeps your project from becoming a stress fest.
Rule Three: Prioritize function over fashion. A gorgeous kitchen that does not work is just an expensive museum. Start with what you need, then make it pretty.
Now, let us get into the actual makeover ideas. I have organized these from easiest to most involved, so you can pick your starting point based on your comfort level and budget.
Makeover #1: Paint Your Cabinets (The Single Biggest Bang for Your Buck)
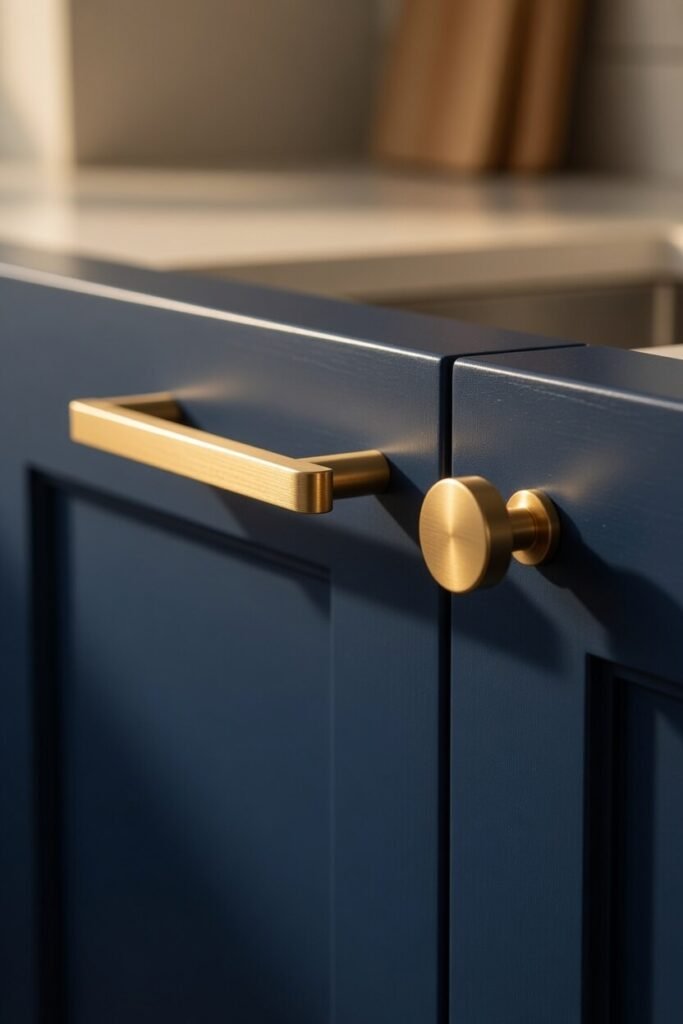
I cannot emphasize this enough. Painting your cabinets is the undisputed heavyweight champion of kitchen transformation ideas. Nothing else gives you this much impact for this little money.
My friend Maria was quoted twelve thousand dollars for new cabinets. She almost had a heart attack. Instead, we spent a long weekend painting her existing ones. The total cost? Three hundred dollars for paint, brushes, and a cheap paint sprayer rental. The result looked like a completely new kitchen.
Also Read: The Ultimate Guide to the 17 Mid Century Modern Desk – How to Choose, Style, and Buy with Confidence
Step-by-Step Guide to Painting Cabinets
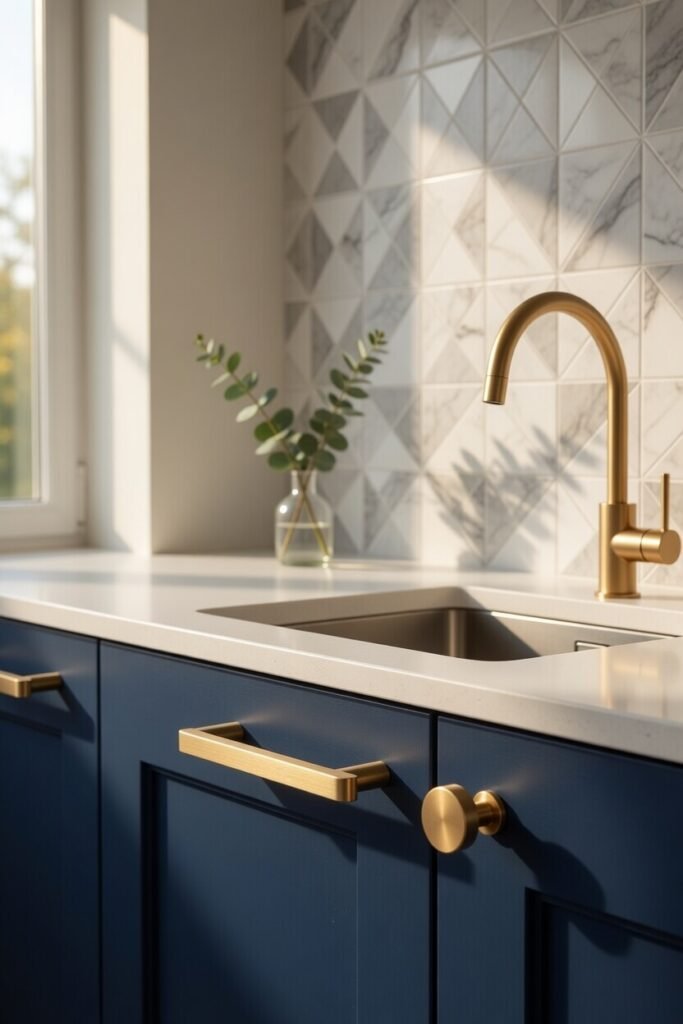
Step 1: Remove all cabinet doors and drawers. Label everything with painter’s tape so you know where each piece goes back.
Step 2: Clean everything thoroughly – and I mean thoroughly. Kitchen cabinets accumulate a greasy film that will ruin your paint job. Use a degreaser like TSP substitute.
Step 3: Sand lightly with 220-grit sandpaper. You are not trying to strip the old finish, just roughing up the surface so paint adheres.
Step 4: Apply a high-quality primer. This is non-negotiable, especially if you are going from dark to light colors.
Step 5: Paint with a self-leveling cabinet paint. I personally recommend Benjamin Moore Advance or Sherwin-Williams Emerald Urethane. These are more expensive than regular paint, but they dry to a hard, durable finish that will not chip.
Step 6: Apply thin coats. Two to three thin coats are infinitely better than one thick, drippy coat.
Step 7: Let everything cure for at least 48 hours before rehanging. I know you are excited. I know you want to see the finished product. Wait anyway. You will thank me.
Pro tip: If you hate the idea of painting, consider refacing kitchen cabinets instead. This means replacing only the doors and drawer fronts while keeping the cabinet boxes. It is more expensive than painting but cheaper than full replacement.
Makeover #2: Swap Out Your Cabinet Hardware
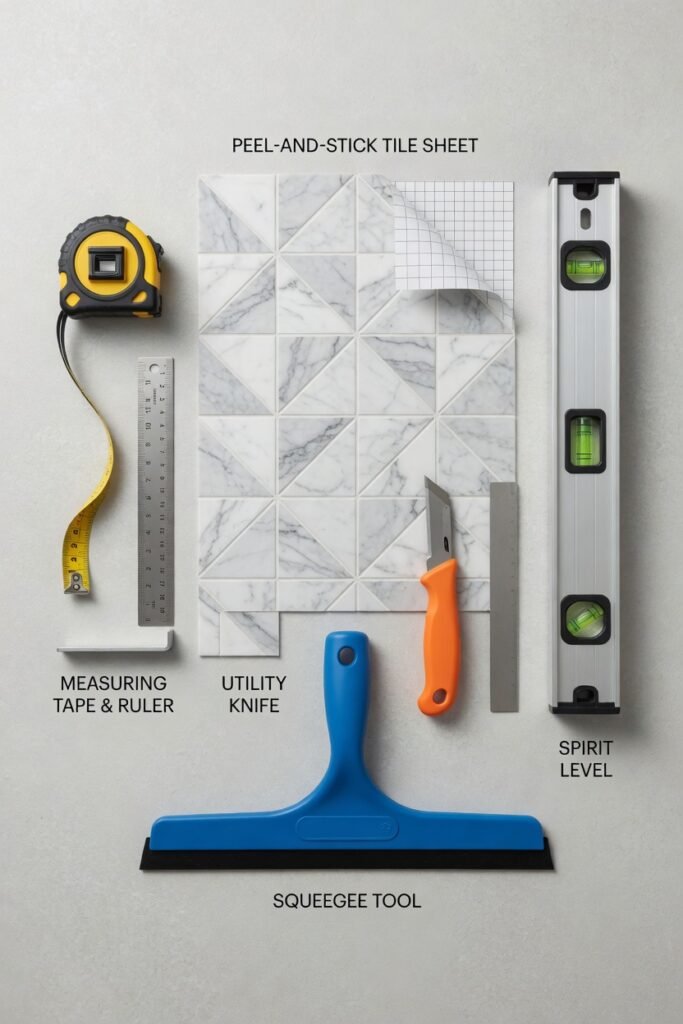
This one is almost embarrassingly easy, but the difference is remarkable. Changing your cabinet hardware from basic builder-grade knobs to something with personality instantly elevates the whole room.
I did this in my first apartment. The kitchen was a rental, so I could not change anything major. But I asked my landlord if I could swap the hardware, promising to change it back when I moved out. He agreed. For forty dollars, I bought sleek matte black pulls from a local store. The difference was night and day. My kitchen went from “sad rental” to “intentional design.”
What to Consider When Choosing Hardware
- Material: Brass, nickel, black, chrome, or bronze – each creates a different mood.
- Shape: Knobs are classic and cheap. Pulls feel more modern and are easier to grip.
- Size: Measure your existing holes before buying. Nothing is more disappointing than ordering fifty knobs that do not fit.
- Finish: Matte finishes hide fingerprints. Polished finishes look fancier but show every smudge.
Pro tip: Buy one or two pieces first to see how they look in your actual kitchen. Online photos can be deceiving.
Makeover #3: Install a Peel-and-Stick Backsplash
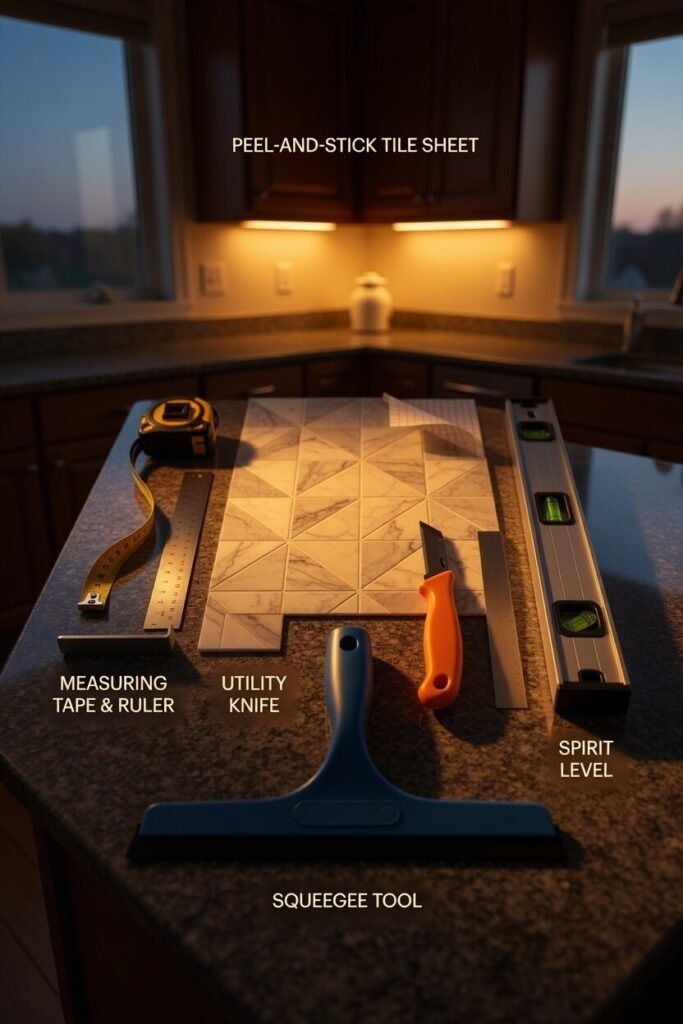
Let me tell you about the time I almost cried over tile. I had visions of a gorgeous subway tile backsplash. Then I got the quote: fifteen hundred dollars for materials and labor. For a backsplash! That is when I discovered peel-and-stick backsplash tiles, and my whole world changed.
These are not your grandmother’s sticky decals. Modern peel-and-stick tiles are made of real materials like glass, stone, and metal. They are thick, durable, and genuinely look like the real thing. The best part? You can install them yourself in an afternoon.
How to Install a Peel-and-Stick Backsplash
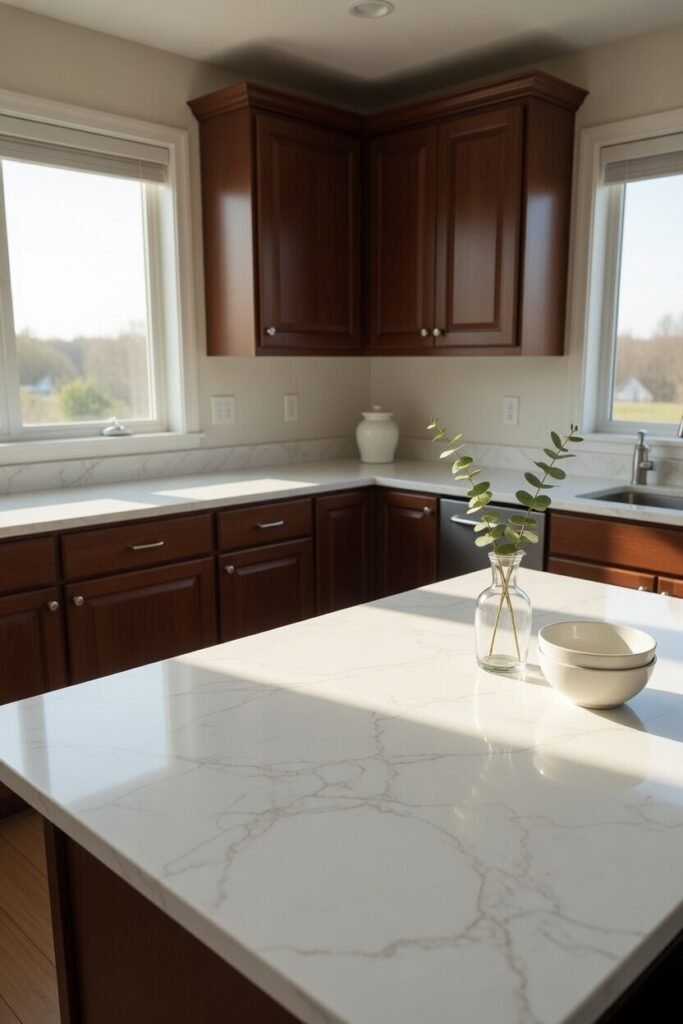
Step 1: Clean your wall thoroughly and let it dry completely.
Step 2: Plan your layout. Start from the center of your most visible area and work outward.
Step 3: Peel the backing off slowly. These adhesives are strong, so you only want to expose a few inches at a time.
Step 4: Press firmly from the center outward to avoid air bubbles.
Step 5: Use a utility knife to cut tiles around outlets and edges.
Step 6: Seal the edges with caulk for a professional finish.
I helped my cousin do her entire kitchen backsplash in four hours. She saved over a thousand dollars, and three years later, not a single tile has fallen off.
Makeover #4: Upgrade Your Faucet
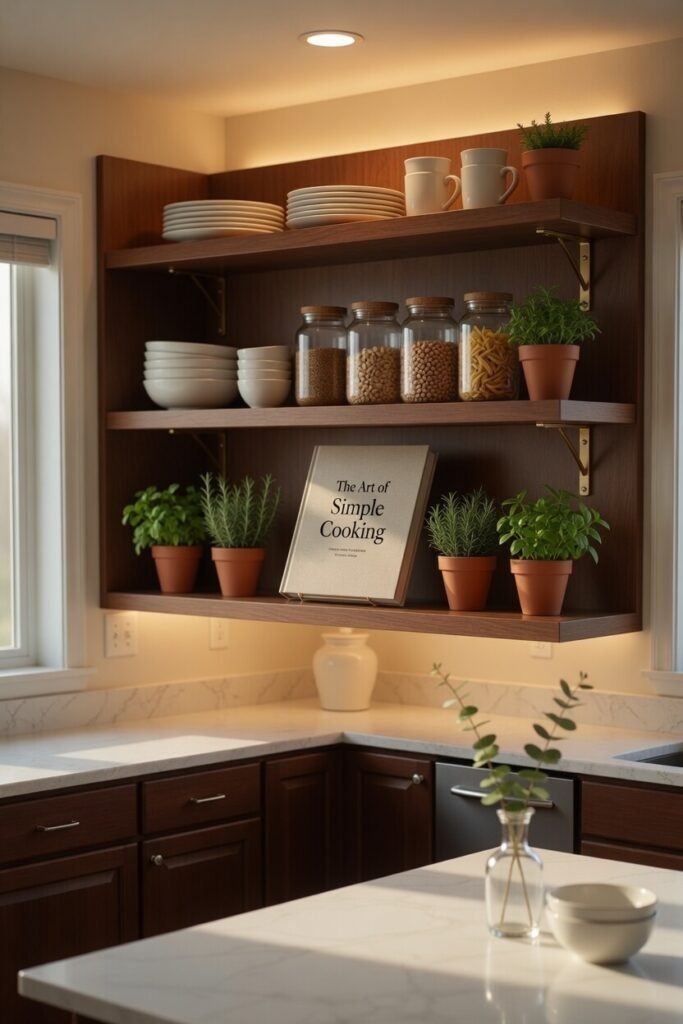
Here is something most people do not realize: you use your kitchen faucet more than almost any other item in your home. Every meal, every snack, every glass of water. Yet we tolerate sad, leaky, low-pressure faucets for years.
A modern kitchen faucet upgrade changes your daily experience more than almost any other change. I replaced my old two-handle faucet with a single-handle pull-down model, and I genuinely look forward to washing dishes now. That sounds ridiculous, I know. But not having to fight with your faucet is a small joy that adds up.
What to Look For in a New Faucet
- Pull-down vs. pull-out: Pull-down sprayers (where the head comes straight down) are generally more functional than side-pull models.
- Single handle vs. double: Single handles are easier to use when your hands are full or dirty.
- Finish: Match or complement your cabinet hardware.
- Height: Taller faucets are better for filling large pots but can splash more.
- Touch or motion activation: These are more expensive but genuinely convenient.
Installation warning: Changing a faucet is not hard, but it requires working under your sink, which is always awkward. Watch a few video tutorials first. Have a bucket and towels ready. And for the love of all that is holy, turn off the water supply valves before you start.
Makeover #5: Add Under-Cabinet Lighting
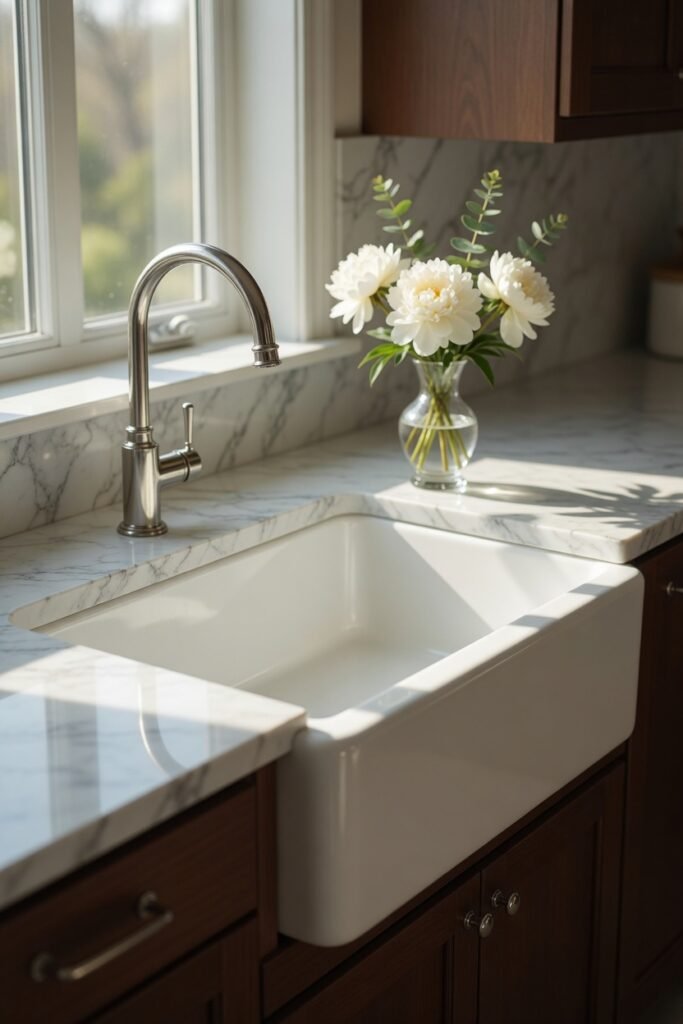
I am going to tell you something that will sound dramatic, but I promise it is true. Under-cabinet lighting changed how I feel about my kitchen after dark.
Before, my countertops were always in shadow. My own body blocked the overhead light every time I tried to chop vegetables. It was frustrating and honestly kind of dangerous. I added a simple plug-in LED light strip under my upper cabinets, and suddenly my countertops were beautifully lit.
Your Under-Cabinet Lighting Options
- Battery-powered puck lights: Cheapest and easiest. No wiring required. Downsides: batteries die, and you have to turn them on manually.
- Plug-in LED strips: Affordable and bright. You need an outlet nearby, but most kitchens have one above the counter. The cord can be hidden by running it behind appliances.
- Hardwired lighting: Professional installation required. Most expensive but cleanest look. Lights turn on with your main kitchen lights.
- Smart lighting: Can be controlled by phone or voice. You can change colors and brightness. Totally unnecessary but very fun.
I recommend starting with plug-in strips from a trusted brand. They are under thirty dollars and will give you an immediate sense of whether you want to invest in something more permanent.
Makeover #6: Replace Your Countertops (The Big One)
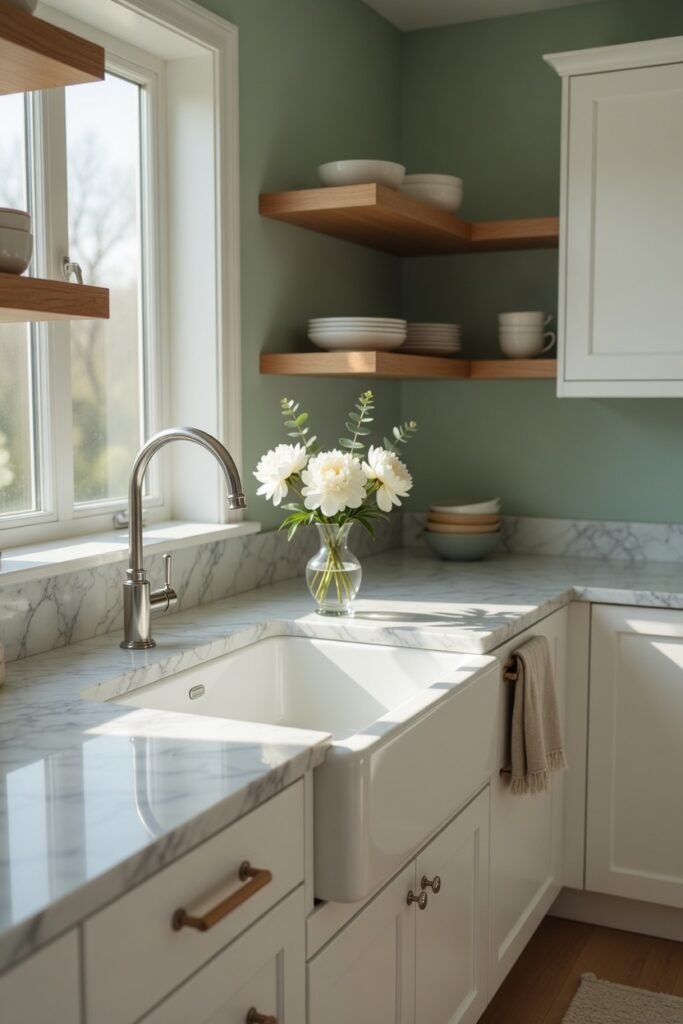
Okay, let us talk about the elephant in the room. Countertops are expensive. But here is the truth: they also make the biggest visual impact of any single element in your kitchen. If you can do only one major thing, this is it.
The good news is that you have more affordable options than ever before. Gone are the days when your choices were cheap laminate or unaffordable granite.
Countertop Options for Every Budget
- Laminate (budget option): Modern laminate looks nothing like your grandmother’s speckled beige nightmare. Brands like Formica now make laminate that convincingly mimics marble, concrete, and wood. Cost: $15–40 per square foot installed.
- Butcher block (mid-range): Warm, beautiful, and surprisingly DIY-friendly. You can buy pre-made butcher block countertops at home improvement stores. They require occasional oiling but develop a gorgeous patina over time. Cost: $30–60 per square foot for materials.
- Quartz (premium but worth it): Engineered stone that never needs sealing, is nearly indestructible, and comes in hundreds of colors. This is what I put in my own kitchen. Cost: $50–120 per square foot installed.
- Granite (traditional premium): Still beautiful and durable. Prices have actually come down in recent years as quartz has gained popularity. Cost: $40–100 per square foot installed.
- Concrete (DIY option): You can pour concrete countertops yourself using a kit. The result is industrial-chic and totally unique. But this is not a beginner project. Cost: $10–20 per square foot for materials, plus your labor.
My neighbor Beth poured her own concrete countertops. She watched about twenty hours of online tutorials first, and the process took her two full weeks. But she spent only four hundred dollars on a kitchen that looks like it belongs in a design magazine.
Makeover #7: Open Up Some Shelving
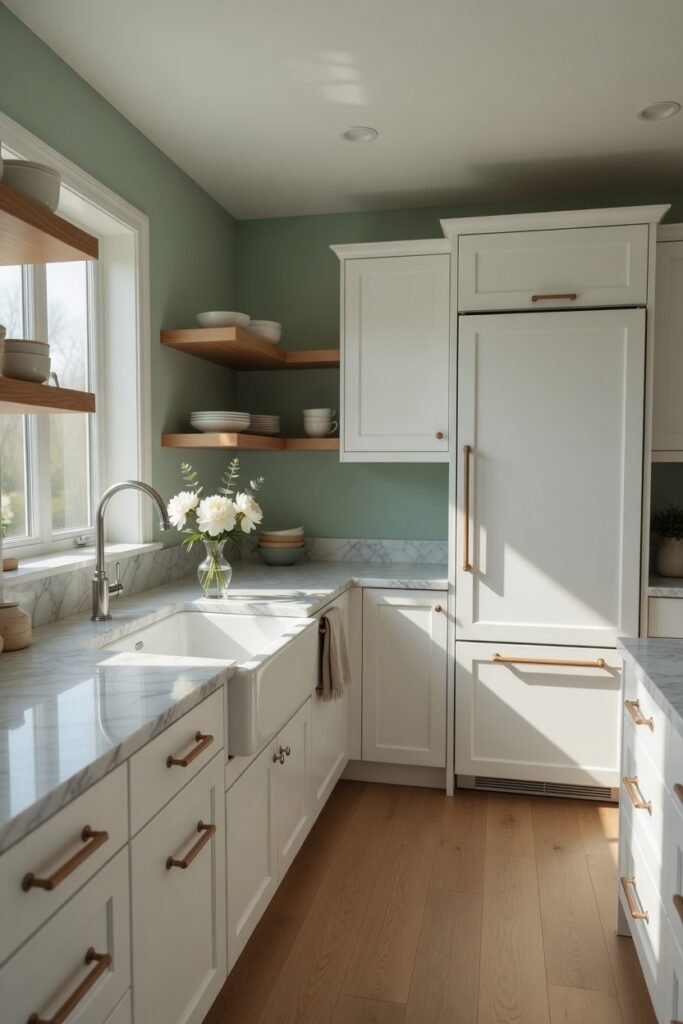
Here is a controversial opinion: you do not need upper cabinets everywhere. Open kitchen shelving can make a small kitchen feel bigger, force you to stay organized, and create a beautiful display area for your favorite dishes.
I tried this in my own kitchen by removing just two upper cabinet doors. That is it. I did not remove the cabinets themselves – just took off the doors and patched the hinge holes. Suddenly, my everyday plates and glasses were right there, easy to grab. The open space made my kitchen feel airier. And because everything was visible, I stopped letting clutter accumulate.
Where to Add Open Shelving
- Above your coffee station for mugs and coffee supplies
- Next to your stove for oils, spices, and frequently used pans
- On a wall that does not have upper cabinets for decorative items
- Around a window to keep the view unobstructed
The Honest Downsides
Open shelving is not for everyone. Dust accumulates on dishes you do not use often. Everything needs to look somewhat presentable at all times. And if you have cats or curious toddlers, open shelves are an invitation for chaos.
Start small. Remove one cabinet door and live with it for a month. If you love it, do more. If you hate it, put the door back on and pretend this whole idea never happened.
Makeover #8: Change Your Sink
I spent years hating my old divided sink. You know the kind – two small basins where neither one is big enough to wash a sheet pan. Washing large pots meant angling them awkwardly, spraying water everywhere, and generally wanting to cry.
Then I installed a single basin farmhouse sink, and my entire dishwashing experience transformed.
Sink Styles to Consider
- Single basin: One large, deep bowl. Perfect for washing big items. Less efficient for multitasking (you cannot soak dishes in one side while using the other).
- Double basin: The traditional choice. Two equal-sized bowls. Good for multitasking but frustrating for large items.
- Workstation sink: A single basin with accessories like cutting boards, colanders, and drying racks that sit on ledges inside the sink. Expensive but genuinely life-changing.
- Apron front (farmhouse): The front of the sink extends past the countertop. Beautiful and practical (no counter edge to trap crumbs). Requires custom cabinet modifications.
- Material matters: Stainless steel is durable and affordable but shows water spots. Fireclay is gorgeous and easy to clean but heavy and expensive. Composite granite is scratch-resistant and available in many colors.
Installation reality: Changing a sink is not a beginner DIY project. You will need to disconnect plumbing, potentially modify cabinet interiors, and ensure proper sealing. Budget for a plumber unless you are very handy.
Makeover #9: Add Smart Storage Solutions
You know what is more exciting than a new paint color? Being able to find your measuring cups without emptying three drawers. Kitchen organization and storage upgrades make your life better every single day.
My friend Carlos has a tiny New York City kitchen – literally ninety square feet. He thought he needed to move just to have functional storage. Instead, he invested two hundred dollars in organization products. Pull-out shelves for his lower cabinets. A spice drawer insert. A pot rack that hangs from the ceiling. Suddenly, his small kitchen had everything he needed and nothing he did not.
Storage Solutions That Actually Work
- Pull-out shelves: Turn deep, dark base cabinets into accessible storage. You can buy retrofit kits that slide into existing cabinets.
- Drawer dividers: Keep utensils, gadgets, and tools from becoming a tangled mess.
- Lazy Susans: Perfect for corner cabinets. Two-tier models double your storage.
- Under-sink organizers: That chaotic space under your sink can actually be useful. Slide-out baskets and tension rods (for spray bottles) work wonders.
- Magnetic strips: Mount one on your wall or the side of a cabinet for knives and metal spice tins.
- Rolling cart: Provides extra counter space and storage that can move wherever you need it.
- Over-the-door racks: Use the inside of cabinet doors for cutting boards, pot lids, or spices.
The biggest lesson I have learned: Measure before you buy anything. Know the height, width, and depth of every space you are trying to organize. Otherwise, you will end up with products that do not fit and a pile of returns.
Makeover #10: Refresh Your Walls
Do not ignore your walls! A kitchen wall color update changes the entire mood of the space. And paint is cheap – usually fifty dollars or less per gallon.
I painted my kitchen a pale sage green last year, and I still smile every time I walk in. The previous color was a builder-grade beige that made everything look dingy. That single can of paint transformed my kitchen more than any other change under two hundred dollars.
Choosing Your Kitchen Wall Color
- Light and bright: Whites, creams, pale grays, and light blues make small kitchens feel larger. They also reflect light well.
- Warm and cozy: Warm yellows, terracottas, and soft greens create an inviting, farmhouse feel.
- Bold and dramatic: Deep navy, charcoal, or forest green can work beautifully in larger kitchens or as an accent wall.
- What to avoid: Very dark colors in small kitchens (they feel like caves). High-gloss paint (it shows every imperfection). Trendy colors you will hate in two years.
Pro tip: Buy sample sizes and paint large swatches on different walls. Observe how the color looks in morning light, afternoon light, and evening artificial light. Colors change dramatically throughout the day.
Makeover #11: Replace Your Dishwasher or Refrigerator Panels
This one is for people whose appliances work fine but look dated. Many modern dishwashers and refrigerators allow you to replace the front panels. This means you can match them to your cabinets or create a custom look without buying new appliances.
I helped a client do this with her twenty-year-old dishwasher that still worked perfectly. The white front had yellowed and looked terrible. She ordered a stainless steel panel from the manufacturer for eighty dollars. Installation took ten minutes. Her kitchen instantly looked five years younger.
What You Need to Know
- Check your model number before ordering anything. Panels are not universal.
- Some manufacturers make custom panel-ready appliances that accept cabinet-matching fronts.
- You can also use vinyl wrap to change appliance colors temporarily. This is perfect for renters.
- Magnetic appliance skins are another rental-friendly option.
Before you spend thousands on new appliances, check whether a simple panel replacement solves your problem.
Makeover #12: Add a Kitchen Island (or Faux Island)
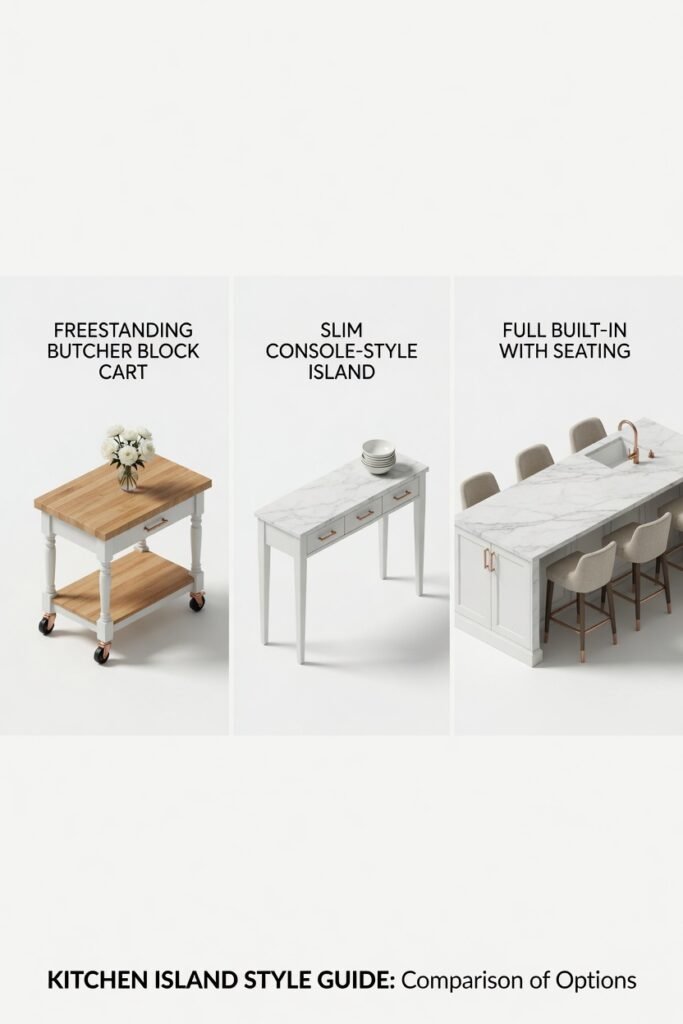
Not every kitchen has space for a permanent island. But almost every kitchen can benefit from some kind of central workspace. Kitchen island ideas range from built-in behemoths to simple rolling carts.
My first apartment had a kitchen so narrow that I could not open the oven and the refrigerator at the same time. I bought a butcher block rolling cart from a local store and pushed it against the wall. When I needed extra counter space, I rolled it out. When friends came over, I used it as a buffet table. That ninety-dollar cart was the best kitchen purchase I ever made.
Island Options for Every Space
- Rolling cart: Inexpensive, movable, and available in many sizes. Most have drawers, shelves, or towel bars. Look for locking casters so it does not roll when you do not want it to.
- Butcher block table: A sturdy wooden table with storage underneath. More expensive than a cart but looks more permanent.
- Convertible table: Some tables raise up to dining height or fold out to become larger. Great for very small spaces.
- Peninsula: If you have a wall you can attach to, a peninsula (attached on one side) takes less floor space than a full island.
- True built-in island: Requires professional installation, electrical work (for outlets), and often plumbing (if you add a sink). This is a major renovation, not a weekend project.
Size rule: You need at least 36 inches of walkway space around all sides of an island. Measure carefully before buying anything.
Makeover #13: Update Your Window Treatment
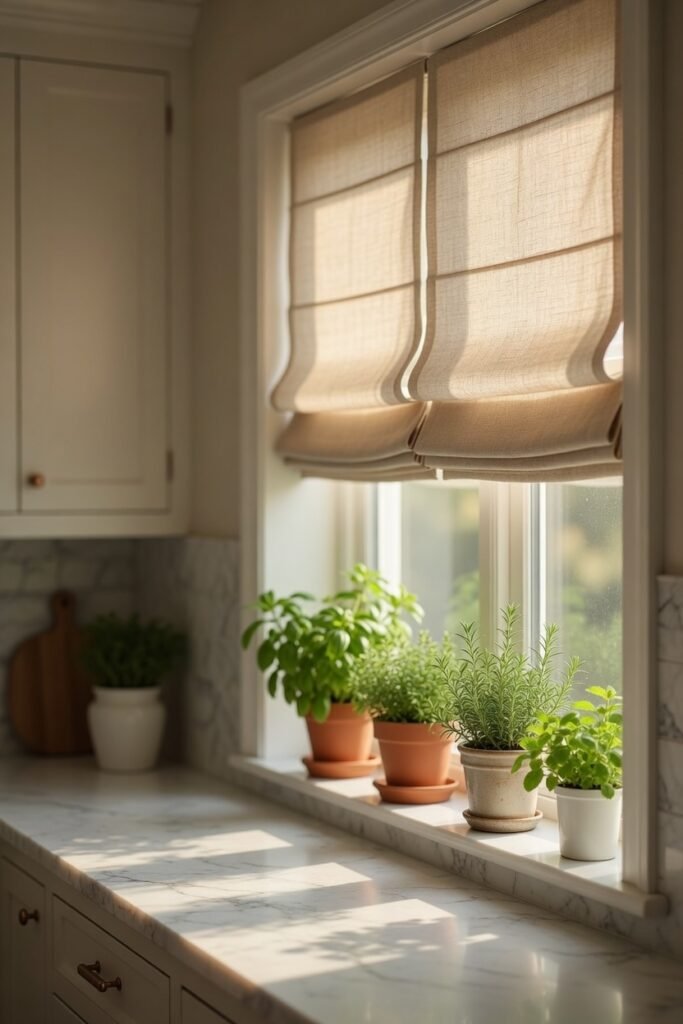
Kitchen windows are often neglected. People put up a basic mini blind and never think about it again. But kitchen window treatments can add softness, color, and privacy.
My mother-in-law had a beautiful kitchen with one problem: her window faced the neighbor’s house directly. She felt like she was cooking on display. We installed a simple Roman shade in a cheerful yellow fabric. Suddenly, she had privacy when she wanted it but could still open the shade completely for light.
Window Treatment Options
- Roman shades: Fabric that folds up neatly when raised. Available in countless colors and patterns. Provide good light control.
- Cafe curtains: Cover only the bottom half of the window. Provide privacy while letting in maximum light. Very charming in cottage or farmhouse kitchens.
- Roller shades: Simple, clean, and affordable. Modern roller shades come in light-filtering and blackout options.
- Bamboo shades: Natural texture that adds warmth. Let in diffused light while providing privacy.
- What to avoid: Heavy drapes (they collect kitchen grease and look out of place). Complicated valances (dated and dusty). Horizontal blinds (impossible to keep clean in a kitchen).
Pro tip: Whatever you choose, make sure it is washable or wipeable. Kitchen windows get greasy.
Makeover #14: Style Your Open Surfaces
This is the fun part! Kitchen styling and decor turns a functional room into a welcoming one. And the best part? You probably already own most of what you need.
My kitchen used to look sterile and unlived-in. Then I spent an afternoon styling my countertops using things I already had. A wooden cutting board leaned against the backsplash. A bowl of lemons on the counter. A small plant on the windowsill. My cookbooks displayed on a stand. None of these things cost me anything, but they made my kitchen feel like mine.
Easy Styling Ideas
- Create vignettes: Group three or four related items together – a cutting board, a salt cellar, a small plant, and a pretty dish towel.
- Use vertical space: Lean cutting boards against the backsplash. Hang pots from a rack. Mount a shelf for cookbooks.
- Add life: A small herb plant on the windowsill costs three dollars and makes you happy every time you water it.
- Hide the ugly stuff: Put your toaster, blender, and other appliances in cabinets if you do not use them daily. Leave only beautiful things visible.
- Change with seasons: Swap dish towels, a centerpiece, or a small decoration for each season. Fall leaves, winter greenery, spring flowers, summer lemons.
The most important styling rule: Do not clutter your counters. Every item you display should either be beautiful or useful. Preferably both.
Makeover #15: Paint or Replace Your Flooring
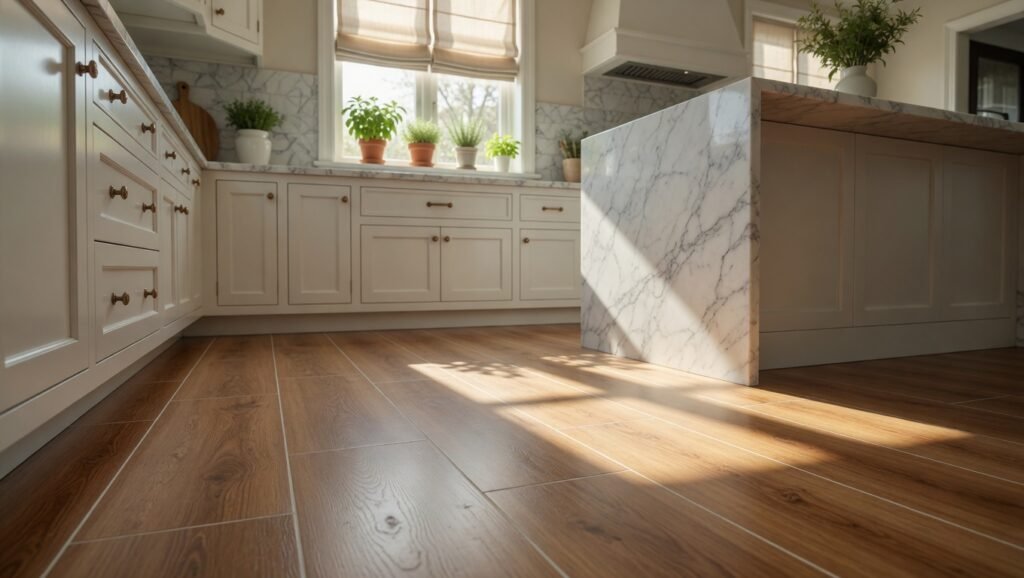
Last but definitely not least – your floor. Kitchen flooring options have exploded in recent years. You no longer need to choose between expensive tile or cheap vinyl that looks cheap.
My sister’s kitchen floor was a disaster. Previous owners had installed white tile with white grout. In a kitchen. It looked filthy approximately seven seconds after every cleaning. She replaced it with luxury vinyl plank in a warm wood tone, and her whole kitchen felt calmer, cleaner, and more cohesive.
Flooring Options for Every Budget
- Luxury vinyl plank (LVP): Waterproof, durable, and DIY-friendly. Planks click together and float over your existing floor. Looks convincingly like wood or stone. Cost: $2–5 per square foot.
- Sheet vinyl: The cheapest option. Modern sheet vinyl looks much better than the stuff from the 1980s. One seam (or none in small kitchens) means fewer places for water to penetrate. Cost: $1–3 per square foot.
- Peel-and-stick tiles: Easy DIY project. Best for small kitchens or temporary makeovers. Quality varies dramatically – spend more for thicker tiles. Cost: $1–4 per square foot.
- Ceramic or porcelain tile: Durable and beautiful but cold underfoot and hard to stand on for long periods. Professional installation recommended. Cost: $5–15 per square foot installed.
- Cork: Warm, quiet, and eco-friendly. Must be sealed properly to resist water damage. Cost: $3–8 per square foot.
- Laminate: Cheaper than LVP but less water-resistant. Not recommended for kitchens unless you are very careful about spills. Cost: $2–5 per square foot.
My honest advice: Spend the extra money on luxury vinyl plank. It is not the cheapest option, but it is the best value. Waterproof, durable, warm underfoot, and a DIY installation saves you thousands.
Putting It All Together: Your 15 Kitchen Makeover Plan
By now, you probably have a long list of ideas you want to try. That is great! But do not try to do everything at once. You will burn out and end up with a half-finished kitchen for six months.
Here is my recommended order of operations:
Week 1: Deep clean and declutter. Do not spend any money yet. Just notice what bothers you.
Week 2: Paint your walls. This is messy but fast, and it gives you momentum.
Week 3: Change your hardware and faucet. These are simple wins that feel great.
Week 4: Add under-cabinet lighting and a peel-and-stick backsplash. These make your kitchen feel finished.
Week 5: Tackle storage and organization. This makes your kitchen work better.
Week 6: Style your surfaces and add window treatments. The fun finishing touches.
Save cabinet painting, countertops, flooring, and islands for when you have more time and budget. These are bigger projects that deserve your full attention.
Buy With Confidence: Choosing Quality Products for Your Makeover
Now that you have a clear roadmap, let us talk about how to buy the right products with confidence. A successful 15 kitchen makeover depends on using materials that last. Cutting corners on quality will cost you more in the long run.
Here is what I recommend you invest in for each category:
- Paint: Buy premium cabinet paint from a reputable brand like Benjamin Moore or Sherwin-Williams. Cheap paint chips and peels within months.
- Hardware: Choose solid metal knobs and pulls (not hollow or plastic). You will touch them every day – they need to endure.
- Backsplash: Look for thick, commercial-grade peel-and-stick tiles (at least 3mm thick). Avoid the ultra-cheap versions that curl at the edges.
- Faucet: Spend at least $100 on a brass-bodied faucet with ceramic disc valves. Cheap faucets leak and feel flimsy.
- Lighting: Go for high-CRI LED strips (Color Rendering Index above 90). This makes your food look natural and appetizing.
- Countertops: If you choose quartz, buy from a fabricator with a warranty (at least 10 years). For butcher block, select end-grain construction – it hides knife marks better.
- Storage solutions: Look for soft-close drawer slides and full-extension pull-out shelves. These mechanisms take the daily abuse.
- Flooring: For LVP, choose wear layer of 12mil or higher. Thinner layers scratch easily.
Where to buy for the best value: Big-box home improvement stores offer solid mid-range options with easy returns. Online marketplaces can save you money, but always check the seller’s return policy. Local specialty shops cost more but provide expert advice and often match prices.
Remember this golden rule: Buy nice or buy twice. A slightly higher upfront cost almost always pays off in durability and satisfaction. When you purchase quality materials from trusted brands, you can start your makeover with complete confidence – knowing that your new kitchen will serve you beautifully for years to come.
The Confidence to Start Your Kitchen Makeover Today
Listen. I know this feels overwhelming. I know you are looking at your kitchen right now and seeing all its flaws. I know you are worried about making mistakes or wasting money.
But here is what I also know: every single person I have helped with a kitchen makeover has said the same thing afterward. “Why did I not do this sooner?”
Your kitchen is where you start your day with coffee. Where you make breakfast for people you love. Where you chop vegetables while listening to music. Where you stand at 10 PM eating leftovers straight from the container (no judgment – we have all been there).
You deserve a kitchen that makes you feel good. Not a showroom. Not a magazine spread. Just a space that works for your life and brings you a little bit of joy every time you walk in.
So start small. Paint one wall. Change one faucet. Organize one drawer. See how it feels. I promise you – that small win will give you the confidence to keep going.
And if you get stuck? Come back to this article. The 15 kitchen makeover ideas here will guide you step by step. You have got this.
Now go make something beautiful. And maybe bake some cookies while you are at it. You have earned them.