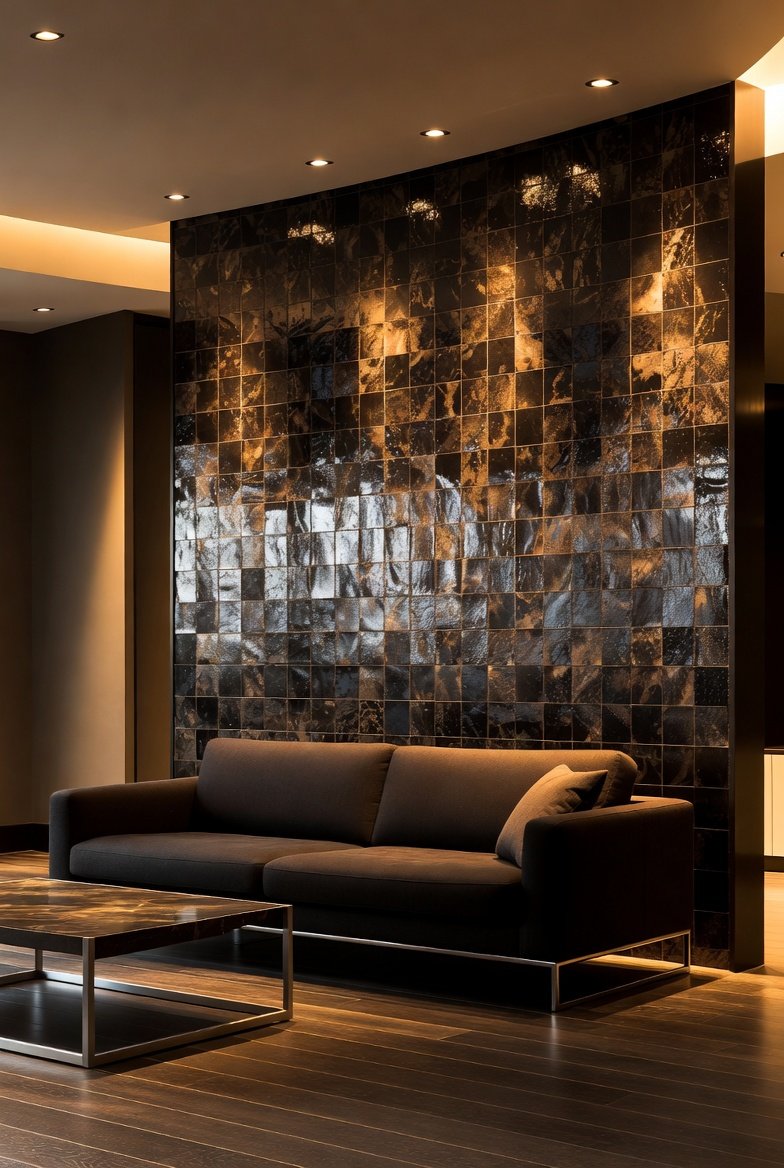
Let me start with a quick story. Last year, my friend Sarah called me in a panic. She had just bought a beautiful new sofa, a gorgeous rug, and some trendy throw pillows. But when she stepped back to admire her work, something felt… off. The room felt cold, unfinished, and frankly, a little sad. She said, “I spent thousands on furniture, but my living room still looks like a waiting room at a dentist’s office.”
The problem wasn’t her furniture. It was her living room wall designs.
You see, walls are the largest canvas in your home. They are the silent storytellers. When you ignore them, your room whispers “boring.” But when you style them correctly, they shout “welcome home!” After helping Sarah transform her blank slate into a magazine-worthy space, I realized that most people simply don’t know where to start.
Consequently, I have compiled the ultimate guide to 15 living room wall designs. Whether you rent or own, have a big budget or a tiny one, this guide is for you. We will walk through step-by-step instructions, sprinkle in some fun anecdotes, and by the end, you will be ready to grab your tools with absolute confidence.
Let’s dive in.
Why Your Walls Deserve More Attention (Before You Spend Another Dollar)
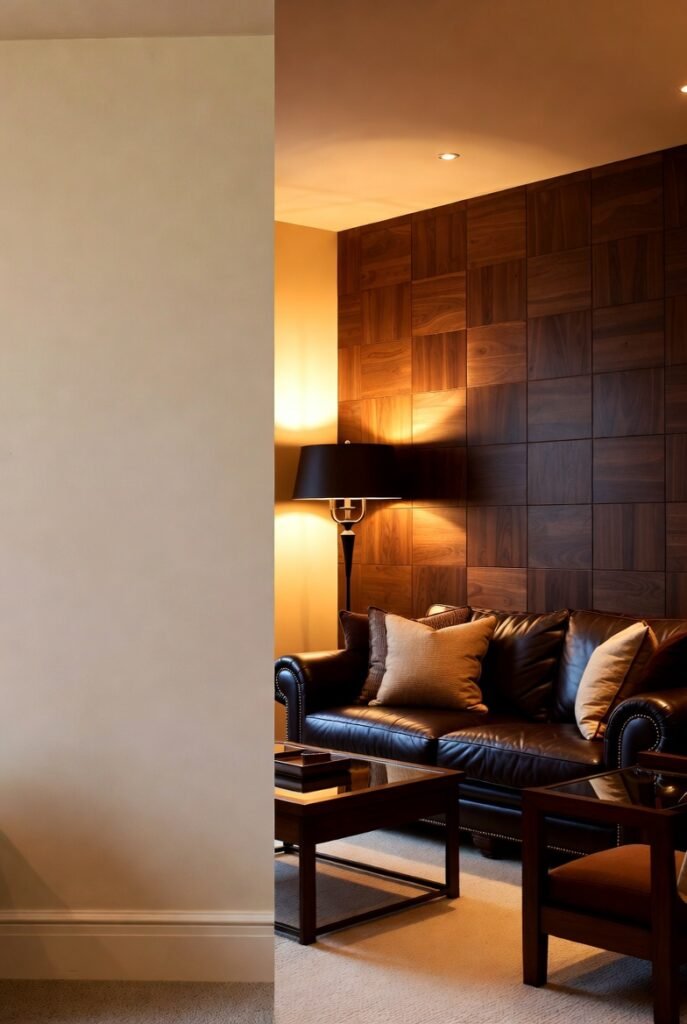
Before we list the designs, let’s talk psychology. Vertical space dictates how big, cozy, or chaotic a room feels. Accent walls, for example, create a focal point that anchors the entire room. Without a solid wall decor strategy, even the most expensive furniture looks like it’s floating in space.
Transitioning to the solutions, here is the truth: You do not need to be an interior designer to nail this. You just need a plan. Below, I break down 15 distinct wall design ideas, ranging from beginner-friendly paint jobs to advanced architectural details.
Design #1: The Classic Board and Batten (Texture is King)
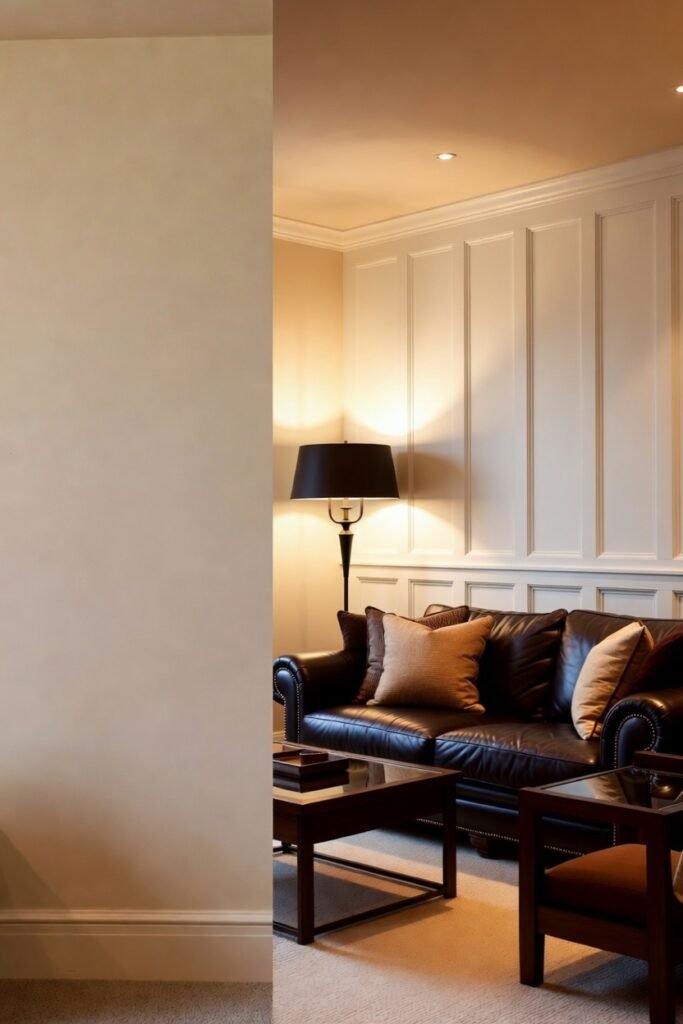
This is my personal favorite because it adds instant custom home vibes without breaking the bank.
What is it? Vertical wood strips (battens) placed over a flat board, creating a grid or panel look.
The Anecdote: When Sarah and I did this in her living room, her husband thought we were hiring a carpenter for $2,000. We spent a weekend and $150 on MDF boards. The result? He cried. Happy tears, obviously.
Step-by-Step Guide:
- Measure your wall height and width.
- Buy 1×2 or 1×3 MDF boards from a hardware store.
- Cut vertical battens every 24 inches.
- Glue and nail them into the drywall using a level.
- Caulk the seams and paint everything the same color.
Keyword Focus: This accent wall technique works wonders for hiding uneven drywall. It’s a top-tier living room wall design for traditional homes.
Design #2: Bold Dark Paint (The Mood Maker)
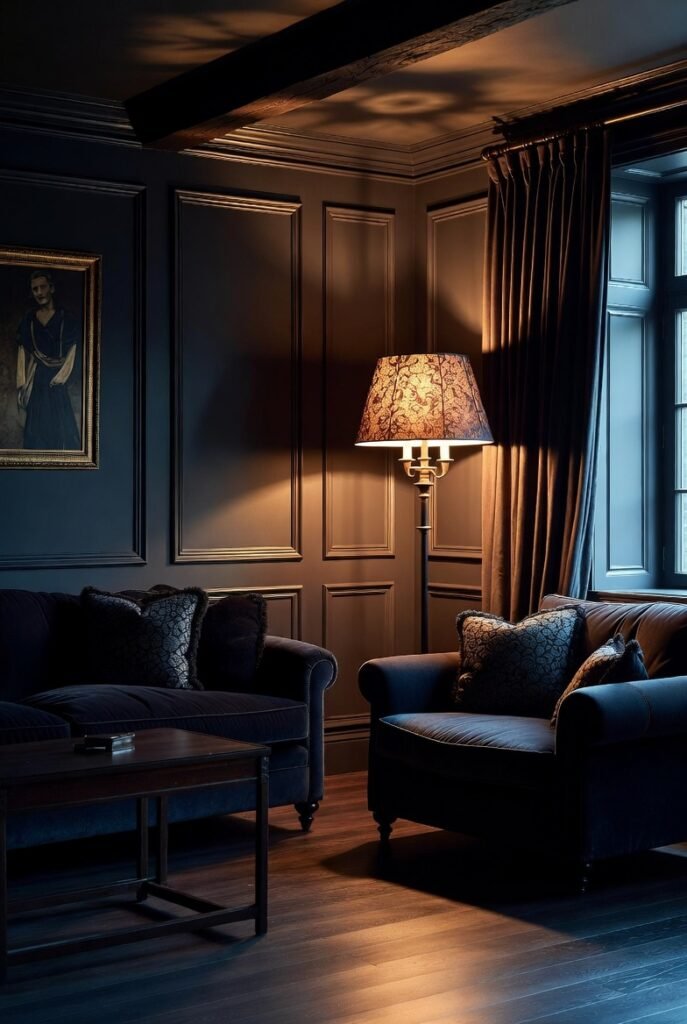
Are you afraid of the dark? Don’t be. A dark accent wall in charcoal, navy, or forest green adds drama and depth.
Why it works: Dark colors recede visually, making the wall feel further away. This actually expands a small room.
Pro Tip: Pair a dark wall with large wall art that has metallic gold or silver frames. The contrast is stunning.
Read Also: 18 Living Room Wall Decor Ideas: Transform Your Blank Walls into a Stunning Sanctuary
Persuasive Note: If you buy a high-quality matte paint, the finish will look like velvet. You will never want to go back to boring beige.
Design #3: The Picture Ledge Gallery (Renter Friendly)
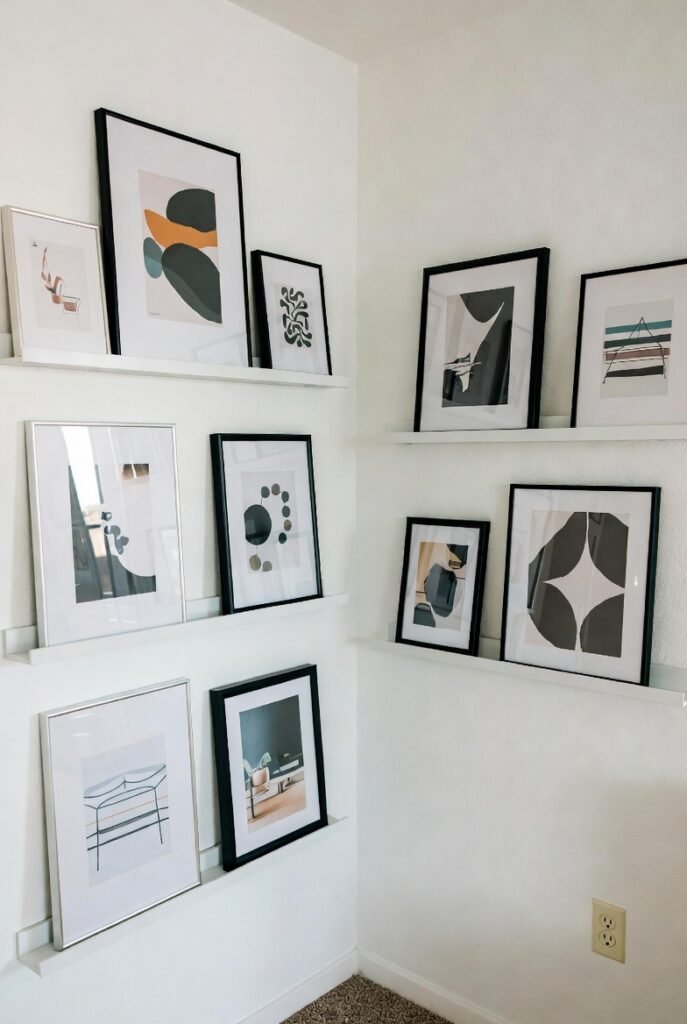
Not everyone can drill fifty holes in their wall. If you rent, or you just hate commitment, picture ledges are your best friend.
How to execute:
- Install 1-2 long floating shelves 4 feet off the ground.
- Lean framed art, photos, and small sculptures against the wall on top of the ledge.
The Magic: You can swap out the art every season. In fall, add warm tones. In spring, add florals. Because the ledges hold the weight, you never worry about things falling.
Keywords used: Wall art arrangement becomes effortless. This is a dynamic wall design idea for minimalists.
Design #4: Oversized Mirrors (The Square Footage Trick)
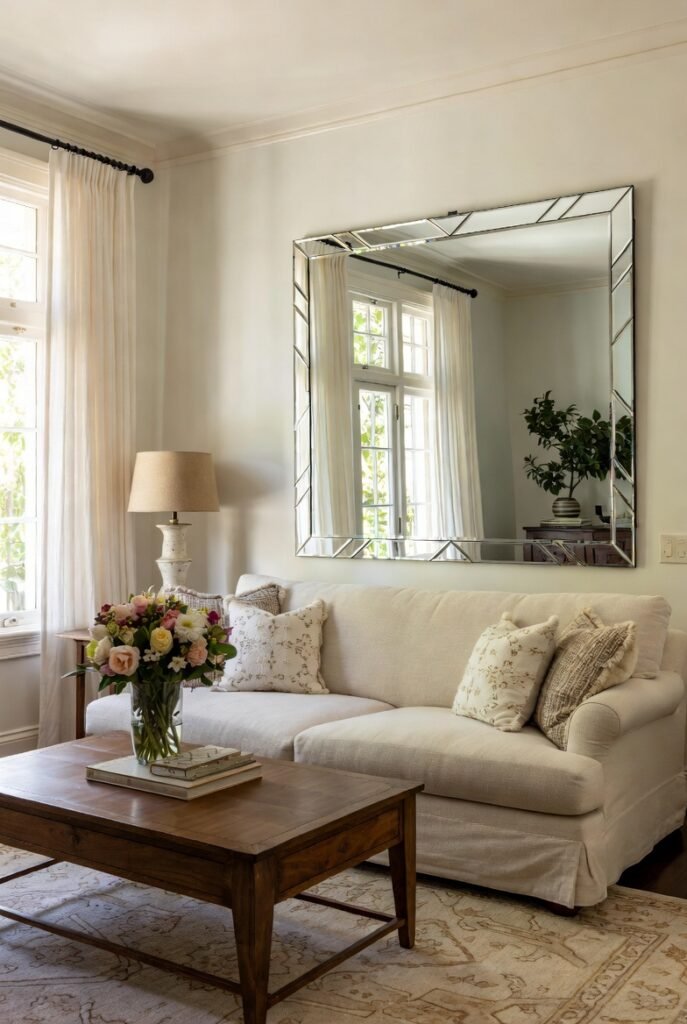
I once walked into a tiny 400 sq ft apartment in New York City. The living room felt like 800 sq ft. The secret? A single, 5-foot-wide arched mirror leaning against the main wall.
Why buy a mirror?
- It reflects light (saves electricity).
- It doubles the view (if you have a garden, now you have two).
- It acts as functional wall decor.
Step-by-Step for Placement:
- Lean a large mirror against the wall rather than hanging it for a casual look.
- Angle it toward a window or a lamp.
- Anchor it with a low console table underneath to ground the design.
Design #5: Shiplap or Horizontal Planks
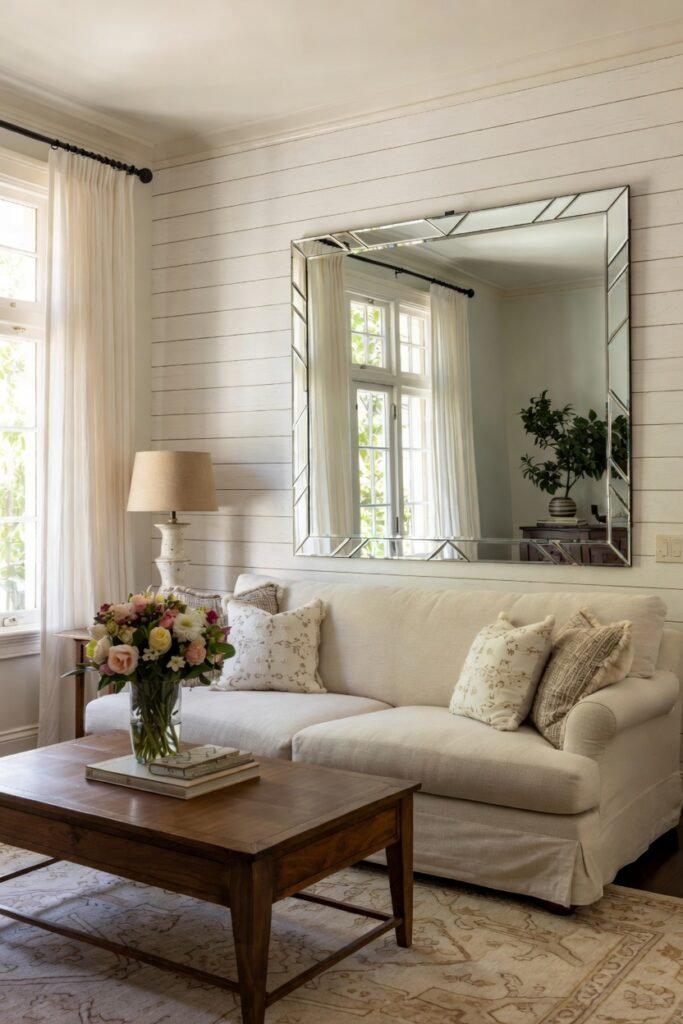
If you watch any home renovation show, you have seen shiplap. But don’t just slap it everywhere. Horizontal wood planks make a narrow room feel wider.
Cost breakdown: Real wood is expensive. Instead, buy MDF shiplap planks from a big-box store. They are pre-primed and ready to paint.
Anecdote: My neighbor tried to do vertical shiplap on a short wall. It made the ceiling look lower. We ripped it out and went horizontal. Suddenly, the room breathed. Transitioning to color, white shiplap is classic, but soft sage green shiplap is trending.
Design #6: Wall Murals and Peel-and-Stick Wallpaper
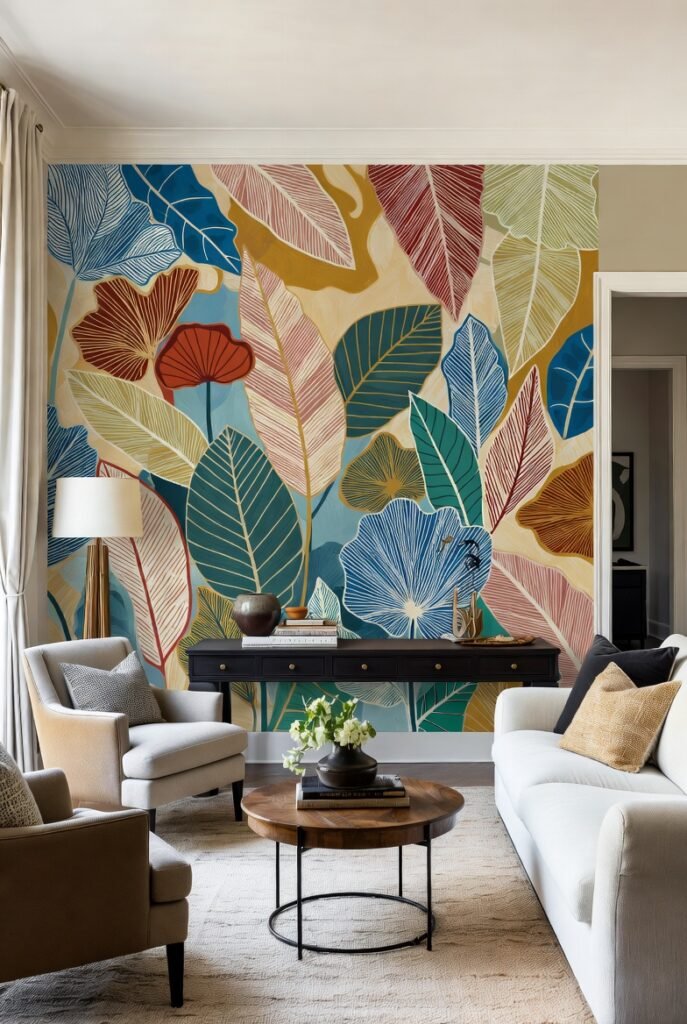
Are you an adventurer? Do you love the forest, ocean, or abstract art? Removable wallpaper has changed the game.
The Trend: Maximalist murals. Think giant monstera leaves, vintage maps, or watercolor washes.
Step-by-Step Application:
- Clean the wall with soap and water.
- Draw a vertical plumb line with a level.
- Peel back 12 inches of the backing.
- Stick the top and smooth down with a squeegee (a credit card works in a pinch).
- Overlap seams by 1/16th of an inch and cut through both layers for a perfect match.
Keyword Focus: Peel and stick wallpaper is the best living room wall design for indecisive people because you can remove it without residue.
Design #7: The Two-Tone Paint Split (Color Blocking)
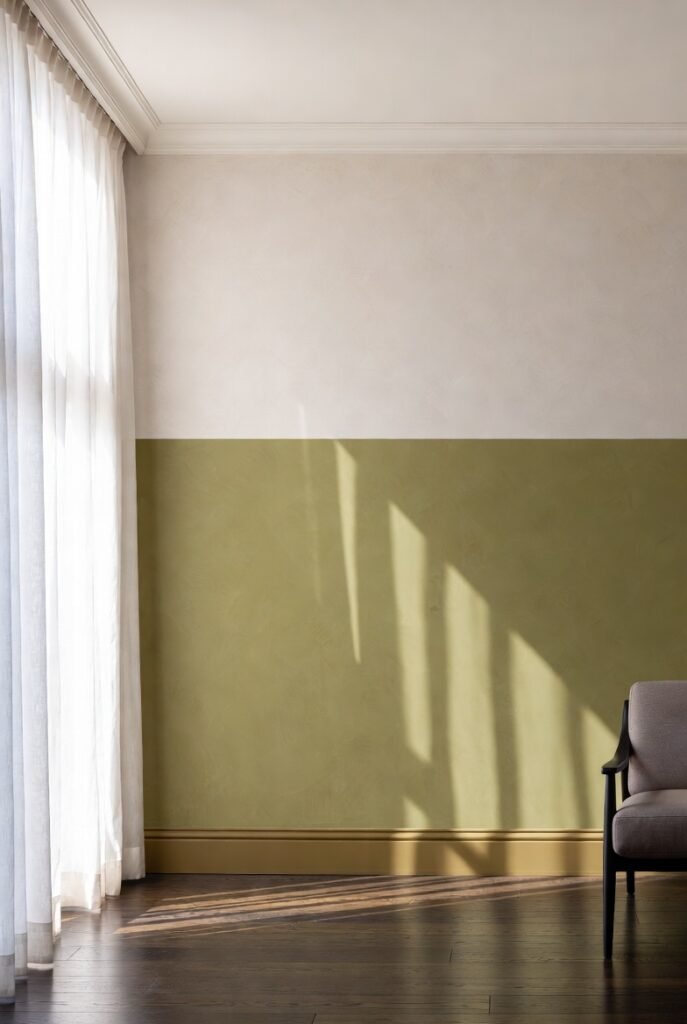
Why settle for one color when you can have two? The split paint wall (also called color blocking) involves painting the bottom 1/3 of the wall a darker shade and the top 2/3 a lighter shade.
The Rule:
- Bottom dark: Makes the room feel grounded and sturdy.
- Bottom light: Makes the ceiling feel higher.
Pro Tip: Separate the two colors with a chair rail molding or a simple strip of washi tape for a crisp line. This is an affordable accent wall that looks expensive.
Design #8: Textile Tapestries (Soft and Soundproof)
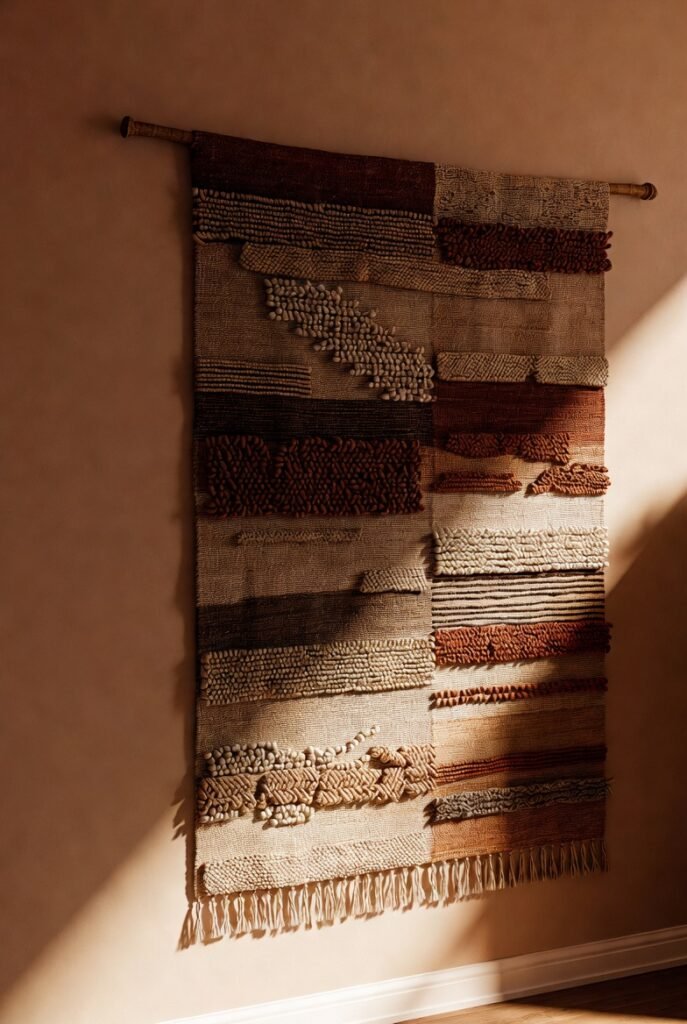
Hard surfaces (drywall, glass, wood) create echo. Fabric wall hangings absorb sound and add warmth.
Modern approach: Forget the 1960s velvet paintings. Use a woven wall hanging, a quilt, or even a vintage Persian rug mounted on the wall.
How to hang a heavy textile:
- Use a curtain rod with rings.
- Sew a rod pocket onto the back of the fabric.
- Slide the rod through and mount the brackets.
This wall art idea is perfect for apartments with thin walls. Your neighbors will thank you.
Design #9: Geometric Wood Slats (The Luxury Hotel Look)
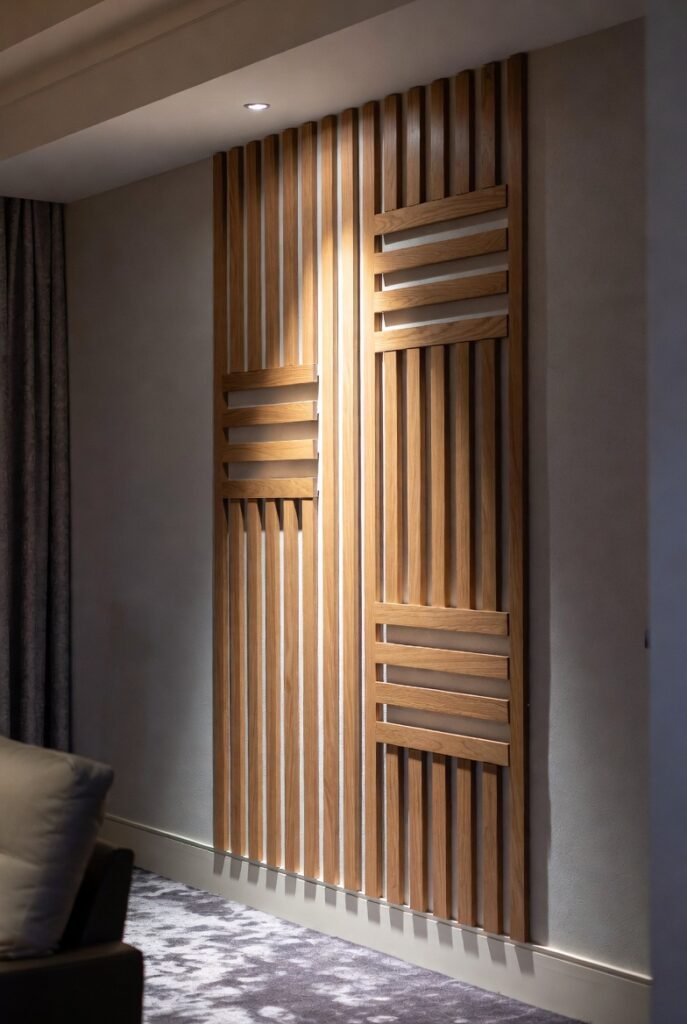
Have you noticed that every cool coffee shop has wooden slats on the wall? That is the 3D wall panel trend.
What you need: You can buy laser-cut wood slat panels online or at specialty lumber yards. They come in grids, fluted (vertical grooves), or chevron patterns.
Installation:
- Locate your studs.
- Apply construction adhesive to the back of the panel.
- Screw through the panel into the studs (use a countersink bit so the screw head hides).
- Fill holes with wood putty.
Keyword Focus: These 3D wall panels create a feature wall that feels architectural. Buy pre-finished walnut or oak to save painting time.
Design #10: Vintage Frame Clusters (The Curated Chaos)
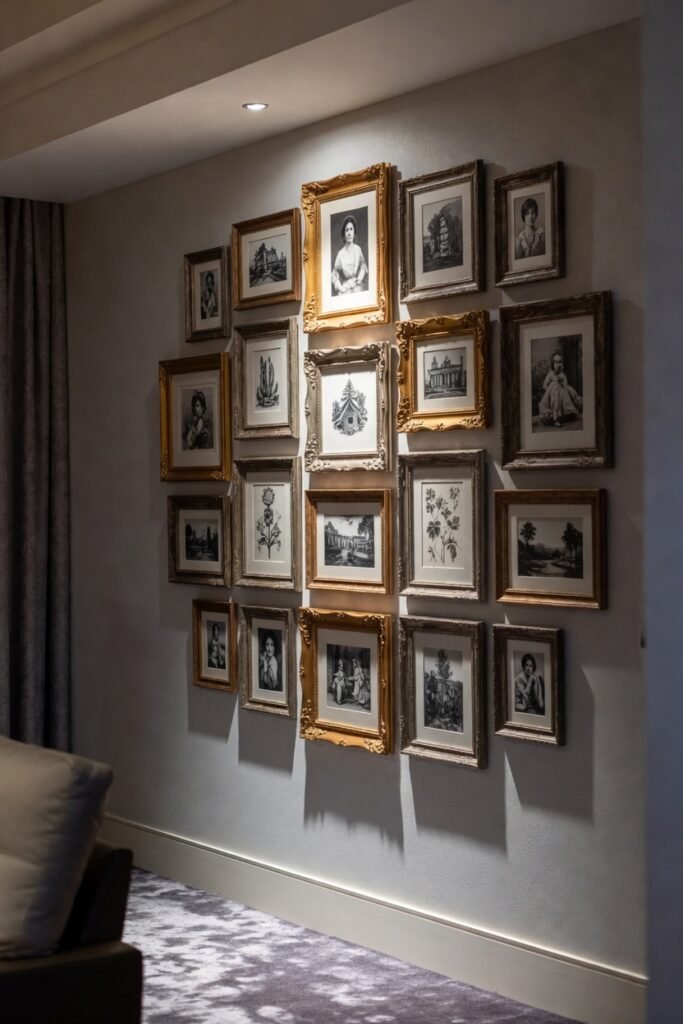
Do you have a bunch of random thrift store frames? Good. Use them.
The “Salon Style” hang:
- Lay all your frames on the floor first.
- Move them around like a puzzle until the negative space (gaps) is even.
- Start hanging from the center outward.
Anecdote: I tried to eye-ball this once. I ended up with a staircase of crooked frames. My wife made me take the day off work to re-do it with a laser level. Therefore, my advice is: Buy a laser level. It will save your marriage.
Persuasive note: You do not need expensive art. Print free public domain art (like old botanical drawings) from the internet and use custom framing mats to make them look expensive.
Design #11: Reclaimed Wood Planks (Rustic Charm)
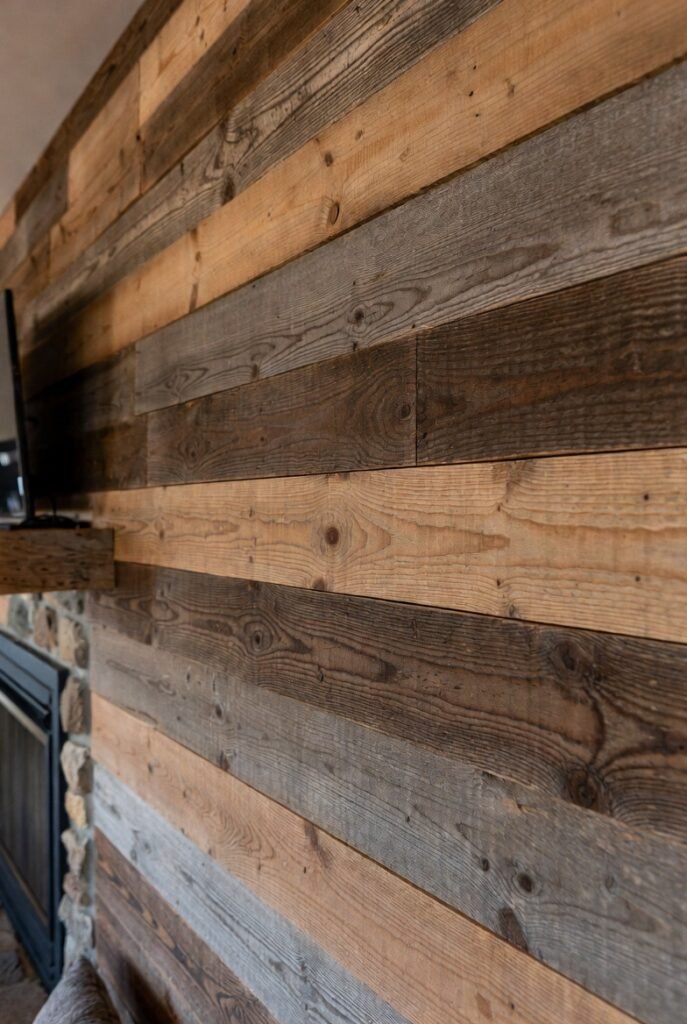
If you love the farmhouse aesthetic, reclaimed wood is non-negotiable.
Where to source it: Check Facebook Marketplace for people tearing down old barns. Alternatively, buy weathered wood planks from home improvement stores (they are new but beaten with chains to look old).
Step-by-Step Installation:
- Install furring strips (thin wood strips) horizontally on your wall as a nail base.
- Nail the reclaimed planks to the furring strips.
- Leave small gaps (1/8 inch) between planks for a rustic feel.
Keyword Focus: This rustic wall design hides dents and dings like a champ. In fact, the more damaged the wood, the better it looks.
Design #12: The Bookcase Wall (Literary Luxury)
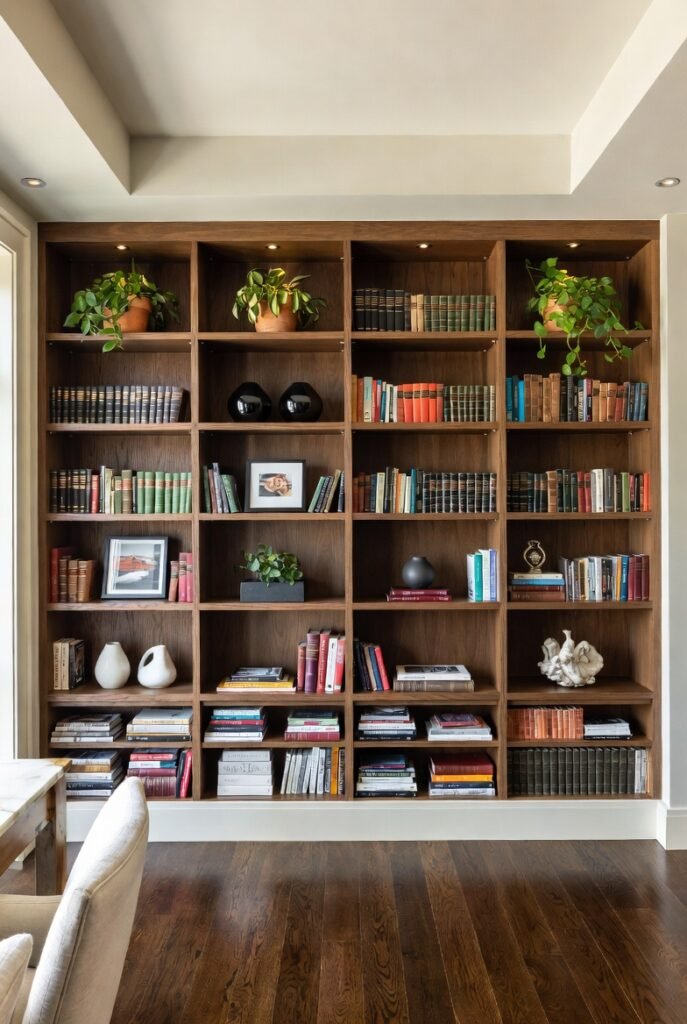
This is the ultimate flex. Instead of a TV, build a floor-to-ceiling bookcase across an entire wall.
The cost: Pre-fabricated bookcases are the cheat code. Buy several units, remove their tops and bottoms, and screw them together. Then, add baseboard and crown molding to make them look built-in.
What to put on the shelves:
- Books (obviously, but turn some spines inward for a neutral look).
- Plants (trailing pothos look amazing).
- Personal photos.
- Sculptural objects.
Transitioning to function, you can hide your router, modem, and cables inside a closed cabinet at the bottom.
Design #13: Vertical Stripes (The Ceiling Lifter)
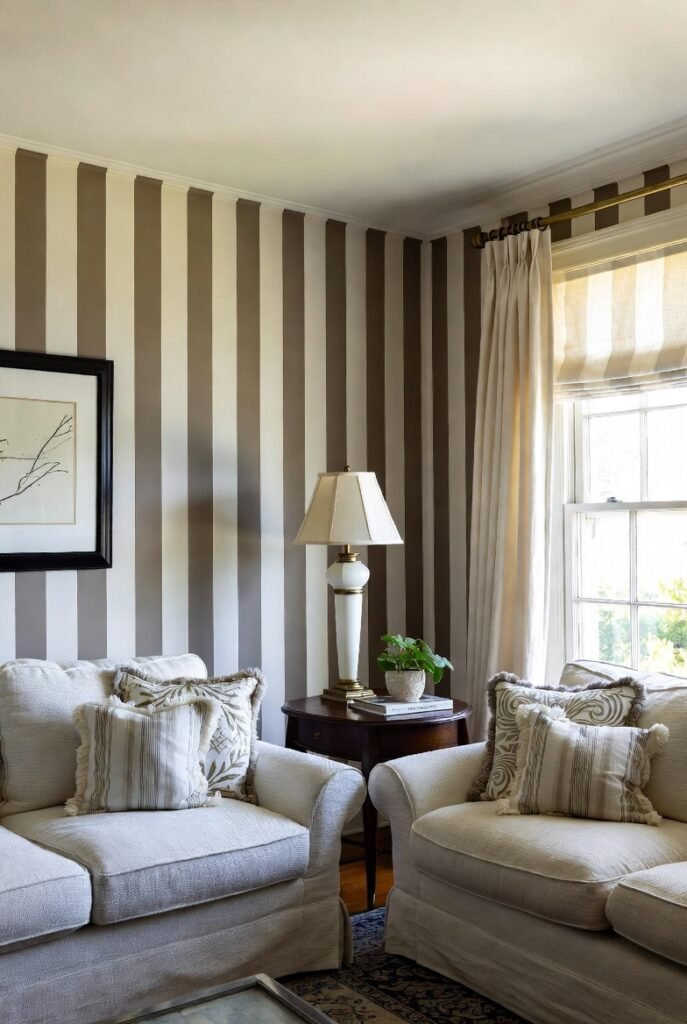
Low ceilings are a curse. But vertical striped wallpaper or paint is the cure.
The math: Stripes that are 6 inches wide work best. If the stripe is too thin (1 inch), it looks like a prison uniform. Too thick (12 inches), and it loses the optical illusion.
DIY Paint Method:
- Paint the entire wall your base color (say, light gray).
- Measure and mark vertical lines every 6 inches.
- Use a level to draw the lines.
- Tape off every other stripe.
- Paint the taped stripes a darker shade.
Keyword Focus: This painted wall design is the cheapest way to raise your psychological ceiling height. Buy painter’s tape for this project to prevent bleeding.
Design #14: Brick or Stone Veneer (Industrial Edge)
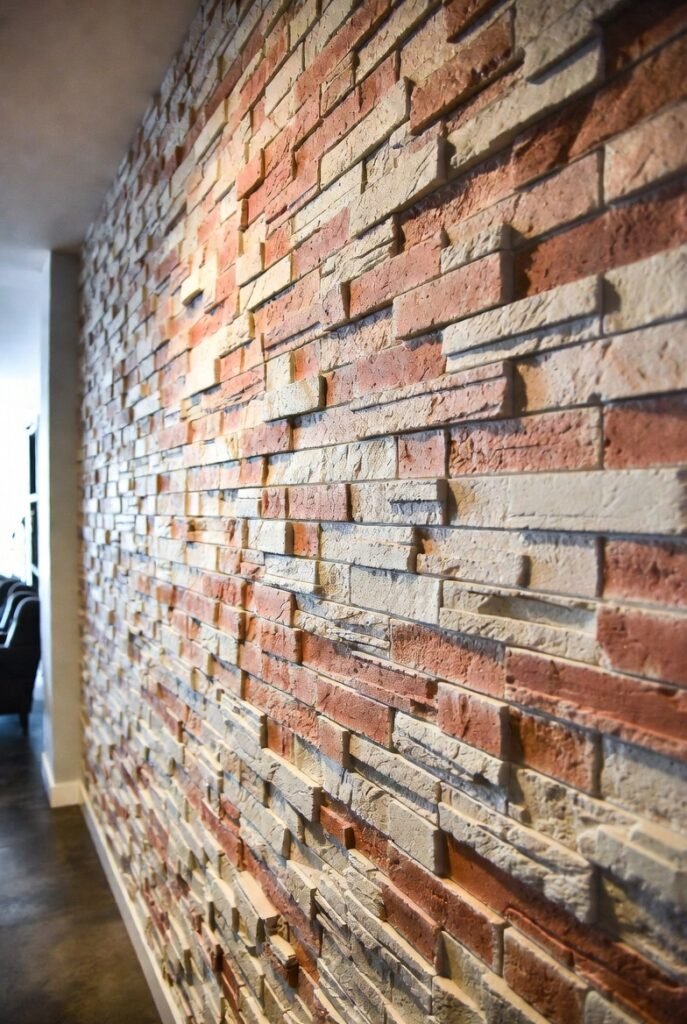
Real brick is messy and expensive. Thin brick veneer (1-inch thick slices of real brick) or faux stone panels give the same look for half the cost.
Installation steps:
- Screw cement backer board to the wall.
- Mix Type S mortar.
- Butter the back of each brick and press it onto the wall.
- Let it dry for 24 hours.
- Grout the joints.
Anecdote: I did this in my basement. I ordered a sample kit first (most companies send you 5 free samples). I chose a tumbled brick that looked 100 years old. My friends asked if my house was a converted factory. Best compliment ever.
Persuasive note: Buy a veneer starter kit that includes the corner pieces. Corners are what make it look real; flat edges look like tile.
Design #15: The Living Wall (Plants, Baby!)
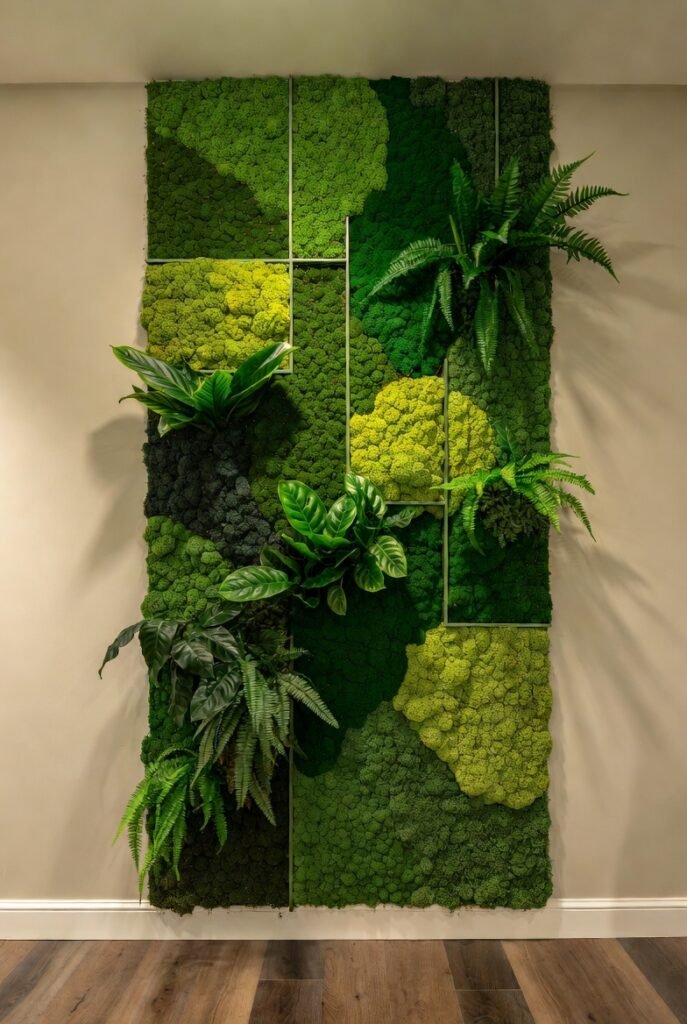
Finally, the most vibrant option: vertical gardens. Live plants on your wall purify the air and bring literal life into the room.
The honest truth: Real plants require a watering system or a very dedicated person. If you are forgetful (like me), buy preserved moss or high-quality faux plants.
Step-by-Step for a DIY Living Wall:
- Buy a vertical planter system.
- Mount the felt pockets to a plywood board.
- Mount the board to your wall studs.
- Fill pockets with pothos, ferns, and philodendrons.
- Install a drip irrigation line (or plan to hand-water once a week).
Keyword Focus: This biophilic wall design reduces stress. Studies show that looking at greenery lowers blood pressure. It is more expensive upfront, but the health benefits justify the effort.
How to Choose the Right Design for YOUR Living Room (A Decision Matrix)
You have seen the 15 options. Now you might feel overwhelmed. Don’t be. Let’s simplify.
Step 1: Answer three questions.
- Do you rent? → Go with Picture Ledge or Peel and Stick Wallpaper.
- Do you have kids or pets? → Avoid Living Wall (they will eat it). Choose Board and Batten or Reclaimed Wood.
- Is your room dark? → Choose Oversized Mirror or Dark Paint with metallic accents.
Step 2: Set a realistic budget.
- Under $100: Paint (Two-Tone or Vertical Stripes).
- $100 – $500: Wallpaper, Shiplap, or Picture Ledge.
- $500 – $1,500: Wood Slats, Brick Veneer, or Bookcases.
Step 3: Measure twice, buy once.
I cannot stress this enough. A common mistake is buying too much material for a wall that needs less. Use an online calculator before clicking “buy.”
The Ultimate Shopping List
To convince you to take action, here is the exact product list you need for the three most popular designs.
For the Board and Batten (Design #1):
- MDF boards (1×3, 8ft length)
- Construction adhesive
- Brad nailer (or hammer and finishing nails)
- Caulk and a caulk gun
- Paint (same color as wall for seamless look, or contrast for drama)
For the Peel and Stick Wallpaper (Design #6):
- Removable vinyl wallpaper (buy 1 extra roll for mistakes)
- Smoothing tool (plastic squeegee)
- Sharp utility knife (with snap-off blades)
- Laser level
For the Picture Ledge Gallery (Design #3):
- 2 floating shelves (40-48 inches long)
- Drywall anchors (if you cannot find studs)
- Assorted frames
- Mat board (to make small prints look large)
Maintaining Your New Wall Design
Once you have invested time and money, you want it to last.
- For painted walls: Keep a sample jar of touch-up paint. Kids will scuff it.
- For wallpaper: Dust it with a Swiffer duster. Do not use water on non-woven paper.
- For wood slats: Use a vacuum with a brush attachment. Dust settles in the grooves.
- For living walls: Prune dead leaves weekly. Check for gnats.
Conclusion: Your Walls Are Waiting
Remember Sarah from the beginning? After we implemented Board and Batten on her main wall and an Oversized Mirror on the opposite side, she texted me a photo. She was lying on her new sofa, smiling, with a cup of coffee. The caption read: “I finally want to come home.”
That is the power of intentional living room wall designs.
You do not need a million dollars or a contractor. You need a plan, a weekend, and the courage to start. Pick one design from this list. Order the samples or the paint today. Even if you only do one wall, the transformation will shock you.
Your next step: Grab your phone, take a picture of your blank wall right now. Then, scroll back up to Design #1. Which one spoke to you? Go buy the starter supplies. I promise you, future you will be so glad you did.