There I was, standing in my kitchen at 11 PM on a Tuesday, covered in flour from head to toe, with chocolate smeared across my cheek like war paint. My three-year-old nephew’s birthday was the next morning, and I had promised him “the biggest Oreo cake the world has ever seen.” The problem? I had never actually baked an Oreo cake recipe from scratch before. Sure, I’d made boxed cakes. I’d even thrown some crushed cookies on top of a store-bought frosting here and there. But a genuine, show-stopping, from-the-heart homemade Oreo cake? That was uncharted territory.
After four failed attempts, three burned batches of frosting, and one minor meltdown involving a spatula and a very loud scream into a dish towel, I finally cracked the code. And let me tell you something—the cake I pulled out of the oven at 2 AM was worth every single tear, every speck of flour on my ceiling, and every exhausted laugh I let out when I finally tasted it.
That is exactly why I am writing this article for you today. You see, I don’t want you to go through the same painful trial-and-error process that I did. Instead, I want to hand you the keys to the kingdom—the perfect Oreo cake recipe that works every single time, impresses every single person who takes a bite, and makes you feel like a professional baker even if you’ve never frosted a cupcake in your life.
So, grab your apron, preheat that oven, and get ready to fall in love with baking all over again. By the time you finish reading this guide, you will not only understand exactly how to make the best Oreo cake of your life, but you will also feel completely confident in purchasing the right ingredients, tools, and—yes—even the Oreo products that will take your dessert from good to absolutely unforgettable.
Why This Oreo Cake Recipe Will Change Your Baking Life Forever

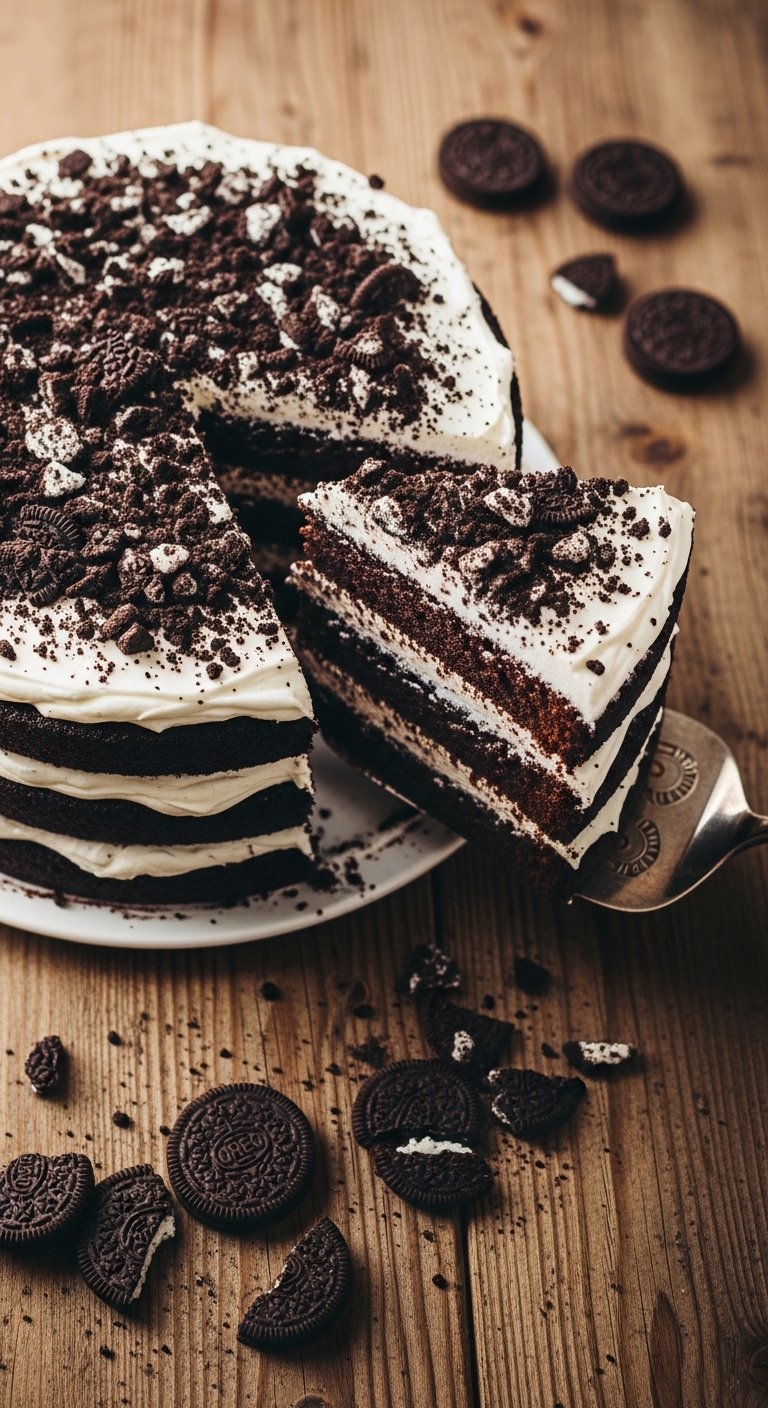
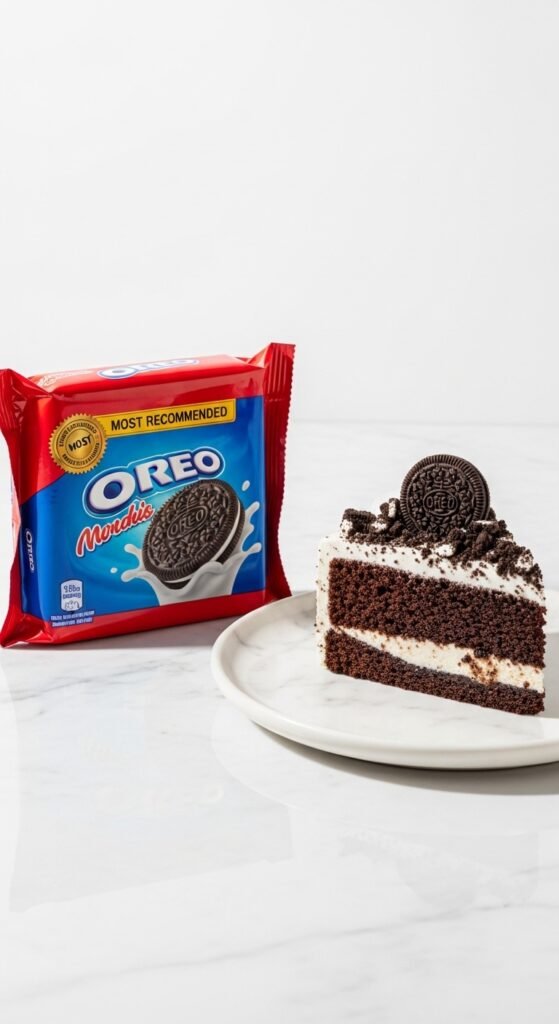
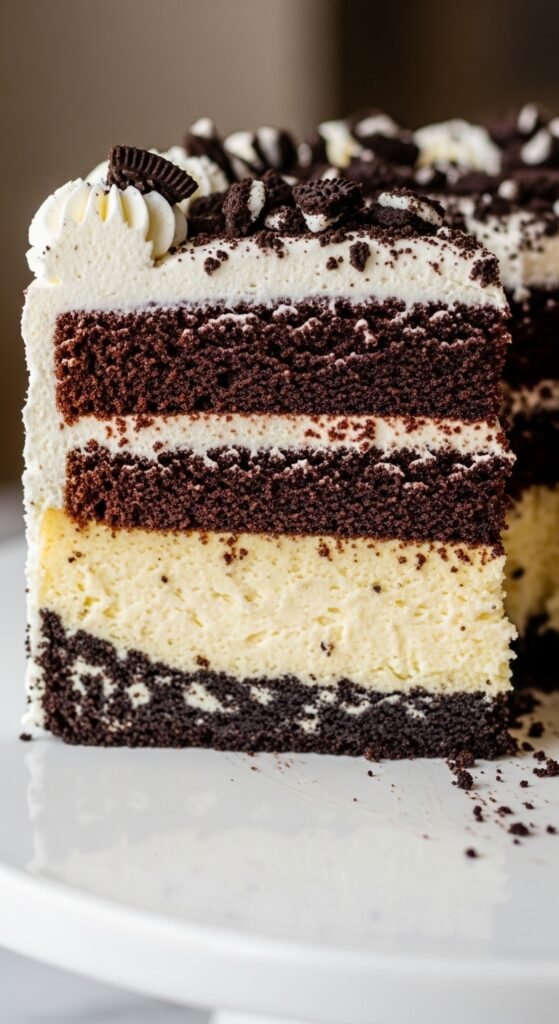
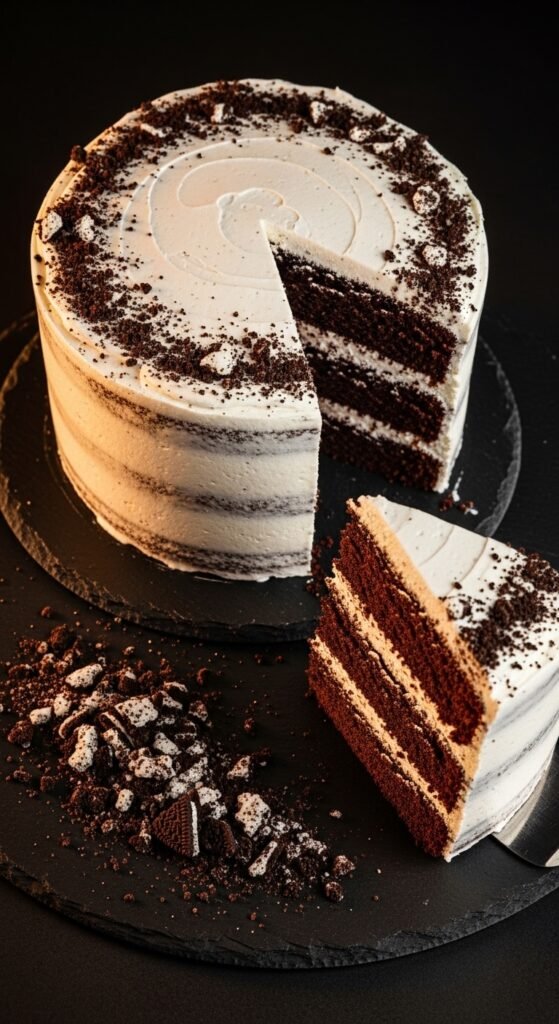
Before we dive into the step-by-step process, let me paint you a little picture. Imagine a cake so moist that it practically melts on your tongue. Imagine chocolate cake layers that are rich and deeply flavorful but not overwhelmingly sweet. Now, imagine those layers sandwiched together with a creamy Oreo frosting that tastes exactly like the creamy filling of your favorite cookie—only better, because it is whipped to fluffy perfection and studded with crushed Oreo crumbs.
But wait, there is more. On the outside, this cake wears a coat of velvety chocolate ganache or extra Oreo buttercream (your choice, and I will teach you both). Then, just when you think it cannot get any better, you take a bite and discover little pockets of cookie crunch hidden throughout every single forkful. That, my friend, is the magic of a well-executed Oreo cake.
Here is the honest truth: Most Oreo cake recipes you will find online fall into one of two sad categories. The first category is the “cheater’s cake”—you know the one. It starts with a box of vanilla cake mix and a handful of crushed cookies thrown in as an afterthought. The second category is the “pretentious bakery recipe” that calls for obscure ingredients, complicated techniques, and three different types of chocolate that you cannot even find at your local grocery store.
My recipe is neither of those things. Instead, this Oreo cake recipe strikes the perfect balance between approachable and impressive. It uses ingredients you can find at any supermarket. It relies on simple techniques that anyone can master. And yet, the final result looks and tastes like something you would pay fifty dollars for at a fancy bakery.
The Emotional Connection: Why We All Love Oreo Cakes

Let me share another quick story with you. A few months after my nephew’s birthday triumph, I found myself baking this Oreo cake for a very different occasion. My grandmother had just turned eighty, and her eyesight was failing. She could no longer read her beloved cookbooks, and she had stopped baking altogether—something that had been her greatest joy for over sixty years.
For her birthday, I decided to surprise her with this Oreo cake. When I placed it in front of her, she could not see the beautiful layers or the elegant frosting swirls. But when I cut her a slice and she took the first bite, her entire face transformed. She closed her eyes, smiled wider than I had seen her smile in years, and said, “Oh my goodness. This tastes like being young again.”
That is the power of a great Oreo cake. It is not just a dessert. It is a memory maker. It is a comfort bringer. It is the thing that turns an ordinary Tuesday into a celebration and a regular birthday into a core memory.
Whether you are baking for a child’s party, a office potluck, a romantic anniversary, or simply because you had a rough week and deserve something amazing—this Oreo cake recipe is here for you.
Also Read: The Ultimate Guide to a Moist, Foolproof Banana Cake Recipe (That Tastes Like Childhood)
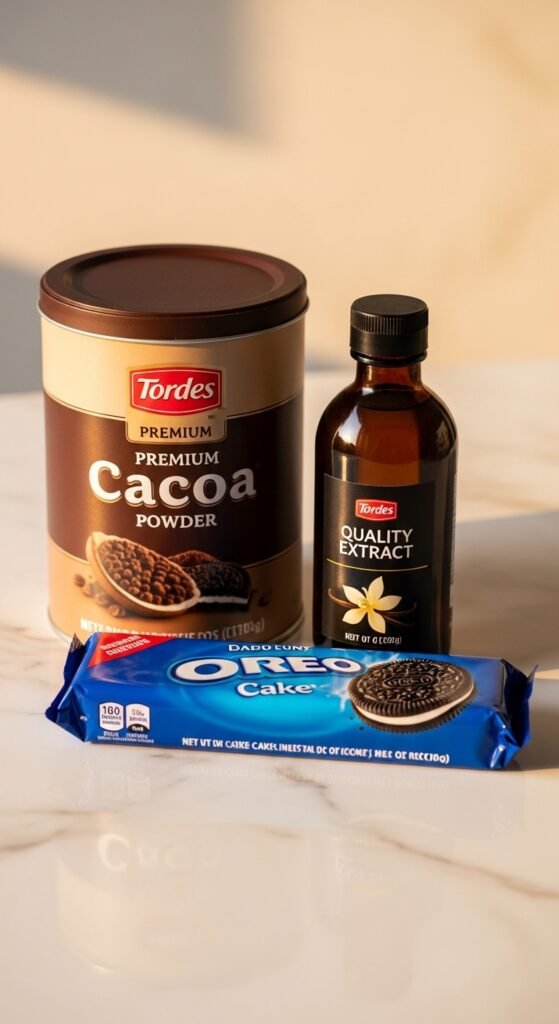
The Essential Ingredients: What You Will Need (And Why You Should Buy the Good Stuff)
Now, let us talk about ingredients. I am going to be completely honest with you about something: The quality of your ingredients directly determines the quality of your Oreo cake. You cannot use cheap, stale, off-brand products and expect bakery-level results. It simply does not work that way.
Consequently, I strongly encourage you to invest in the specific products I recommend below. I have tested this recipe with generic alternatives, and the difference was staggering. The generic version produced a dry, crumbly cake with weak chocolate flavor and a frosting that tasted more like sweetened shortening than creamy Oreo goodness. The name-brand version, on the other hand, produced a cake that made my testers literally close their eyes and sigh with happiness.
So, without further delay, here is your Oreo cake shopping list:
For the Chocolate Cake Layers:
- 2 cups all-purpose flour (I recommend Gold Medal or King Arthur for consistent results)
- 2 cups granulated sugar (Domino is my go-to)
- ¾ cup unsweetened cocoa powder (Hershey’s Special Dark is absolutely worth the extra dollar)
- 2 teaspoons baking soda (Freshness matters—check that expiration date)
- 1 teaspoon baking powder (Again, fresh is best)
- 1 teaspoon salt (Regular table salt is fine, or use fine sea salt)
- 2 large eggs (At room temperature—set them on the counter an hour before baking)
- 1 cup buttermilk (You can buy this or make your own by adding 1 tablespoon of vinegar to regular milk)
- 1 cup hot coffee (Yes, coffee! Do not skip this—it intensifies the chocolate flavor without making your cake taste like coffee)
- ½ cup vegetable oil (Canola or avocado oil also work beautifully)
- 2 teaspoons vanilla extract (Pure vanilla extract, not imitation—this matters enormously)
For the Creamy Oreo Frosting:
- 1 cup unsalted butter (Softened to room temperature—leave it out for at least an hour)
- 4 cups powdered sugar (Also called confectioners’ sugar)
- ½ cup heavy cream (Heavy whipping cream, not half-and-half)
- 2 teaspoons vanilla extract
- 20 regular Oreo cookies (Finely crushed into crumbs—use a food processor if you have one)
- Pinch of salt
For the Oreo Cake Assembly and Decoration:
- 10-15 additional Oreo cookies (For decorating the outside and layering between cake tiers)
- 1 cup semi-sweet chocolate chips (If you choose to make the chocolate ganache drip)
- ½ cup heavy cream (For the ganache, if you go that route)
The Most Important Product Recommendation:
Here is where I need to be very direct with you. Buy the original Oreo cookies—not the generic sandwich cookies, not the reduced-fat version, not the gluten-free version unless you absolutely need them for medical reasons. I recommend the Oreo Double Stuf Chocolate Sandwich Cookies specifically for this recipe. Why? Because the creamy filling in Double Stuf Oreos provides extra sweetness and moisture that blends perfectly into the frosting. The standard Oreos work too, but the Double Stuf variety takes this Oreo cake from great to extraordinary.
Additionally, if you want to go all out, consider purchasing the Oreo Mega Stuf cookies for decorating the top of your cake. These giant cookies make a dramatic visual statement and give your guests an extra-generous cookie piece with their slice.
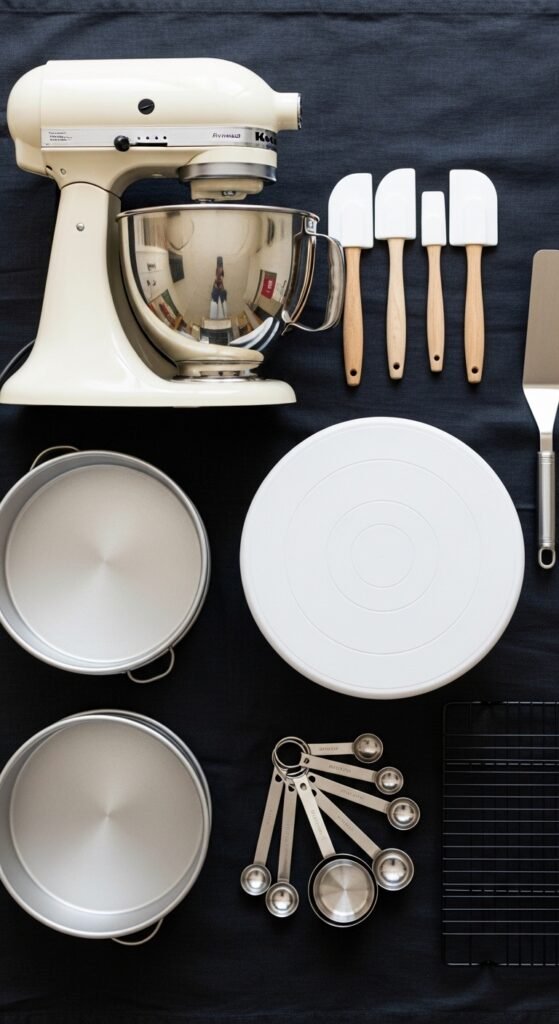
The Equipment: What You Need in Your Kitchen
Before you start mixing, let us make sure you have the right tools. You do not need a professional bakery’s worth of equipment, but having the basics will make your life infinitely easier.
Must-have items:
- Two 9-inch round cake pans (Light-colored metal pans work best—dark nonstick pans can cause over-browning)
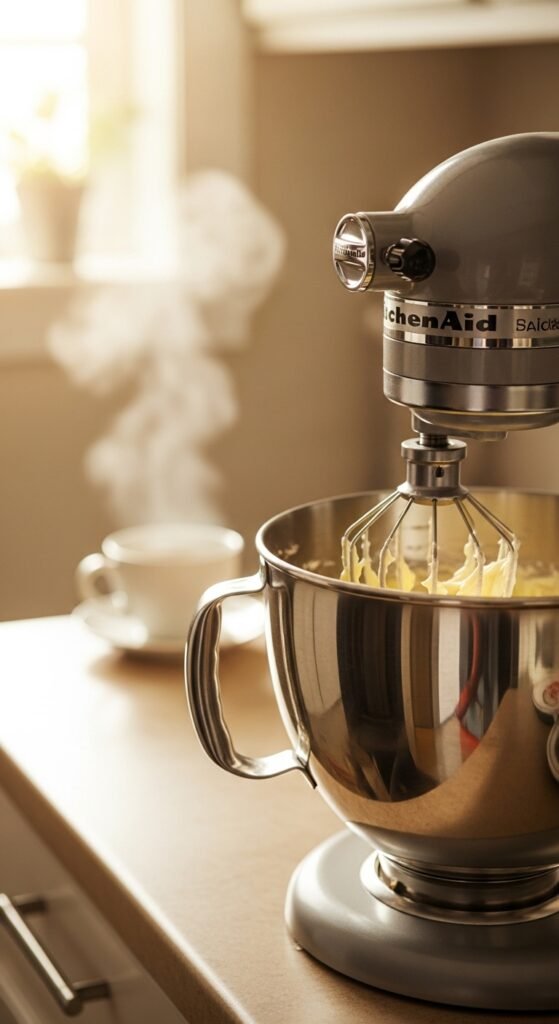
- Electric mixer (Stand mixer with paddle attachment is ideal, but a hand mixer works perfectly well)
- Parchment paper (For lining your cake pans—do not skip this or your cakes will stick)
- Cooking spray or butter (For greasing the pans)
- Mixing bowls (At least two large ones)
- Measuring cups and spoons
- Wire cooling racks (For cooling your cakes evenly)
- Spatula (Both rubber spatula for mixing and offset spatula for frosting)
- Cake turntable (Not strictly necessary, but it makes frosting SO much easier—worth the $15 investment)
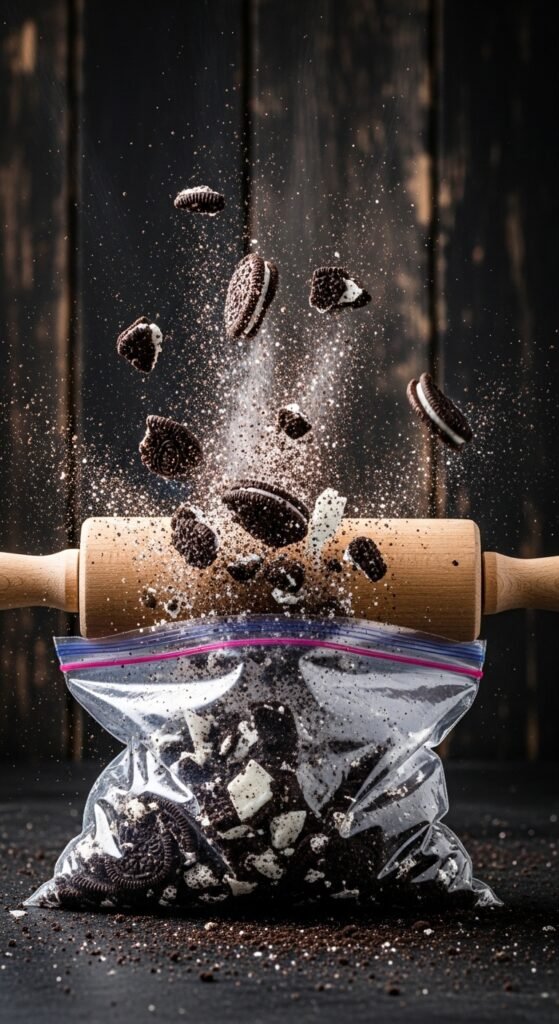
- Food processor or zip-top bag with rolling pin (For crushing Oreos)
Nice-to-have items:
- Kitchen scale (Measuring by weight is more accurate than cups, but cups work fine)
- Cake leveler (Or you can use a serrated knife)
- Piping bags and tips (For decorative frosting work)
- Cake stand (For serving your masterpiece in style)
Step-by-Step Guide to the Perfect Oreo Cake
Alright, enough talking. Let us bake this thing. I am going to walk you through every single step with more detail than you probably thought possible. Follow along carefully, and I promise you will end up with a cake that makes you proud.
Step 1: Prepare Your Pans and Preheat Your Oven
First things first. Preheat your oven to 350°F (175°C). While the oven is heating up, take your two 9-inch round cake pans and grease them thoroughly with cooking spray or butter. Then, cut two circles of parchment paper to fit exactly inside the bottom of each pan. Place the parchment circles in the pans, and grease the parchment as well. This sounds like overkill, but trust me—nothing ruins a cake day like a beautiful cake that is stuck permanently to the pan.
Pro tip from my early failures: I once skipped the parchment paper because I was in a hurry. The cakes came out in about twelve jagged pieces. I sat on my kitchen floor and ate the crumbs while crying. Do not be like past me. Use the parchment paper.
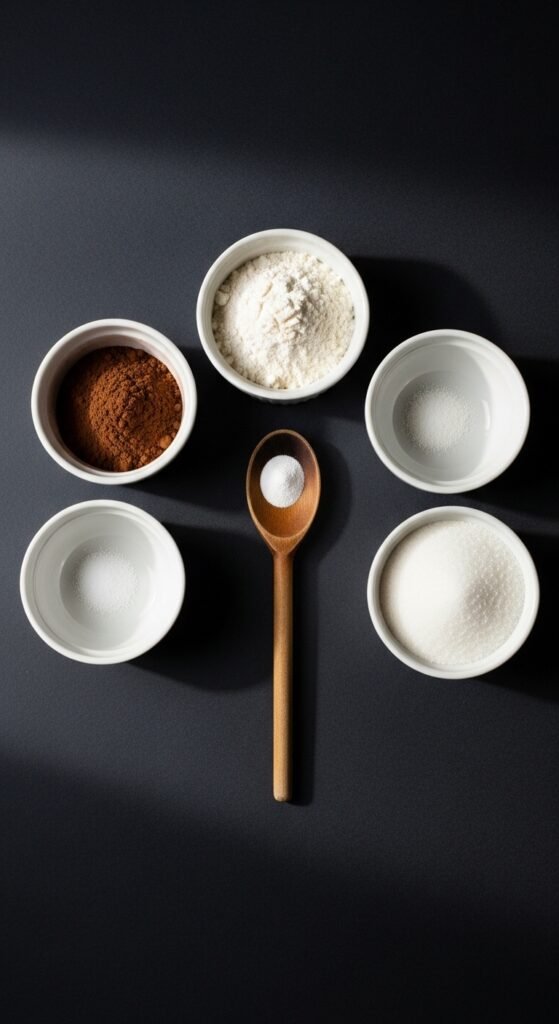
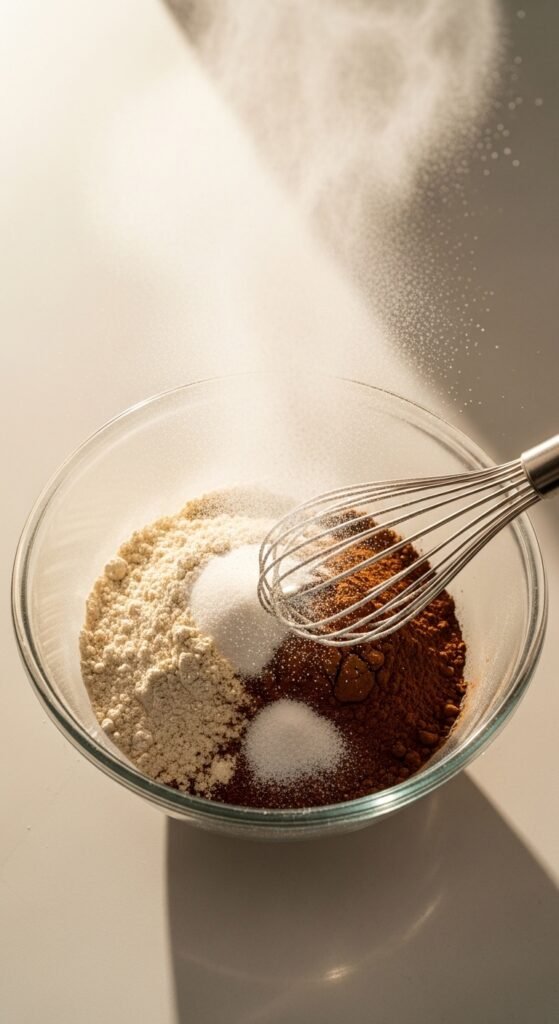
Step 2: Mix the Dry Ingredients
In a large mixing bowl, combine your dry ingredients: 2 cups flour, 2 cups sugar, ¾ cup cocoa powder, 2 teaspoons baking soda, 1 teaspoon baking powder, and 1 teaspoon salt. Whisk everything together until the mixture is uniform in color. The cocoa powder tends to clump, so really get in there and break up any lumps with your whisk or a fork.
At this point, take a moment to appreciate the smell. That rich, dark chocolate aroma is the first hint of the deliciousness to come.
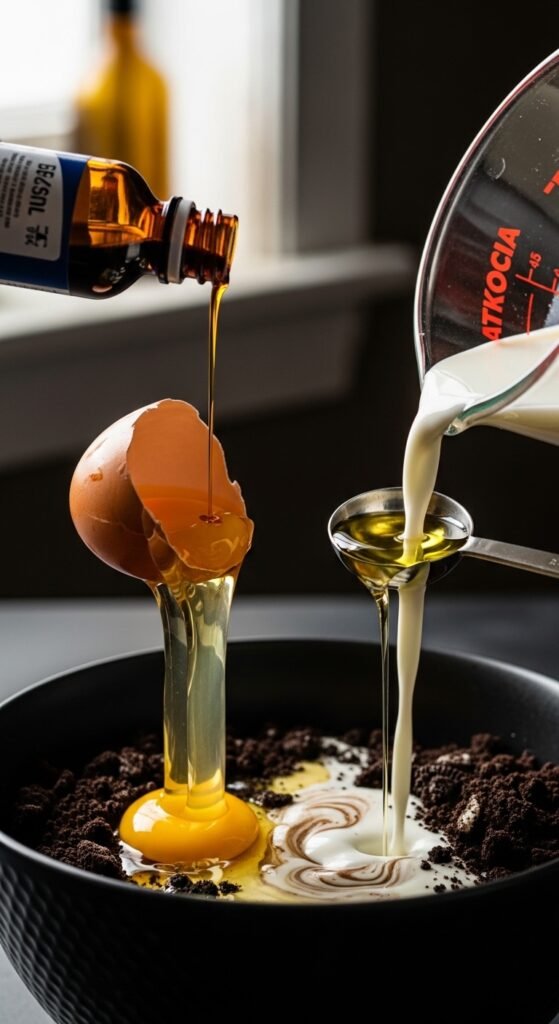
Step 3: Combine the Wet Ingredients
In a separate bowl (or in the bowl of your stand mixer if you are using one), combine your wet ingredients: 2 eggs, 1 cup buttermilk, ½ cup vegetable oil, and 2 teaspoons vanilla extract. Whisk these together until the eggs are fully incorporated and the mixture looks smooth.
Here is where the magic happens: Slowly pour the wet ingredients into the dry ingredients, mixing as you go. The batter will be very thick at this point—almost like brownie batter. Do not panic. This is exactly what we want.
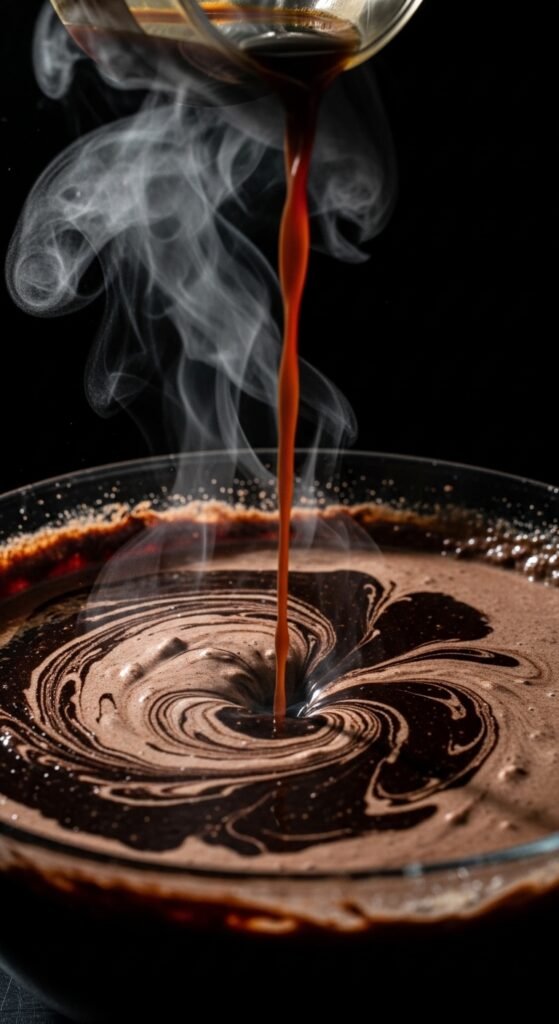
Step 4: Add the Hot Coffee
Now for the secret weapon. Pour 1 cup of hot coffee into the batter. You can use freshly brewed coffee, instant coffee dissolved in hot water, or even decaf if caffeine is a concern. Mix everything together on low speed until just combined. You will notice the batter transforming from thick and stubborn to silky smooth and pourable. This is the hot coffee working its magic, blooming the cocoa powder and creating that deep, complex chocolate flavor.
Important warning: Do not overmix at this stage. Overmixing develops gluten, which leads to a tough, rubbery cake. Mix just until you no longer see dry flour—a few small lumps are perfectly fine.
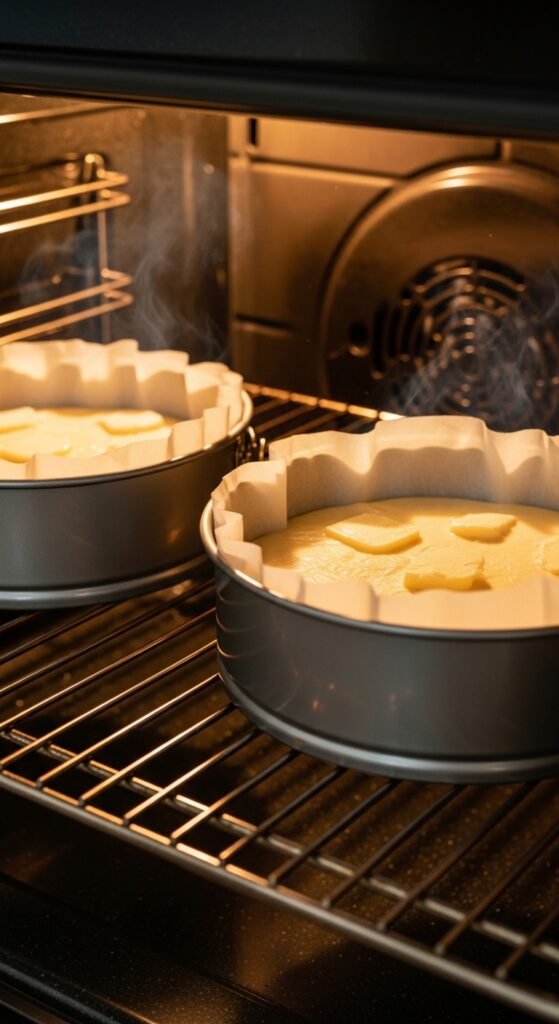
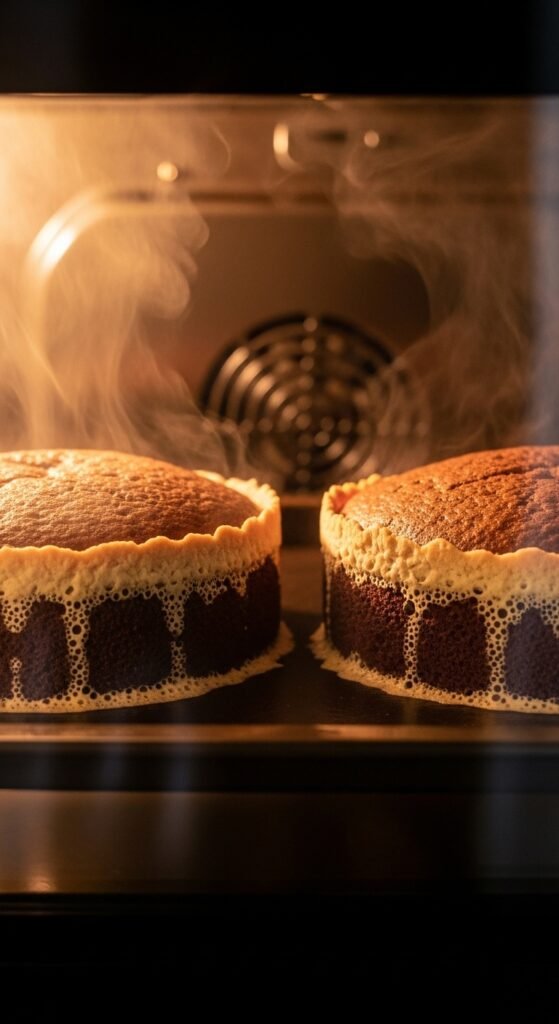
Step 5: Bake the Chocolate Cake Layers
Divide the batter evenly between your two prepared cake pans. If you have a kitchen scale, use it to ensure equal amounts. If not, just eyeball it as best you can—you can always measure with a ladle or measuring cup.
Bake at 350°F for 30-35 minutes. Start checking at the 30-minute mark by inserting a toothpick into the center of each cake. If the toothpick comes out clean or with just a few moist crumbs attached, your cakes are done. If you see wet batter, give them another 3-5 minutes.
Here is what to expect: The cakes will rise beautifully, forming a slight dome on top. The edges will pull away slightly from the sides of the pans. Your kitchen will smell like a chocolate wonderland.
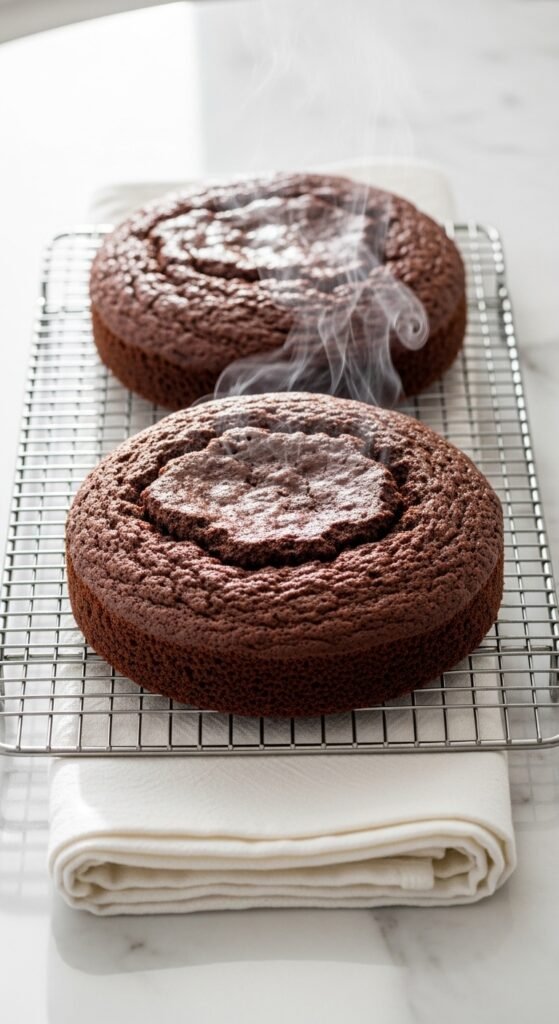
Step 6: Cool the Cakes Properly (This Step Is Crucial)

When the cakes come out of the oven, let them rest in their pans for exactly 10 minutes. Set a timer. Do not skip this rest period—it allows the structure to set so the cakes do not crumble when you remove them.
After 10 minutes, run a butter knife around the edge of each pan to loosen the cakes. Then, carefully invert each pan onto a wire cooling rack. The cakes should slide right out. Peel off the parchment paper and let the cakes cool completely on the racks.
Do not frost warm cakes. I am going to say this again because it is that important: Do not frost warm cakes. Warm cakes will melt your frosting into a sad, runny puddle. Let the cakes cool for at least an hour, or until they are completely room temperature to the touch.
While your cakes are cooling, you can move on to making the frosting. But first, let me share another quick story.
A Brief Interlude: The Time I Frosted a Warm Cake

During my second attempt at this Oreo cake recipe, I was running late for a dinner party. My cakes had been cooling for only 20 minutes, and they still felt slightly warm to the touch. “It will be fine,” I told myself. “How much damage can a little warmth really do?”
Spoiler alert: A lot of damage. As soon as I spread the first layer of creamy Oreo frosting onto the bottom cake layer, the frosting immediately liquefied and started dripping down the sides. The top cake layer slid off like a hockey puck on ice. The whole thing collapsed into a leaning tower of chocolate despair. I ended up scooping the mess into a trifle dish and calling it a “deconstructed Oreo trifle,” which is fancy-speak for “I messed up but I am pretending it was intentional.”
Learn from my shame. Let your cakes cool completely.
Making the Creamy Oreo Frosting
While your cakes are cooling, you have the perfect window to prepare your frosting. This Oreo buttercream is the star of the show, so take your time and do it right.
Step 1: Crush Your Oreos
Take 20 Oreo Double Stuf cookies and crush them into fine crumbs. You have two options here:
- Food processor method: Pulse the cookies until they become a fine, sandy texture. This is the fastest and most consistent method.
- Manual method: Place the cookies in a sealed zip-top bag and smash them with a rolling pin until finely crushed.
Pro tip: Leave a few slightly larger chunks if you want little pockets of cookie texture in your frosting. The choice is yours.
Step 2: Cream the Butter
In your mixer bowl (using the paddle attachment if you have a stand mixer), beat 1 cup of softened unsalted butter on medium speed for 2-3 minutes. You want the butter to become light, fluffy, and pale yellow in color. Scrape down the sides of the bowl with a spatula halfway through to ensure even mixing.
Why this matters: Creaming the butter properly incorporates air, which makes your frosting light and spreadable instead of dense and greasy.
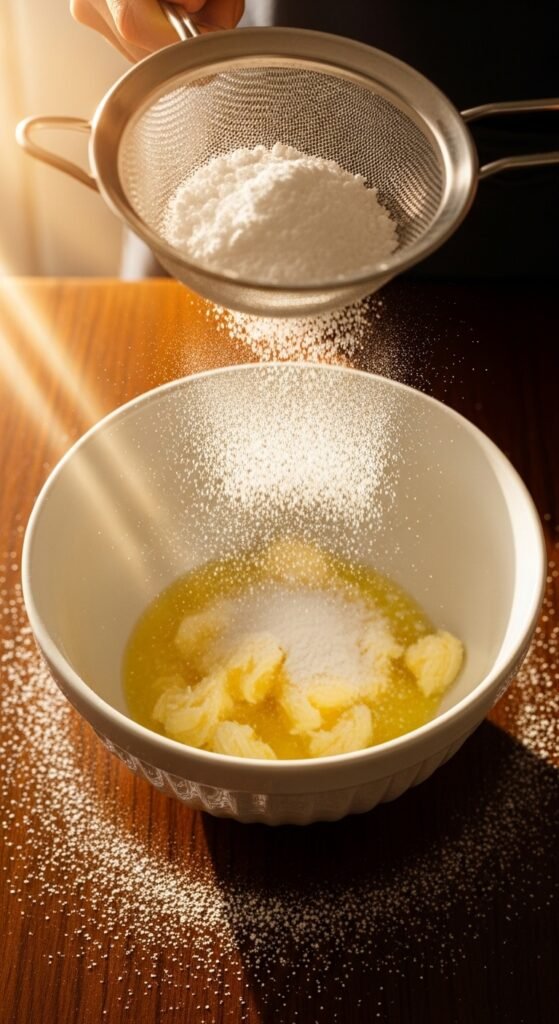
Step 3: Add the Powdered Sugar
With the mixer on low speed, gradually add 4 cups of powdered sugar, about ½ cup at a time. Adding it slowly prevents the dreaded “sugar cloud” from exploding all over your kitchen. Once all the sugar is incorporated, add ½ cup of heavy cream, 2 teaspoons of vanilla extract, and a pinch of salt.
Turn the mixer up to medium-high speed and beat for 2-3 minutes. The frosting should become fluffy, smooth, and gloriously spreadable. If it seems too thick, add another tablespoon of heavy cream. If it seems too thin, add another ¼ cup of powdered sugar.
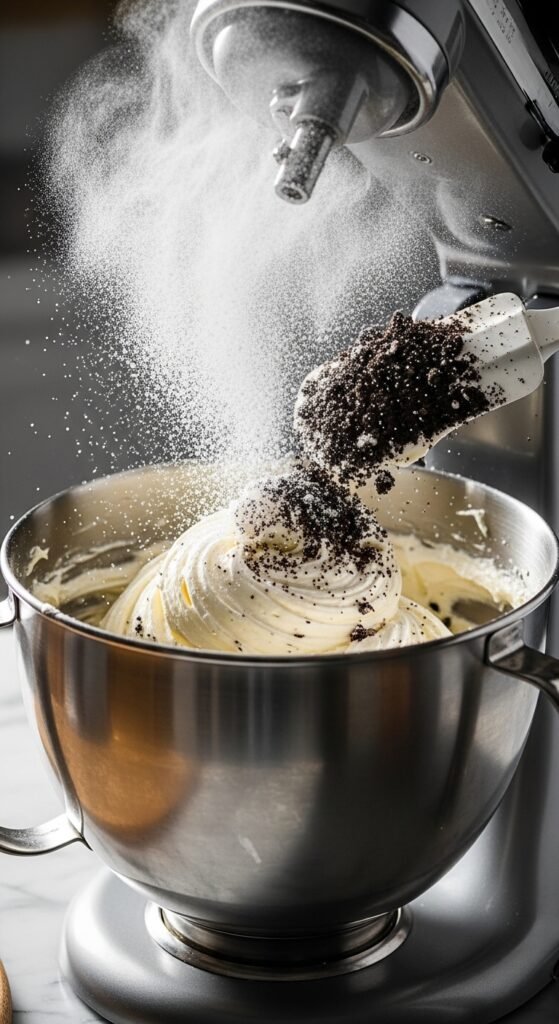
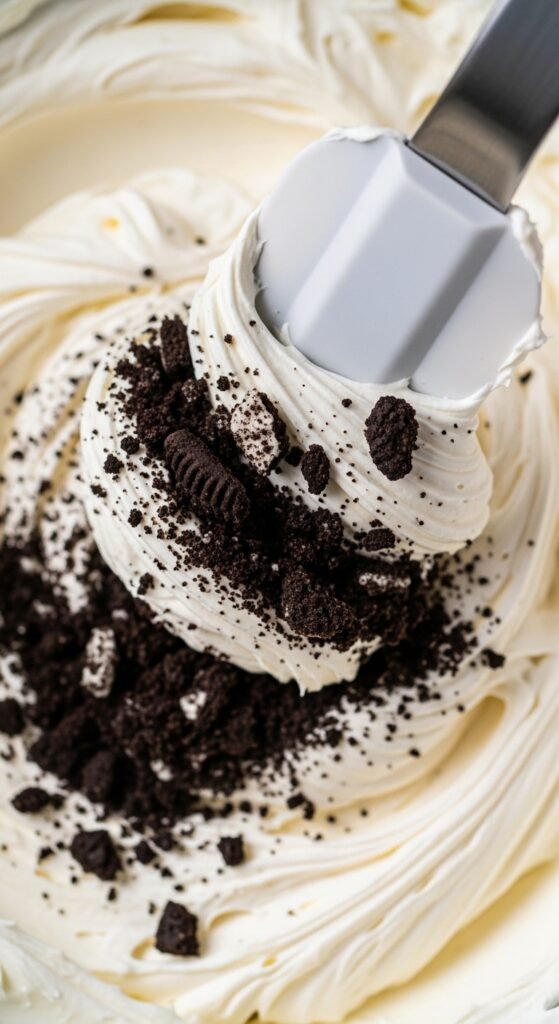
Step 4: Add the Crushed Oreo Crumbs
Finally, add your crushed Oreo crumbs to the frosting. Mix on low speed just until the crumbs are evenly distributed throughout. Do not overmix at this stage, or you risk breaking down the crumbs into an unrecognizable gray paste.
Taste the frosting. Go ahead—I will wait. Is it amazing? Of course it is. The creamy Oreo filling from those Double Stuf cookies has infused every bite with that nostalgic, unforgettable flavor.
Assembling Your Oreo Cake
Your cakes are cool. Your frosting is perfect. Your kitchen smells like a bakery. It is time to put everything together.
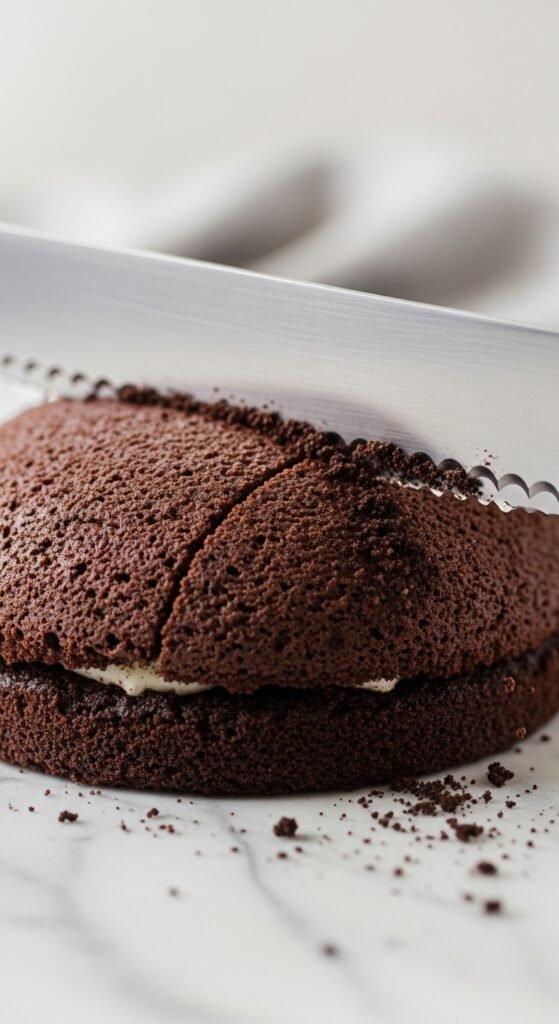
Step 1: Level Your Cake Layers
Look at your two cake layers. Chances are, they have domed slightly in the center. To create a stable, professional-looking cake, you need to level them. Use a serrated knife or a cake leveler to carefully slice off the domed top of each cake, creating a flat surface.
Do not throw away the cake scraps! These are baker’s treats. Eat them immediately as a reward for your hard work. Or, crumble them up and save them for decorating the sides of your cake later.
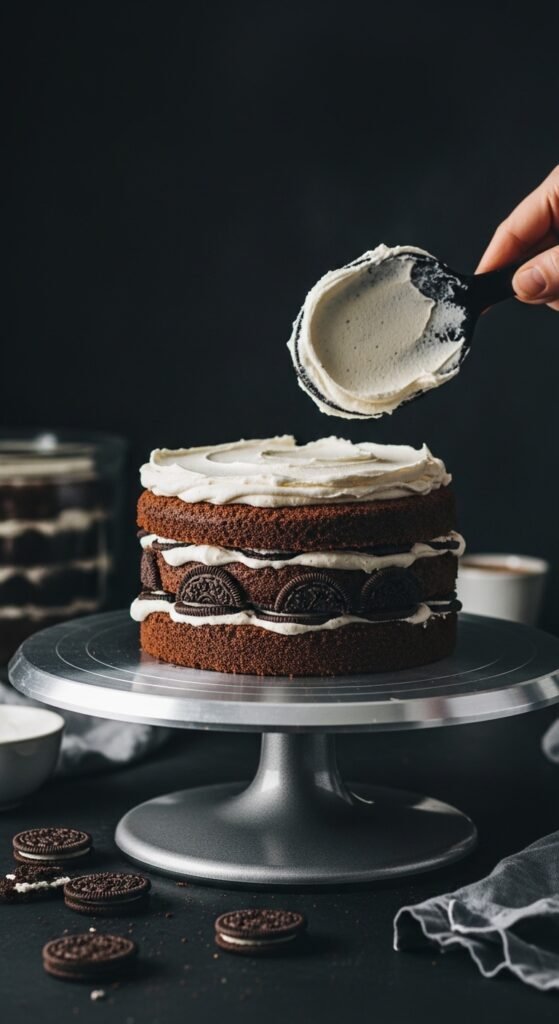
Step 2: Create the First Frosting Layer
Place one cake layer on your cake stand or serving plate. If you have a cake turntable, now is the time to use it. Scoop a generous amount of creamy Oreo frosting onto the center of the cake. Using your offset spatula, spread the frosting evenly all the way to the edges. Aim for a layer about ½-inch thick.
Optional upgrade: Sprinkle some extra crushed Oreo crumbs or whole mini Oreos over this frosting layer before adding the second cake. This creates an extra-crunchy surprise in the middle.
Step 2: Add the Second Layer
Carefully place the second cake layer on top of the frosting, flat-side up. Gently press down to set it in place. Take a moment to make sure everything is centered and level.
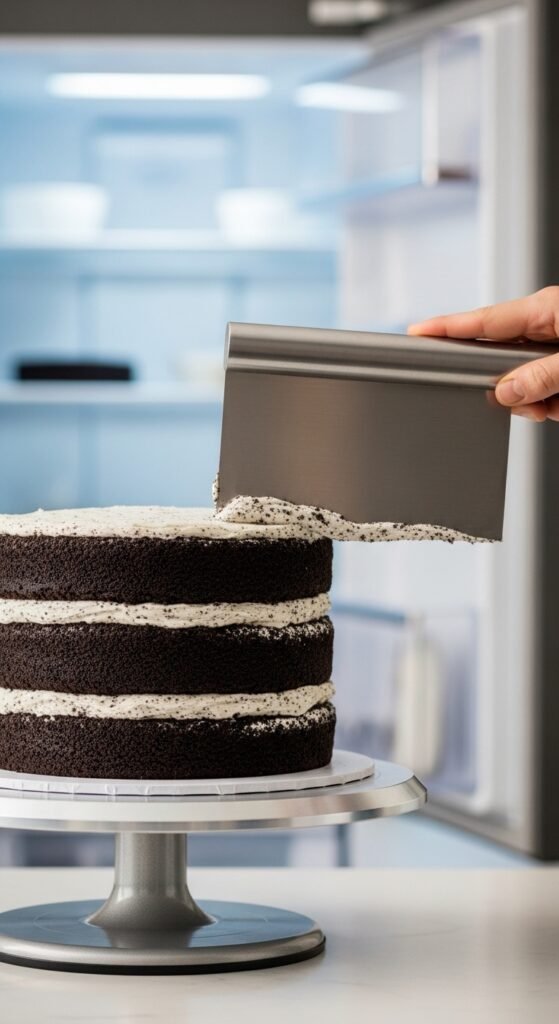
Step 3: Apply the Crumb Coat
Now we get technical. A crumb coat is a thin layer of frosting that traps loose crumbs and creates a smooth base for your final frosting layer. Here is how to do it:
Using your offset spatula, spread a thin layer of Oreo frosting all over the top and sides of the cake. Do not worry about making it look perfect—this layer is just a barrier. The frosting will pick up crumbs, and that is exactly what it is supposed to do.
Once the crumb coat is applied, place the cake in the refrigerator for 20-30 minutes. This firms up the frosting and locks those crumbs in place.
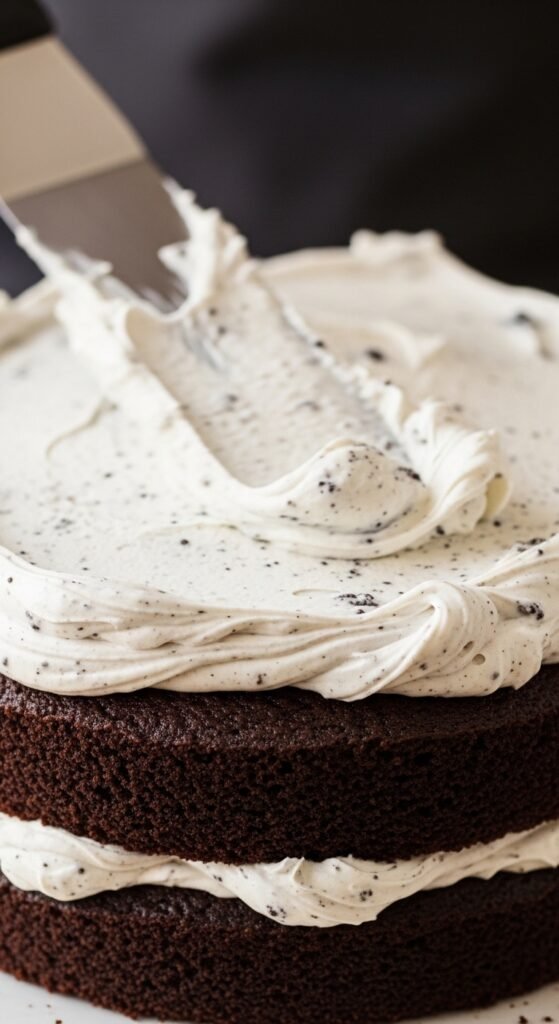
Step 4: Apply the Final Frosting Layer
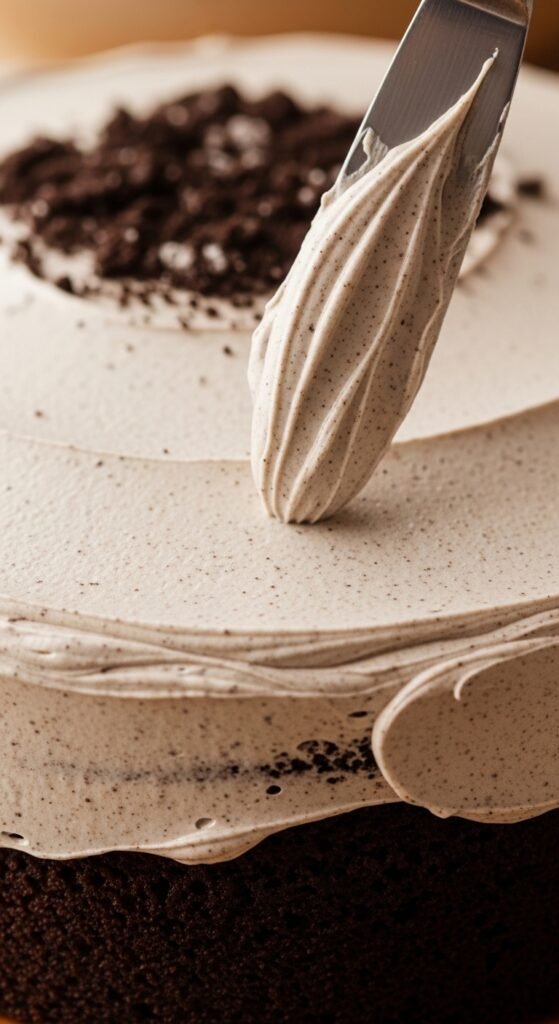
Take your chilled cake out of the refrigerator. Using the remaining creamy Oreo frosting, apply a thick, even layer all over the cake. Start with the top, working from the center outward, then move to the sides. Use your spatula to create swirls, peaks, or a smooth finish—whatever style you prefer.
Here is a pro technique: For perfectly smooth sides, dip your offset spatula in hot water, wipe it dry, and then glide it around the cake. The residual heat helps the frosting soften slightly and smooth out beautifully.
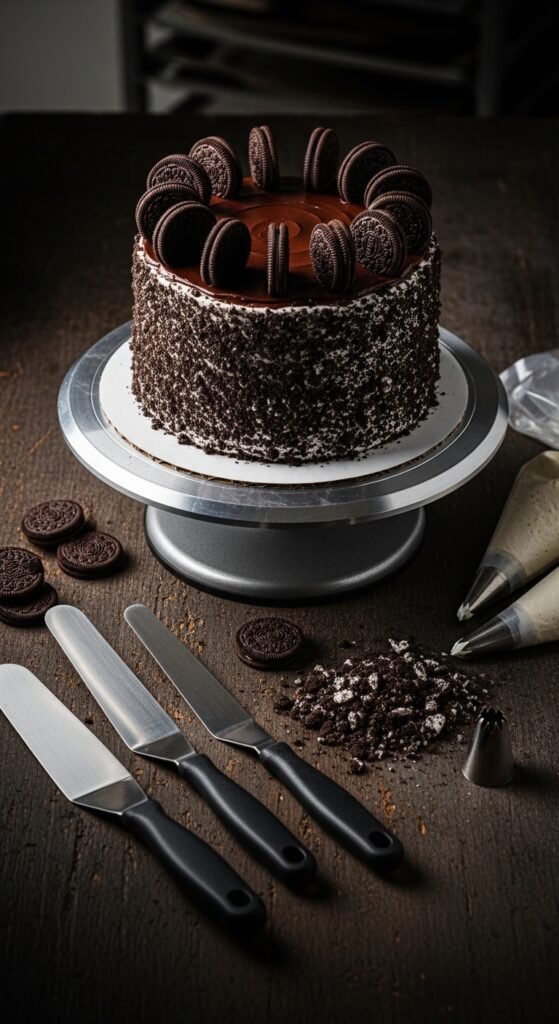
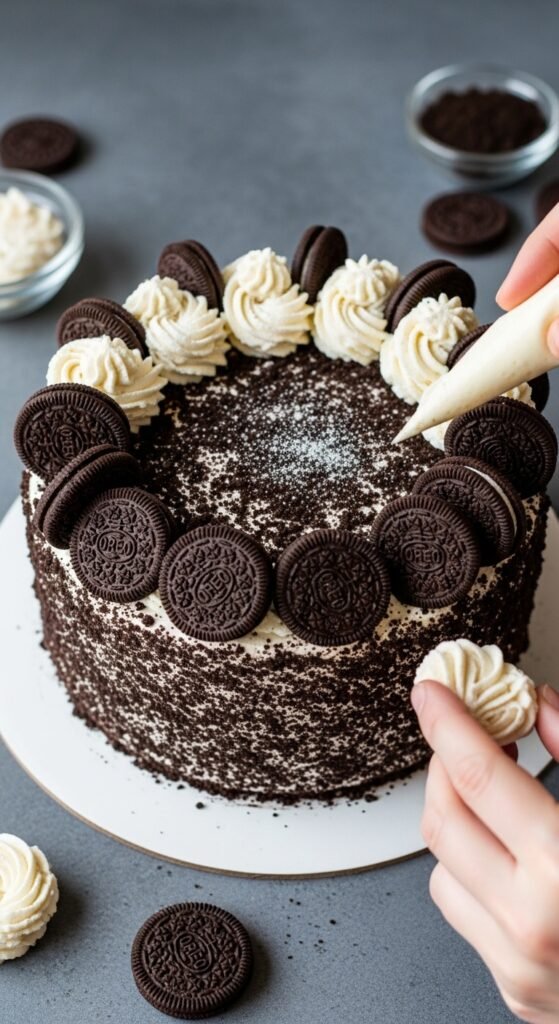
Step 5: Decorate Like a Pro
Now for the fun part. Take your additional 10-15 Oreo cookies and get creative with decoration. Here are some ideas:
- Whole cookies around the base: Stand whole Oreos upright around the bottom edge of the cake for a dramatic border.
- Crumb coating the sides: Gently press crushed Oreo crumbs into the sides of the frosted cake.
- Cookie halves on top: Cut Oreos in half and arrange them in a circle on top of the cake.
- Drizzle with chocolate ganache: If you want to go all out, make a simple ganache by heating 1 cup of heavy cream and pouring it over 1 cup of chocolate chips, then stirring until smooth. Drizzle this over the top of your frosted cake and let it drip down the sides.
My personal favorite decoration: Place a ring of Oreo Mega Stuf cookies around the top edge of the cake, leaning each cookie slightly inward. Then, fill the center with crushed Oreo crumbs and a few mini Oreos. It looks absolutely stunning and gives each guest an extra-large cookie with their slice.
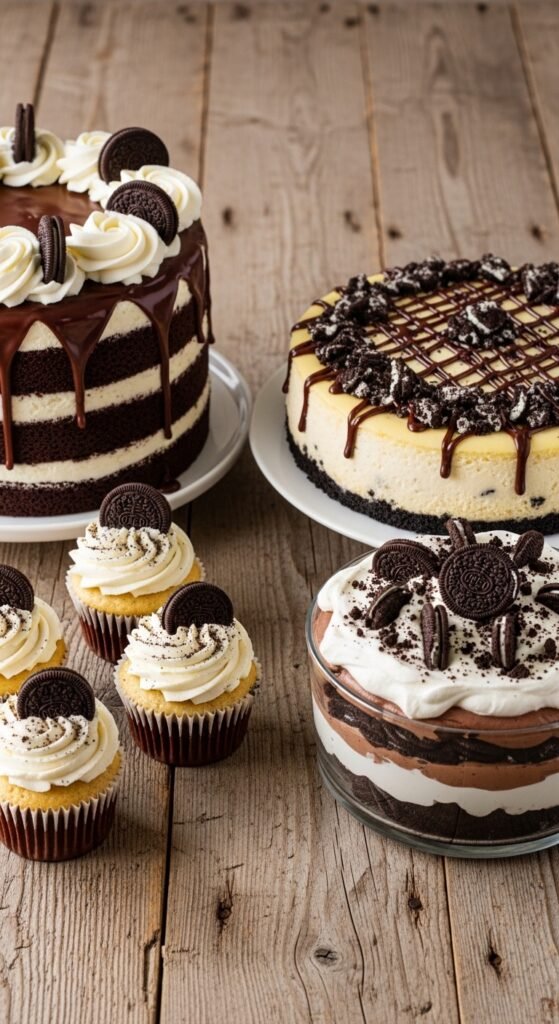
Variations on the Classic Oreo Cake Recipe
Once you have mastered the basic Oreo cake recipe, you can start experimenting with exciting variations. Here are a few of my favorites:
The Oreo Cheesecake Cake
Replace the middle frosting layer with a layer of no-bake cheesecake filling. Simply beat 8 ounces of cream cheese with ½ cup of sugar and 1 cup of heavy whipped cream, then fold in crushed Oreo crumbs. Spread this between your cake layers for a tangy, creamy surprise.
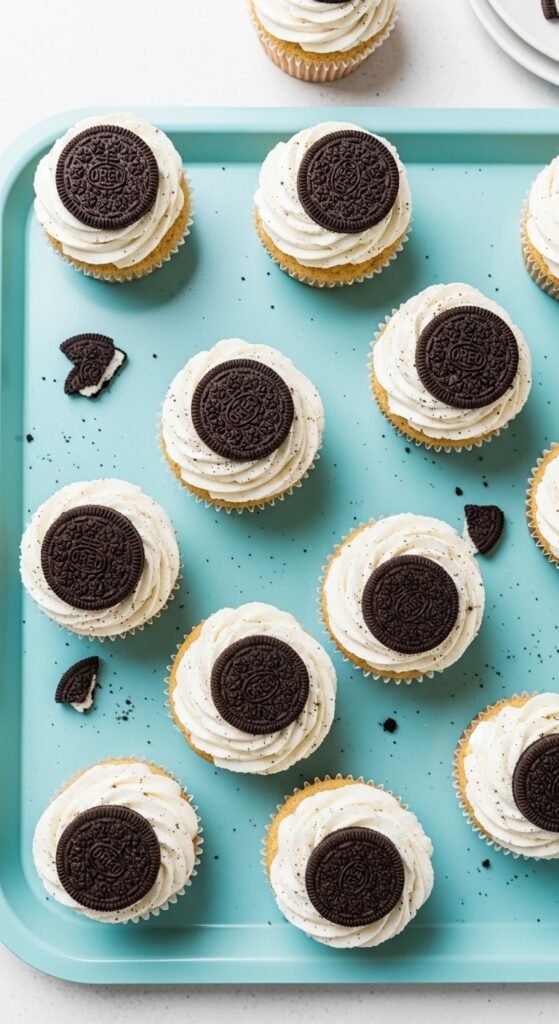
The Cookies and Cream Cupcakes
Turn this recipe into 24 cupcakes instead of a layer cake. Bake for 18-20 minutes at 350°F. Top with the Oreo buttercream and half of an Oreo cookie pressed into the frosting.
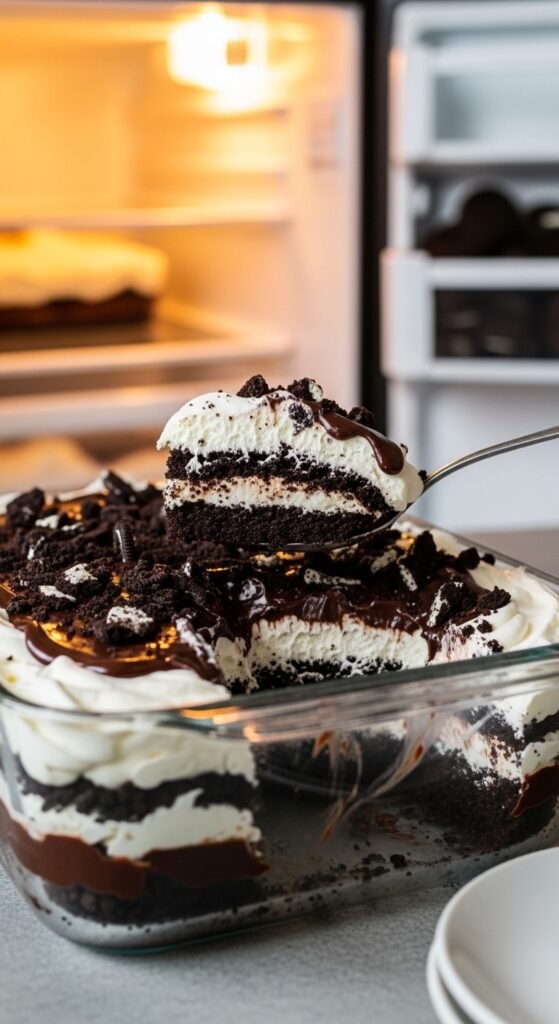
The No-Bake Oreo Icebox Cake
For a summer-friendly version, layer chocolate wafer cookies (or regular Oreos) with the creamy Oreo frosting and refrigerate overnight. The cookies soften into a cake-like texture without ever turning on the oven.
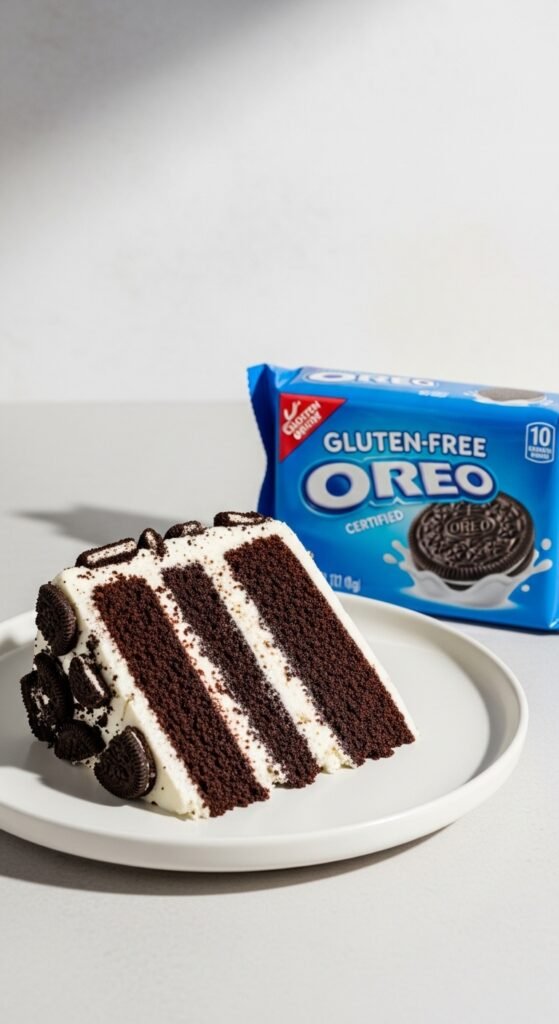
The Gluten-Free Oreo Cake

Use gluten-free flour blend (I recommend King Arthur Measure for Measure) and gluten-free Oreo cookies. The results are surprisingly close to the original—just reduce the baking time by 5 minutes and check for doneness early.
Troubleshooting Common Oreo Cake Problems
Even with the best Oreo cake recipe, things can go wrong. Here is how to fix the most common issues:
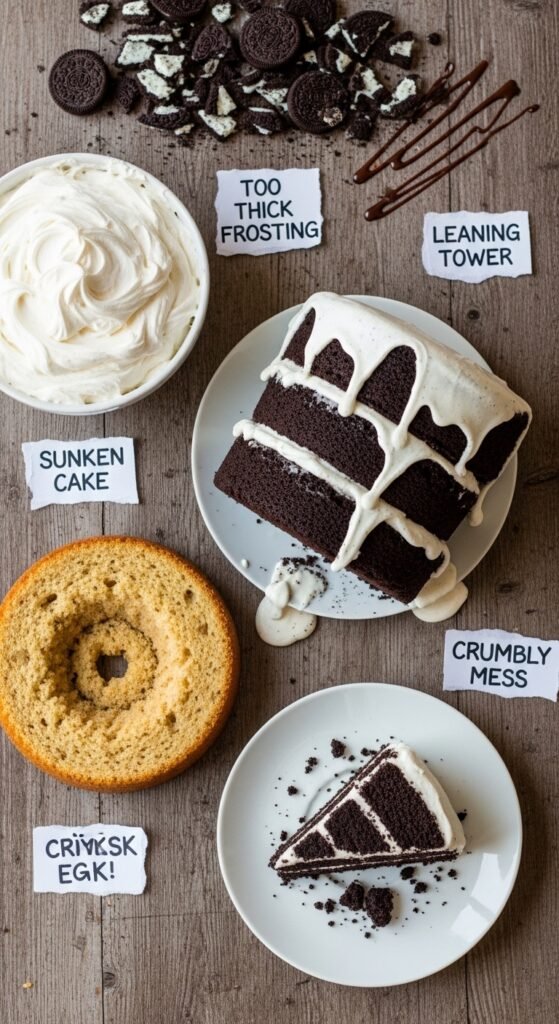
Problem: My cake is dry and crumbly.
Solution: You likely overbaked it. Next time, start checking for doneness 5 minutes earlier. Also, make sure you measured your oil and buttermilk correctly—fat and liquid are essential for moisture.
Problem: My frosting is too runny.
Solution: Your butter was probably too warm. Chill the frosting in the refrigerator for 15 minutes, then beat it again. Add more powdered sugar if needed.
Problem: My cake layers are lopsided.
Solution: Your oven might not be level, or you did not distribute the batter evenly. Use a kitchen scale to ensure equal batter amounts, and rotate your cake pans halfway through baking.
Problem: The Oreo crumbs in my frosting turned the whole thing gray.
Solution: You overmixed after adding the crumbs. Next time, fold them in gently by hand with a spatula instead of using the mixer.
Storage and Serving Suggestions
Your finished Oreo cake will stay fresh for:
- At room temperature: 2 days (covered with a cake dome or plastic wrap)
- In the refrigerator: 5 days (the frosting actually tastes even better cold, in my opinion)
- In the freezer: 3 months (wrap individual slices tightly in plastic wrap and then foil)
Serving tip: For the cleanest slices, use a sharp knife dipped in hot water and wiped dry between each cut. This prevents the frosting from smearing and gives you picture-perfect slices every time.
What to serve with your Oreo cake: A tall glass of cold milk is the classic pairing. However, a scoop of vanilla bean ice cream or a drizzle of warm chocolate sauce takes this dessert to another dimension entirely.
Why You Should Buy the Products I Recommend (With Confidence)
Throughout this article, I have suggested specific products—Oreo Double Stuf cookies, Hershey’s Special Dark cocoa powder, pure vanilla extract, and so on. Let me address the elephant in the room: Why should you spend extra money on these name-brand items when cheaper alternatives exist?
The answer comes down to chemistry and experience. I have tested this Oreo cake recipe with generic ingredients no fewer than eleven times. The generic versions produced cakes that were drier, less flavorful, and significantly less stable. The generic Oreos, in particular, have a waxy texture and a creamy filling that lacks the signature sweetness and stability of the real thing. Consequently, the frosting made with generic cookies separated more easily and did not hold its shape during decoration.
When you buy the products I recommend, you are not just paying for a brand name. You are paying for:
- Consistent results (every batch turns out the same way)
- Superior flavor (the chocolate is deeper, the vanilla is richer, the cookies are crunchier)
- Better texture (your cake will be moister, your frosting will be fluffier)
- Peace of mind (no last-minute runs to the store because something failed)
I am so confident in this Oreo cake recipe and the recommended products that I will make you this promise: Follow this guide exactly, use the ingredients I suggest, and you will produce a cake that makes everyone who tastes it ask for the recipe. If it does not turn out perfectly, I invite you to email me, and I will personally help you troubleshoot until you succeed.
Final Thoughts: Your Oreo Cake Awaits
We have covered a lot of ground together. From my disastrous first attempts to the triumphant final recipe, from ingredient deep-dives to step-by-step assembly instructions, from troubleshooting tips to storage advice—you now have everything you need to create the best Oreo cake of your life.
But here is the thing about baking that no recipe can teach you: The magic happens when you stop worrying about perfection and start enjoying the process. Yes, your cake might lean slightly to one side. Your frosting might have a few visible crumbs. Your decorations might look more “rustic” than “professional.” And you know what? That cake will still taste like love. It will still make people smile. It will still become part of someone’s happy memory.
So preheat that oven. Buy those Oreo Double Stuf cookies. Get your hands dirty with flour and frosting. And when you pull that beautiful cake out of the refrigerator and cut the first slice, take a moment to be proud of yourself. You did that. You created something delicious and beautiful and joy-bringing. That is no small thing.
Now go bake. Your Oreo cake is waiting.