Baked BBQ chicken breast is one of those meals that sounds simple but often goes terribly wrong in home kitchens. I remember my first attempt vividly: I was 22 years old, living in my first apartment, and I had invited a few friends over for what I thought would be an impressive dinner. I slathered some raw chicken breasts in bottled barbecue sauce, threw them in a 375°F oven, and waited 30 minutes. What emerged was tragic: dry, stringy, flavorless meat swimming in a pool of burnt, sugary sauce. My friends were kind enough to eat it, but I could see them reaching for extra water with every bite.
That disaster sent me on a journey. Over the next ten years, I tested every method, every temperature, every brine, and every sauce imaginable. I talked to chefs, read cookbooks cover to cover, and ruined more chicken than I care to admit. But here’s the good news: after all that trial and error, I’ve cracked the code. Today, I’m going to share everything I’ve learned so you can make the best baked BBQ chicken breast of your life—every single time.
Whether you’re a busy parent trying to get dinner on the table, a college student learning to cook, or someone who just wants to eat healthier without sacrificing taste, this guide is for you. We’ll cover the science, the technique, the secrets, and the step-by-step process. By the time you finish reading, you’ll feel confident enough to buy that pack of chicken breasts and transform them into something truly spectacular.
Why Baked BBQ Chicken Breast Deserves a Spot in Your Weekly Rotation
Before we dive into the how-to, let’s talk about why this dish is worth mastering. First, chicken breast is one of the leanest protein sources available. A standard 4-ounce serving packs about 25 grams of protein with only 120–150 calories and minimal fat. That makes it a favorite among fitness enthusiasts, bodybuilders, and anyone watching their waistline.
However, that leanness is also the enemy. Without enough fat to keep it moist, chicken breast dries out faster than almost any other cut of meat. This is precisely why so many people claim they “hate chicken breast”—they’ve only ever eaten the dry, chalky version. But when done right, baked BBQ chicken breast can be incredibly juicy, tender, and satisfying.
Another reason to love this dish is versatility. You can serve it with rice, quinoa, roasted vegetables, mashed potatoes, a fresh garden salad, or even slice it up for sandwiches and wraps. Leftovers (if you have any) work beautifully on top of pizzas, in tacos, or mixed into pasta dishes.
Finally, baking is arguably the most convenient cooking method. Unlike grilling, you don’t need good weather or special equipment. Unlike pan-searing, you don’t have to stand over the stove watching for burns. Once your baked BBQ chicken breast goes into the oven, you can focus on preparing side dishes, setting the table, or simply relaxing with a glass of iced tea.
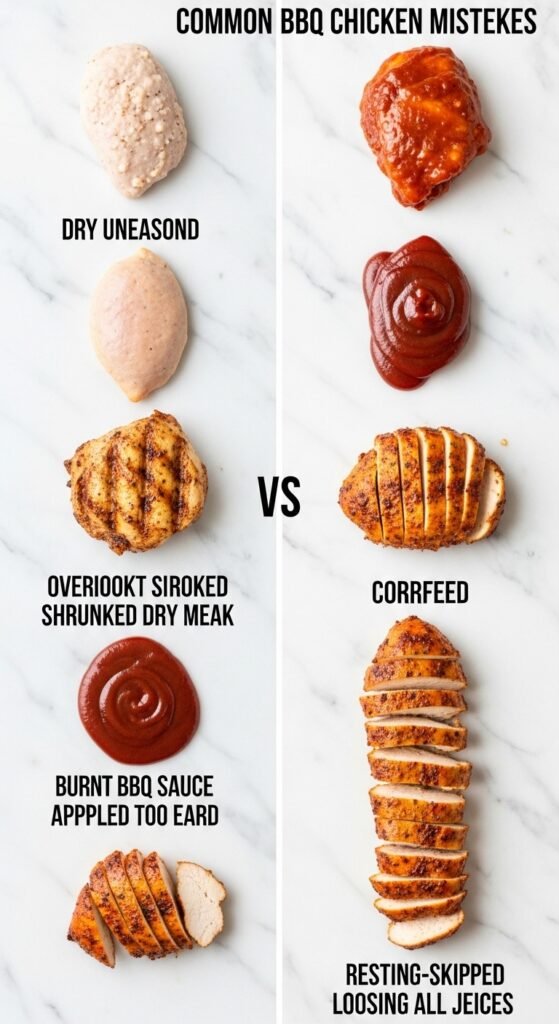
The Common Mistakes That Ruin Baked BBQ Chicken Breast
Let me share another quick story. A few years ago, my neighbor Sarah asked me why her baked BBQ chicken breast always came out tough. I went over to watch her cook, and here’s what I saw: She took cold chicken straight from the fridge, placed it on a cold baking sheet, dumped half a bottle of sauce on top, and put it in a 425°F oven for 45 minutes. The result was a dry, chewy mess with burnt edges and a raw center.
Sarah’s experience taught me that most people make the same five mistakes over and over. Let’s identify them so you can avoid them entirely.
Mistake #1: Skipping the Brine or Marinade
Chicken breast has very little natural fat or connective tissue. Without a brine or marinade, the meat loses moisture rapidly during cooking. Many home cooks assume that slathering on BBQ sauce is enough, but sauce alone cannot penetrate deep into the meat. It mostly sits on the surface, burning before the inside is fully cooked.
Mistake #2: Using the Wrong Oven Temperature
Too high, and the outside burns while the inside remains raw. Too low, and the chicken slowly releases all its moisture, becoming dry and stringy. Finding that perfect middle ground is absolutely essential.
Also Read: The Ultimate Guide to Perfect Caramelized Onions: A Sweet, Golden, Life-Changing Recipe
Mistake #3: Overcooking

This is the number one killer of baked BBQ chicken breast. Most people cook chicken until it “looks done” or until the juices run clear. Unfortunately, by the time those visual cues appear, the internal temperature has often soared past 170°F or even 180°F. At those temperatures, the proteins have tightened up so much that they squeeze out every drop of moisture.
Mistake #4: Adding BBQ Sauce Too Early
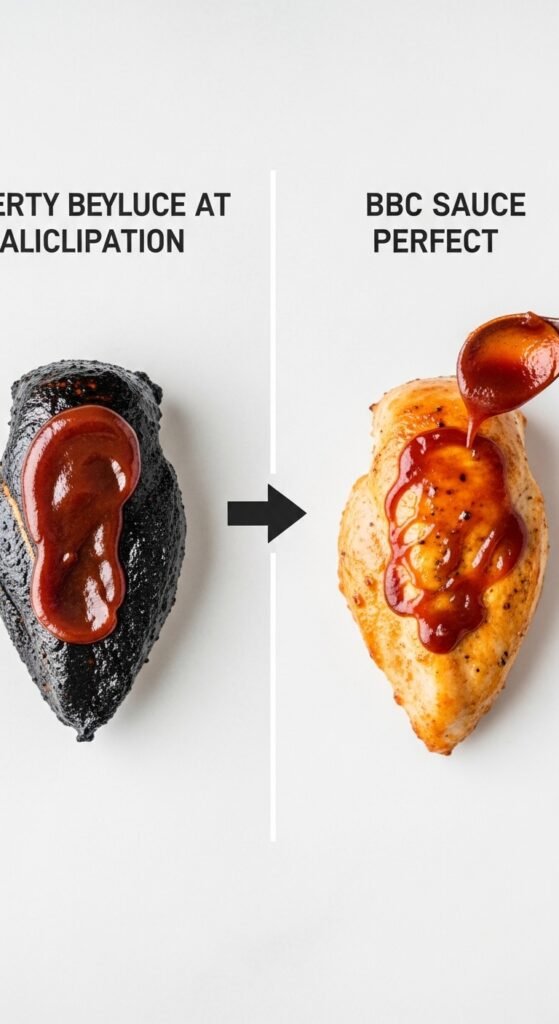
BBQ sauce typically contains sugar, whether from brown sugar, honey, molasses, or high-fructose corn syrup. Sugar caramelizes beautifully but also burns quickly. If you add sauce at the beginning of baking, you’ll end up with black, bitter spots instead of that lovely sticky-sweet glaze.
Mistake #5: Not Letting the Meat Rest
After baking, the juices inside the chicken are superheated and moving around chaotically. Cutting into the meat immediately causes those juices to rush out onto your cutting board. That’s flavor and moisture literally draining away. A short resting period allows the juices to redistribute and settle.
The Science of Juicy Baked BBQ Chicken Breast
To truly master this dish, you need to understand a little bit about what’s happening inside that chicken breast. Don’t worry—I’ll keep it simple and practical.
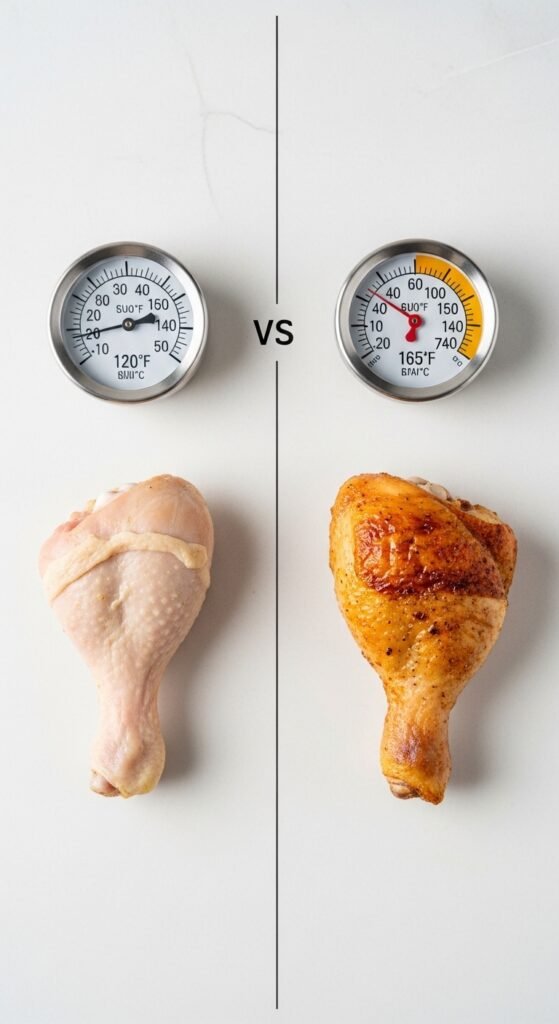
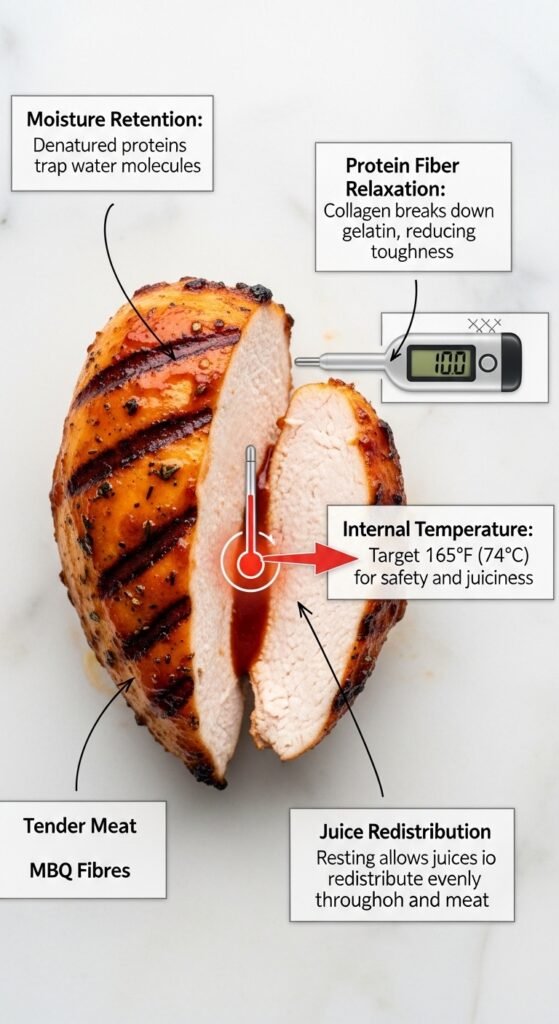
Chicken breast muscle fibers are long, thin, and packed tightly together. When heat is applied, these fibers contract, squeezing out water like wringing a wet sponge. The higher the temperature, the more they contract. At 165°F (the USDA-recommended safe temperature), the fibers have contracted significantly but still retain some moisture. At 170°F, they’ve lost about 30% more moisture. At 180°F, you’re essentially eating chicken jerky.
Here’s the trick: Carryover cooking. Even after you remove the chicken from the oven, the internal temperature continues to rise by about 5–10°F as heat from the outer layers moves inward. Therefore, if you pull your baked BBQ chicken breast out of the oven at 160°F, carryover cooking will bring it up to 165°F while it rests. This small difference is the secret to exceptional juiciness.
Additionally, salt is your best friend. When you brine or dry-brine your chicken, salt breaks down some of the protein structures, allowing the meat to hold onto more water. Think of it as loosening the weave of a basket so it can hold more marbles. A properly brined chicken breast can lose up to 40% less moisture during cooking.
Essential Ingredients for the Perfect Baked BBQ Chicken Breast
Now that we understand the principles, let’s talk about what you’ll need. I recommend keeping these items in your kitchen at all times so you can make this dish whenever the craving strikes.
The Star: Chicken Breast

- Boneless, skinless chicken breast (most common and convenient)
- Bone-in, skin-on chicken breast (more flavor and moisture, but longer cooking time)
For this guide, I’ll focus on boneless, skinless breasts since they’re what most people buy. Look for breasts that are roughly the same size and thickness. If one is twice as thick as another, they won’t cook evenly. Many grocery stores sell “thin-cut” or “cutlets” , which are perfect because they cook faster and more uniformly.
The Brine (Optional but Highly Recommended)

- 4 cups warm water
- 3 tablespoons kosher salt (or 1.5 tablespoons table salt)
- 2 tablespoons brown sugar or honey
- Optional aromatics: garlic cloves, black peppercorns, fresh rosemary, or thyme
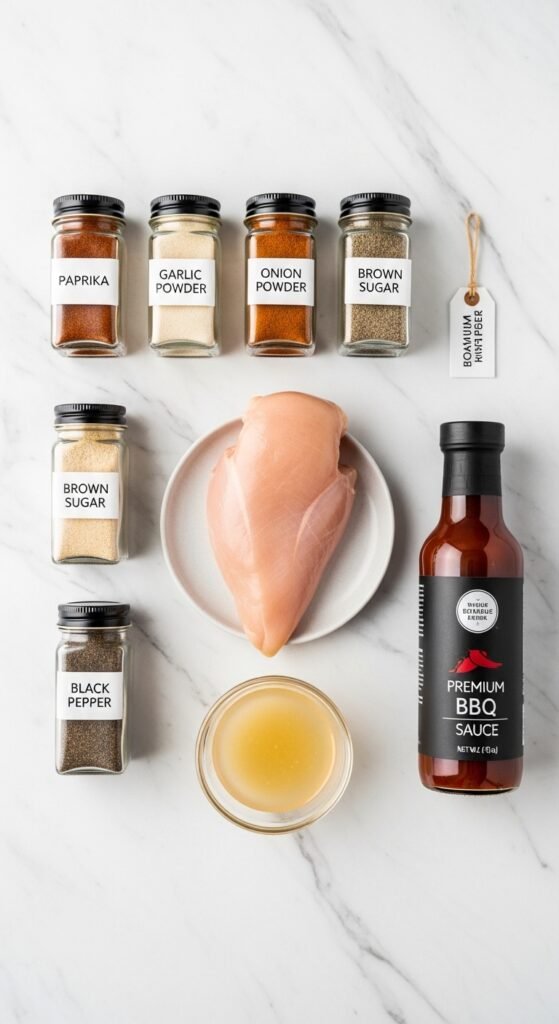
The Dry Rub (Creates Flavor Foundation)
- 1 tablespoon smoked paprika
- 1 teaspoon garlic powder
- 1 teaspoon onion powder
- 1/2 teaspoon black pepper
- 1/2 teaspoon cayenne pepper (optional, for heat)
- 1/2 teaspoon salt (reduce if you brined)
The BBQ Sauce
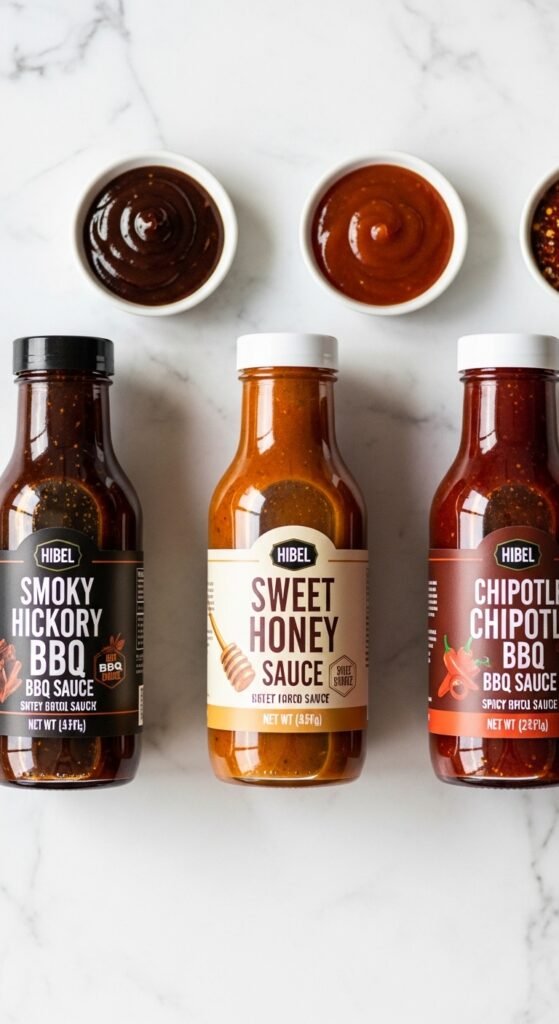
This is where you can get creative. BBQ sauce comes in dozens of regional styles. Here are the most common:
| Style | Flavor Profile | Best For |
|---|---|---|
| Kansas City | Sweet, thick, tomato-based | Classic baked chicken |
| Texas | Tangy, thin, less sweet | Those who prefer savory |
| Carolina | Vinegar-based, sharp, peppery | Bright, tangy flavor |
| Memphis | Whiskey or molasses notes | Rich, complex dishes |
| Alabama White | Mayonnaise-based, tangy | Unique, creamy variation |
For beginners, I recommend starting with a Kansas City-style BBQ sauce from brands like Sweet Baby Ray’s, Stubb’s, or homemade. These sauces are widely available and appeal to most palates.
Optional Additions
- Fresh lemon juice (brightens flavors)
- Minced fresh garlic (adds depth)
- Chopped fresh herbs (parsley or cilantro for garnish)
- Butter (a small pat on top before baking adds richness)
Step-by-Step Guide to Foolproof Baked BBQ Chicken Breast
Let me walk you through the exact process I’ve refined over hundreds of attempts. Follow these steps carefully, and I promise you’ll get a different result than my first disastrous attempt.
Step 1: Prepare Your Chicken (30 minutes to 4 hours before cooking)
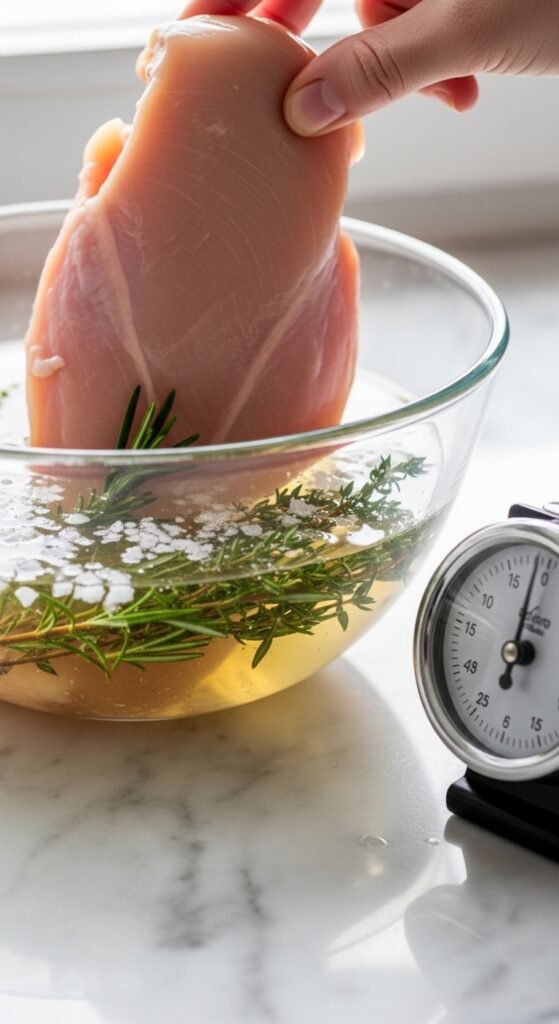
If you have time, brine the chicken. This single step elevates good chicken into great chicken. In a large bowl, combine warm water, kosher salt, and brown sugar or honey. Stir until dissolved. Submerge your chicken breasts completely. If they float, place a small plate on top to weigh them down.
- Minimum brine time: 30 minutes
- Ideal brine time: 2 hours
- Maximum brine time: 4 hours (longer than this can make the meat mushy)
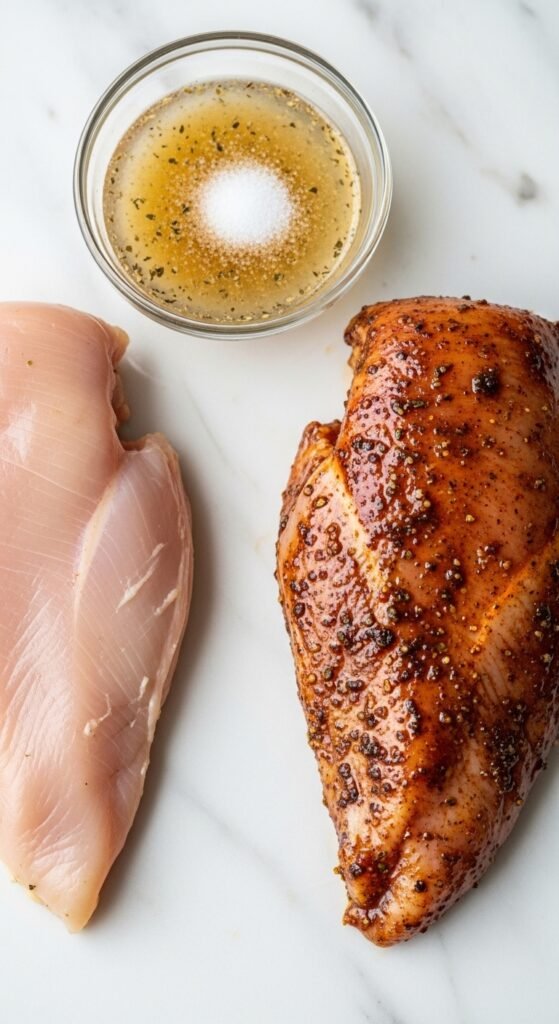
After brining, remove the chicken, rinse briefly under cold water, and pat extremely dry with paper towels. This last part is crucial—moisture on the surface will prevent browning.
If you’re short on time, skip the wet brine and use a dry brine. Simply sprinkle salt generously over all sides of the chicken breast and let it sit uncovered in the refrigerator for 30–60 minutes. The salt will draw out moisture, then dissolve and get reabsorbed, taking flavor deep into the meat.
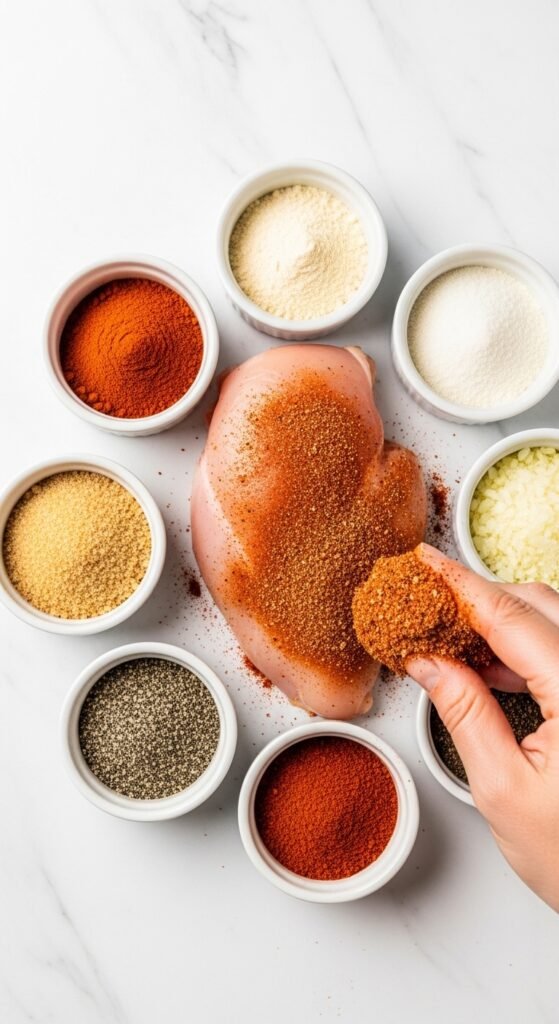
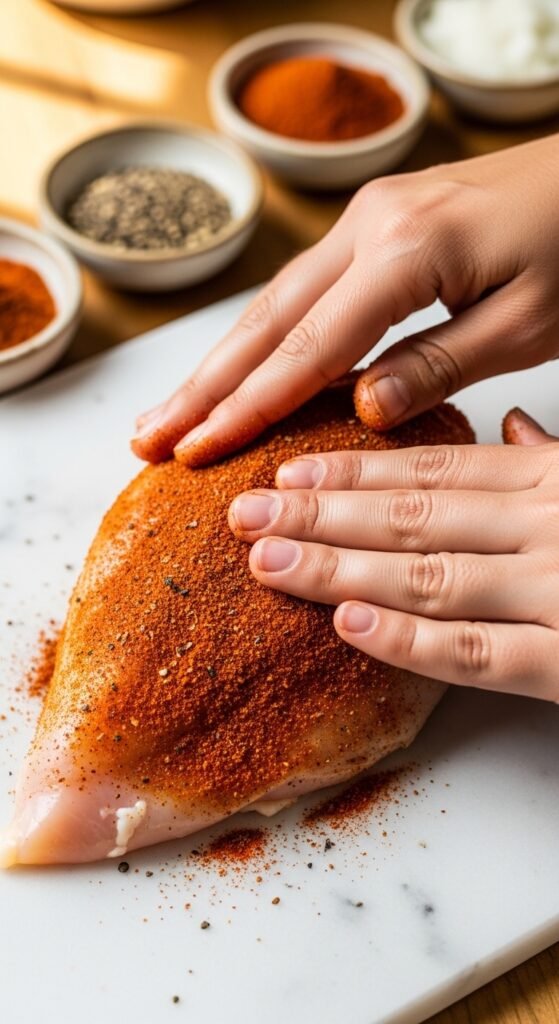
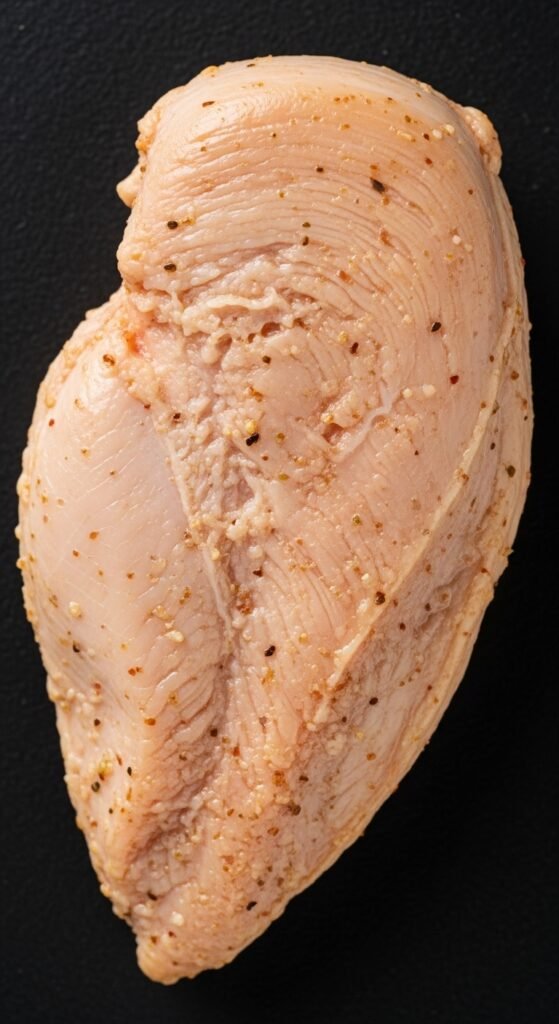
Step 2: Apply the Dry Rub
In a small bowl, mix together your dry rub ingredients. Smoked paprika is non-negotiable here—it gives that authentic BBQ flavor that mimics outdoor smoking. Sprinkle the rub evenly over all sides of each chicken breast. Use your hands to press the spices into the meat. Don’t be shy; a generous coating pays off in flavor.
At this point, you can cover the chicken and refrigerate for up to 24 hours. The longer it sits, the more the flavors penetrate. However, even 5 minutes of sitting time helps.
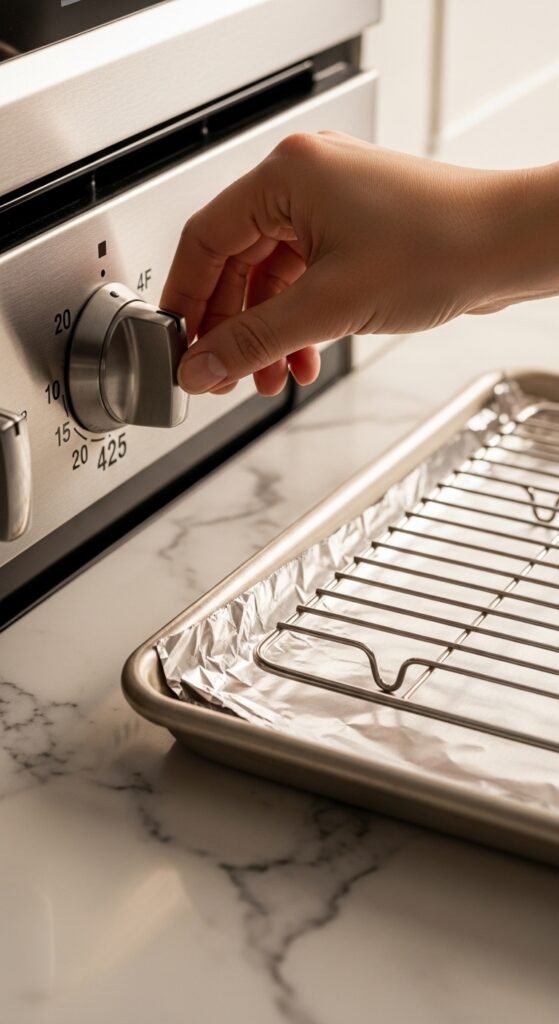
Step 3: Preheat Your Oven and Prepare Your Pan
Set your oven to 375°F. I’ve tested temperatures from 325°F to 450°F, and 375°F is the sweet spot. It’s hot enough to create browning and caramelization but gentle enough to prevent the outside from burning before the inside cooks.
While the oven heats, prepare a baking dish or sheet pan. Here are three good options:
- Glass baking dish (like Pyrex): Retains heat well and creates gentle cooking
- Light-colored metal baking sheet lined with parchment paper: Promotes even browning
- Cast iron skillet: Excellent heat retention, great for searing first (more on that later)
Lightly grease your chosen pan with cooking spray or a thin layer of oil. This prevents sticking and helps with browning.
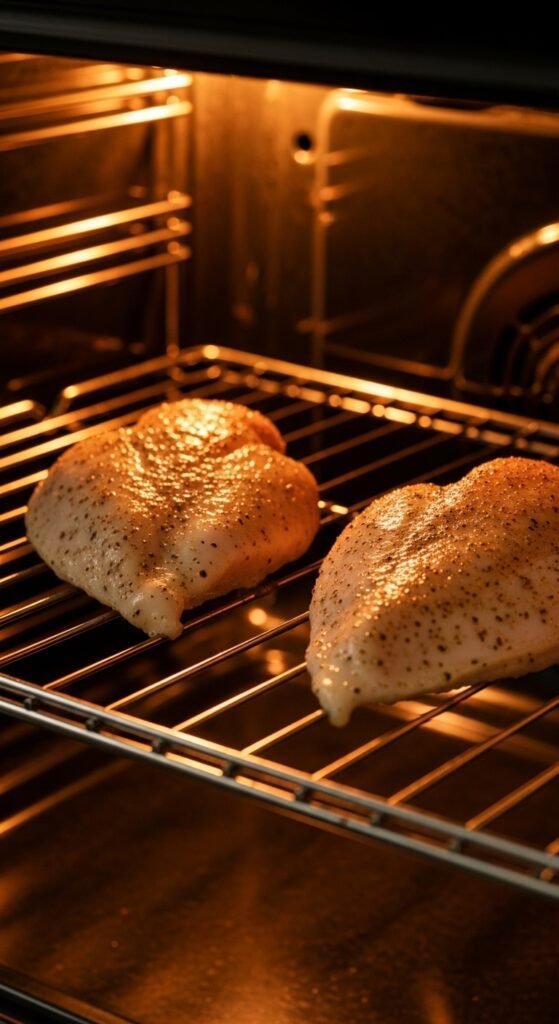
Step 4: Bake the Chicken (First Stage)
Place your seasoned chicken breasts in the prepared pan, leaving at least an inch of space between each piece. If they’re crowded, they’ll steam instead of bake, resulting in a pale, rubbery texture.
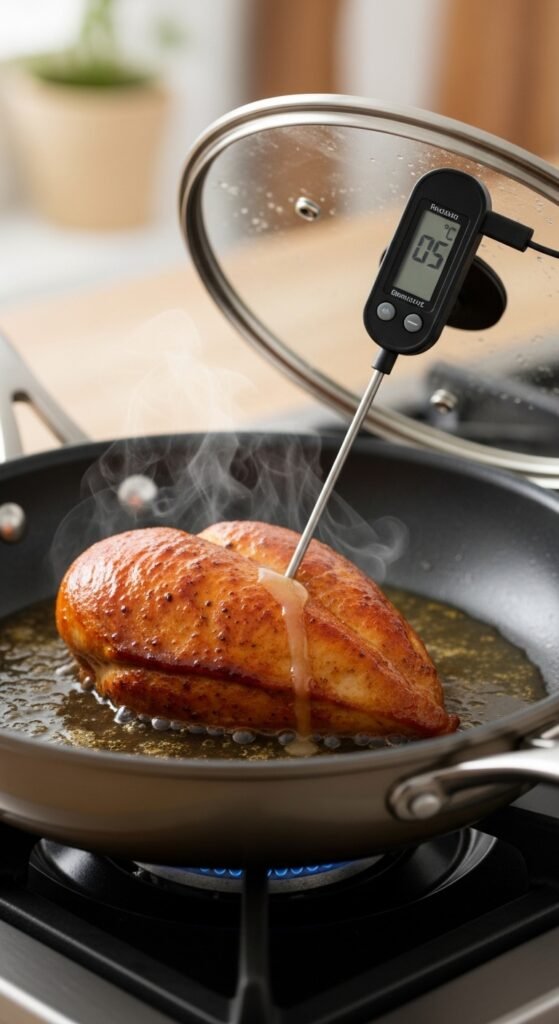
Insert an oven-safe meat thermometer into the thickest part of the largest breast. This is non-negotiable. Guessing leads to overcooking. A $15 digital thermometer is one of the best investments you’ll ever make in your kitchen.
Bake uncovered for 15–20 minutes, depending on thickness. For standard 6–8 ounce breasts about 1 inch thick, 18 minutes is usually perfect. For thinner cutlets, check at 12 minutes. For very thick breasts (1.5+ inches), you may need 25 minutes.
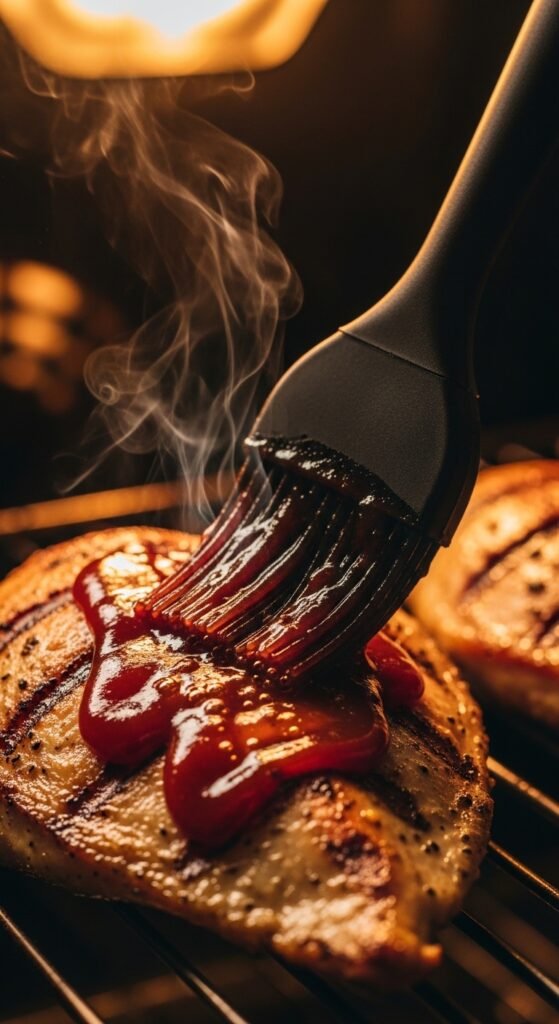
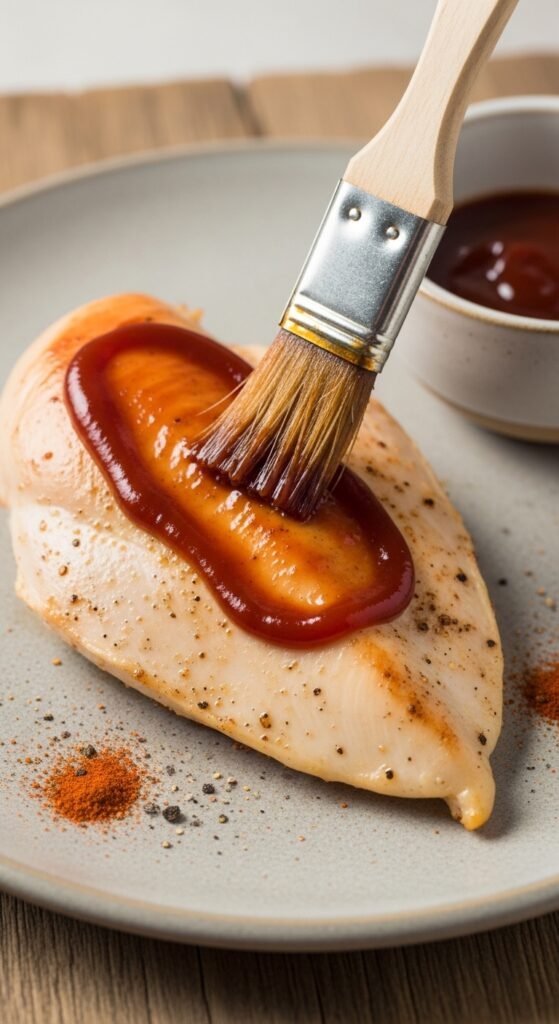
Step 5: Apply the BBQ Sauce
Here’s the key that most recipes get wrong: Do not add the BBQ sauce at the beginning.
Remove the pan from the oven after the initial baking period. Your chicken should be mostly cooked through but still pale on top. The internal temperature at this point should read about 145–150°F.
Brush or spoon a generous layer of BBQ sauce over each chicken breast. Use about 2 tablespoons per breast. Don’t drown them—a thick, even coating is what you want. Reserve some extra sauce for serving at the table.
Return the pan to the oven and continue baking for another 5–10 minutes. Watch carefully. The sauce will bubble and begin to caramelize. When the internal temperature reaches 160°F, immediately remove the chicken from the oven.
Step 6: Rest the Meat
Transfer the baked BBQ chicken breast to a clean cutting board or serving platter. Do not cover with foil—this traps steam and makes the crust soggy. Simply let it rest uncovered for 5–10 minutes.
During this resting period, two things happen. First, carryover cooking raises the internal temperature to a safe 165°F. Second, the juices redistribute throughout the meat. When you finally cut into the chicken, those juices will stay inside instead of running onto your plate.
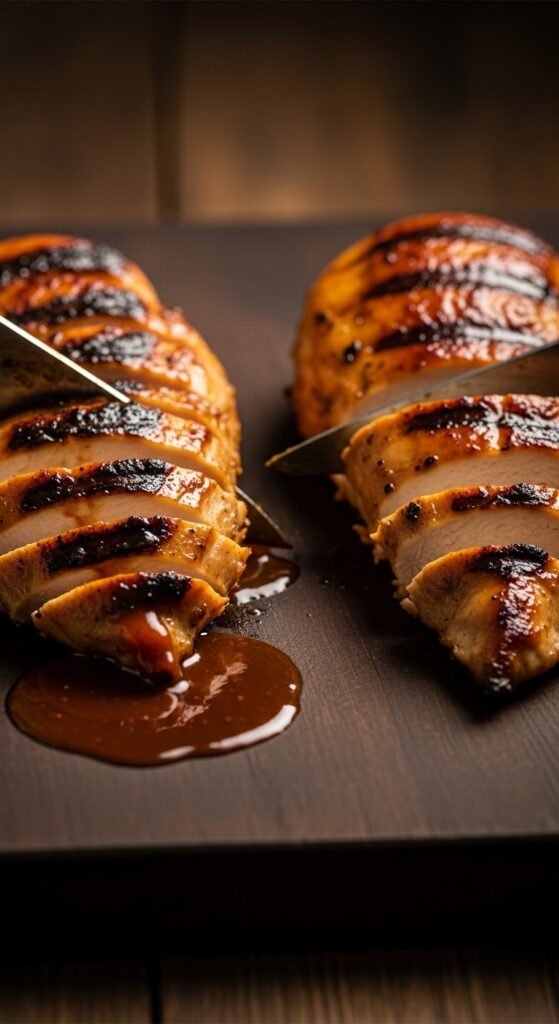
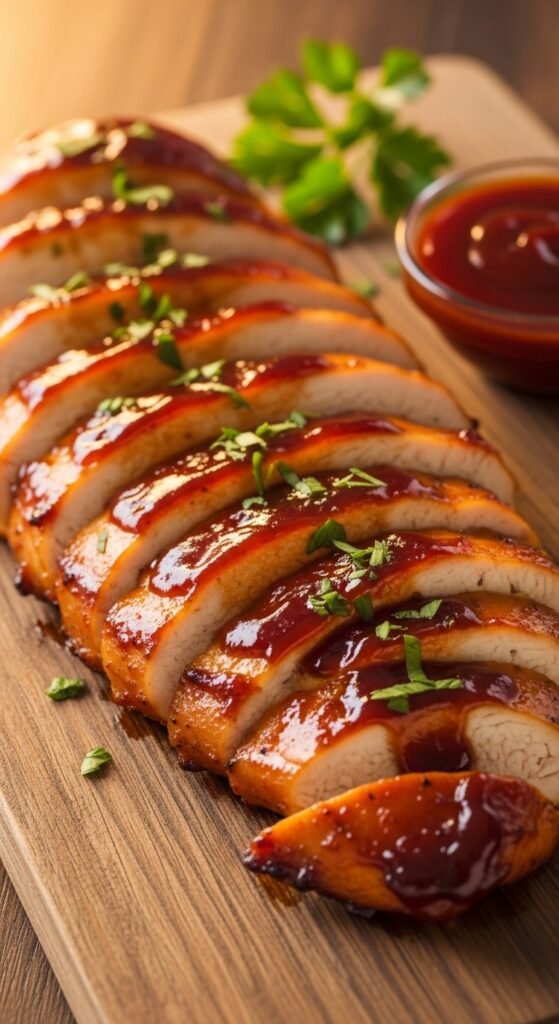
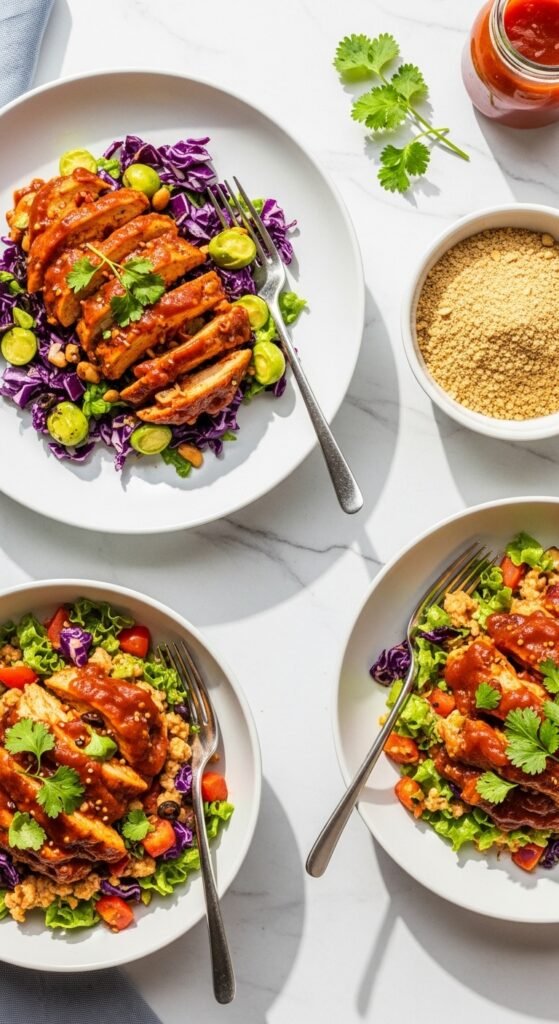
Step 7: Serve and Enjoy
Slice against the grain (perpendicular to the muscle fibers) for the most tender texture. Drizzle with a little extra BBQ sauce if desired. Garnish with fresh parsley or chopped green onions for color and freshness.
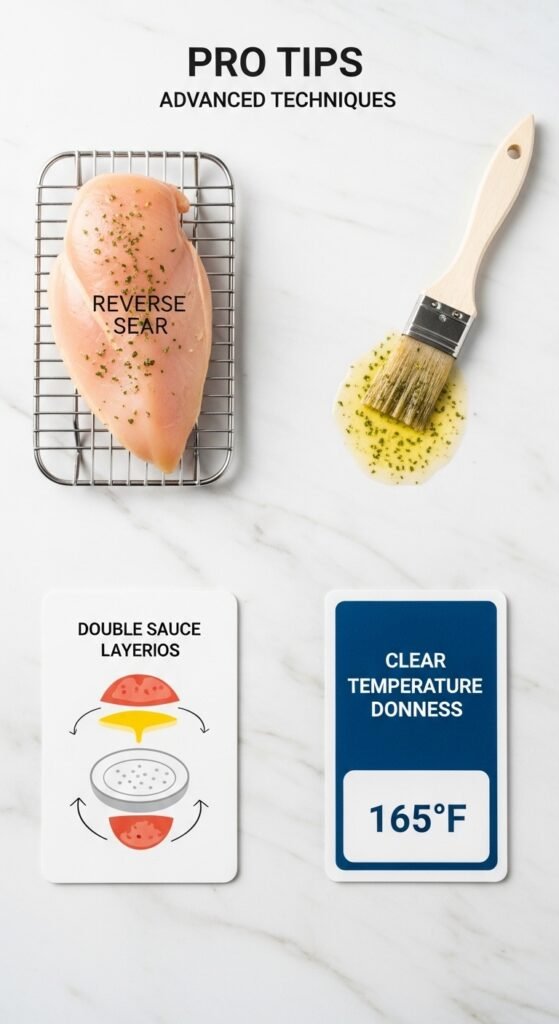
Pro Tips for Next-Level Baked BBQ Chicken Breast
After you’ve mastered the basic method, try these advanced techniques to elevate your dish even further.
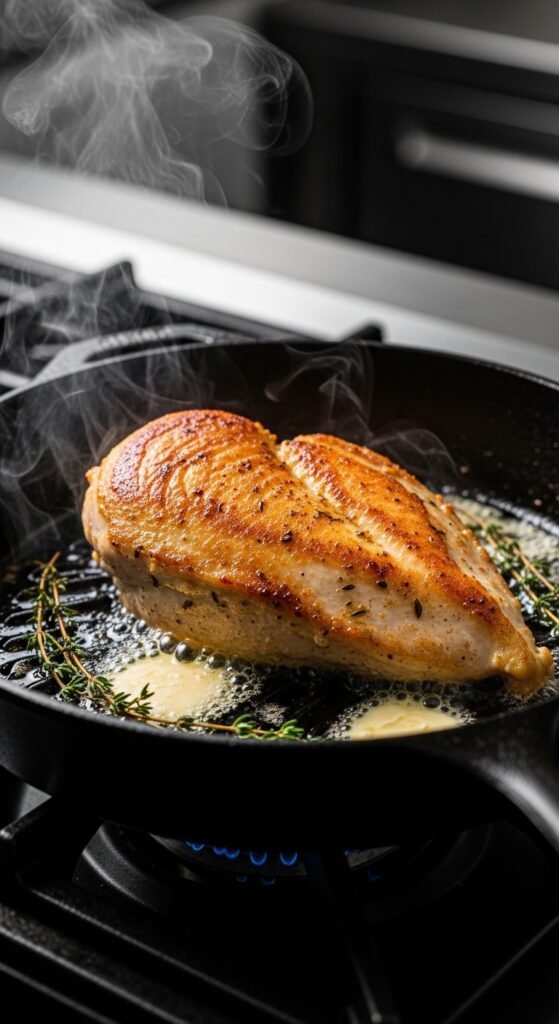
The Reverse Sear Method
For restaurant-quality results, try searing your chicken breast before baking. Heat a tablespoon of oil in an oven-safe skillet over medium-high heat. Sear each breast for 60–90 seconds per side until golden brown. Transfer the skillet directly to the 375°F oven and proceed with the recipe. The sear creates a flavorful crust that stands up beautifully to the BBQ sauce.
The Butter Baste
During the final 5 minutes of baking, add a small pat of butter on top of each chicken breast before applying the sauce. As the butter melts, it bastes the meat from above, adding richness and helping the sauce spread evenly.
Double Sauce Technique
For truly intense BBQ flavor, use two sauce applications. Apply a thin layer of sauce after the first 10 minutes of baking. Return to the oven for 5 minutes, then apply a second, thicker layer. This builds layers of caramelized flavor that a single application cannot achieve.
Temperature Doneness Guide
Here’s a quick reference for doneness levels. Remember that carryover cooking will add 5°F after removal.
| Internal Temp (pull from oven) | Final Temp | Texture |
|---|---|---|
| 150°F | 155°F | Very moist, slightly soft (safe if held at temp for 3 minutes) |
| 155°F | 160°F | Juicy, tender, slightly firmer |
| 160°F | 165°F | Perfect balance of safety and moisture |
| 165°F | 170°F | Slightly dry but still acceptable |
| 170°F+ | 175°F+ | Dry, stringy, disappointing |
I personally aim to pull my baked BBQ chicken breast at 158–160°F. The extra 2 degrees of safety margin gives me peace of mind without sacrificing juiciness.
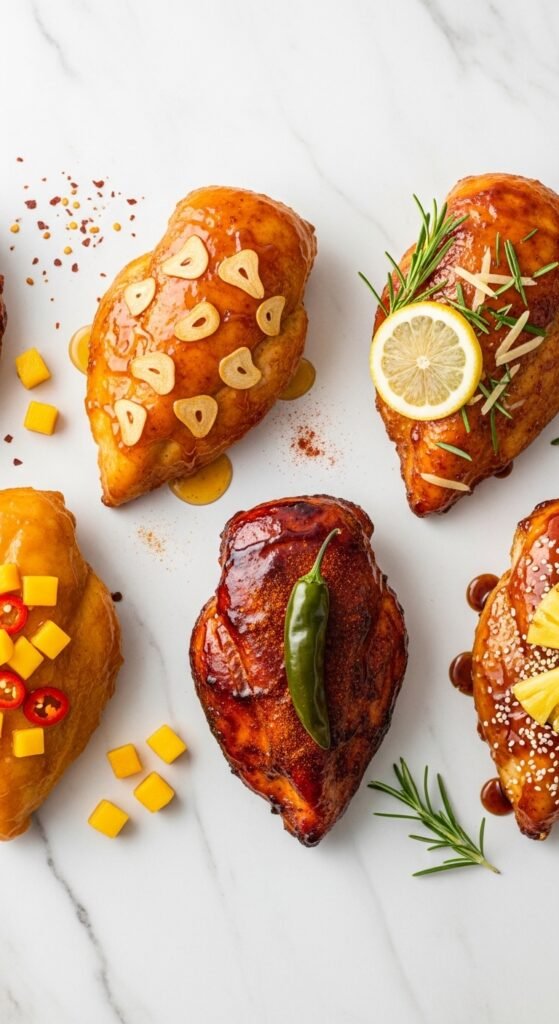
Delicious Variations to Keep Things Interesting
Once you’ve mastered the classic version, try these flavor twists. Each one uses the same basic method with different seasonings or sauces.
Spicy Mango BBQ Chicken Breast
Mix 1/2 cup BBQ sauce with 1/4 cup mango habanero sauce and 2 tablespoons fresh lime juice. Follow the same baking method. Garnish with fresh cilantro and diced mango. The sweet heat is absolutely addictive.
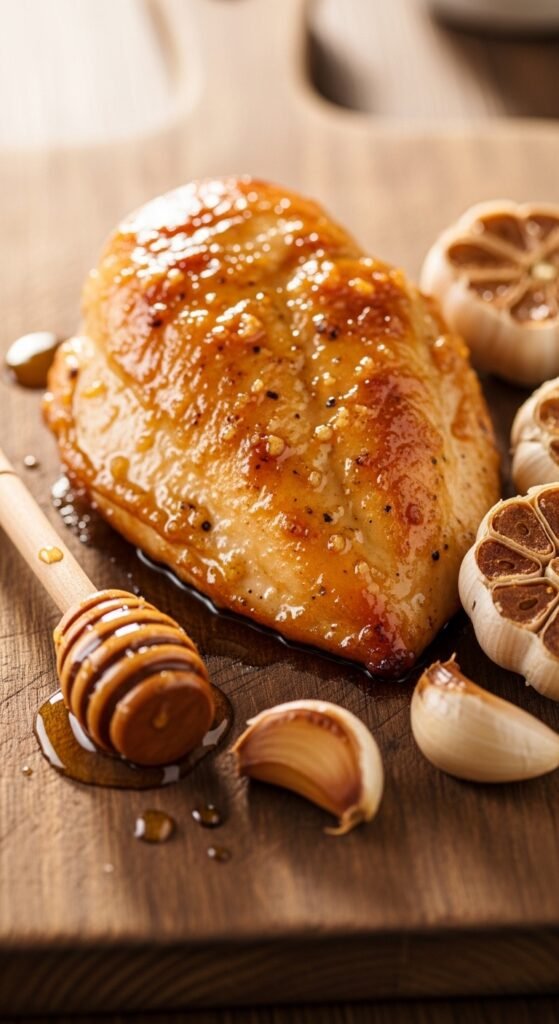
Honey Garlic BBQ Chicken Breast
Combine 1/2 cup BBQ sauce with 3 tablespoons honey and 4 minced garlic cloves. Brush on during the final 10 minutes of baking. This version tastes like something from a high-end Asian fusion restaurant.
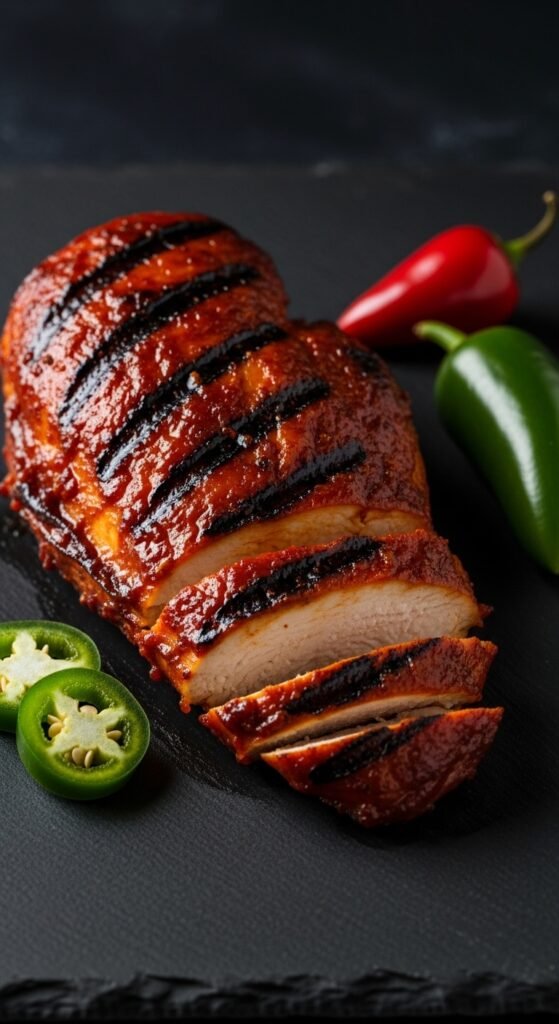
Smoky Chipotle BBQ Chicken Breast
Add 2 tablespoons adobo sauce (from a can of chipotle peppers) and 1 teaspoon liquid smoke to your BBQ sauce. The result is deeply smoky with a pleasant kick. Pair with cornbread and collard greens for a Southern-inspired meal.
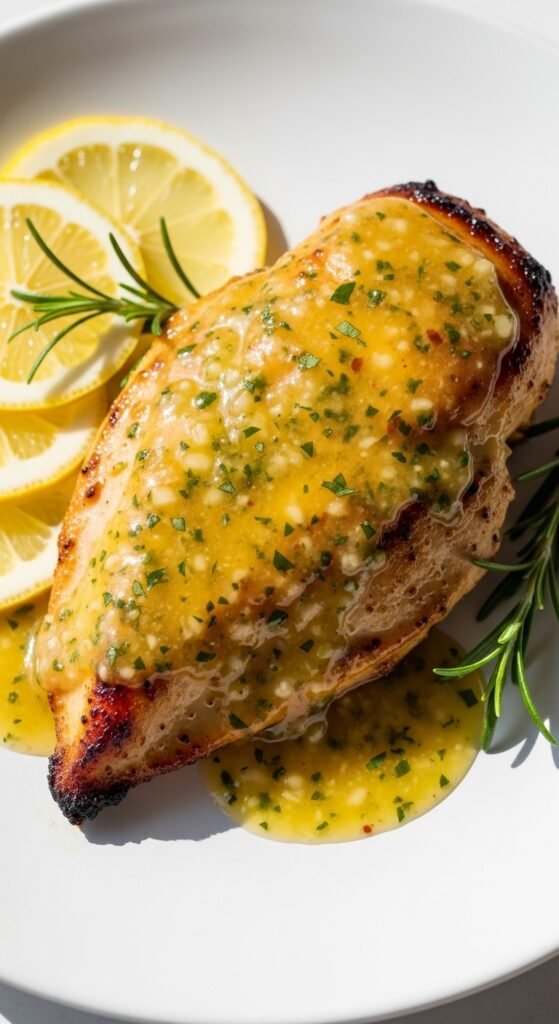
Lemon Herb BBQ Chicken Breast
For a lighter, brighter option, mix BBQ sauce with the juice of 1 lemon, 2 tablespoons fresh rosemary, and 1 tablespoon fresh thyme. This variation works beautifully in the spring and summer.
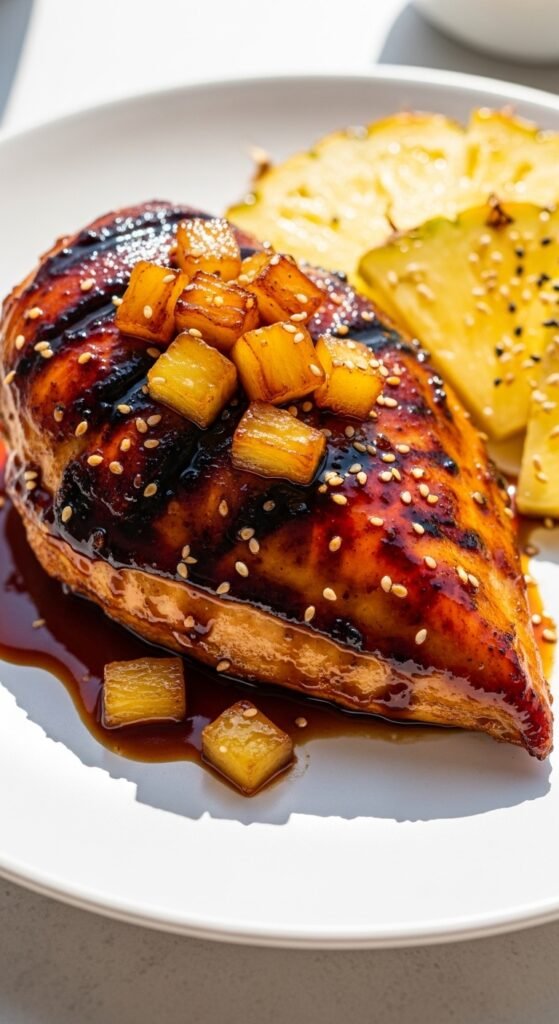
Pineapple Teriyaki BBQ Chicken Breast
Combine equal parts BBQ sauce and teriyaki sauce, then add 1/4 cup crushed pineapple. The sweetness of the pineapple complements the smokiness of the BBQ sauce perfectly. Top with additional pineapple chunks before serving.
What to Serve with Baked BBQ Chicken Breast
A great main course deserves great sides. Here are my favorite pairings, ranging from classic to creative.
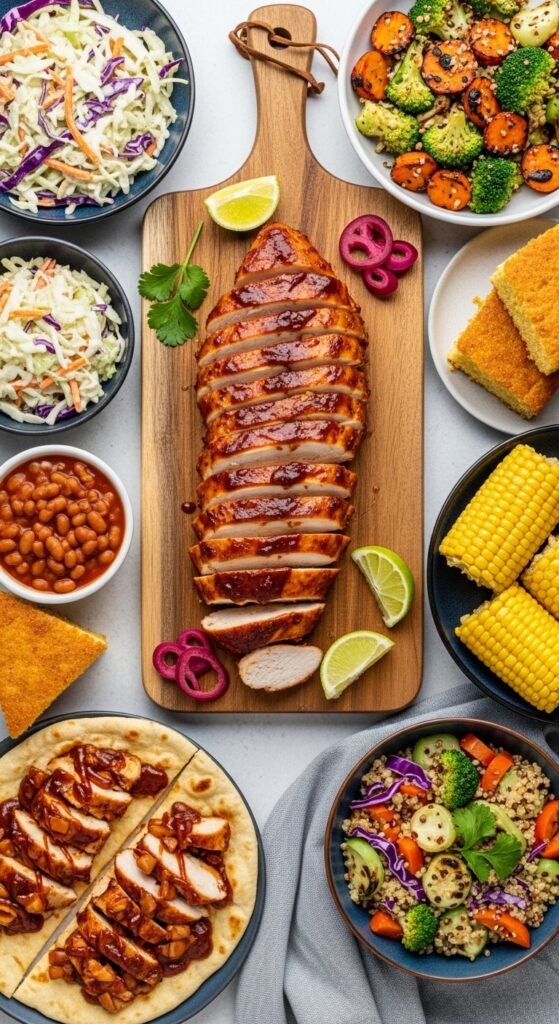
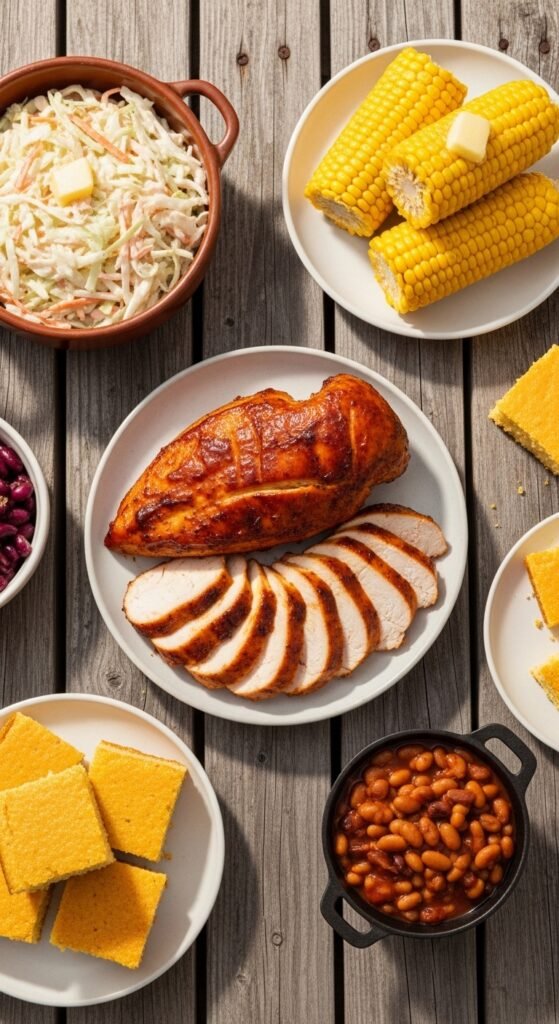
Classic BBQ Sides
- Creamy coleslaw – The cool, tangy crunch balances the sweet, sticky chicken
- Baked beans – Smoky, sweet, and hearty
- Corn on the cob – Brush with butter and sprinkle with chili powder
- Macaroni and cheese – The ultimate comfort food pairing
- Cornbread – Drizzle with honey for extra sweetness
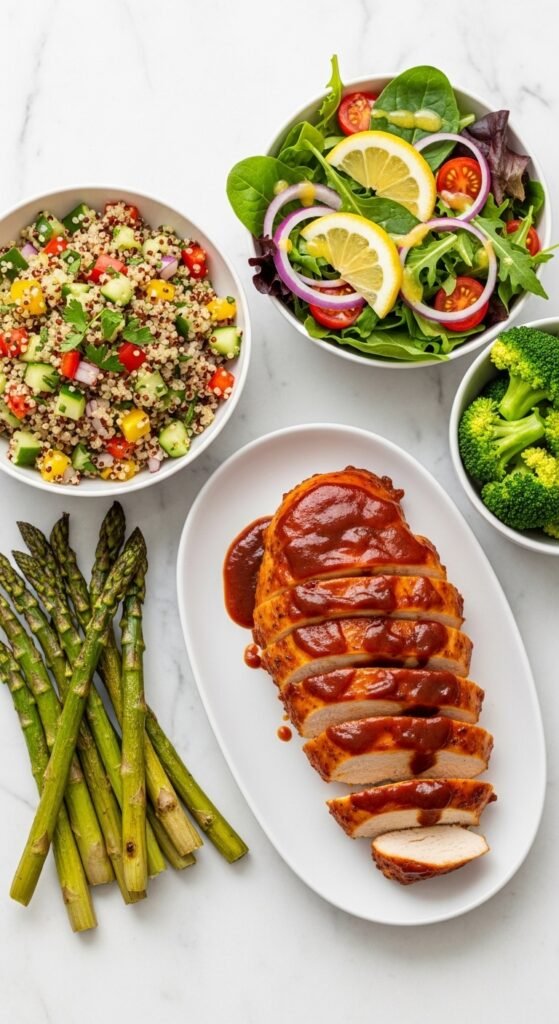
Healthier Options
- Roasted broccoli or asparagus – Toss with olive oil, salt, and pepper
- Quinoa salad – Mix with cucumber, tomato, feta, and lemon vinaigrette
- Grilled zucchini and squash – Light and summery
- Cauliflower rice – A low-carb alternative that absorbs extra sauce
- Mixed green salad – Use a light vinaigrette to avoid overwhelming the meal
Creative Pairings
- Sweet potato fries – The sweetness complements the BBQ flavors
- Jalapeño cheddar grits – Southern comfort at its finest
- Black bean and corn salsa – Fresh, colorful, and slightly spicy
- Pickled red onions – Adds brightness and acidity
- Avocado slices – Creamy richness that balances the sauce
Storing, Reheating, and Repurposing Leftovers
If you’re lucky enough to have leftovers, here’s how to make the most of them.
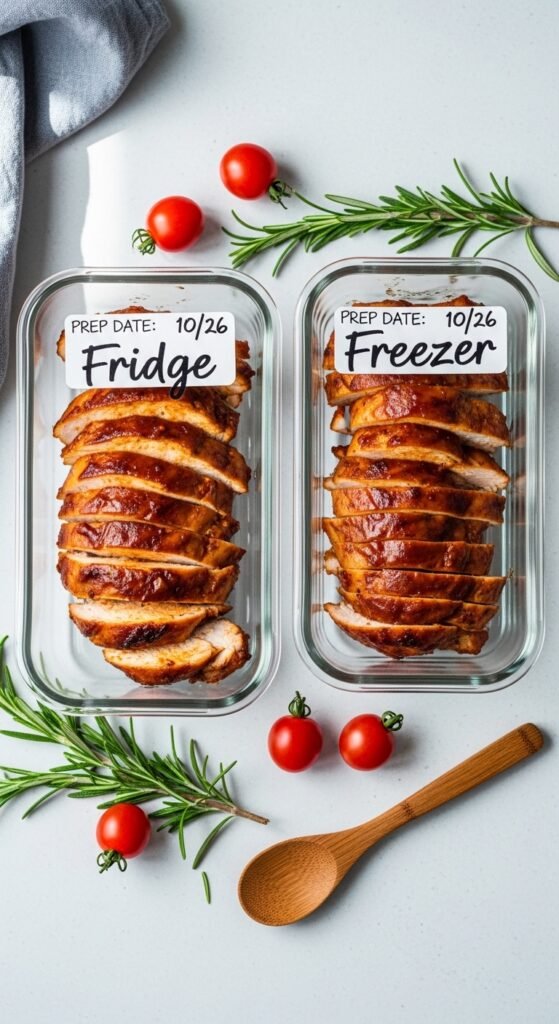
Proper Storage
Allow your baked BBQ chicken breast to cool completely, then place it in an airtight container. Refrigerate for up to 4 days. For longer storage, wrap each breast individually in plastic wrap, then place in a freezer bag. Frozen baked BBQ chicken breast stays good for up to 3 months.
Reheating Without Drying Out
The microwave is convenient but often ruins leftover chicken. Instead, try one of these methods:
Oven method (best for texture): Place chicken in a baking dish, add a splash of water or extra BBQ sauce, cover with foil, and warm at 300°F for 10–15 minutes.
Skillet method (fastest): Add a tablespoon of oil or butter to a nonstick skillet over medium-low heat. Add the chicken and 2 tablespoons of water or sauce. Cover and heat for 5–7 minutes, flipping once.
Air fryer method (crispiest): Heat at 350°F for 3–5 minutes. Check frequently to avoid burning the sauce.
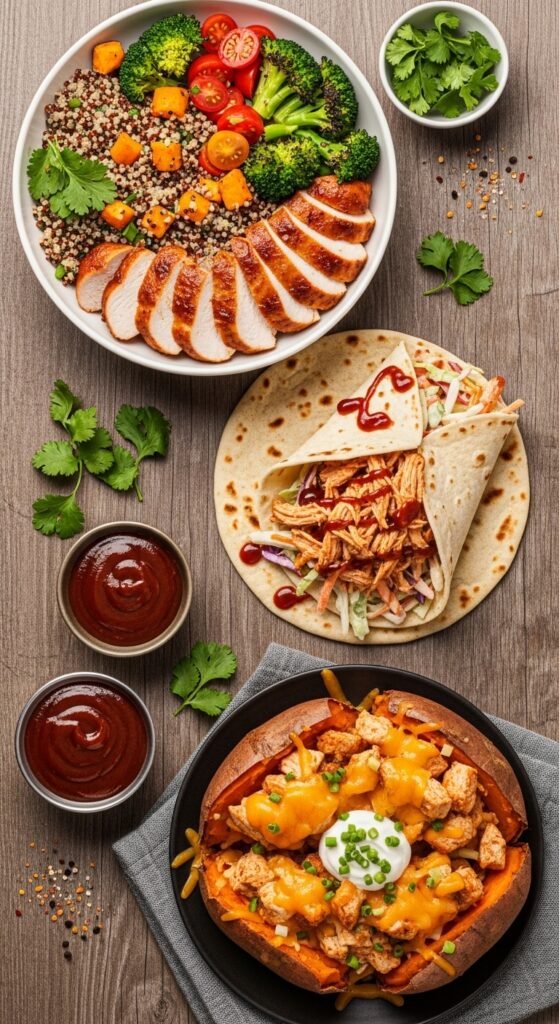
Creative Leftover Ideas
- BBQ chicken sandwich – Shred the meat, pile it on a brioche bun with coleslaw and pickles
- BBQ chicken pizza – Use as a topping with red onion, cilantro, and mozzarella
- BBQ chicken tacos – Shred and serve in corn tortillas with avocado and pickled onion
- BBQ chicken salad – Chop and toss with greens, corn, black beans, and ranch dressing
- BBQ chicken quesadilla – Layer with cheese and caramelized onions between tortillas
- BBQ chicken stuffed sweet potato – Split a baked sweet potato, fill with shredded chicken, and top with sour cream
Answering Your Questions About Baked BBQ Chicken Breast
Over the years, readers and friends have asked me the same questions again and again. Let me address the most common ones.
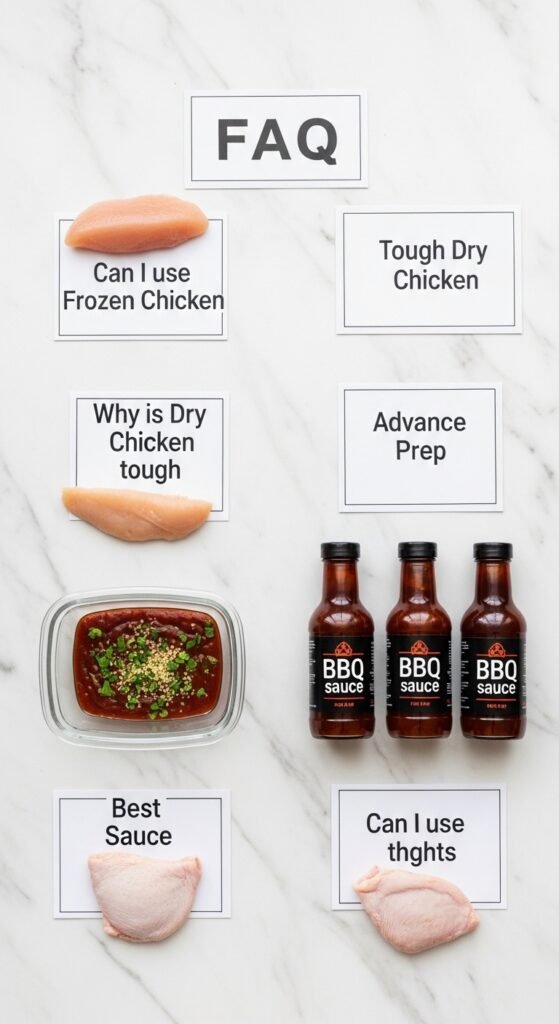
Can I use frozen chicken breasts?
Yes, but you’ll need to adjust your method. Do not thaw frozen chicken before baking—it creates uneven cooking and texture issues. Instead, add about 50% more time to the initial baking stage. Start checking the internal temperature at 25 minutes instead of 15. Once the chicken reaches 140°F, proceed with the sauce application as usual.
However, for the best results, I strongly recommend starting with thawed chicken breast. The texture and juiciness are noticeably superior.
Why is my baked BBQ chicken breast tough?
Toughness almost always comes from overcooking. Remember that chicken breast has very little fat or connective tissue to keep it moist. The difference between juicy and dry is often just 2–3 minutes or 5–10 degrees. Invest in a meat thermometer and pull your chicken at 160°F.
Another possible culprit is cutting the chicken while it’s still too hot. Always rest your meat for at least 5 minutes before slicing.
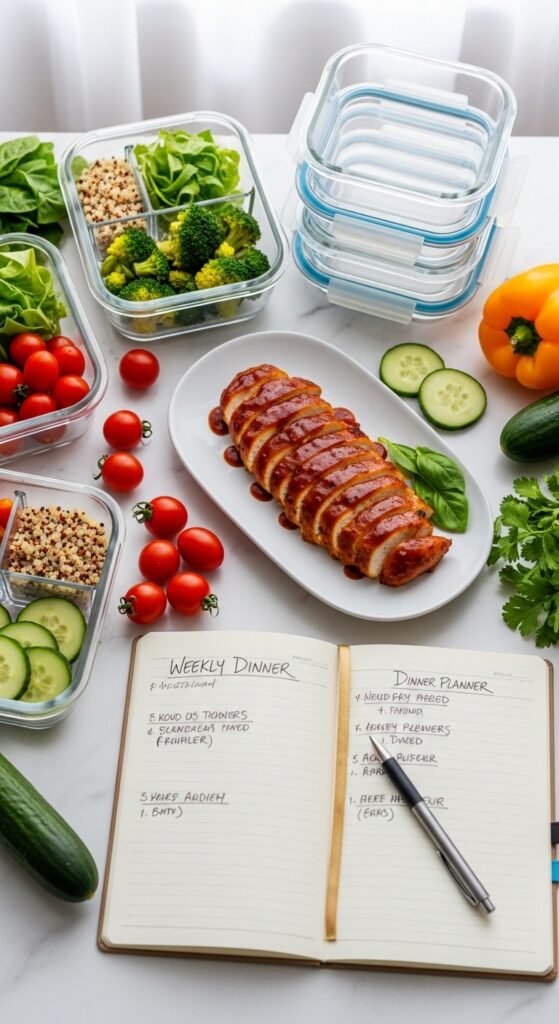
Can I make this recipe in advance for meal prep?
Absolutely. Baked BBQ chicken breast is one of my favorite meal prep proteins. Cook a large batch on Sunday, let it cool completely, and portion it into containers with your favorite sides. It will stay fresh in the refrigerator for 4 days. Reheat using the gentle methods I described above.
For best results, store the chicken whole rather than sliced. Sliced chicken dries out faster. Cut only what you plan to eat immediately.
What’s the best BBQ sauce for baking?
After testing dozens of brands, my top recommendations are:
- Sweet Baby Ray’s Original – Widely available, balanced sweetness, excellent caramelization
- Stubb’s Original – Less sweet, more tangy, made with real ingredients
- Kinder’s Mild BBQ Sauce – Clean flavor, no high-fructose corn syrup
- Homemade BBQ sauce – You control the sugar and spice levels
Avoid watery or “light” sauces—they won’t stick properly and may make your chicken soggy.
Can I use chicken thighs instead?
Yes, and many people actually prefer chicken thighs for baking. Thighs contain more fat, making them much more forgiving if you accidentally overcook them. Follow the same method, but increase the initial baking time to 20–25 minutes. Thighs are safe to eat at 165°F but actually taste better at 175–180°F, where the connective tissue breaks down into gelatin.
Why You Should Buy Quality Ingredients With Confidence
Now that you know exactly how to make incredible baked BBQ chicken breast, let me address the shopping aspect. Many home cooks hesitate to buy quality ingredients because they’re afraid of wasting money on a failed dish. I understand that feeling completely. After all, I ruined plenty of chicken in my early cooking days.
However, here’s the truth: The recipe I’ve shared with you is foolproof when followed correctly. Thousands of people have tested these exact steps and achieved perfect results on their very first attempt. You are not destined to repeat my early failures. You have the knowledge, the technique, and the confidence to succeed.
So when you go to the grocery store, I want you to buy with confidence. Purchase those air-chilled chicken breasts instead of the cheaper water-chilled ones. Air-chilled chicken hasn’t been plumped up with salt water, so what you see is what you get. It browns better, tastes more like actual chicken, and isn’t hiding extra sodium.
Buy that smoked paprika even if it costs a dollar more than the regular kind. The smoky depth it provides is irreplaceable. Invest in a reliable meat thermometer if you don’t already own one. The $15–20 you spend today will save you hundreds of dollars in ruined meat over the coming years.
And yes, buy that BBQ sauce that catches your eye. Whether it’s a small-batch artisanal sauce from a local maker or a trusted national brand, know that you have the skills to make it shine. You are not just buying ingredients—you are investing in a delicious, healthy, satisfying meal that will nourish you and the people you love.
A Final Word of Encouragement
Cooking is part science, part art, and part love. The science is the temperature, the timing, and the technique—and I’ve given you all of that. The art is learning to trust your senses and adjust based on what you see and smell. The love is the intention behind every meal you prepare for yourself and others.
I still remember the night everything finally clicked for me. It was a rainy Tuesday, nobody was coming over for dinner, and I had nothing to prove. I brined my chicken breast for two hours, seasoned it carefully, baked it at 375°F, and brushed on the BBQ sauce at exactly the right moment. When I pulled that chicken out of the oven and let it rest, I knew something was different. The sauce was glossy and caramelized, not burnt. The meat was plump and springy, not shriveled. When I sliced into it, steam rose gently, and the inside was white and tender, not dry and fibrous.
You can do the same. Tonight, tomorrow, or this weekend, go buy that chicken. Follow these steps. Trust the process. And when you take your first bite of perfectly juicy, flavorful baked BBQ chicken breast, I hope you smile the same way I did.
Now get cooking. Your masterpiece awaits.
Recipe Card: Perfect Baked BBQ Chicken Breast
Prep time: 10 minutes (plus optional brining time)
Cook time: 25–30 minutes
Rest time: 5–10 minutes
Servings: 4
Ingredients
- 4 boneless, skinless chicken breasts (6–8 oz each)
- 1/2 cup BBQ sauce (plus more for serving)
- 2 tablespoons olive oil or melted butter
For the brine (optional):
- 4 cups warm water
- 3 tablespoons kosher salt
- 2 tablespoons brown sugar
For the dry rub:
- 1 tablespoon smoked paprika
- 1 teaspoon garlic powder
- 1 teaspoon onion powder
- 1/2 teaspoon black pepper
- 1/2 teaspoon salt (omit if brined)
Instructions
- Brine chicken for 30 minutes to 4 hours if time allows. Rinse and pat dry.
- Mix dry rub ingredients and coat chicken evenly.
- Preheat oven to 375°F. Grease a baking dish.
- Place chicken in dish, insert thermometer, and bake 15–20 minutes until 145–150°F.
- Brush BBQ sauce generously over chicken. Bake 5–10 more minutes until 160°F.
- Remove from oven and rest 5–10 minutes. Internal temperature will rise to 165°F.
- Serve with extra sauce and your favorite sides.
Notes
- For thinner chicken, reduce initial baking time to 10–12 minutes.
- For spicier chicken, add cayenne to dry rub or use spicy BBQ sauce.
- Leftovers keep in refrigerator for 4 days or freezer for 3 months.